Rate Tutorial
After you've done a few successful strip bracelets (pattern 1), you're ready to do the arrow one (chevron, #2). For this bracelet you need to know both forward and backward knots.
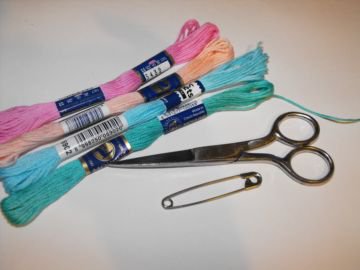
When you're doing the arrow bracelet, you need two strings of each colour. That means that when you're doing a bracelet from eight strings, you need four colours. You are working from both sides with two string of the same colour, which are then tied together in the middle to create a 'V' or an arrow.
The strings should be the same length as while doing the striped bracelet (1 metre).
The strings should be the same length as while doing the striped bracelet (1 metre).
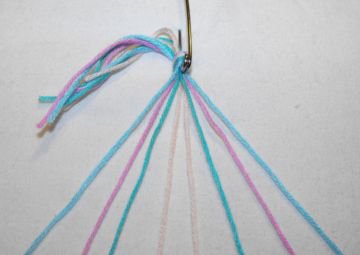
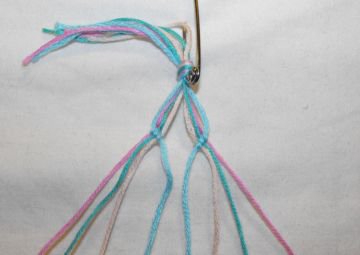
Tie your strings in one knot on the top and fasten it on your safety pin. Leave a few centimetres on the end so you can make a ponytail that you're going to tie your bracelet with to your wrist. Put your strings in an order like you want your stripes to be ordered.
In the knots tutorial, it shows you how to make both forward and backward knots, which you should already know.
The working strings for the first 'V' or an arrow, is going to be blue.
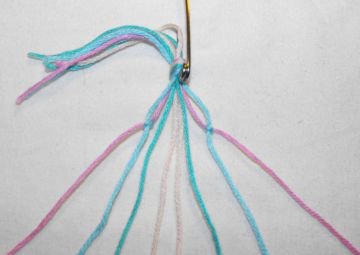
On the left hand side, make a forward knot over the pink string.
On the right hand side, make a backward knot over the other pink string.
The working strings for the first 'V' or an arrow, is going to be blue.
On the left hand side, make a forward knot over the pink string.
On the right hand side, make a backward knot over the other pink string.
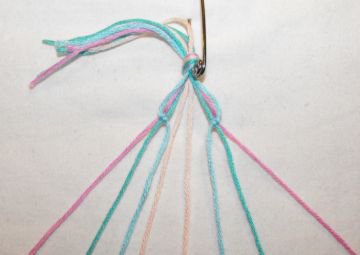
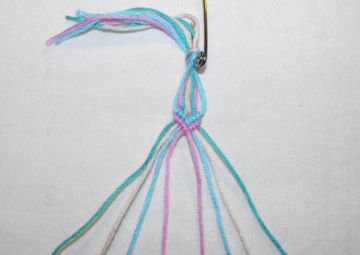
On the left hand side, make a forward knot with the blue string over the green string.
On the right hand side, make a backward knot with the blue string over the other green string.
On the right hand side, make a backward knot with the blue string over the other green string.
On the left hand side, make a forward knot with the blue string over the light orange string.
On the right hand side, make a backward knot with the blue string over the other light orange string.
In this bracelet you need to tie downward like in every other bracelet. Like you can see, the forward knots are tied downwards to the right, and the backward knots are tied downwards to the left.
On the right hand side, make a backward knot with the blue string over the other light orange string.
In this bracelet you need to tie downward like in every other bracelet. Like you can see, the forward knots are tied downwards to the right, and the backward knots are tied downwards to the left.

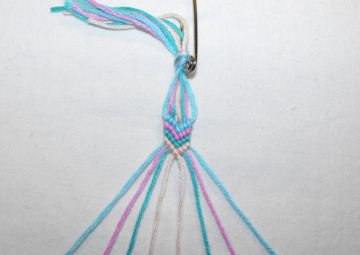
When you get to the middle, you can do both forward or a backward knot because both strings are the same colour, which means that whether you make forward or a backward knot, the knot is going to be the same colour. At this time, one of the blue strings is going to be the working string, and the other is going to be the back string.
You made your first 'V' or an arrow.
You made your first 'V' or an arrow.
The second 'V' or an arrow is going to be tied the same way as the first one.
Repeat the process until your bracelet is long enough.
When the bracelet is long enough make a ponytail on both sides of the bracelet and tie it to your or your friends wrist.
When the bracelet is long enough make a ponytail on both sides of the bracelet and tie it to your or your friends wrist.