Rate Tutorial
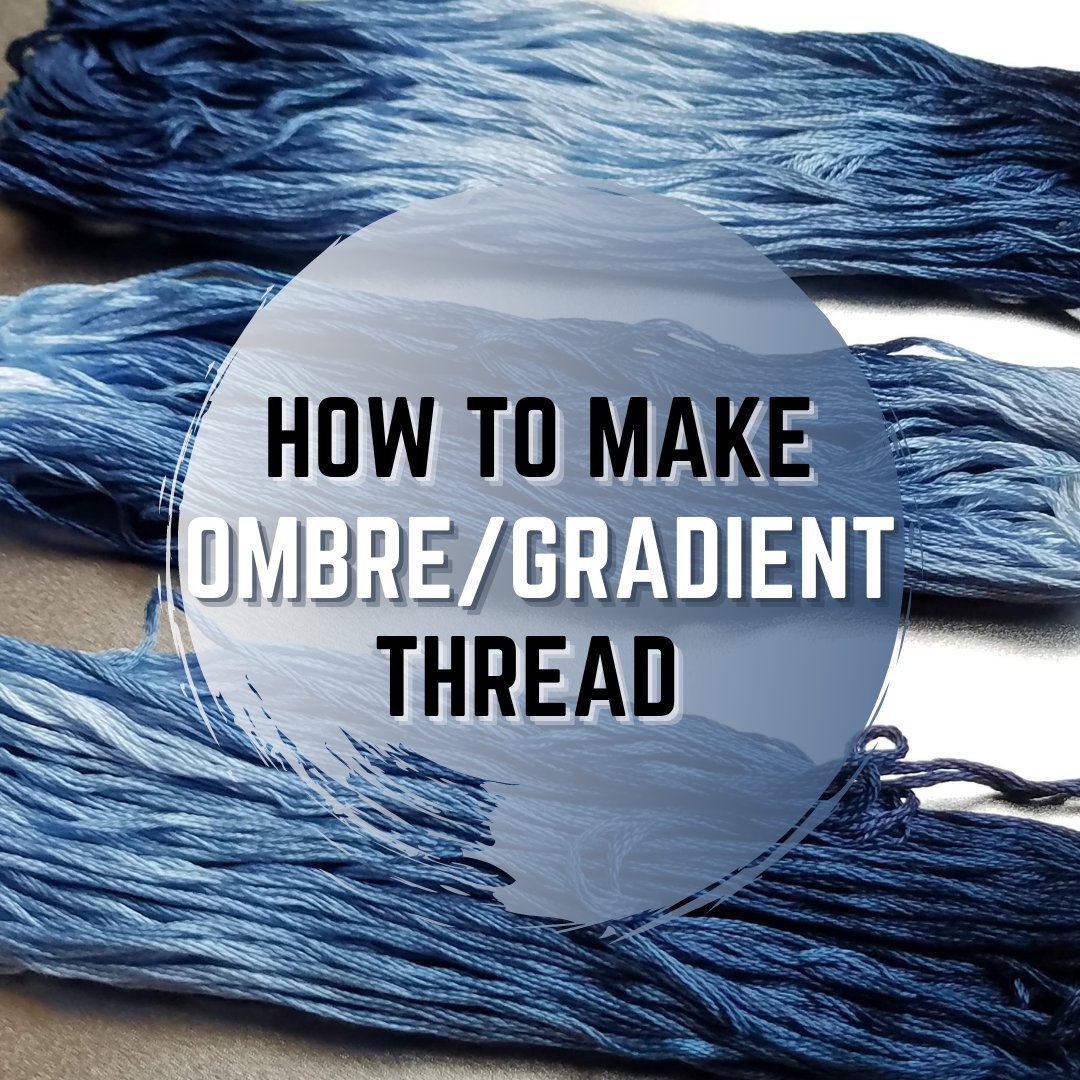
How to Make Ombre / Gradient Thread
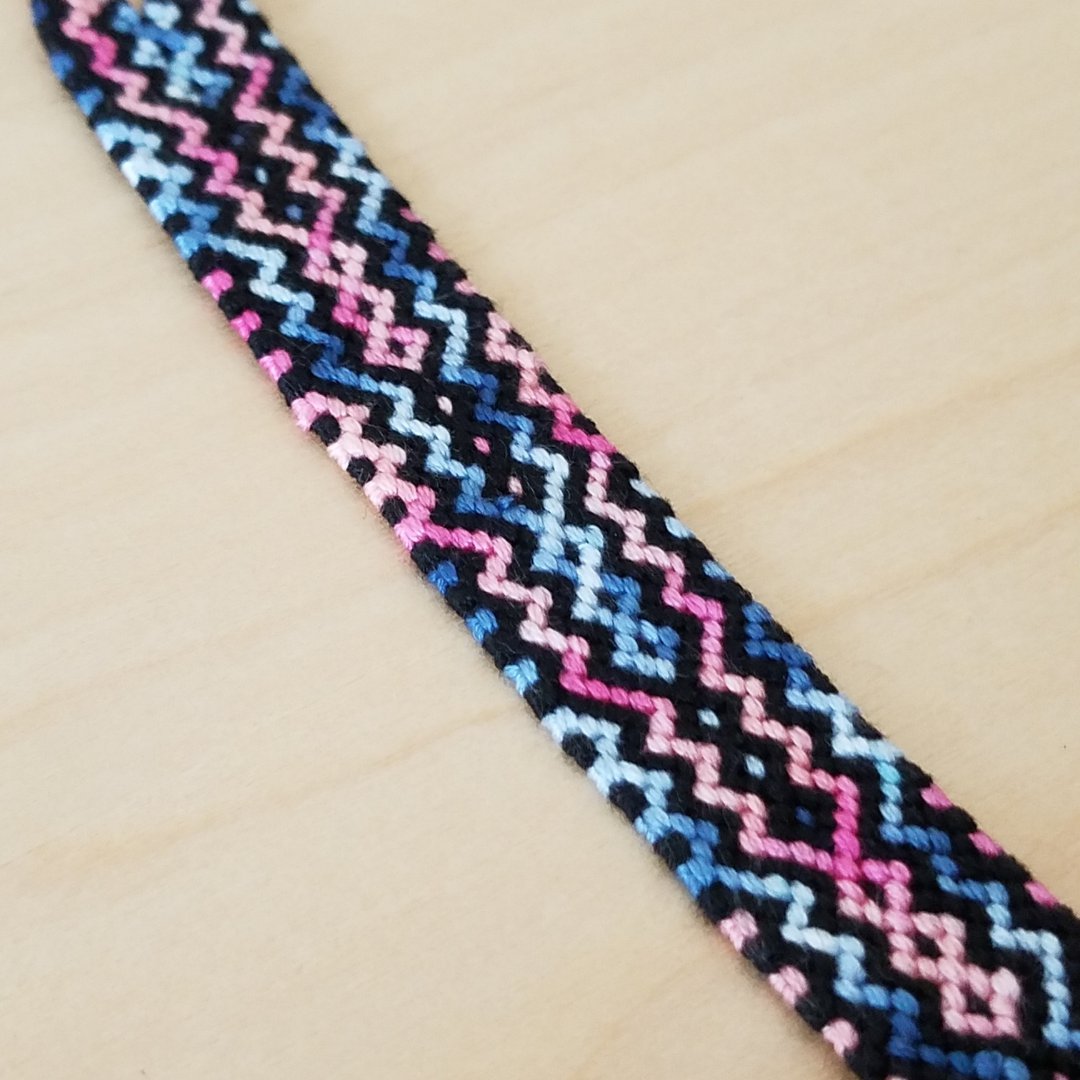
This tutorial will show you how to make your own ombre/gradient thread using a single color.
If you are new to tie-dyeing, I recommend getting a tie-dye kit because it will generally have the supplies you need like gloves, dye, soda ash, and basic tie-dyeing instructions.
If you are new to tie-dyeing, I recommend getting a tie-dye kit because it will generally have the supplies you need like gloves, dye, soda ash, and basic tie-dyeing instructions.
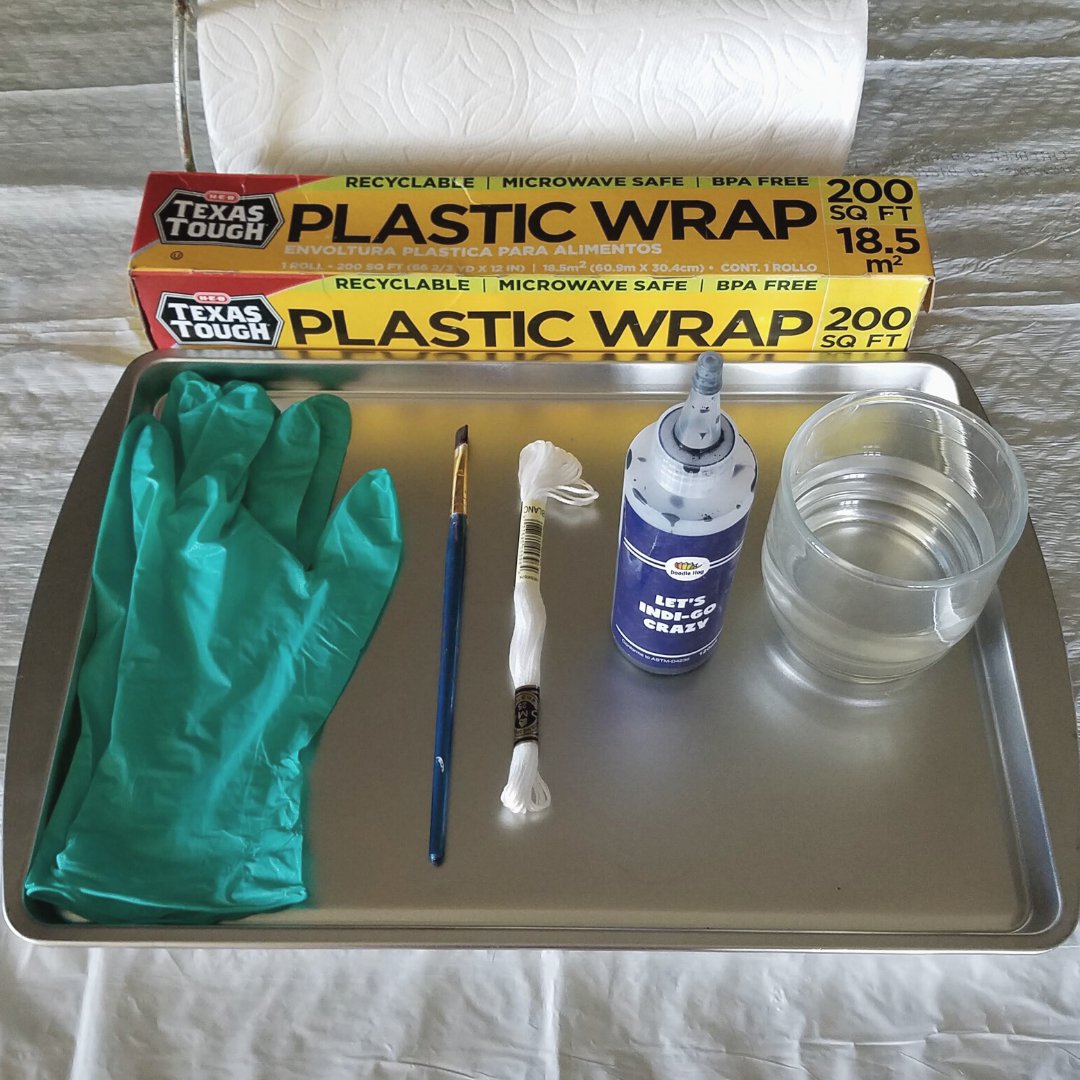
Supplies
- white cotton embroidery floss (I like to use DMC)
- single color of fabric dye (prepare according to its directions, often it is a powder that you just add water to)
- container with flat / wide base to do your dying in -water
- plastic gloves
- paper towels
- plastic cover for work area (I use a cut up plastic trash bag)
- plastic wrap or sealable bag
- small bowl / container
- soda ash (look below for making your own soda ash)
- small paint brush (optional)
- blow dryer (optional)
Homemade soda ash:
1. Pour baking soda into a cookie sheet. Spread it out to form a layer.
2. Bake the soda at 400°F (200°C) for 30 minutes to 1 hour. The time isn’t critical. You can’t ‘overcook’ the soda, but you want to be sure to drive off all the water. You should also stir it up occasionally, just so that it bakes more evenly.
3. Remove the pan from heat, allow it to cool, and store it in a sealed container to keep it from picking up moisture from the air.

Step 1:
Soak your white thread in a small bowl/container for 1 hour with a mixture of warm water and soda ash. Use 1 tablespoon of soda ash per 1 cup of warm water. Soaking your thread in soda ash will help the thread absorb the dye and ‘lock in’ the color.
After 1 hour, squeeze your thread very well to remove excess liquid. I also find it helpful to pat dry with paper towels. Your thread should be slightly damp. Having slightly wet thread will help spread the dye easier.
After 1 hour, squeeze your thread very well to remove excess liquid. I also find it helpful to pat dry with paper towels. Your thread should be slightly damp. Having slightly wet thread will help spread the dye easier.
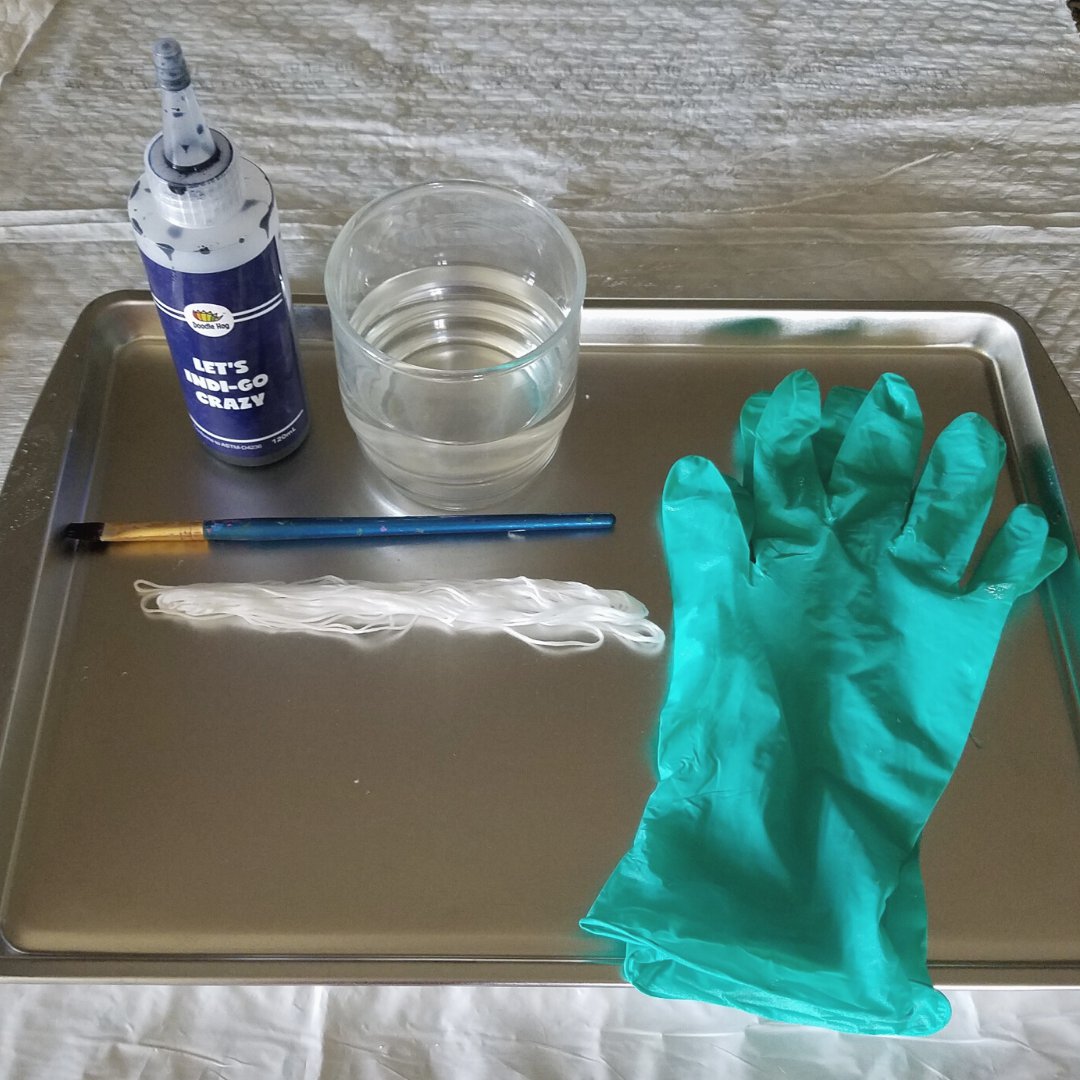
Step 2:
Put on plastic gloves and lay out your thread in the container you are going to dye in... now comes the fun part!
*Note: The easiest way to lay out your thread is to keep it in the original skein shape
*Note: I recommend using a container with a wide flat base. The container I use is actually a really cheap baking sheet, which is easy to wipe clean as I’m dyeing.
*Note: The easiest way to lay out your thread is to keep it in the original skein shape
*Note: I recommend using a container with a wide flat base. The container I use is actually a really cheap baking sheet, which is easy to wipe clean as I’m dyeing.
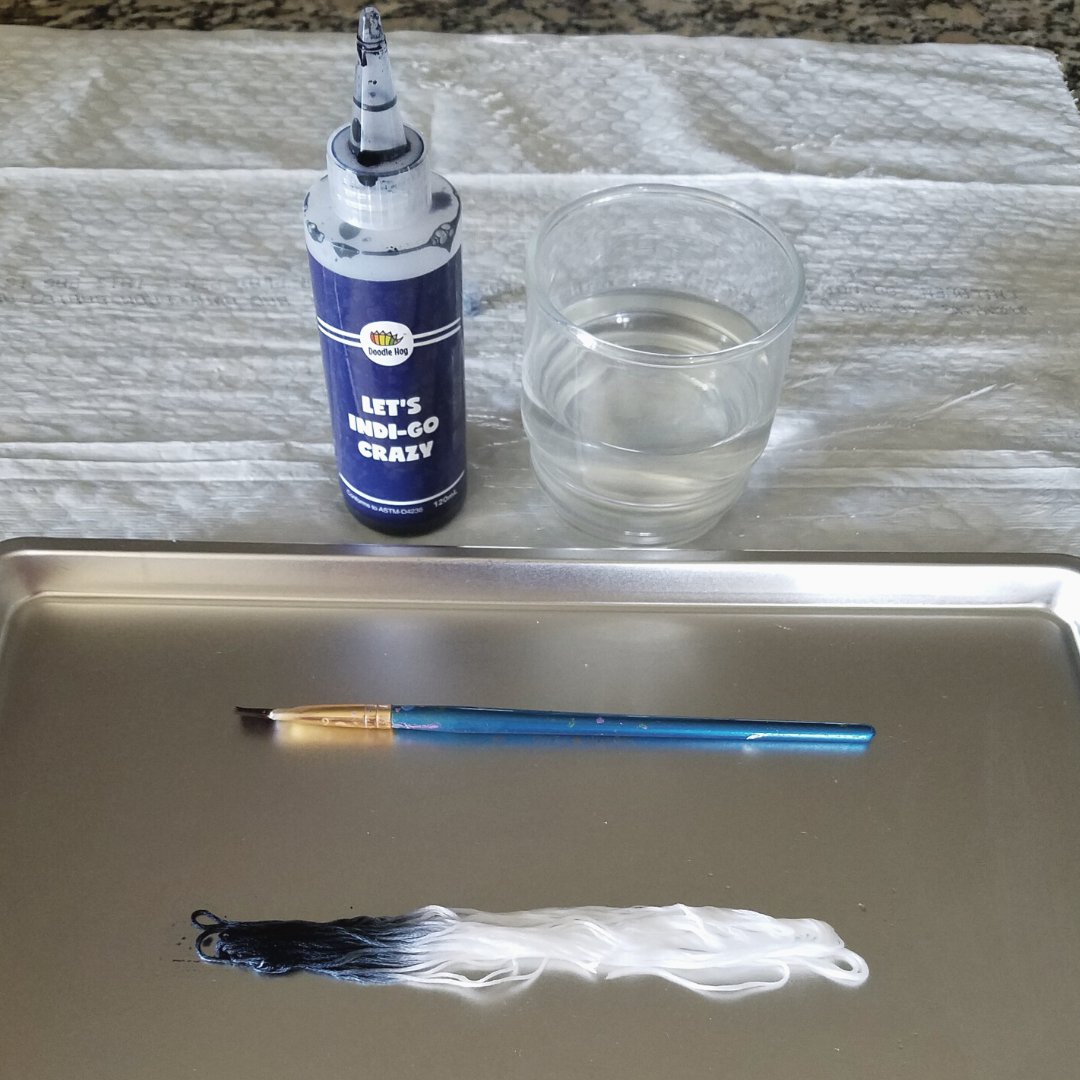
Step 3:
Drop a couple little droplets on one end of the skein. A little bit of dye goes a long way, so try not to use too much when first applying. You can always add more later. Then use your fingers to press the dye into the thread so that section is fully saturated with dye. I find that fingers are a little more efficient for this step rather than a brush, but you do have a little more control over the dye with a brush. Turn your thread over and repeat this step on the other side.
Step 4:
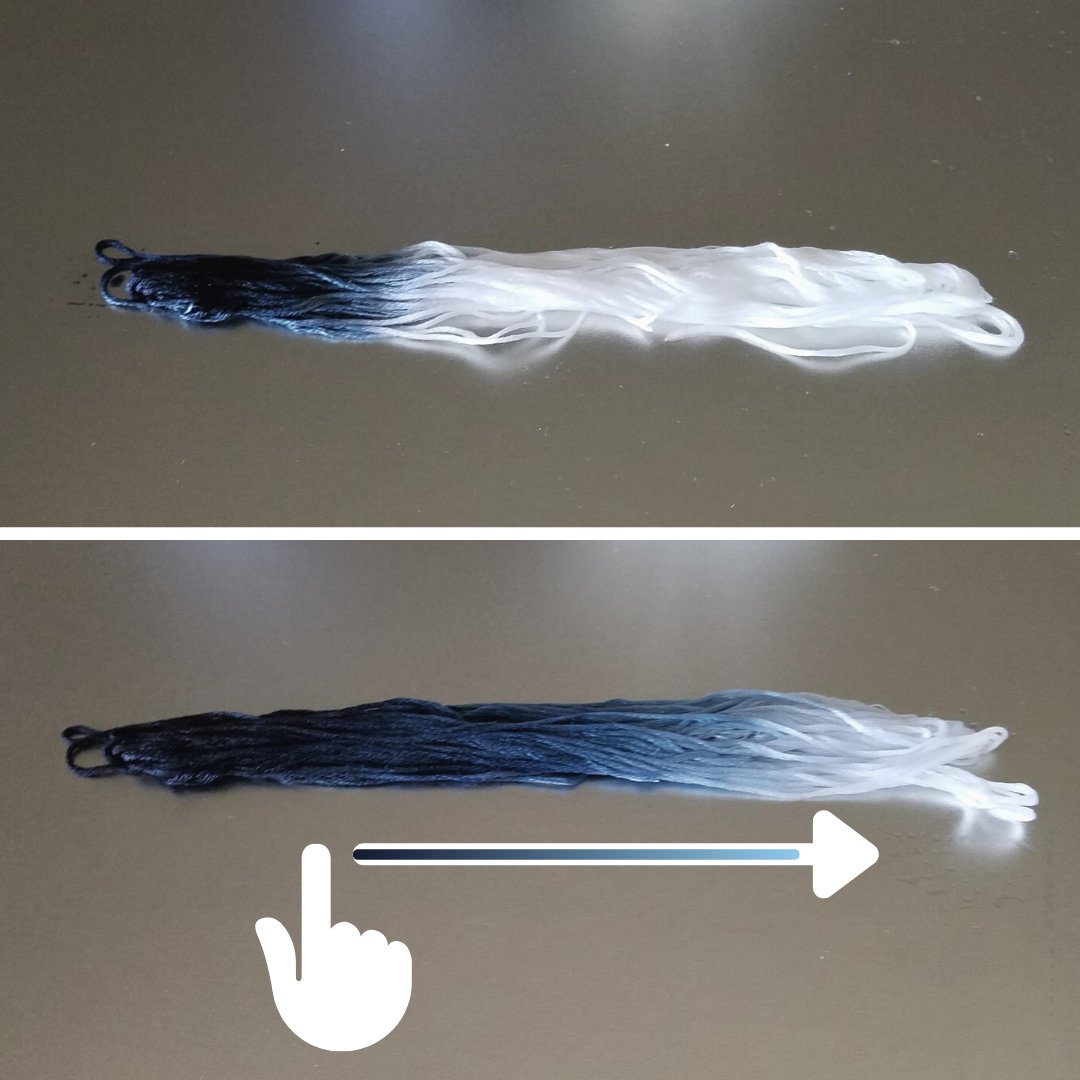
Now wet your brush (or finger) with water, and brush from the dyed section into the white section of the skein. Press down and drag your brush (or finger) in short brush strokes along the skein. As you are brushing, continue to wet your brush (or finger) with water as you get closer to the white end of the skein. Adding more water to your brush (or finger) will make the color lighter by diluting the dye. Then, turn over your skein and repeat this step.
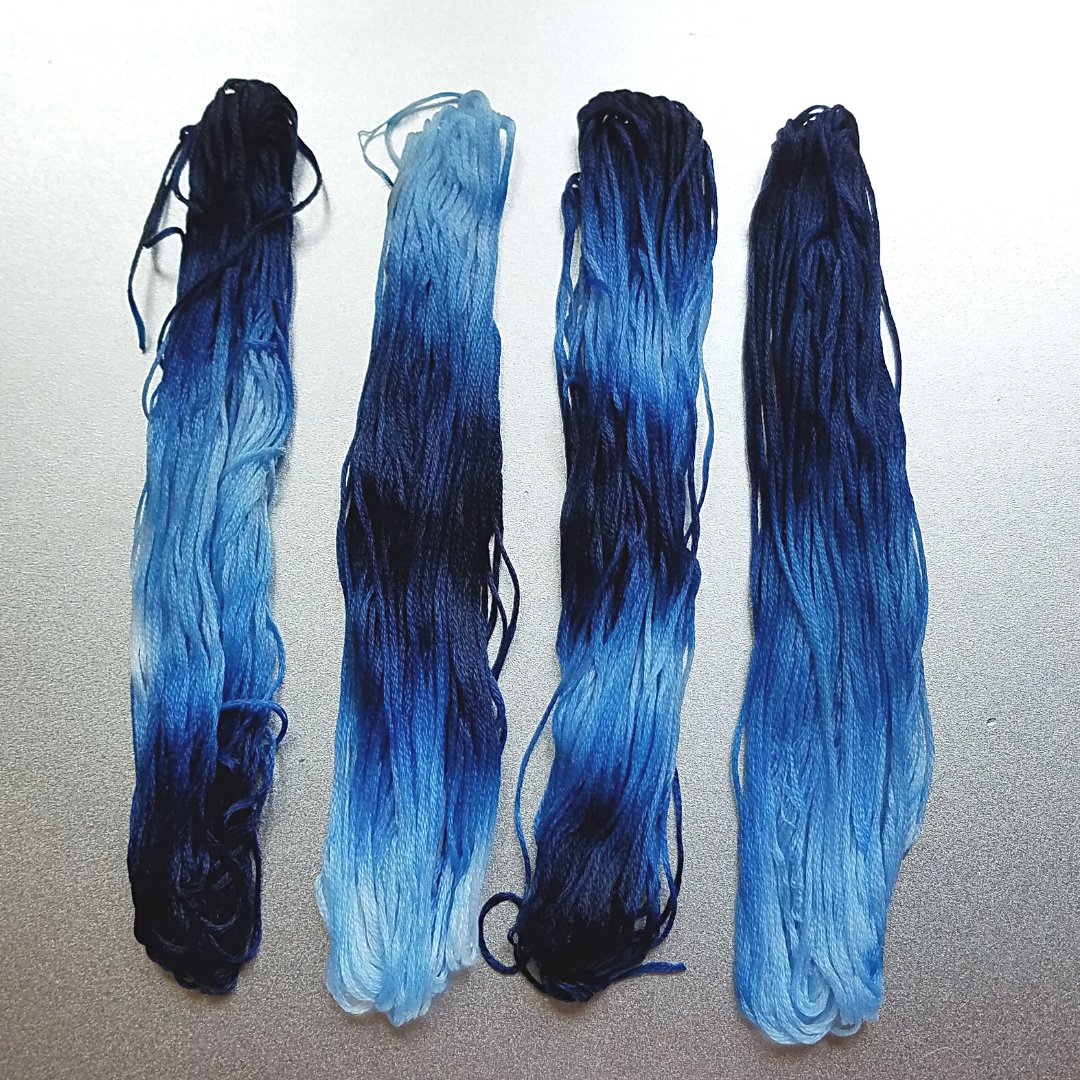
You can also try different placements of dye on the skein. Here are some examples! You still follow the same basic steps of applying the dye and then ‘brushing’ with your finger or brush that is wetted with water.
*Note: The colors will seem dark when the dye is wet, but the colors will lighten up after you rinse and dry your thread
*Note: The colors will seem dark when the dye is wet, but the colors will lighten up after you rinse and dry your thread
Step 5:
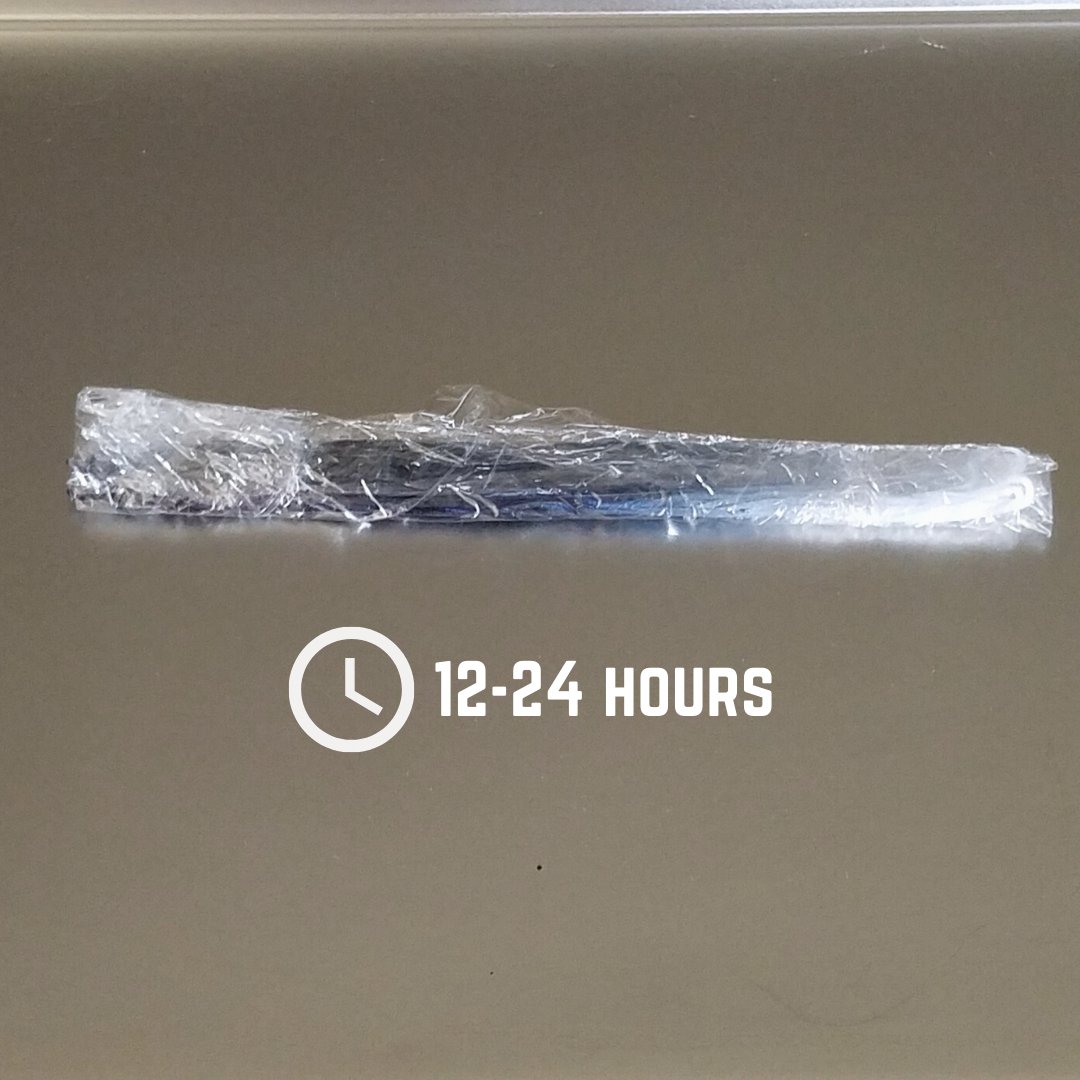
Now your thread is finished being dyed! Seal your dyed thread in a plastic bag or wrap in plastic wrap to keep wet.
It should be kept in the plastic bag/plastic wrap for 12-24 hours. The more time you let your thread set, the bolder the colors will be. So let your thread set for less time if you want more pastel/lighter colors.
It should be kept in the plastic bag/plastic wrap for 12-24 hours. The more time you let your thread set, the bolder the colors will be. So let your thread set for less time if you want more pastel/lighter colors.
Step 6:
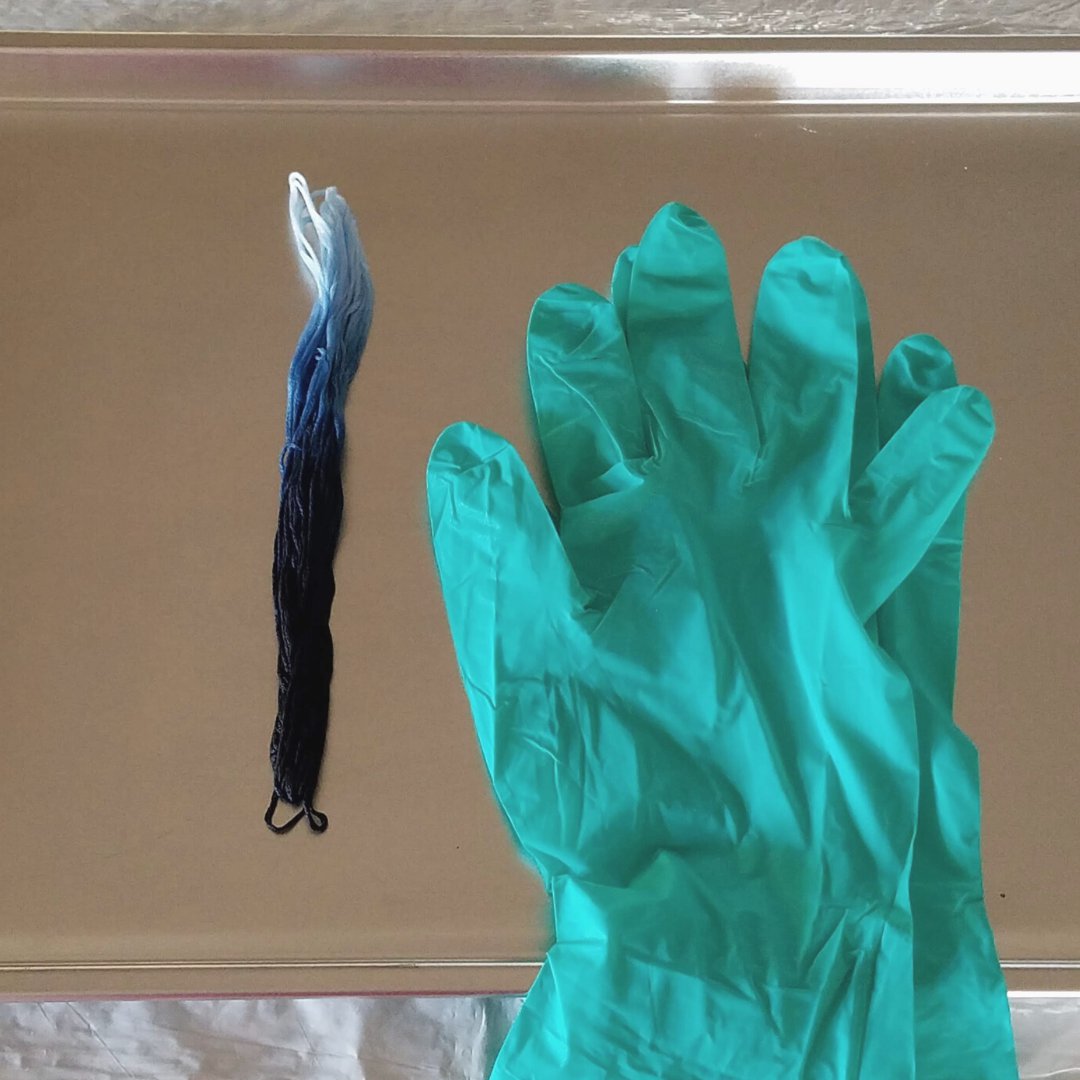
Put on your plastic gloves, and unwrap the plastic wrap around your thread/take out of the sealable bag.
Step 7:
Gently rinse your thread under cold running water, squeezing out excess dye with your hand. Then again in the hottest water available to remove any trace of the un-reacted dye until the water runs clear.
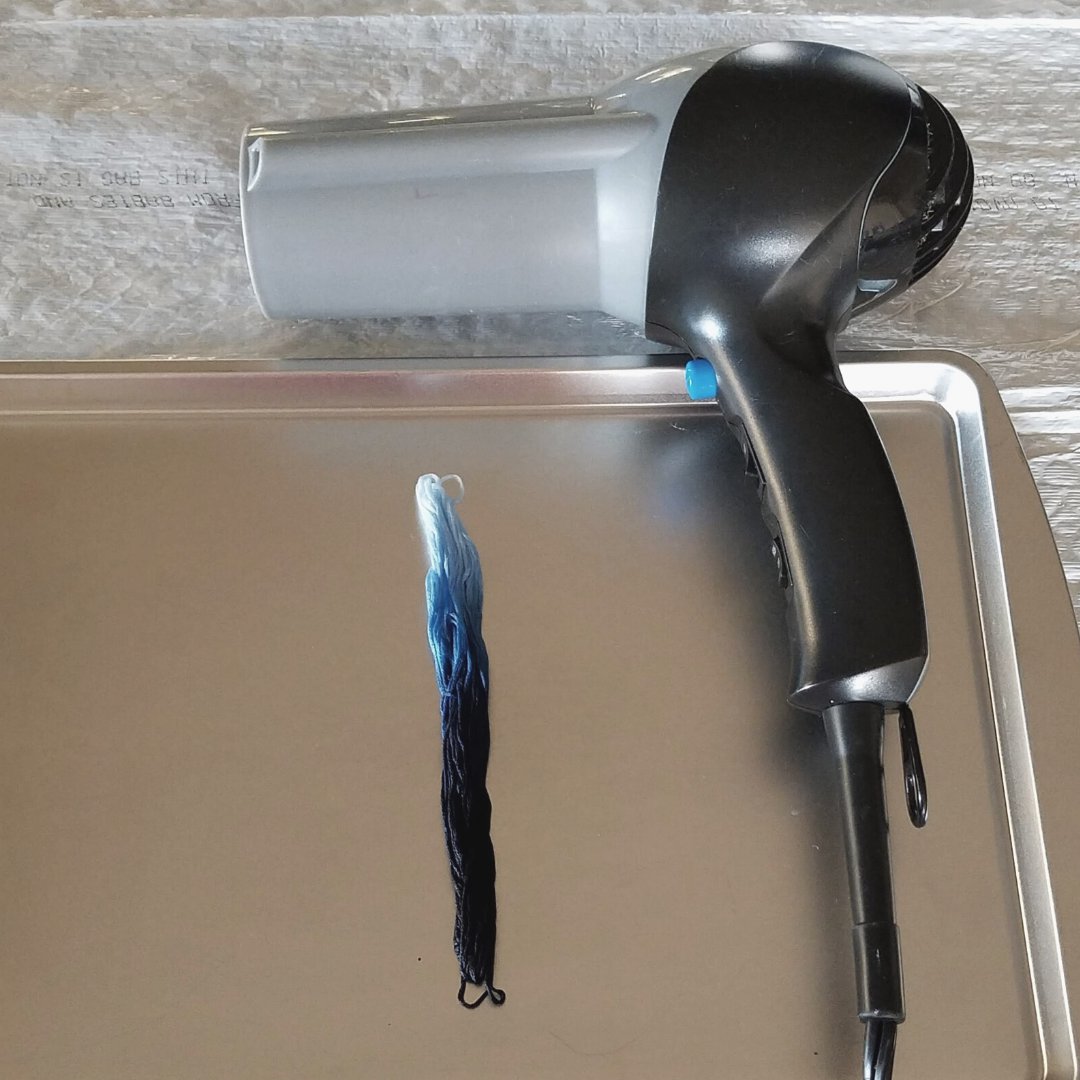
Step 8:
Blow dry your thread until it is completely dry. Your thread is ready to use!
You can also let your thread air dry, but it will take much longer to dry than using a blow dryer.
You can also let your thread air dry, but it will take much longer to dry than using a blow dryer.
Step 9: