Rate Tutorial
Starting the bracelet
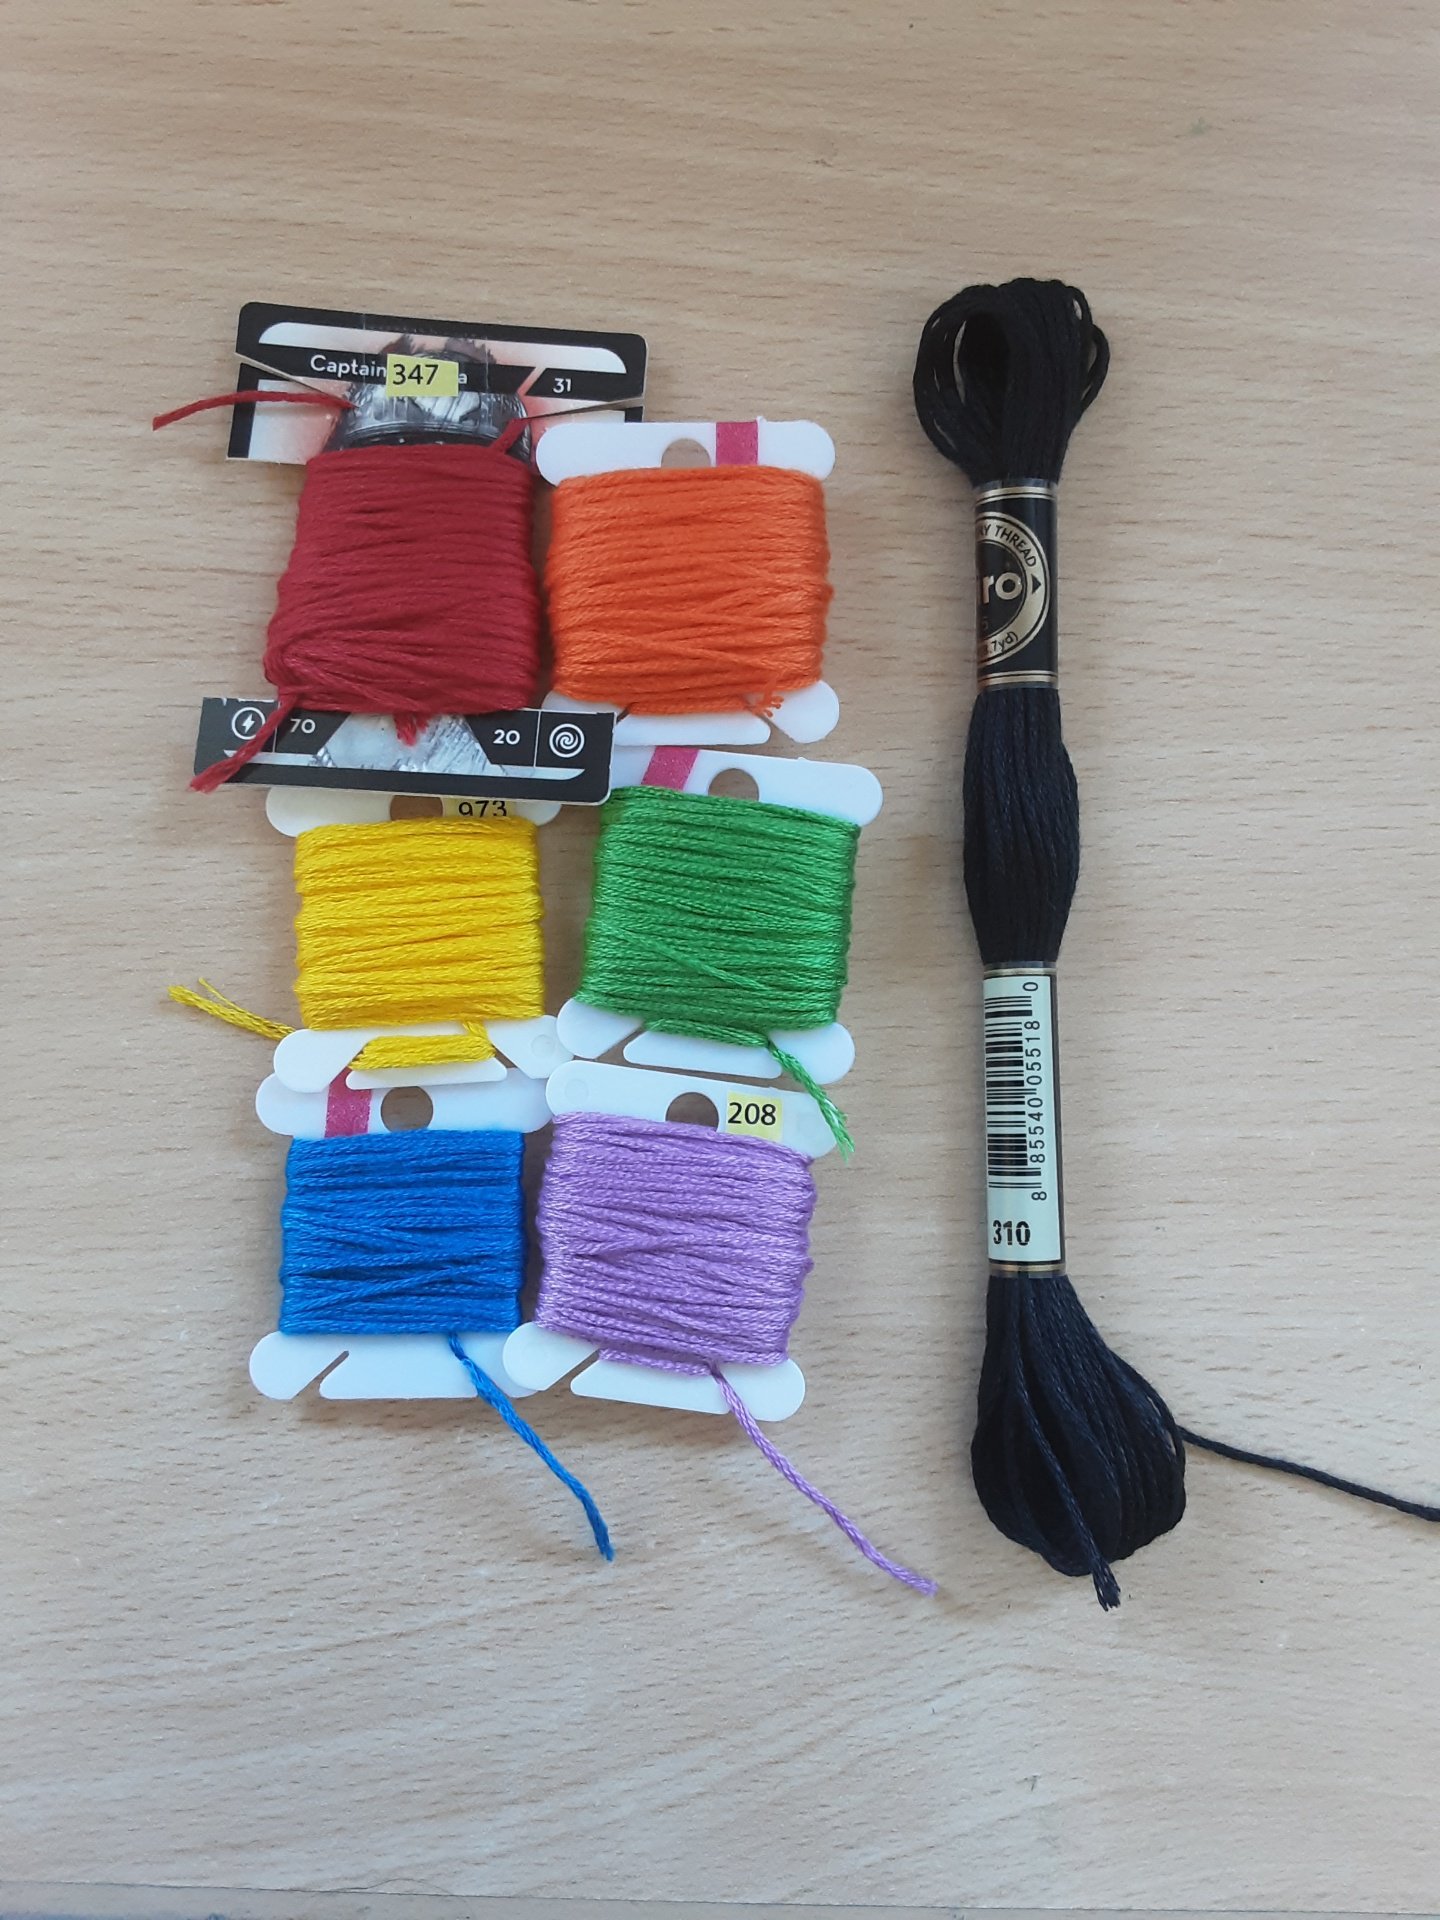
Pick out either six or twelve colours and one backround colour. I will use the colours of the rainbow, but you can use whatever colours you like. Your coloured strings will become the loose strings in the end.
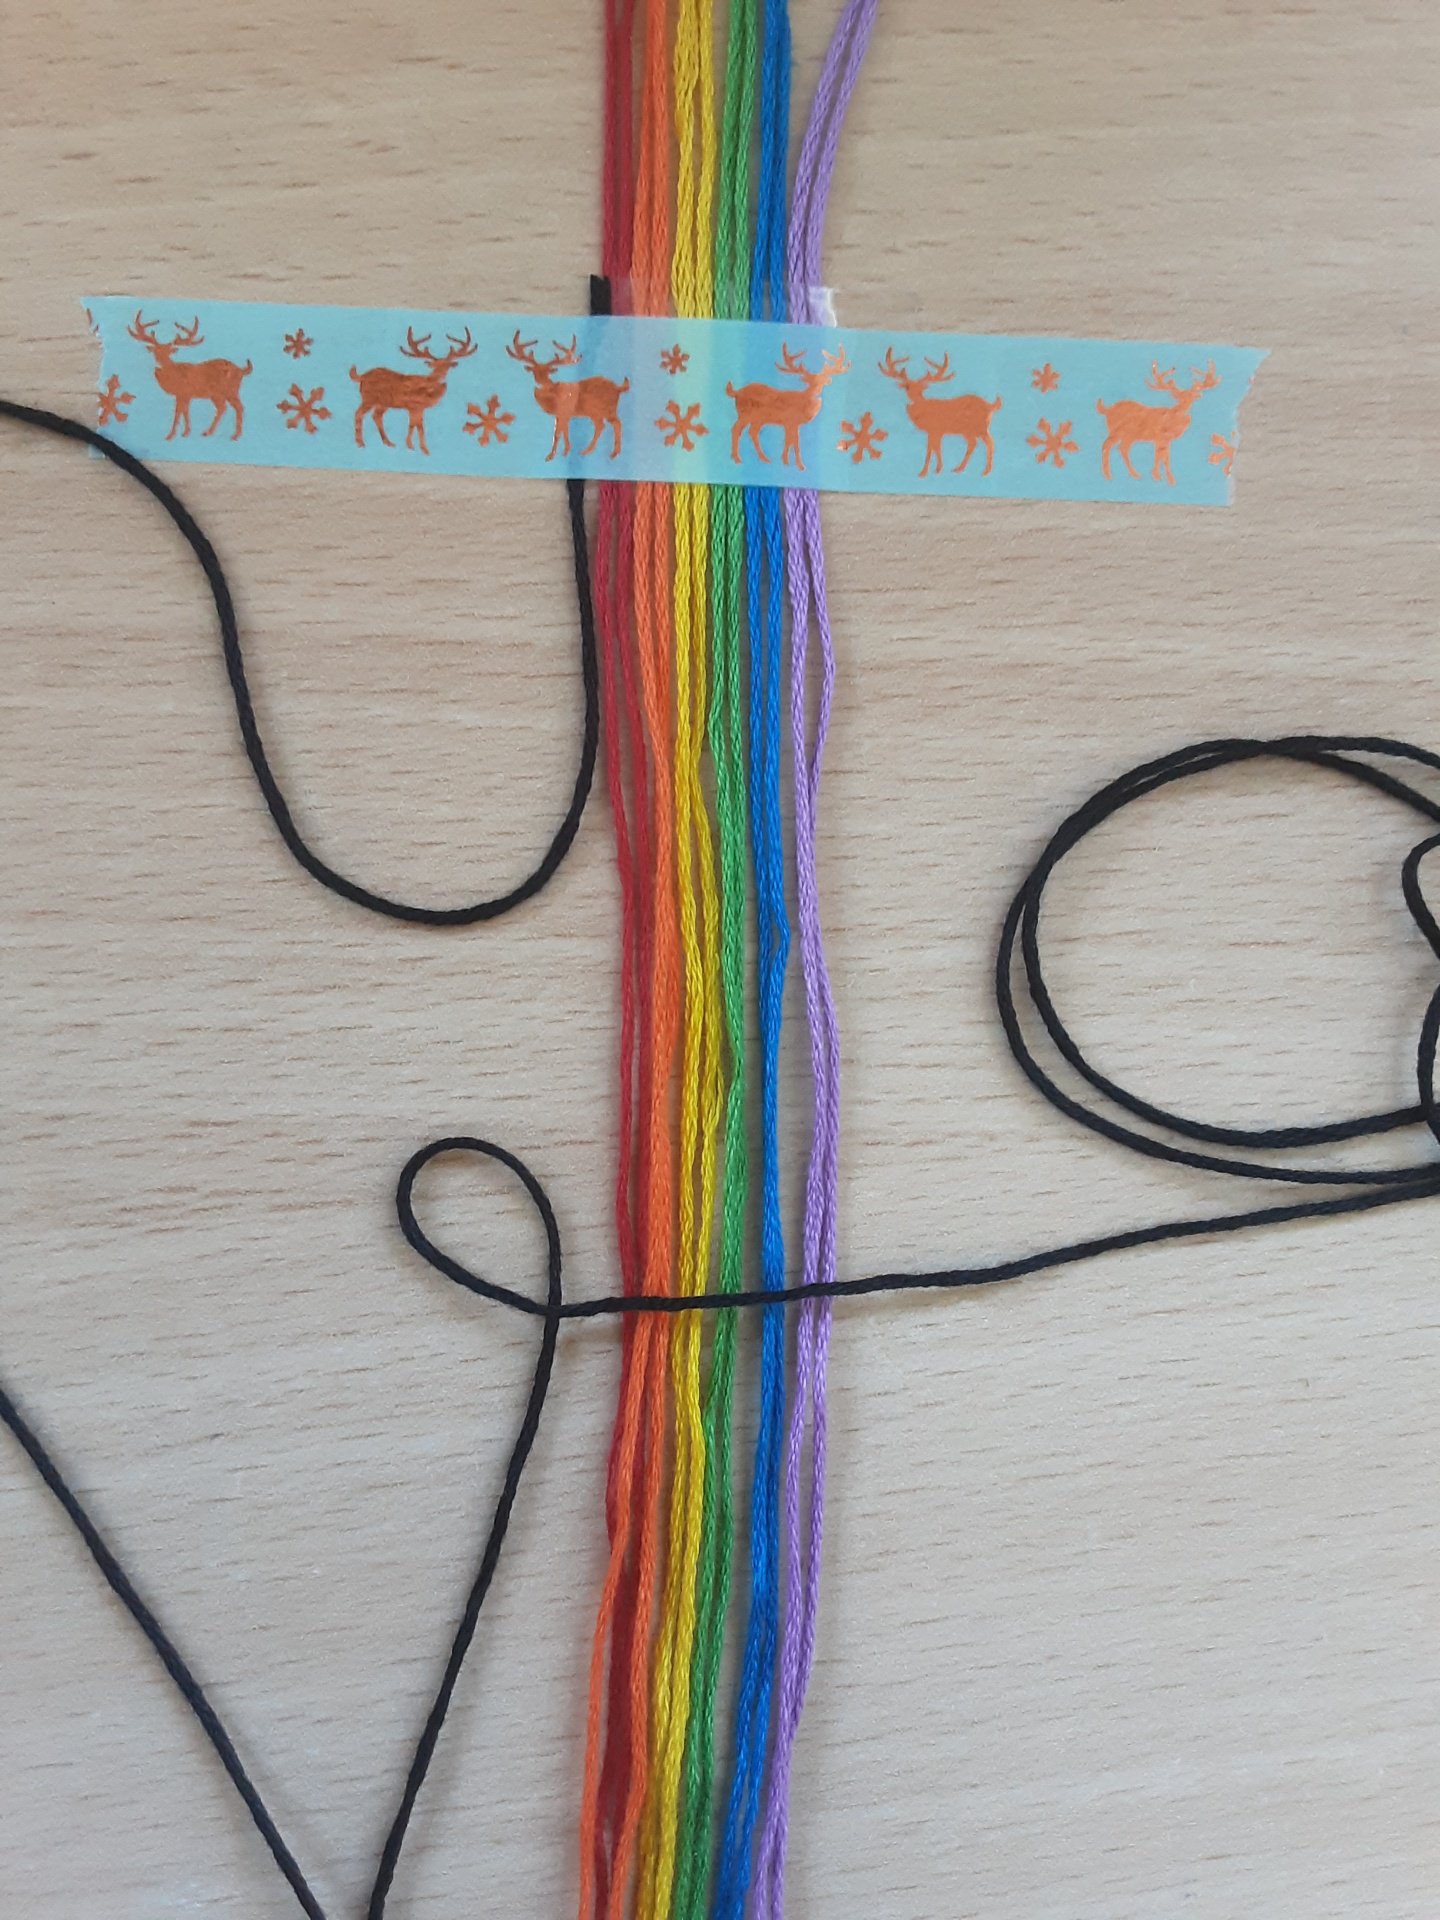
Cut twelve base strings and align them in the order you want them to be. They don't have to be long. Just as long as you want your bracelet to be and some additional string for the ties.
Secure them to your workspace and cut a string of your background colour.
Secure them to your workspace and cut a string of your background colour.
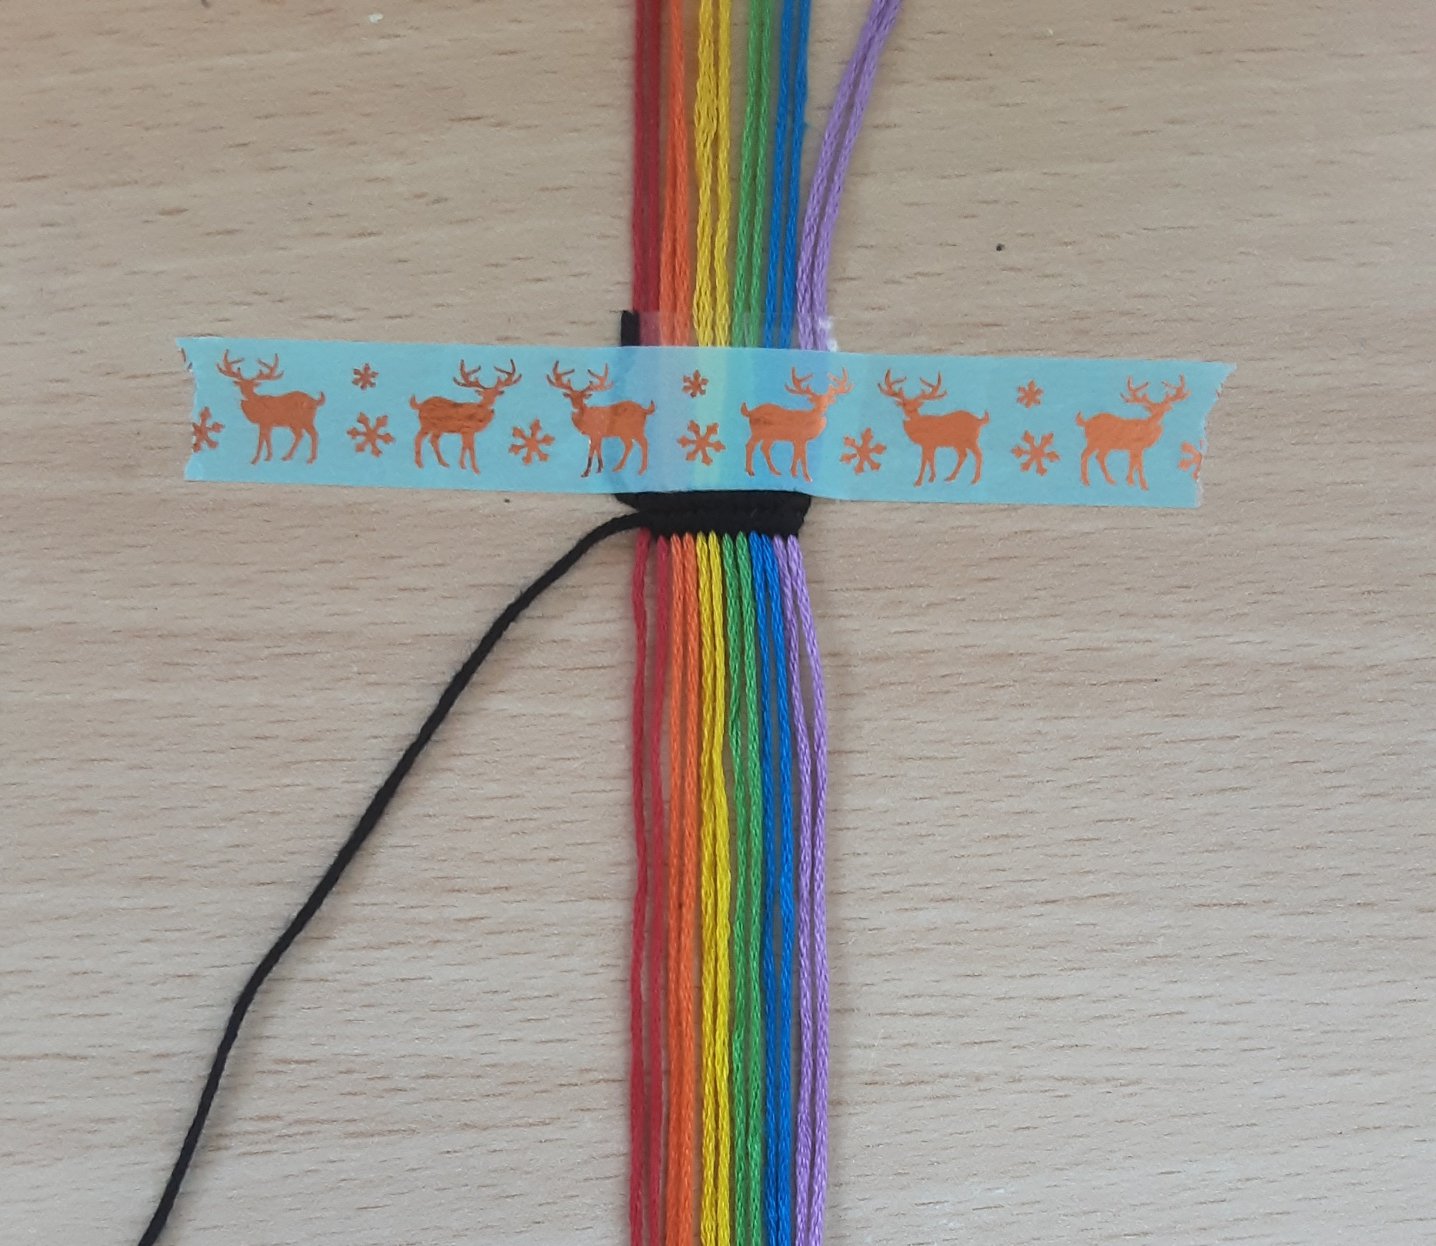
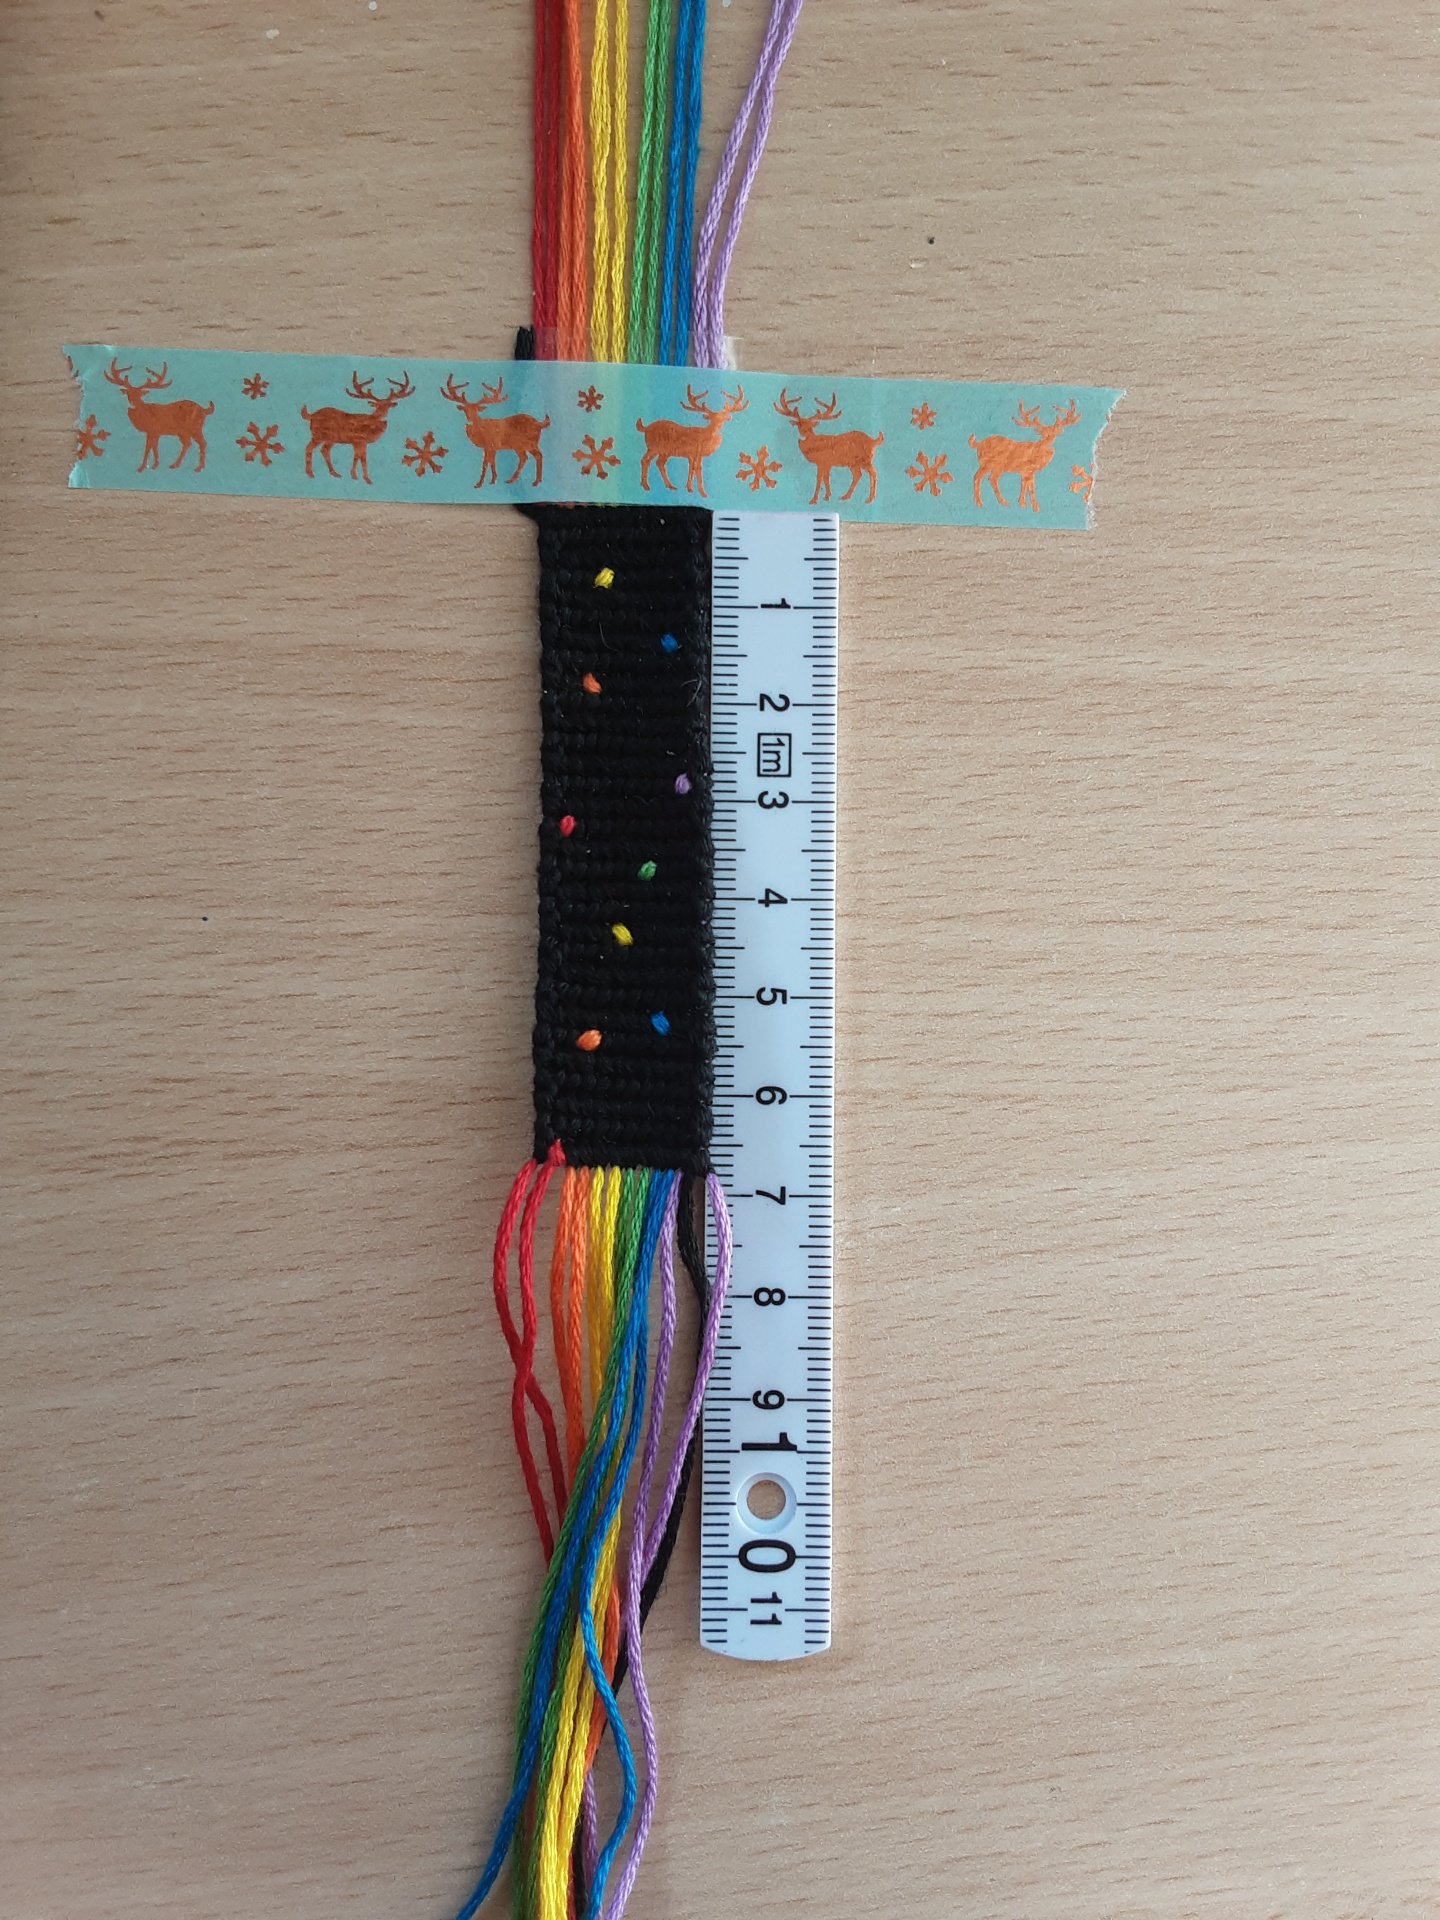
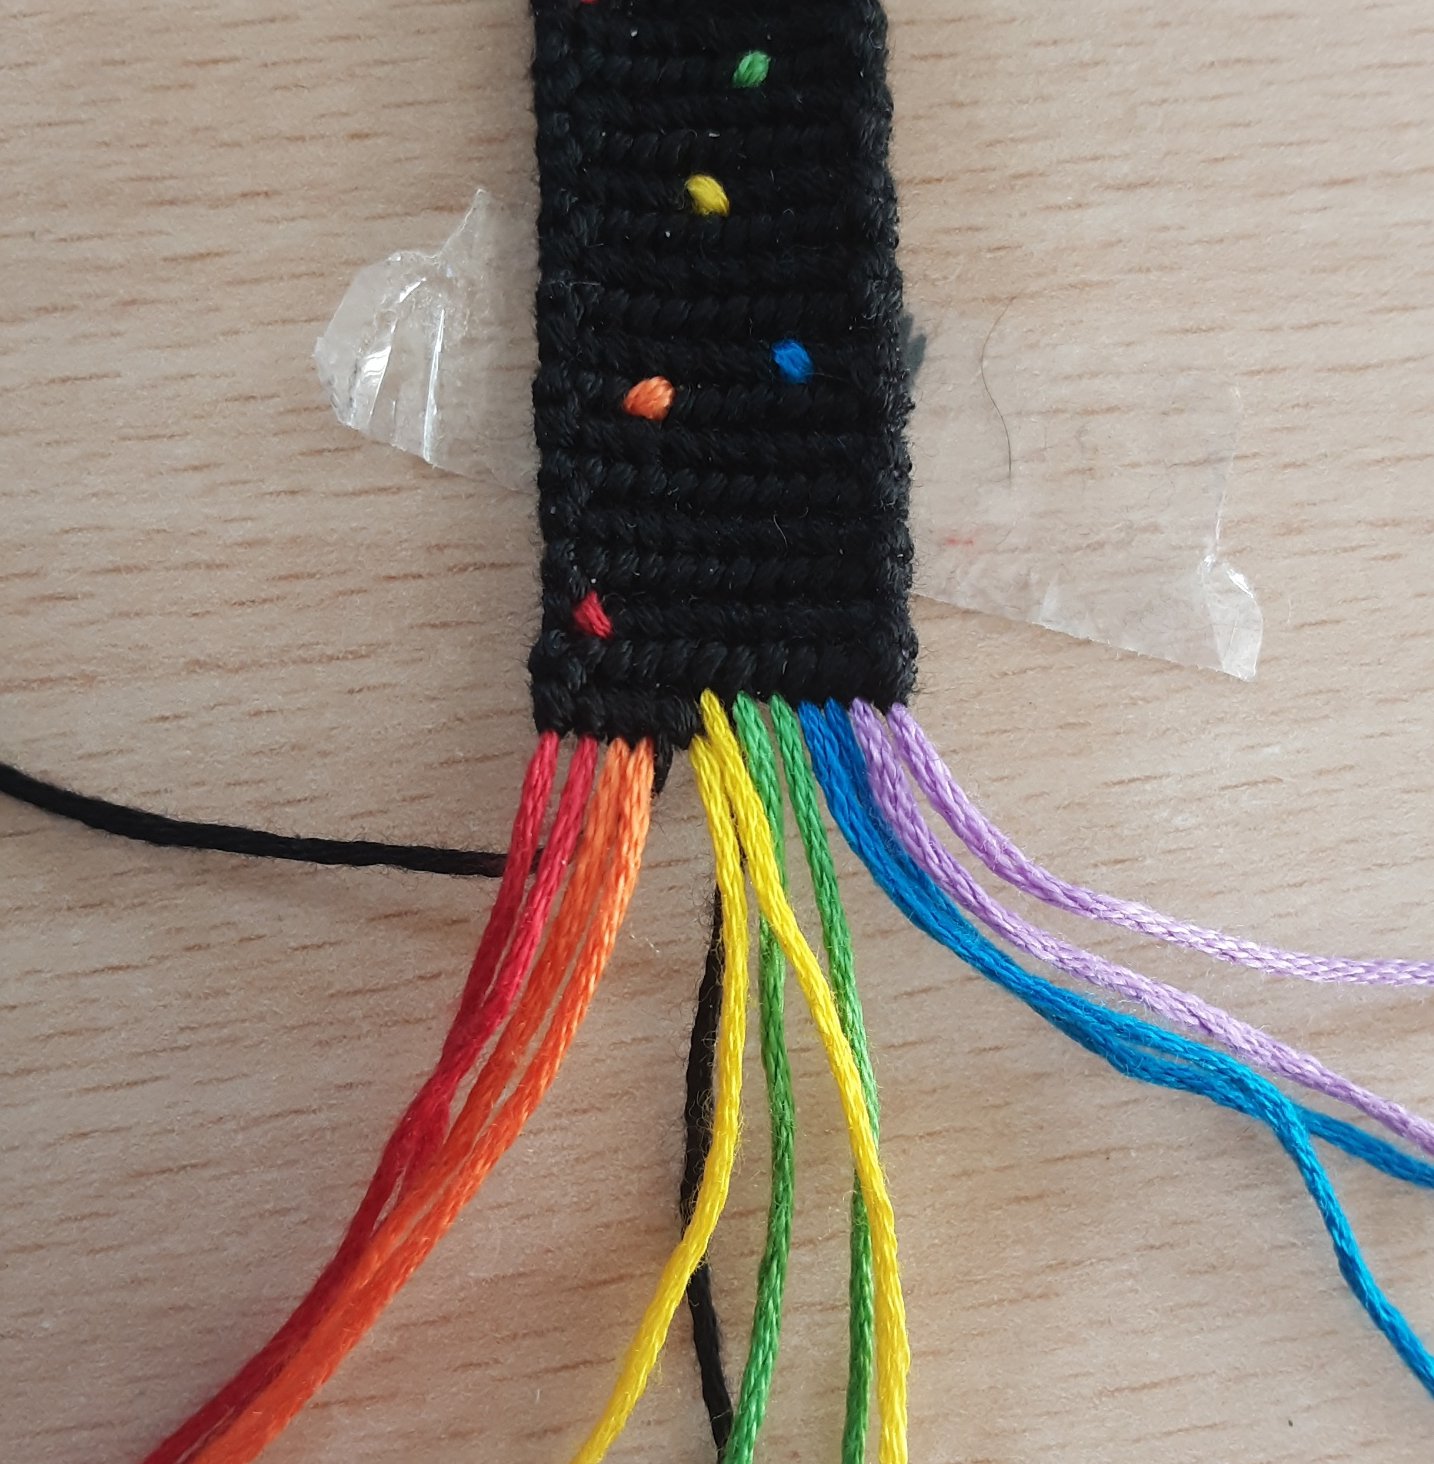
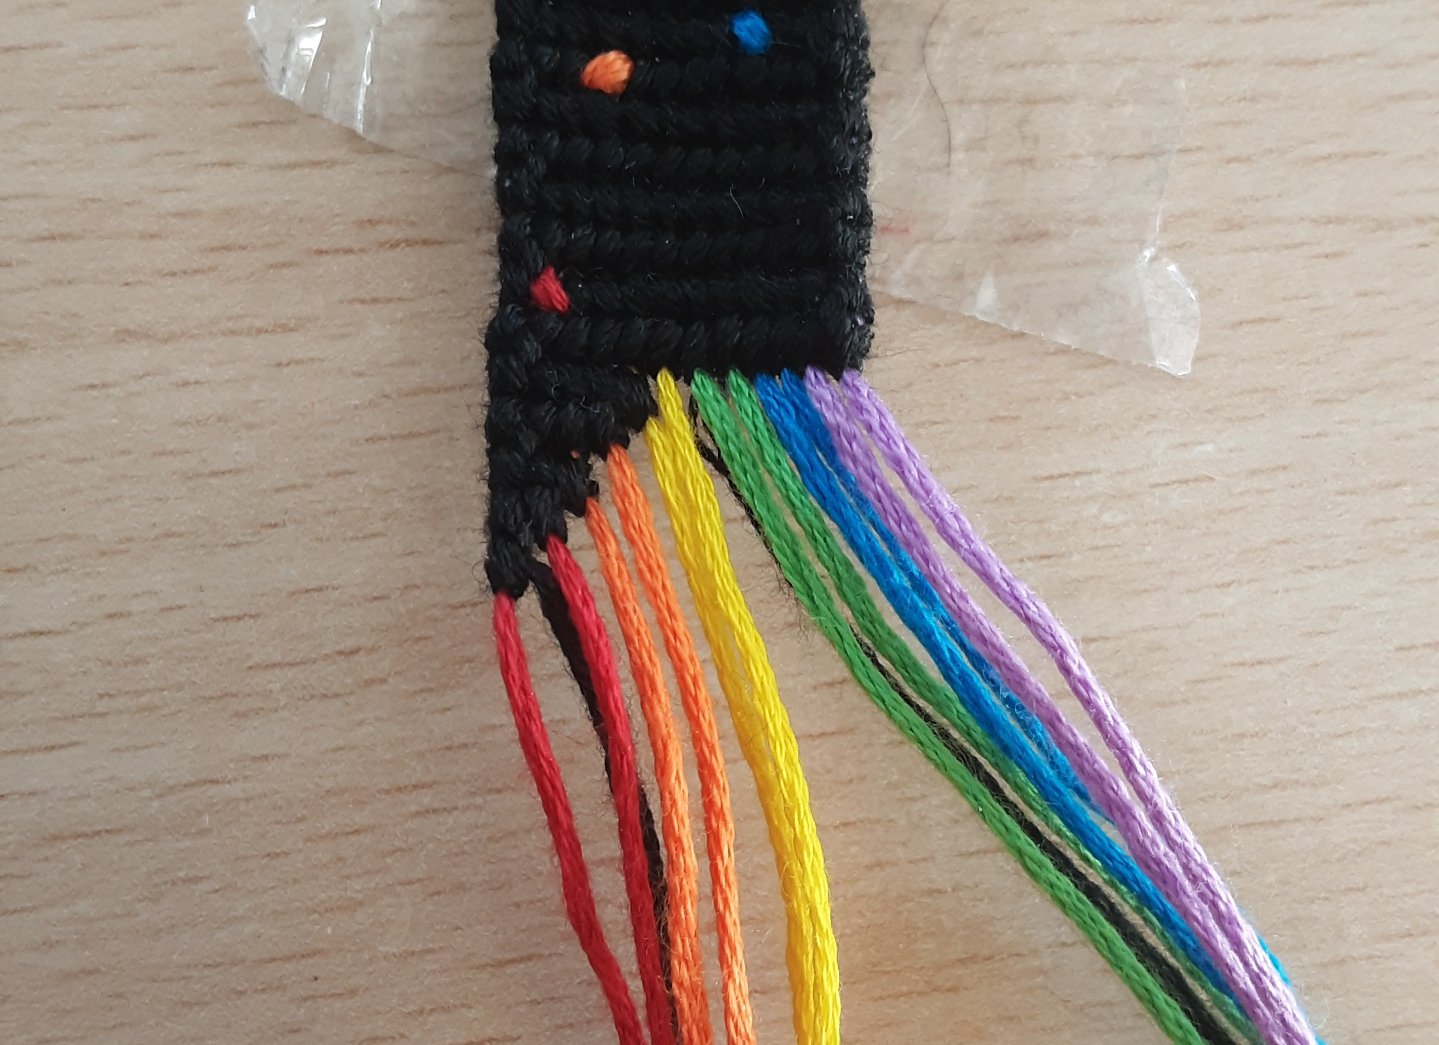
Now make as many rows of black as you need, to reach about half of the lengh you want your bracelet to be in the end. If you use the straight edges technique it will become easier in the end.
Making the upside down V
If you want to you can also add a pattern in this step. I decided just to do some colourful speks, but you could also use patterns like #30649 to make your bracelet more interesting.
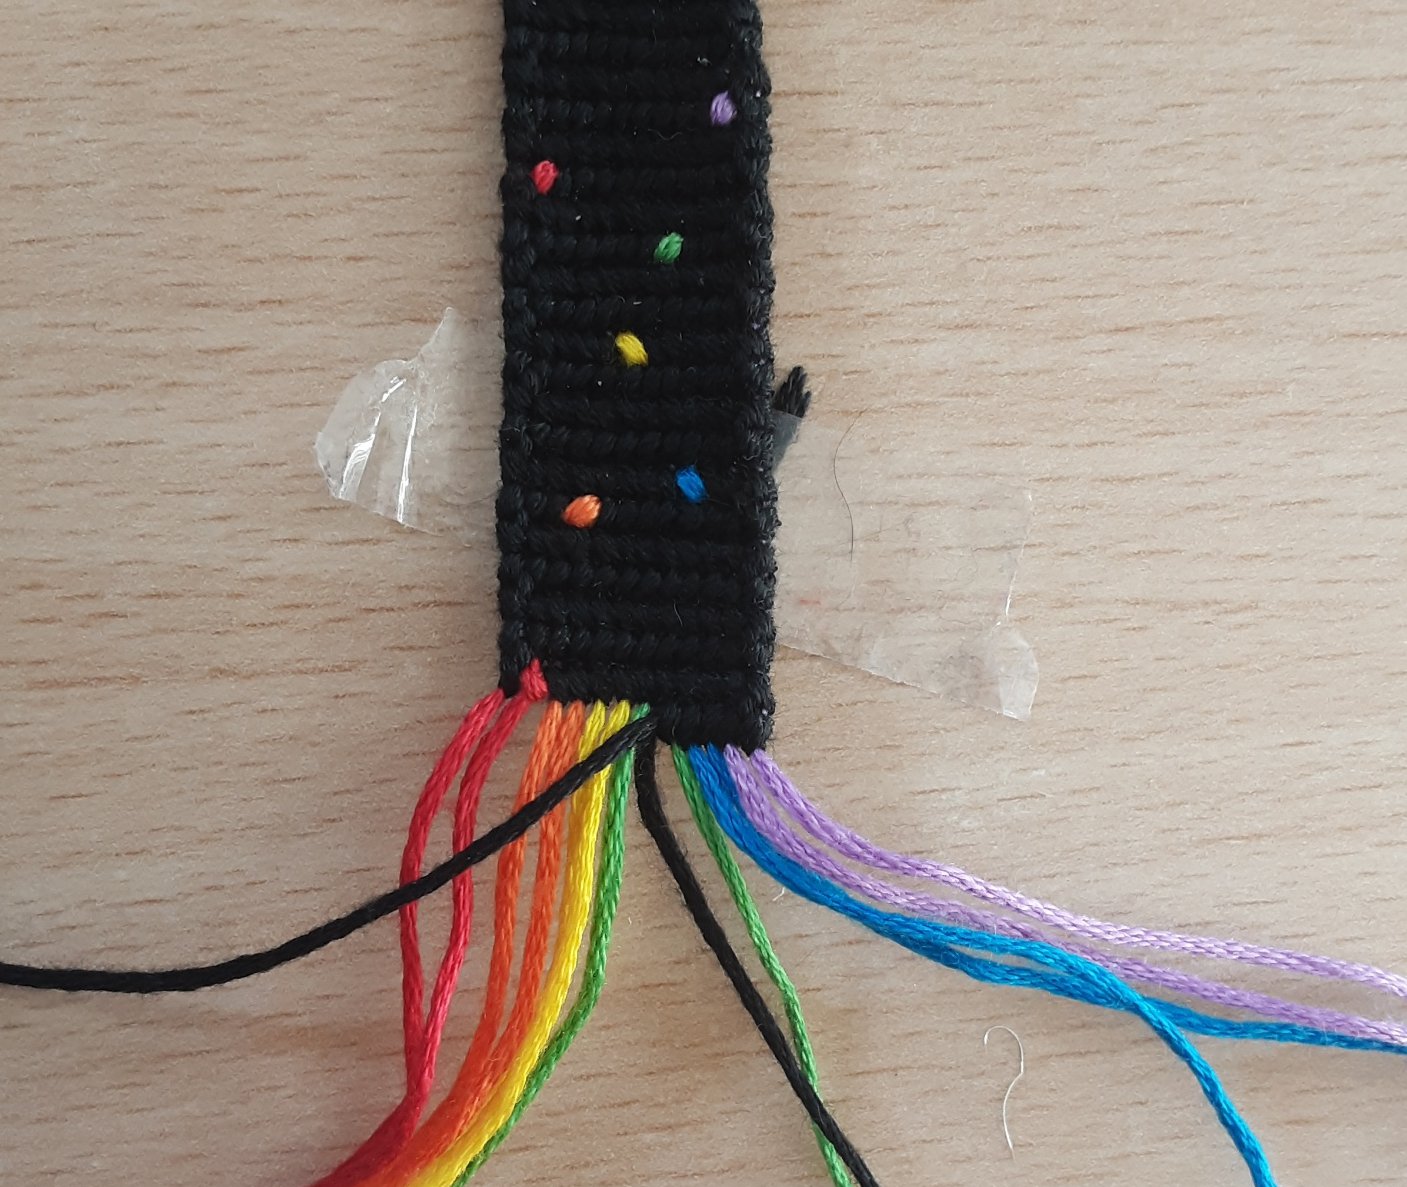
When you reached your desired lengh insert a second string at the fifth string from the right. This works best using the flat alpha technique. This string will form the left part of the upside down V.
Finish the row with your new thread.
Finish the row with your new thread.
Make forward knots on the first four strings and a forward-backward knot on the fifth.
Now make a backward knot on the fourth string and the rest of the row. Then make forward knots on the first two strings and a forward-backward knot on the third. Maka a backward knot on the second string and a backward-forward knot on the edge string for the straight edges technique. Now make one last backward-forward knot on the edge string and secure your black thread on the back of your bracelet.
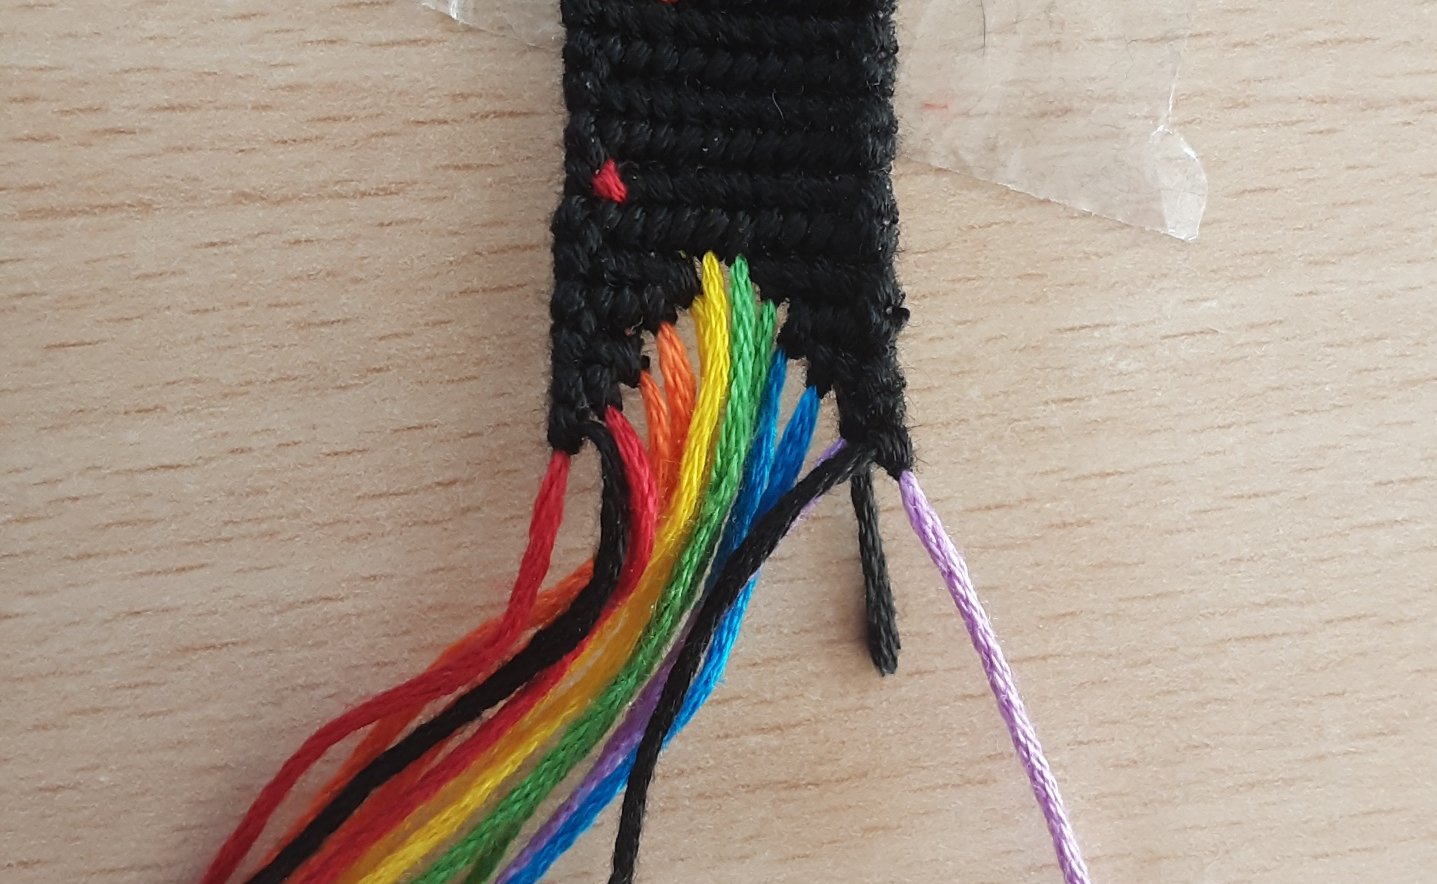
Repeat on the other side. Make sure to mirror the knots.
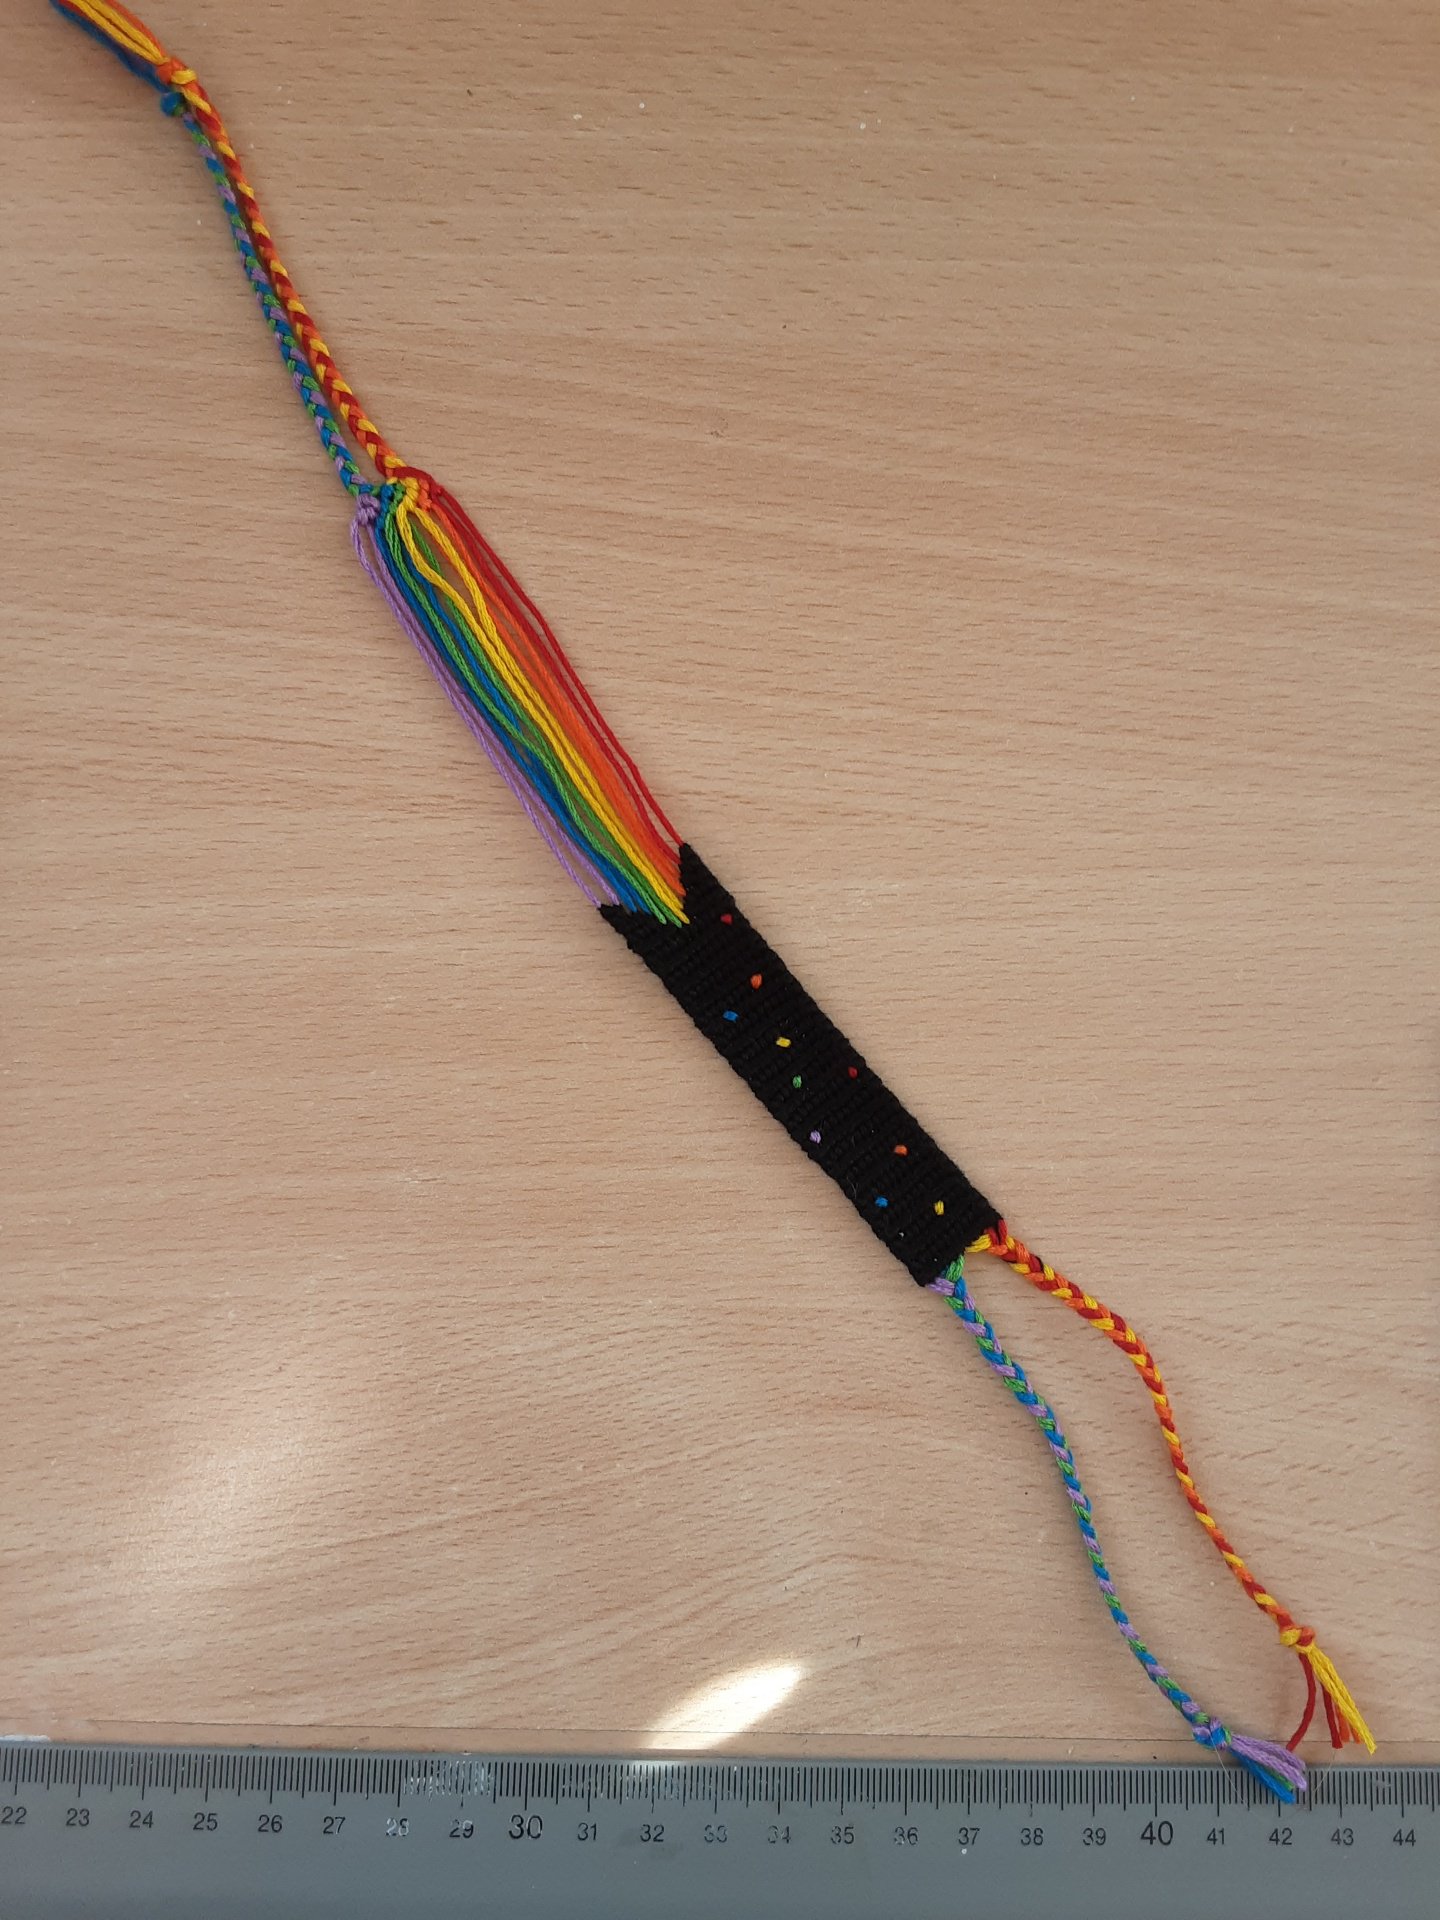
Now just add your ties and your are done!