Rate Tutorial
Hi Everyone! I’m @Samanada, and this tutorial focuses on how to make a diagonal loop. This method is a bit more complicated than a basic loop; I would say more intermediate or advanced. I didn’t include extra strings for the straight edges technique in my photos, but it is the same with or without them.
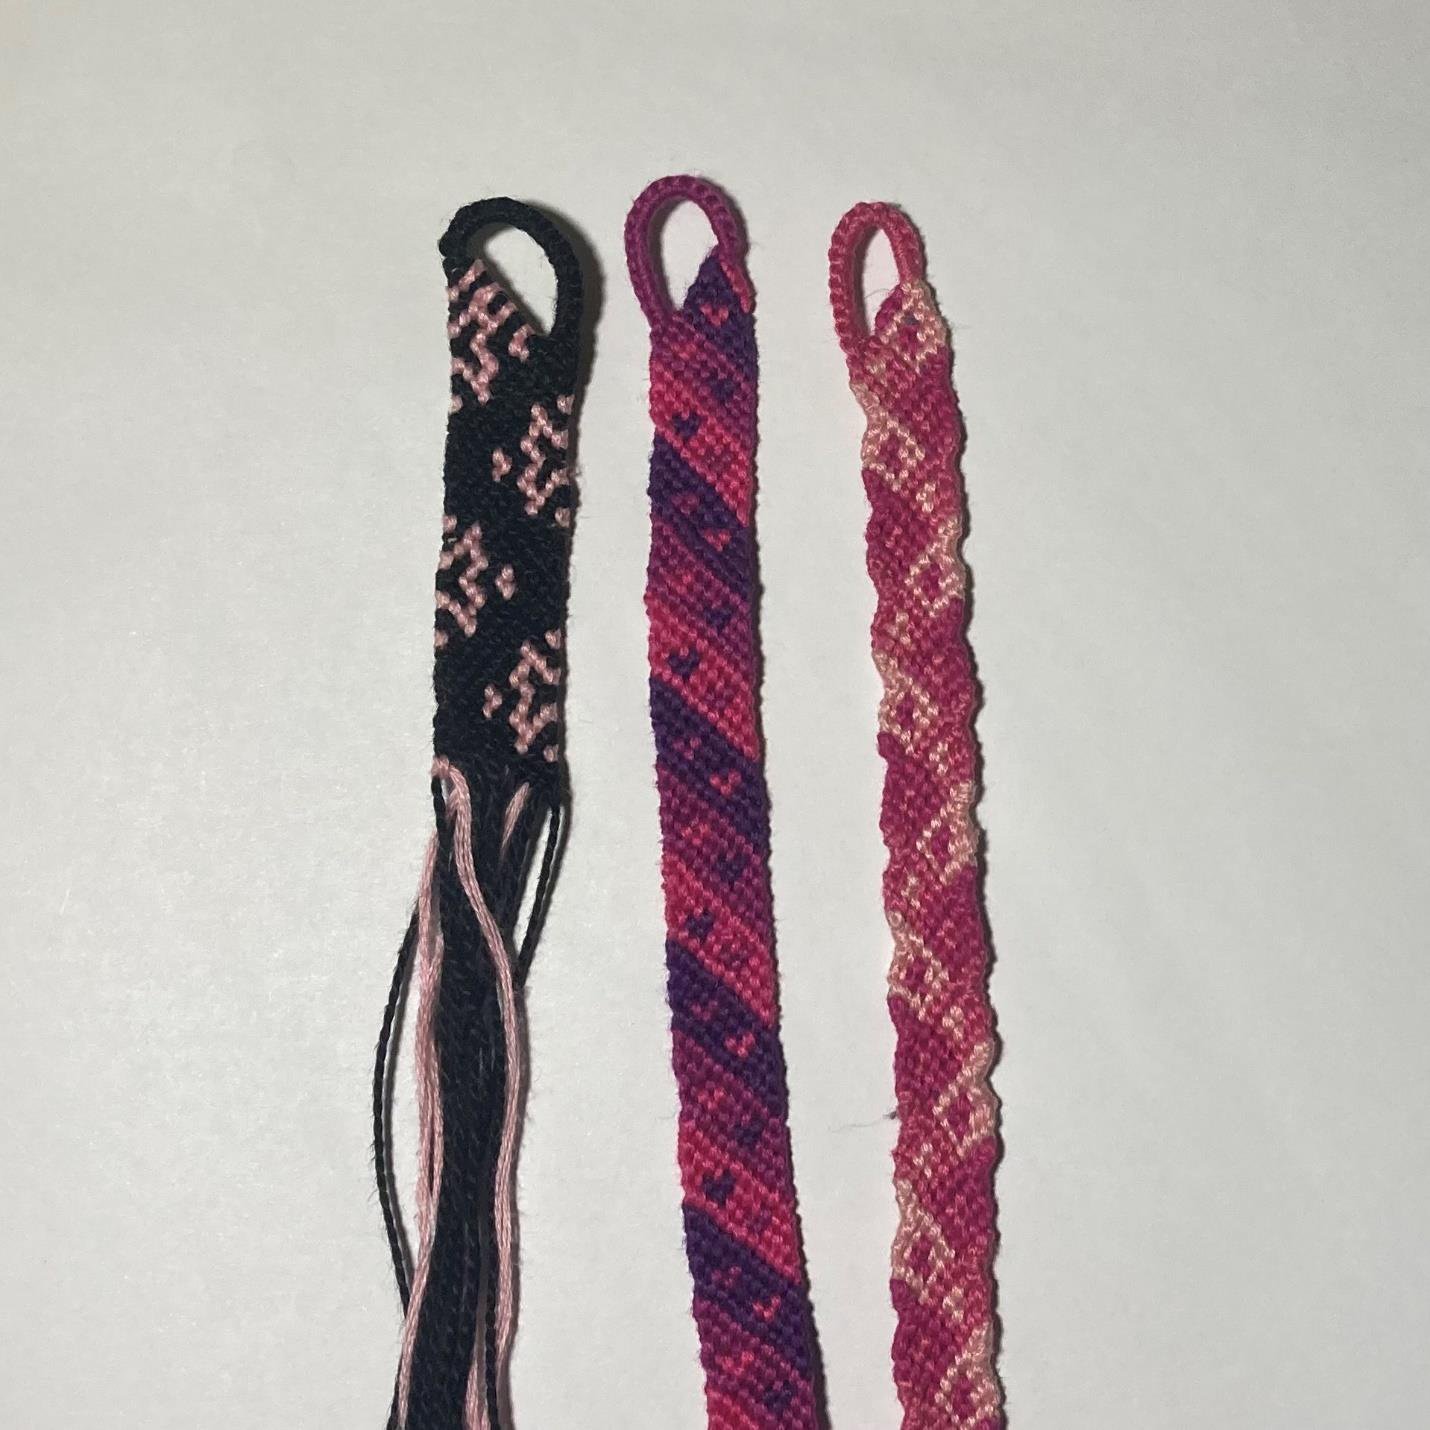
The examples in this photo are patterns #30160 , #27586 , and #62471.
The examples in this photo are patterns #30160 , #27586 , and #62471.
How to Cut Patterns
For this type of loop, the pattern does not have to be symmetrical. It can have any number or colour of strings. The pattern should be cut in a triangle or V-shape, with no less than two strings on either side.

This is how I am going to cut pattern #54058 . After making the loop, the white strings form a miniature triangle start, while the black and orange form a diagonal start.

Even patterns without a distinct braid or candystripe style can be cut diagonally. For example, pattern #69322 : I followed an existing line to make a V-shaped cut.
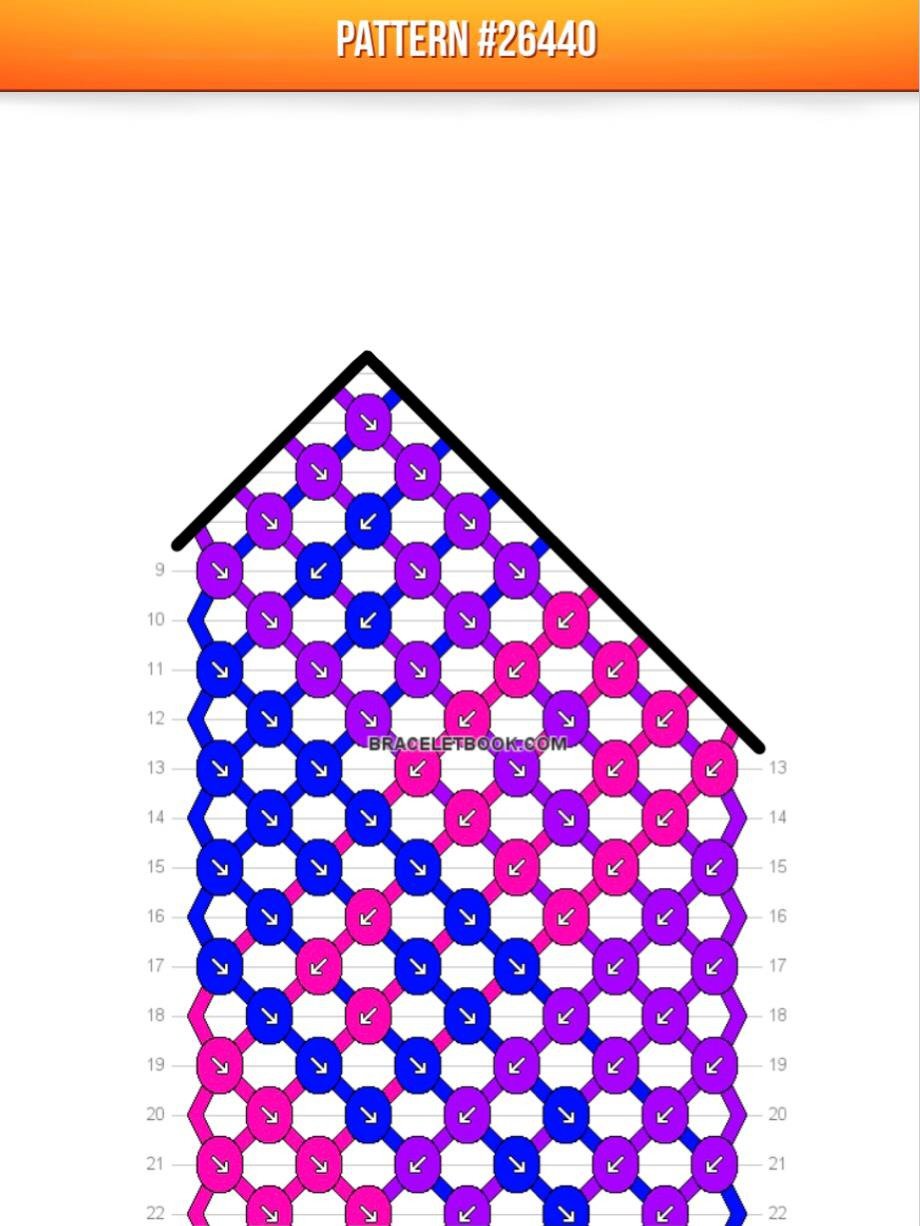
Patterns can also be cut in a triangle shape! I did this for pattern #26440.

Step 1
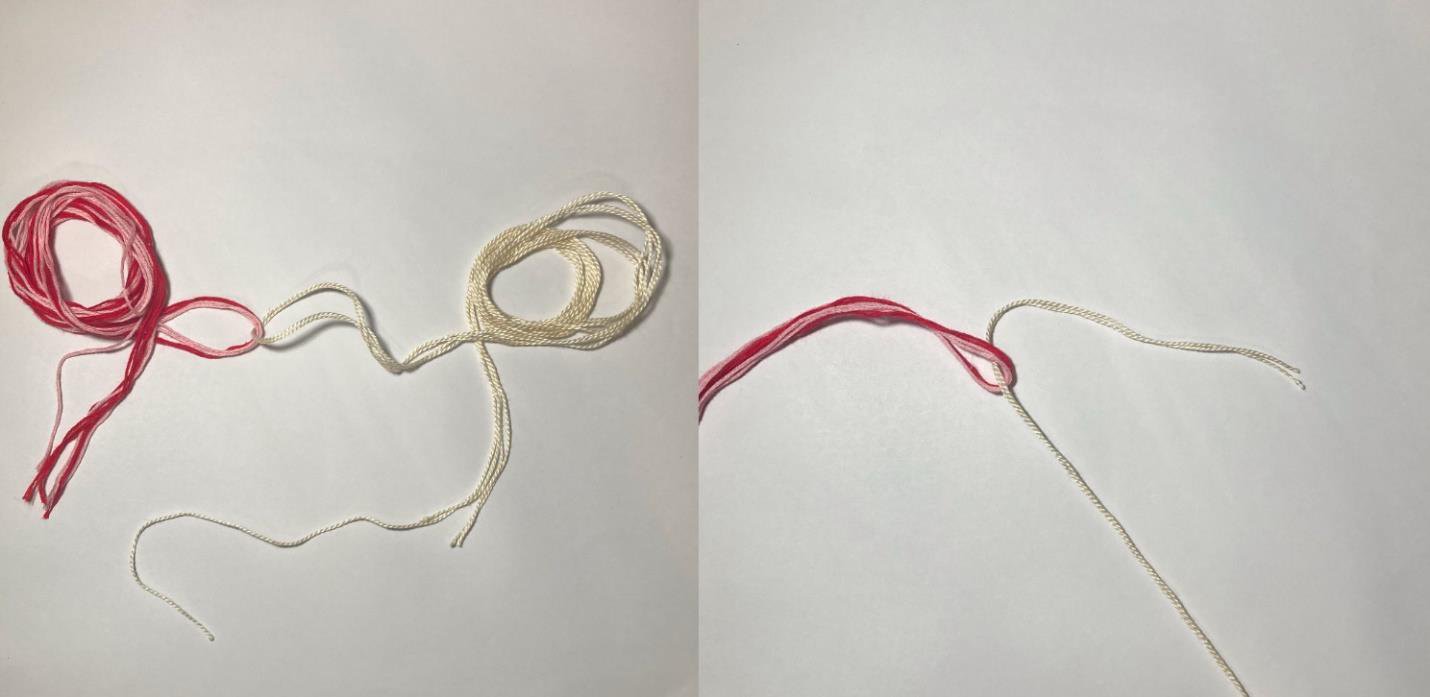
Cut your strings long enough to fold in half to make a loop. One string should be several centimeters longer than the rest. This string should be one of the strings you are going to make the loop with, and it should be on the smaller side of your cut. I am using DMC 712 for the white, Loops and Threads 728 for the black, and Loops and Threads 732 for the orange. My longer string is going to be DMC 712.
If your pattern has an odd number of each colour, Alex’s Innovations (@innovate) has a video tutorial that might help.
Masha Knots (@Racoon) has a video on how to make a loop with different strings on each side.

Step 2
Decide which strings go on each side and lay them out. For me, those are my red and pink strings. Fold them in half. If you are making a pattern that uses one string of a certain colour more than the other, adjust accordingly.
Step 3
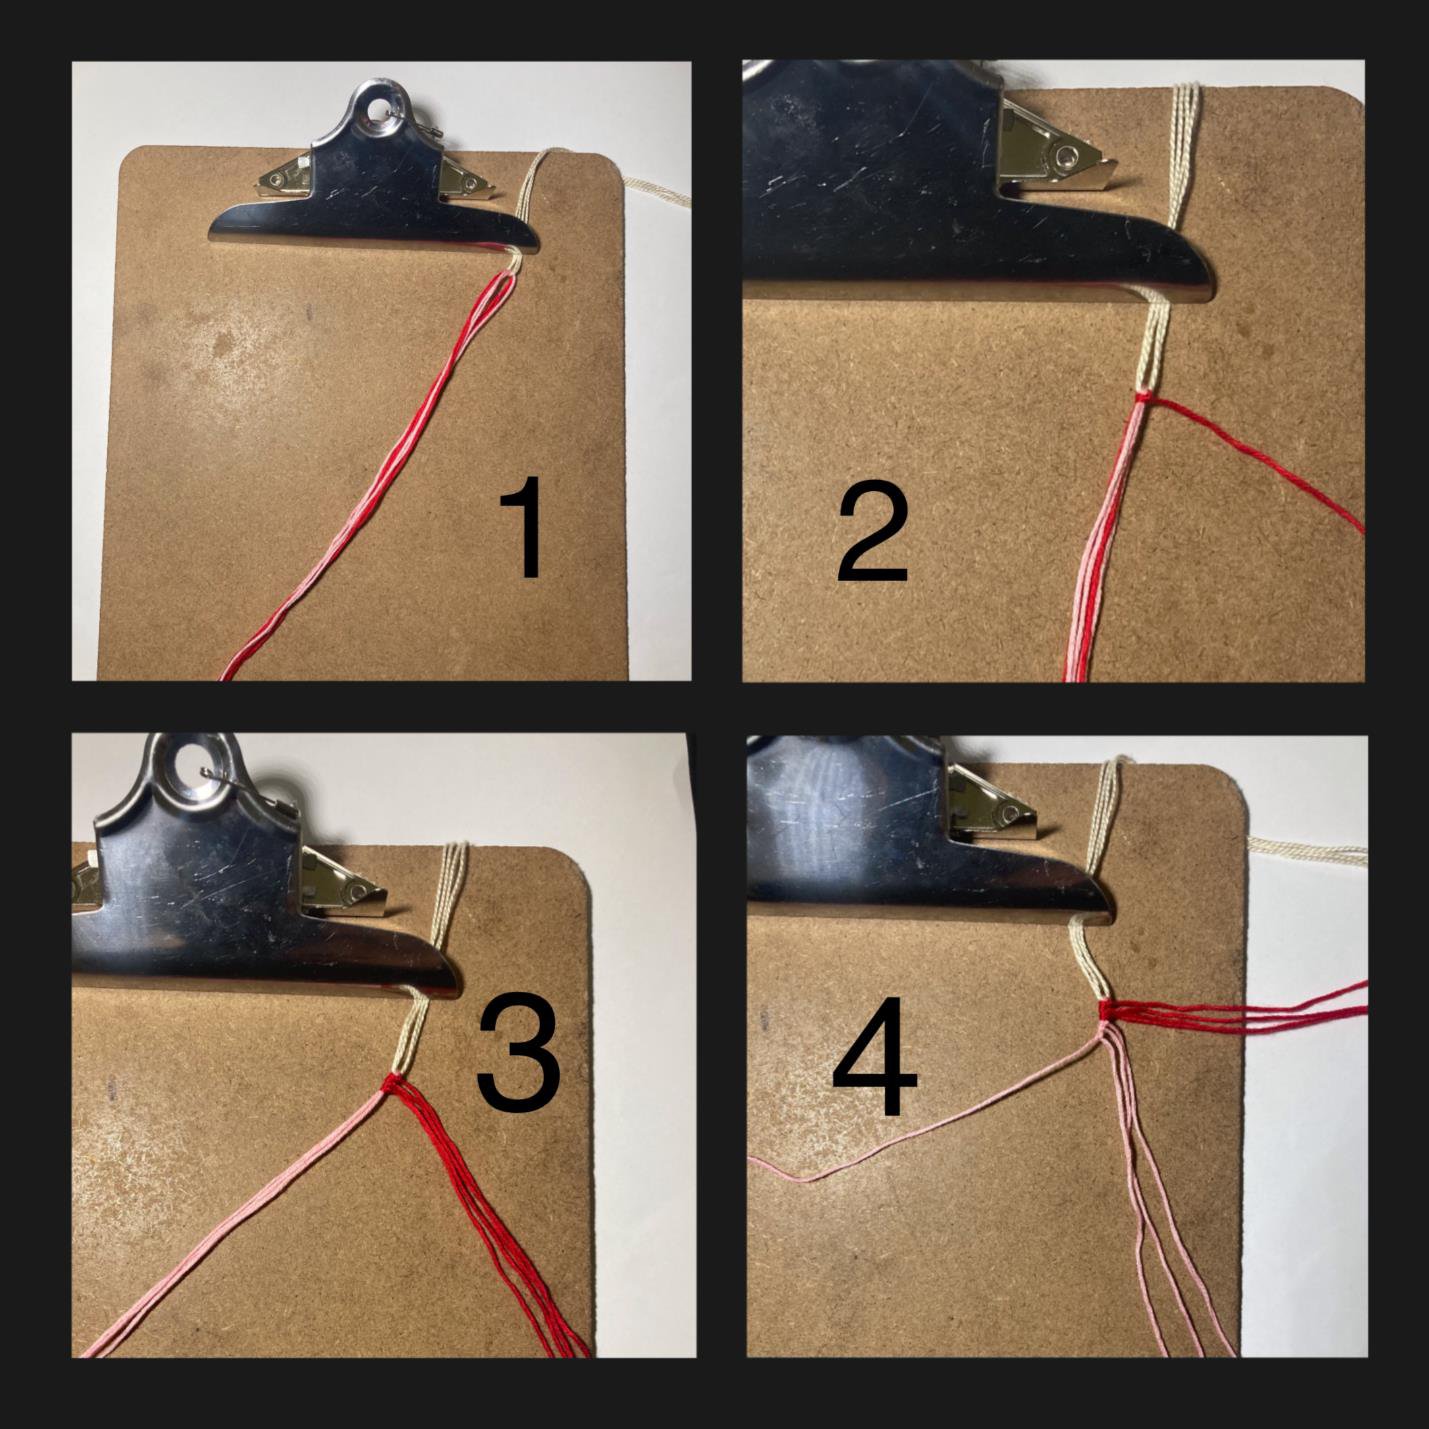
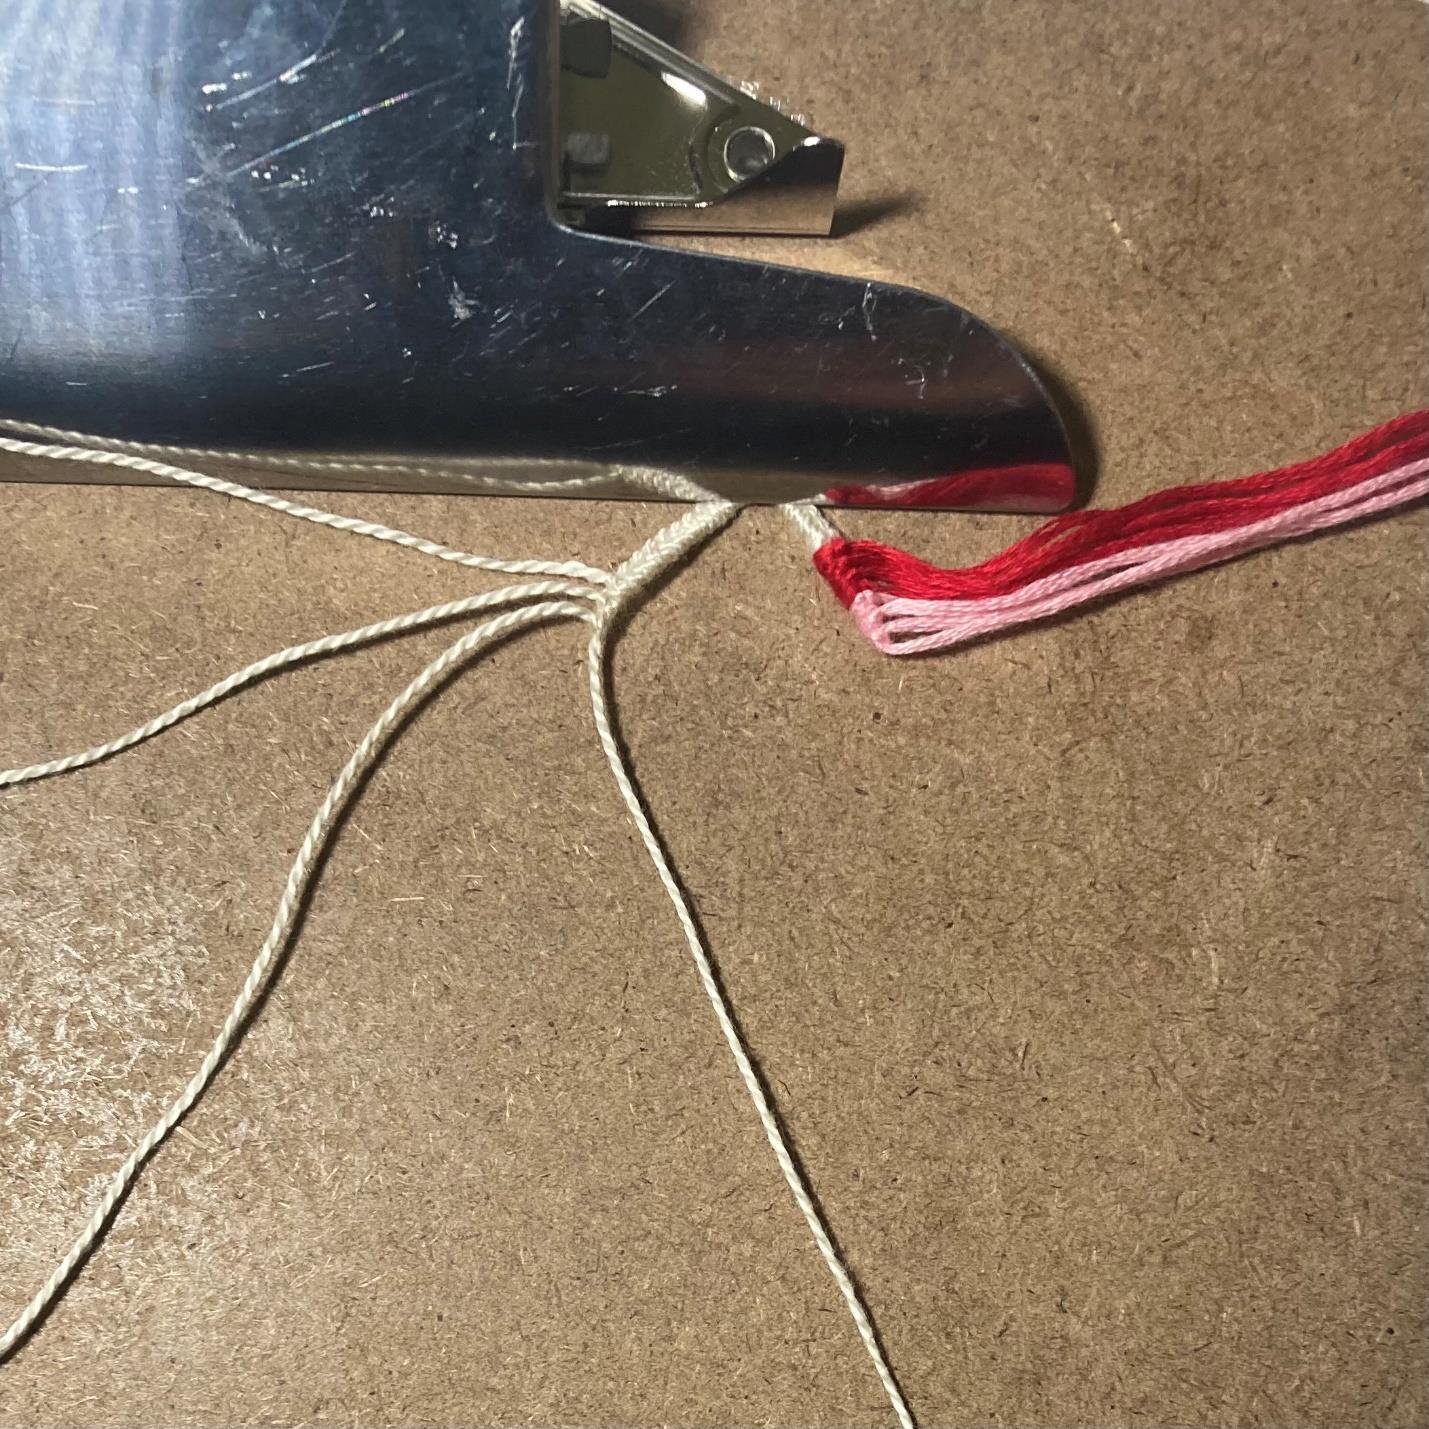
Take the strings on the other side (in my case, the white ones). Take one end of each string and loop it through the strings on the other side. Fold the white strings in half, keeping one end of the longer string long.
Step 4
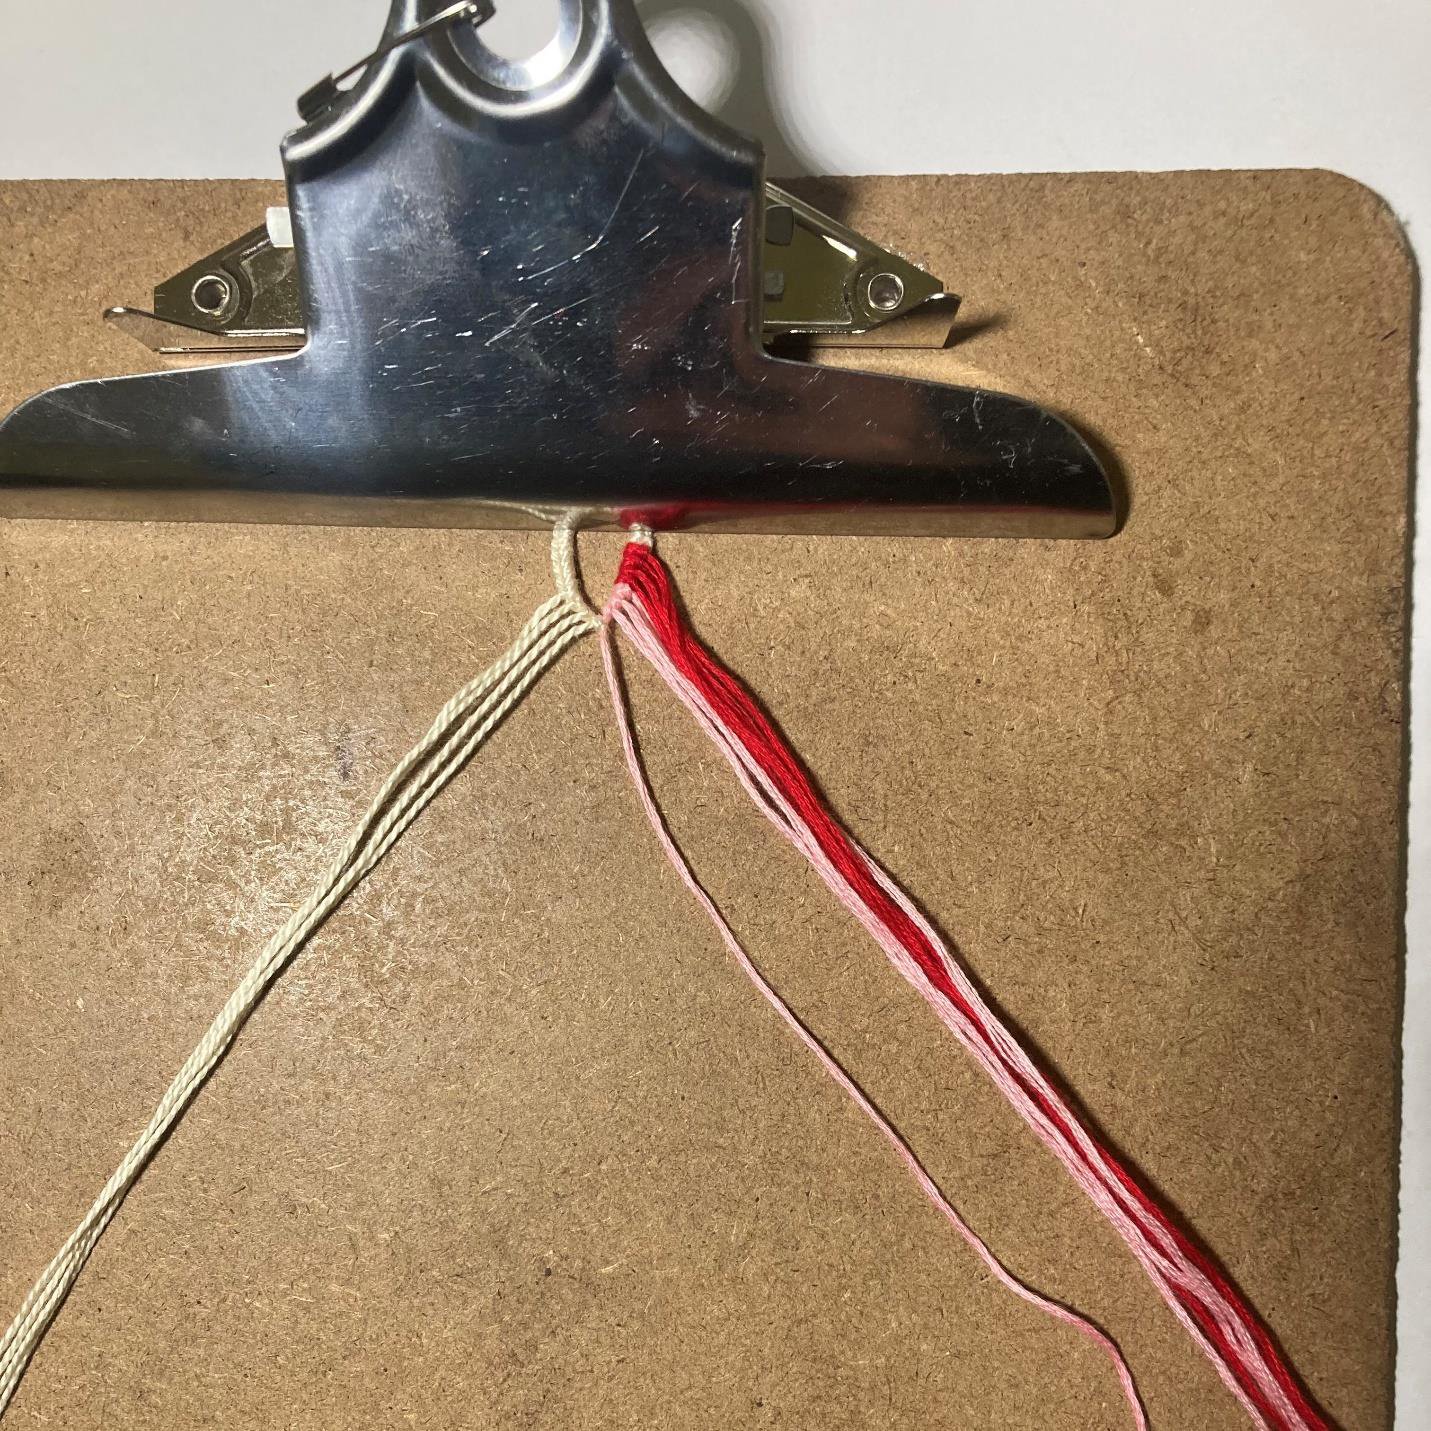
Secure the white strings, leaving the pink and red strings free to make a diagonal start. Tie a backwards- forwards knot with one of the red strings onto all the pink and red strings, pushing it right up to the white strings. Repeat that step with the rest of the red strings, excluding the ones that have already tied knots. Do the same with the pink strings.

Step 5
Take your bracelet out of whatever is being used to hold it and flip it around, so the white strings are facing you. Taking the longest string, start making forwards and backwards knots onto the rest of the white strings. Ideally, they should line up with the knots on the left side of the bracelet.
Step 6
Once the white part of your bracelet is slightly shorter than your desired length (for me it was 2.5 cm), resecure your bracelet so that the loop is folded in half. On your next knot, leave your main string to the left, and tie a knot with a different string onto the remaining strings. Continue this until there are no strings left.
Step 7
Tie a forward-backward knot with the white string furthest to the right with the pink string furthest to the left.
Step 8
Continue the bracelet, following the pattern. I find patterns done with this type of loop are much easier to segment knot than knot row-by-row.
What if I forget to add strings for straight edges
If you’re like me and forget those extra strings often, some patterns allow for you to improvise. For the pattern I used as an example, #54058 , any knot done onto a string of the same colour can be turned into a forward-backward knot or a backward-forward knot. For example, the last knots on rows 15, 17, and 19 can be swapped out with forward-backward knots with no noticeable change to the pattern.
If you have any questions, please leave a comment or message me for clarification. Thank you and have a great day!