Rate Tutorial
Pattern
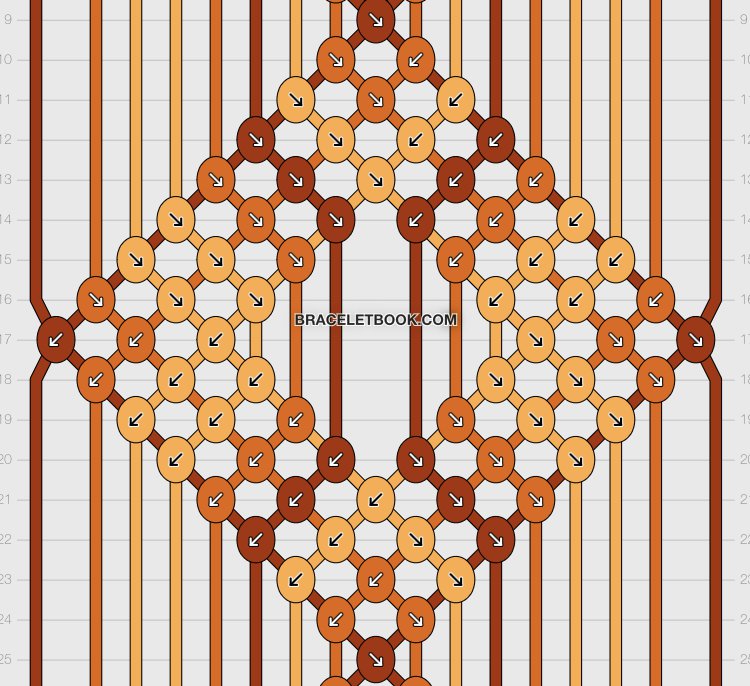
Only this portion of pattern #48073 will be used. You can “slice” other shaped patterns as well to also make earrings or keychains. This is the one I used though. Some modifications were made to the pattern to make it so there were not any strings sticking out.
Overview
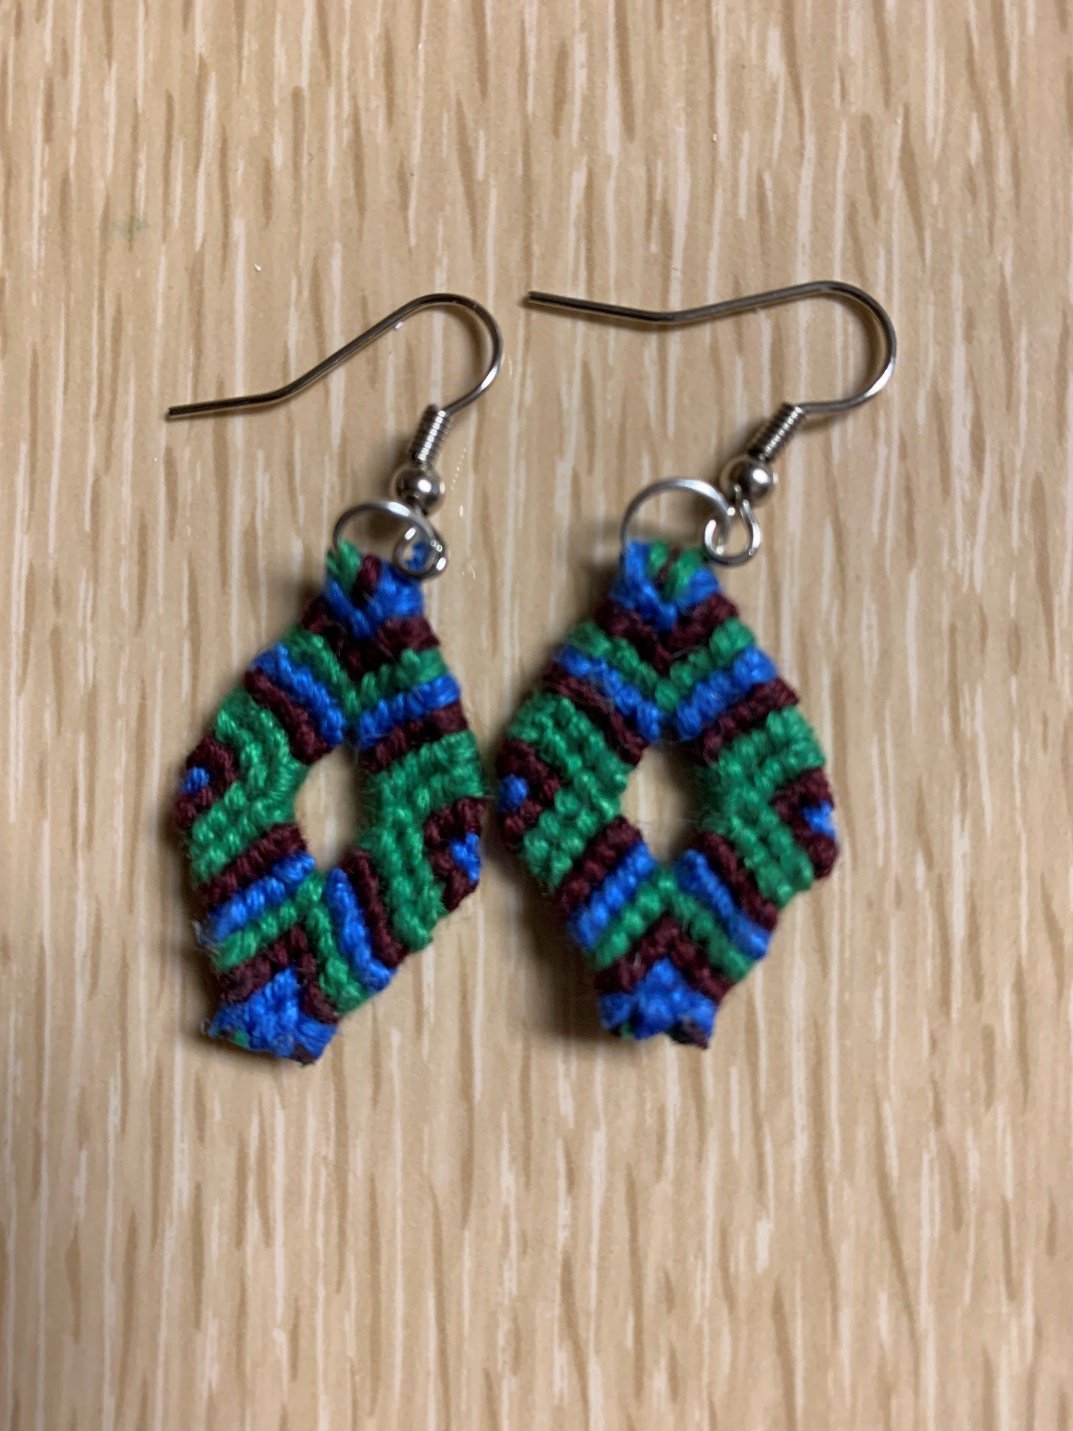
This tutorial uses pattern #48073 as an example for how to make earrings from a shaped bracelet. You should know how to make triangle ends and starts prior to starting this project. I did attach a diamond to a bead, but I was at school and did not have a jump ring. I’d highly recommend using a jump ring over a bead. This can also be used to make a keychain, just attach your string to the keyring in the same way I attached it to the jump ring. I will refer to the colors in my earring for this tutorial, but feel free to choose whatever colors you like!
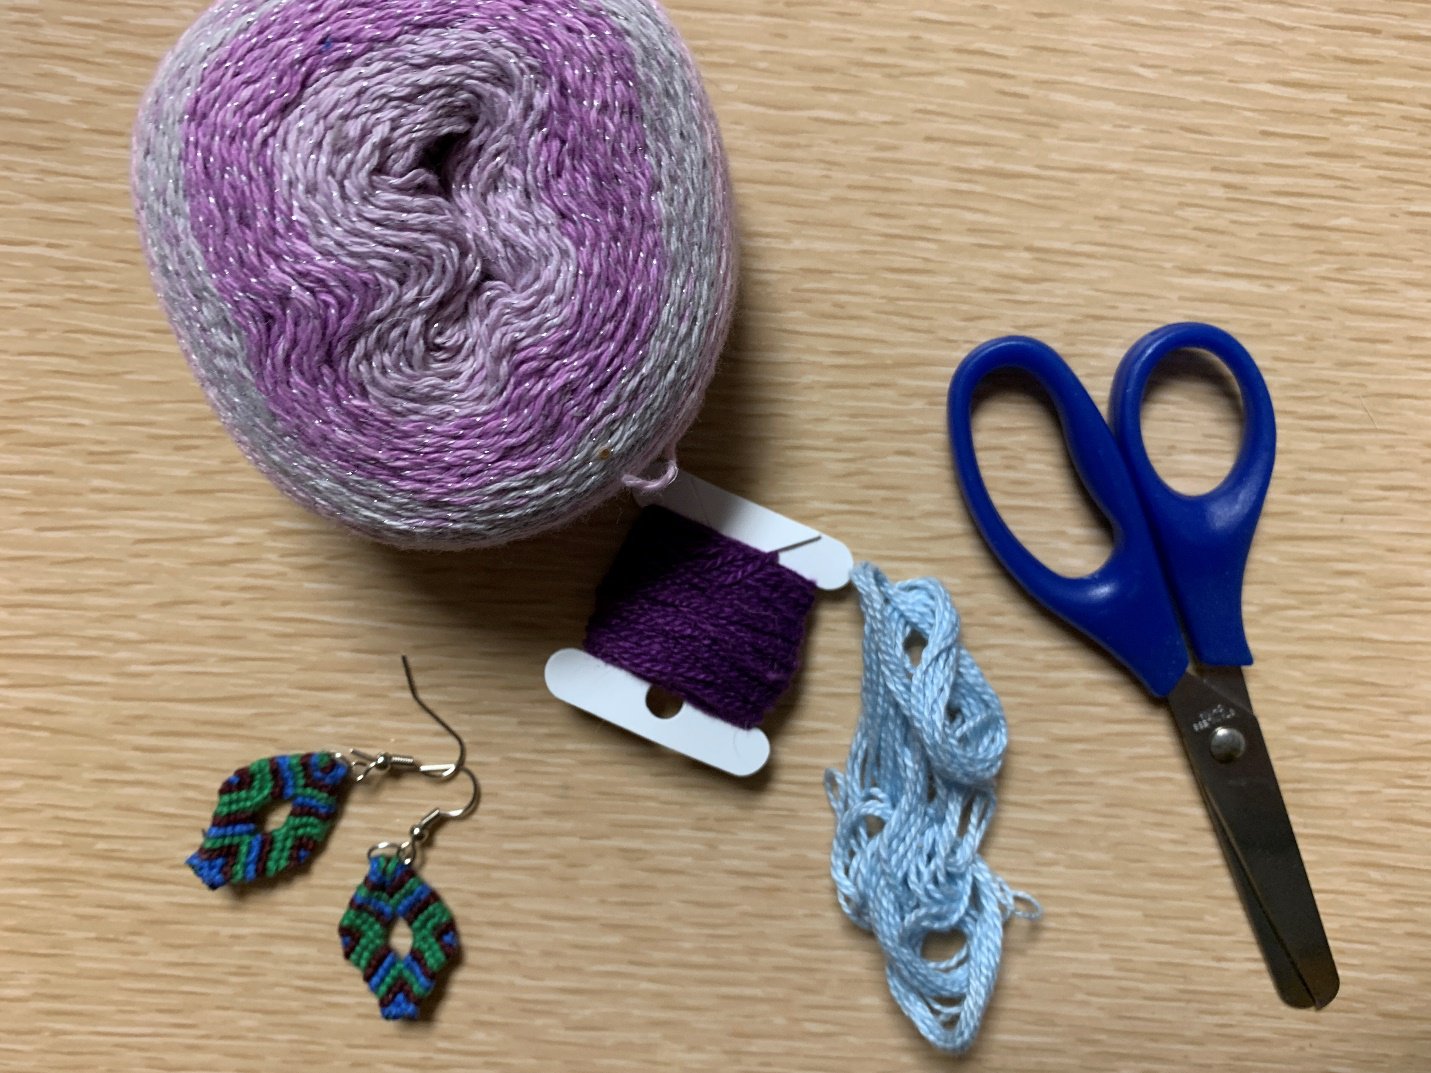
Materials
- Dangly earring piece
- Jump ring
- Thread
- Scissors
- Glue or clear nail polish
- Clip board to secure your work (optional)
- Pliers to open and close jump ring (optional)
- Jump ring
- Thread
- Scissors
- Glue or clear nail polish
- Clip board to secure your work (optional)
- Pliers to open and close jump ring (optional)
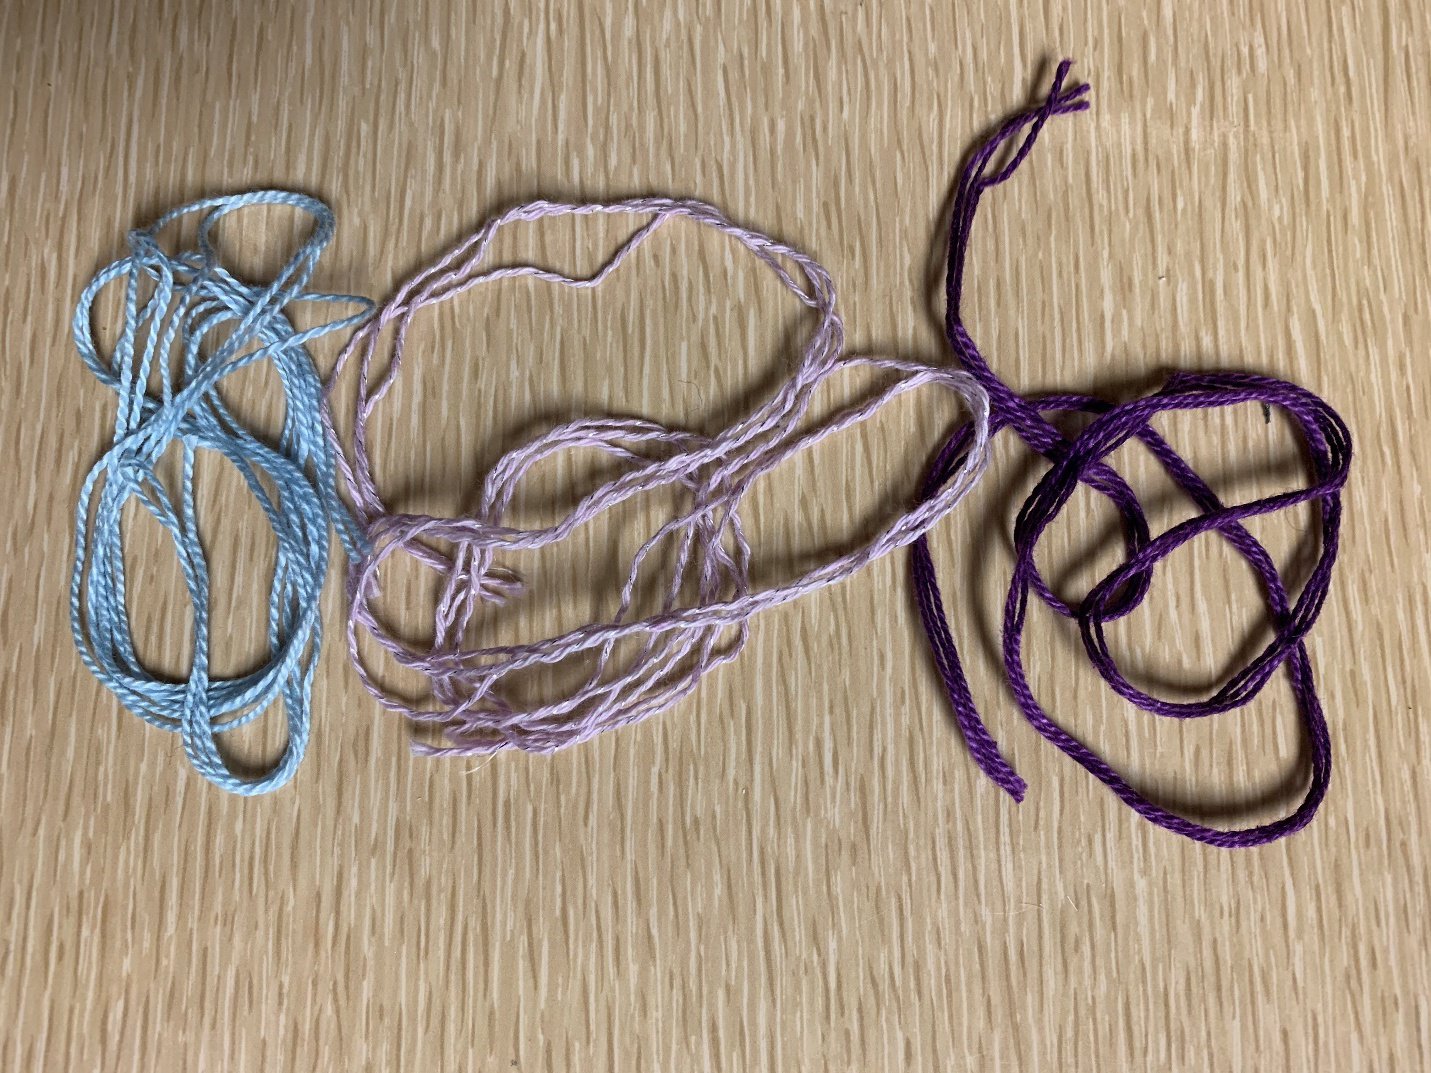
Step 1
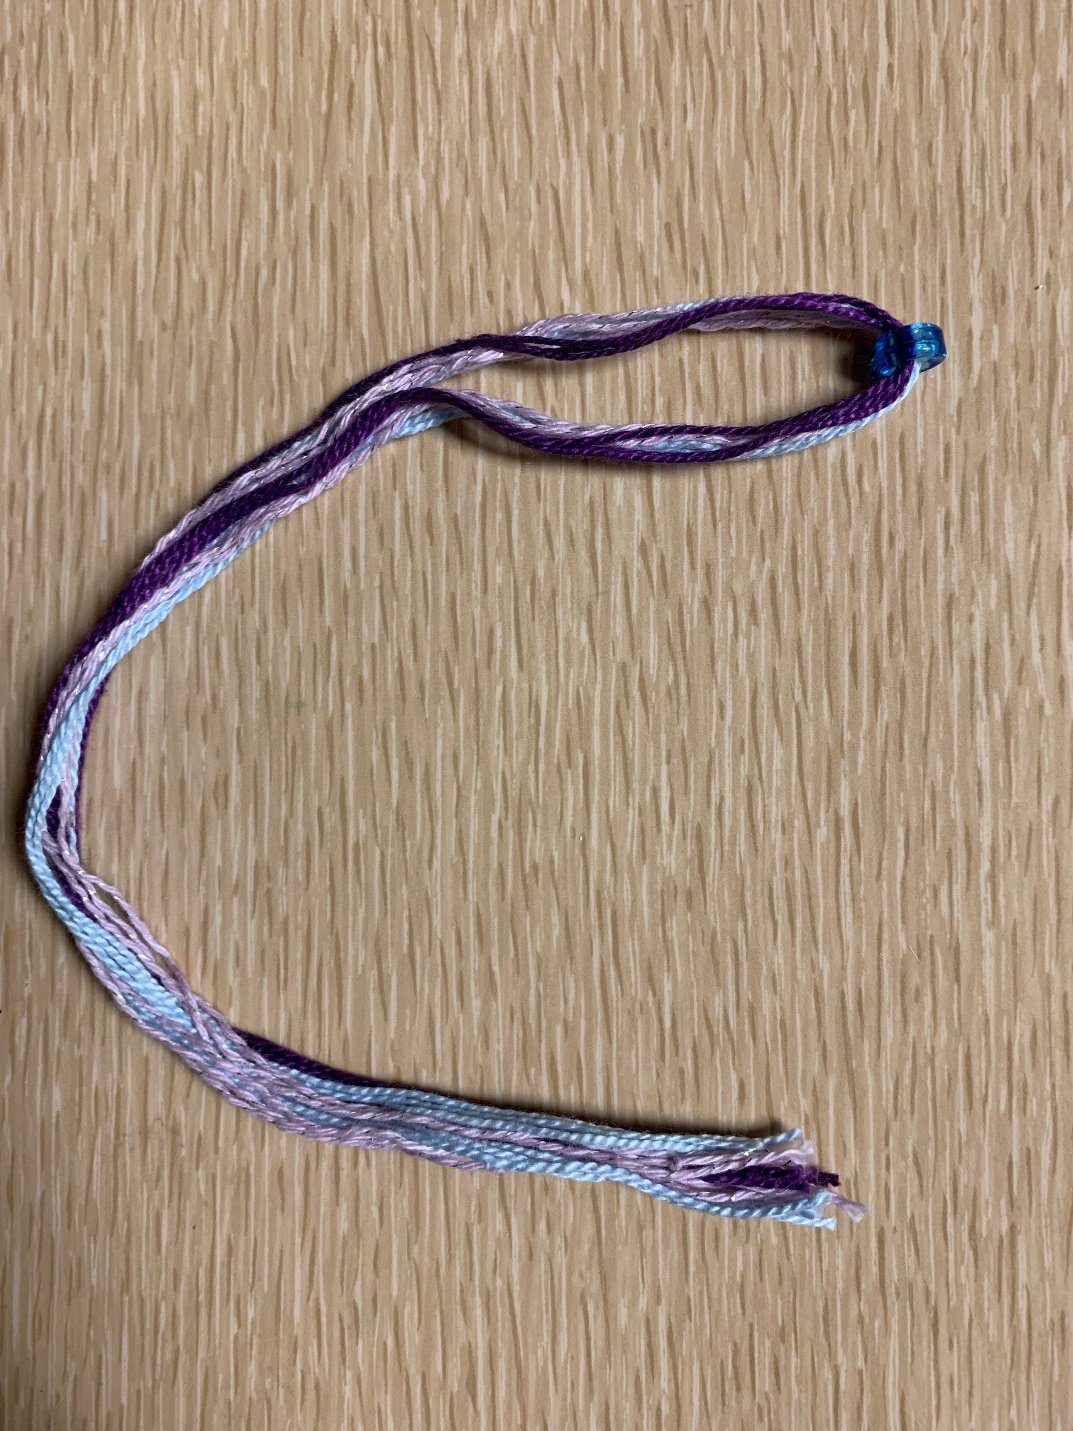
Choose three colors and cut three 22 inch pieces of string of each color.
Step 2
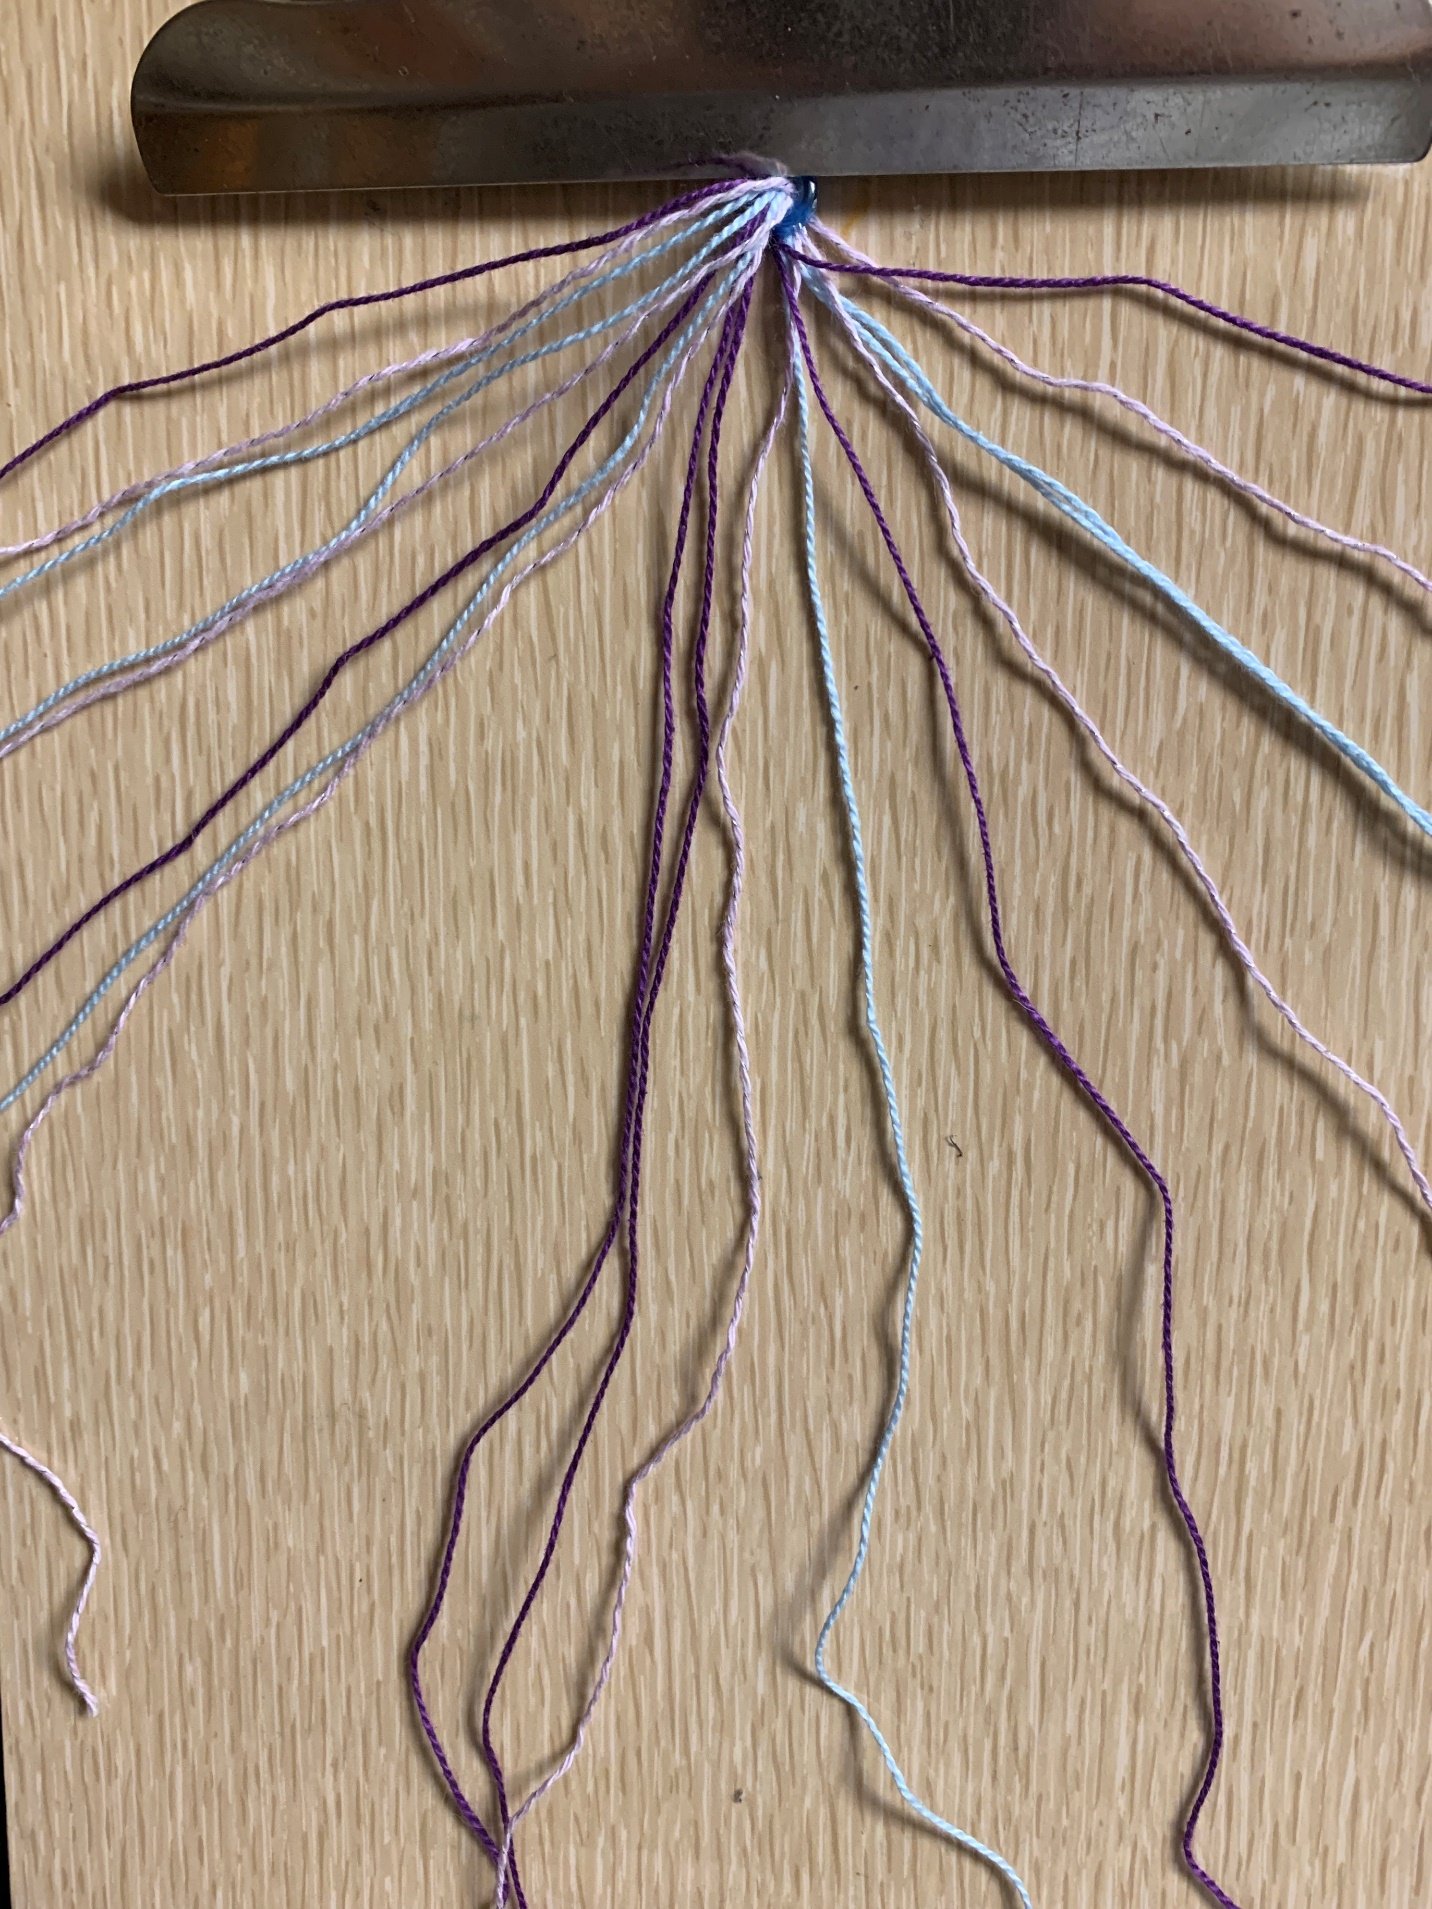
Thread all nine pieces of string through a jump ring, folding in half. Secure to work space using a clip board or other securing device.
Step 3
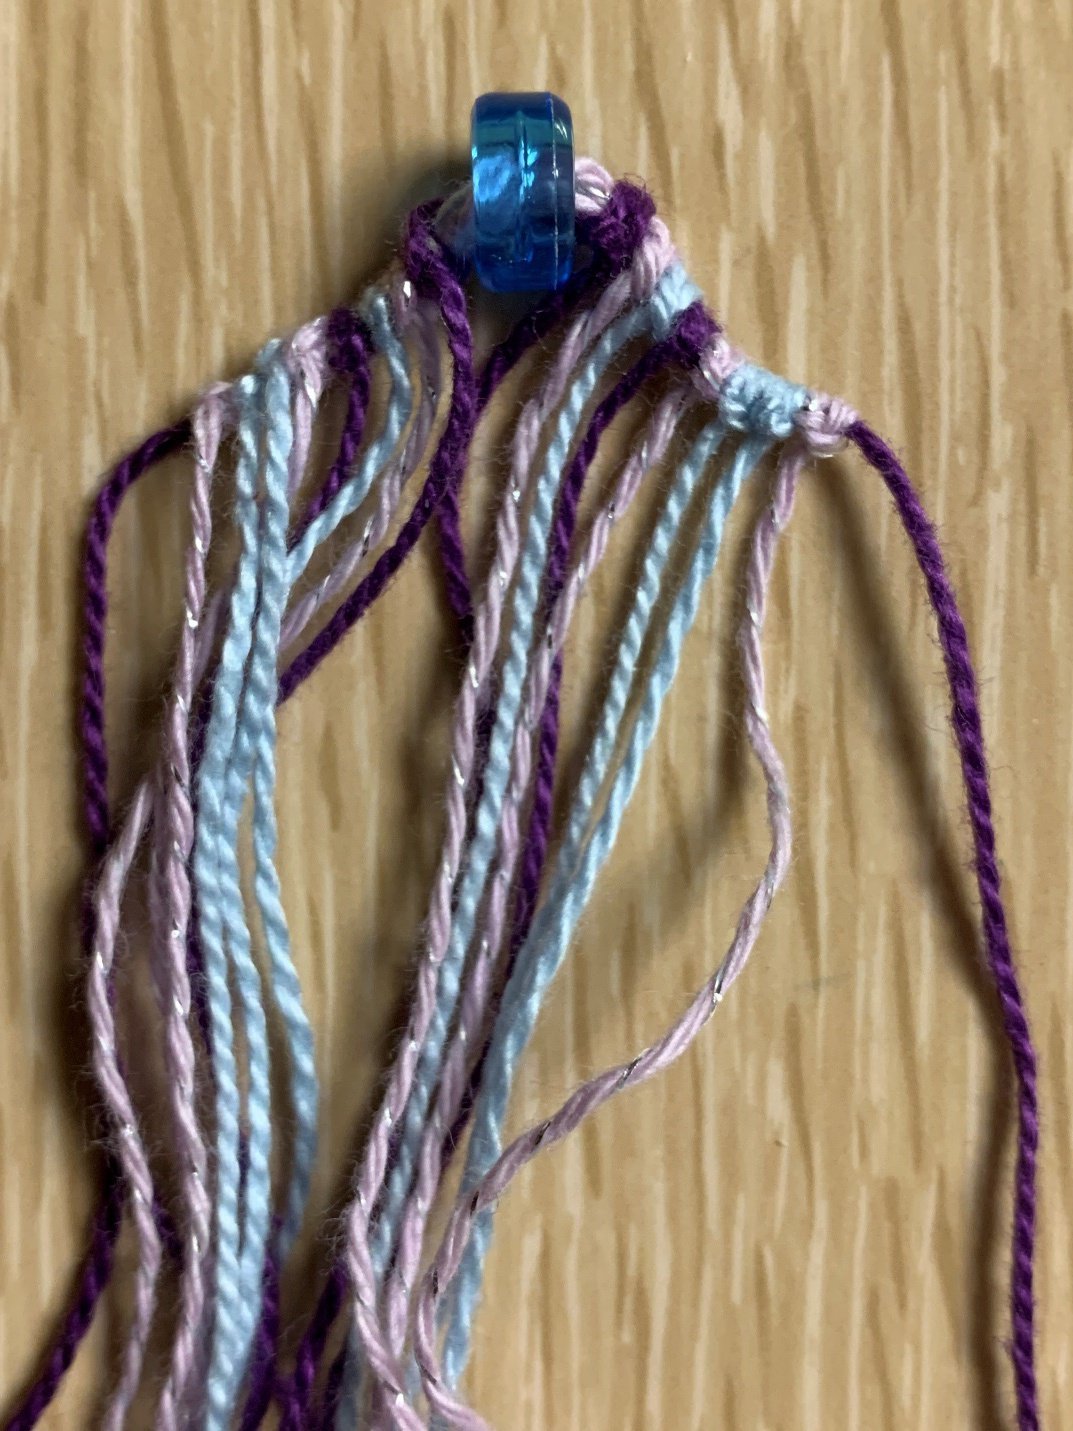
Split your string in half and make two separate bundles. Separate as follows: dark purple, light purple, blue, blue, light purple, dark purple, blue, light purple, dark purple on the left and dark purple, light purple, blue, dark purple, light purple, blue, blue, light purple, dark purple on the right.
Step 4
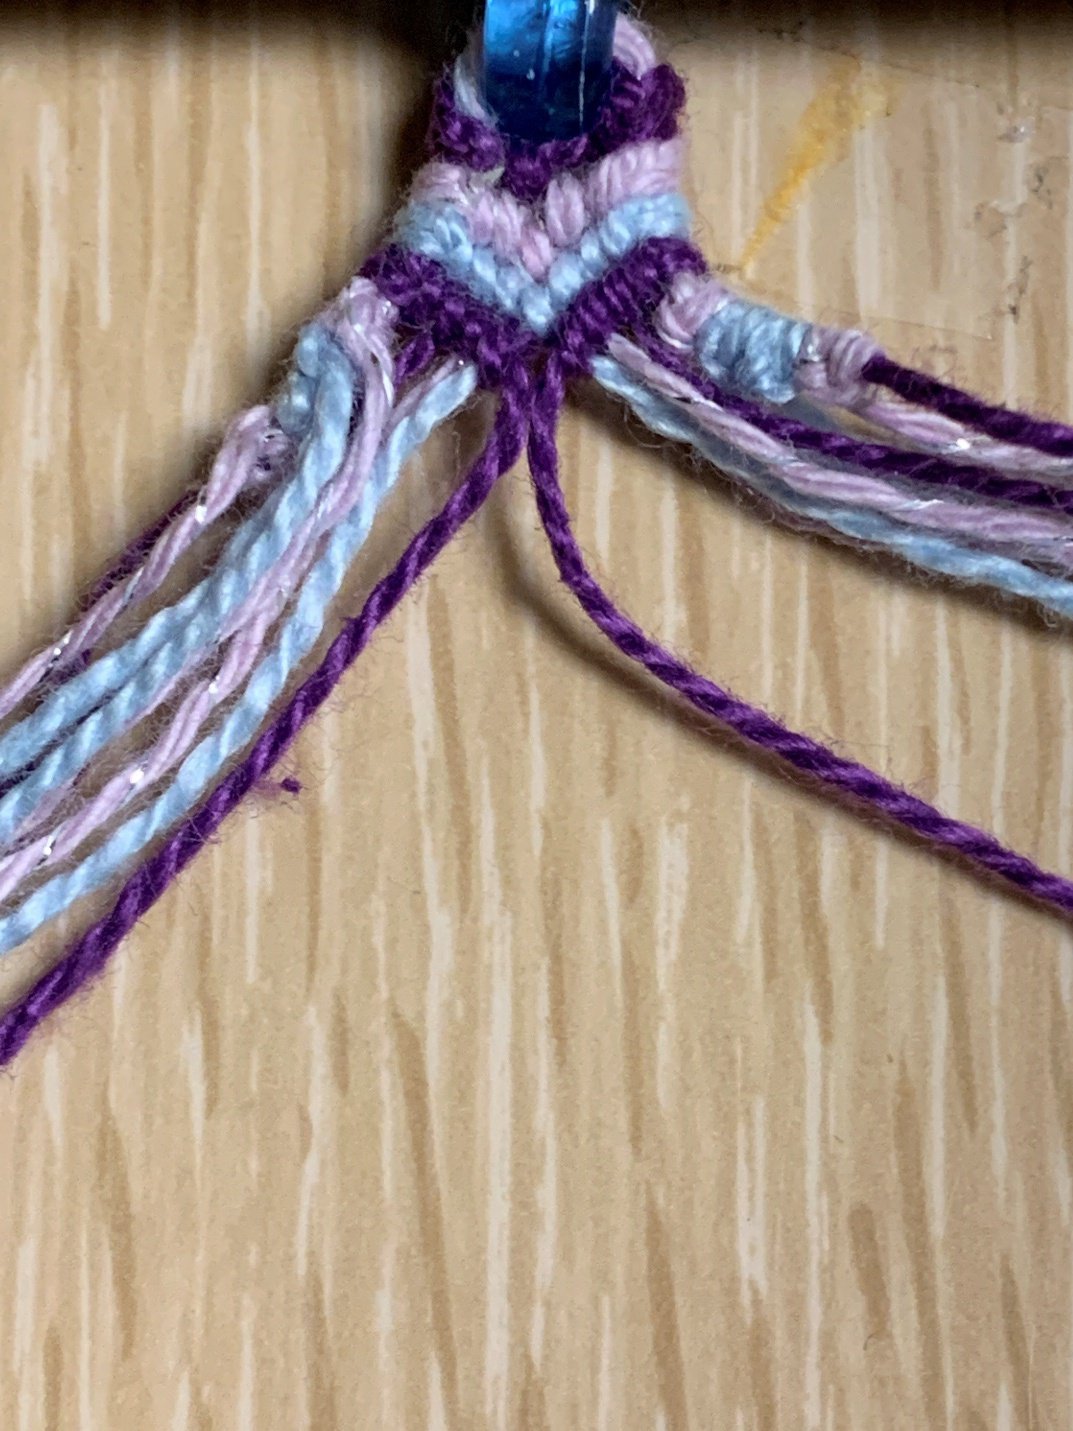
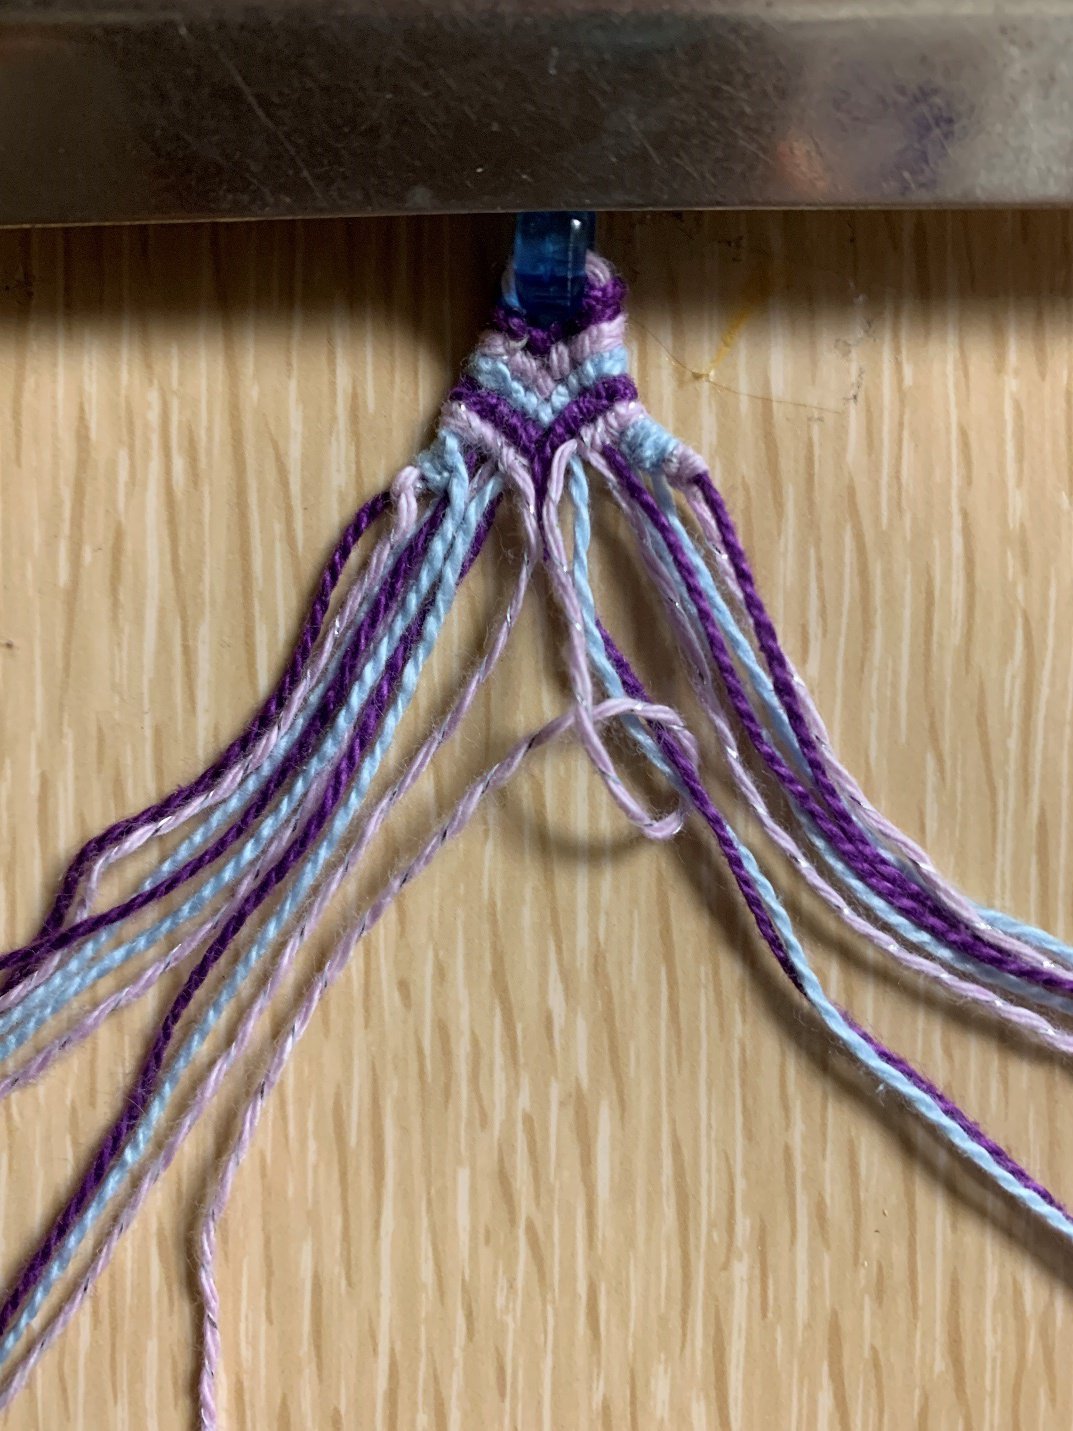
Bring out the colors like you would for a triangle start, making forward knots over the whole bundle into the center to bring out the color you want on the left side, and backward knots over the whole bundle to bring out the colors on the right side, knotting the colors in the order you separated them in during step 3.

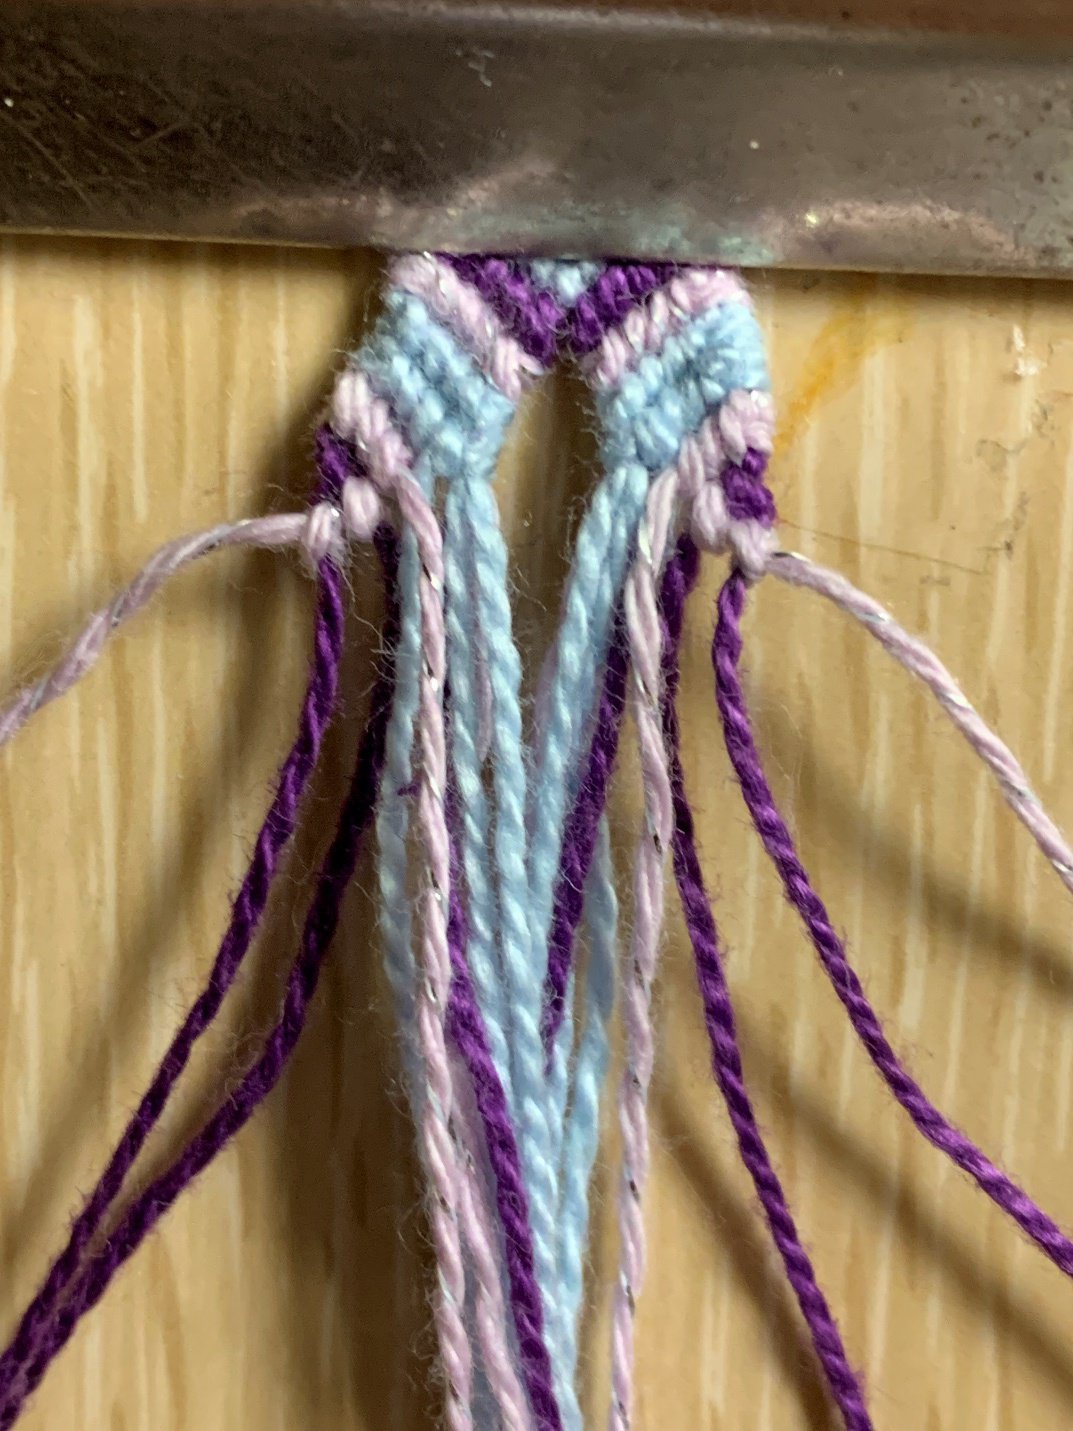
Step 5
Join the center dark purple strings carefully and make a chevron with the next two pairs of strings (light purple followed by blue).
Step 6
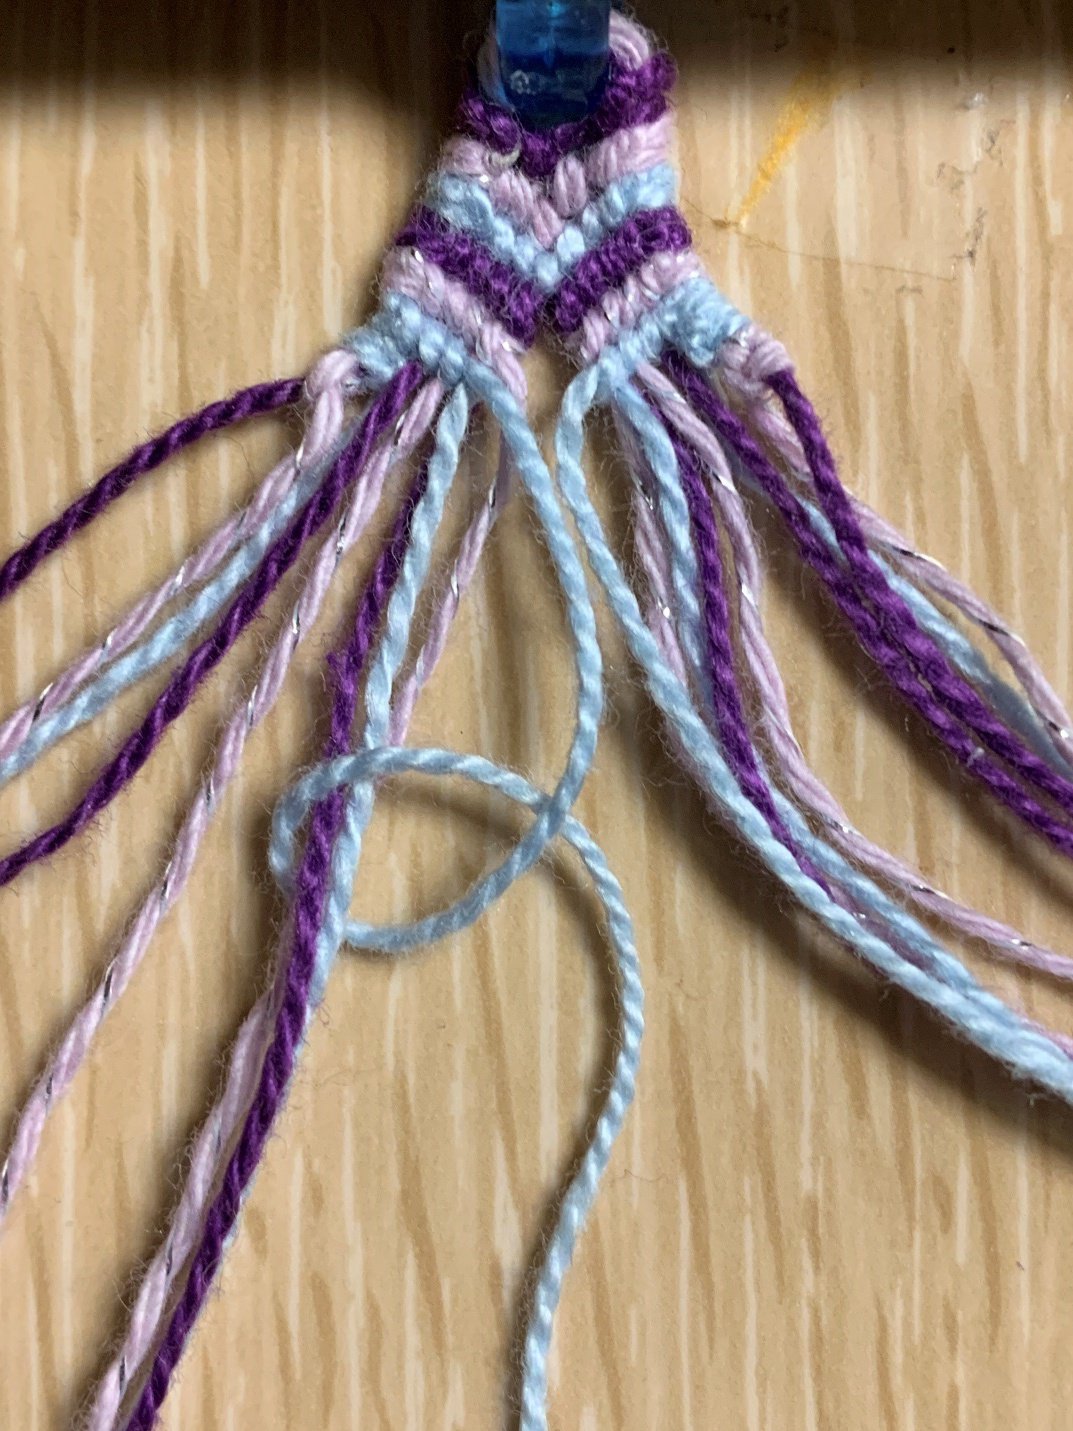
With the next pair of strings (dark purple), make three forwards knots on the left side and three backwards knots on the right side. DO NOT JOIN THESE!
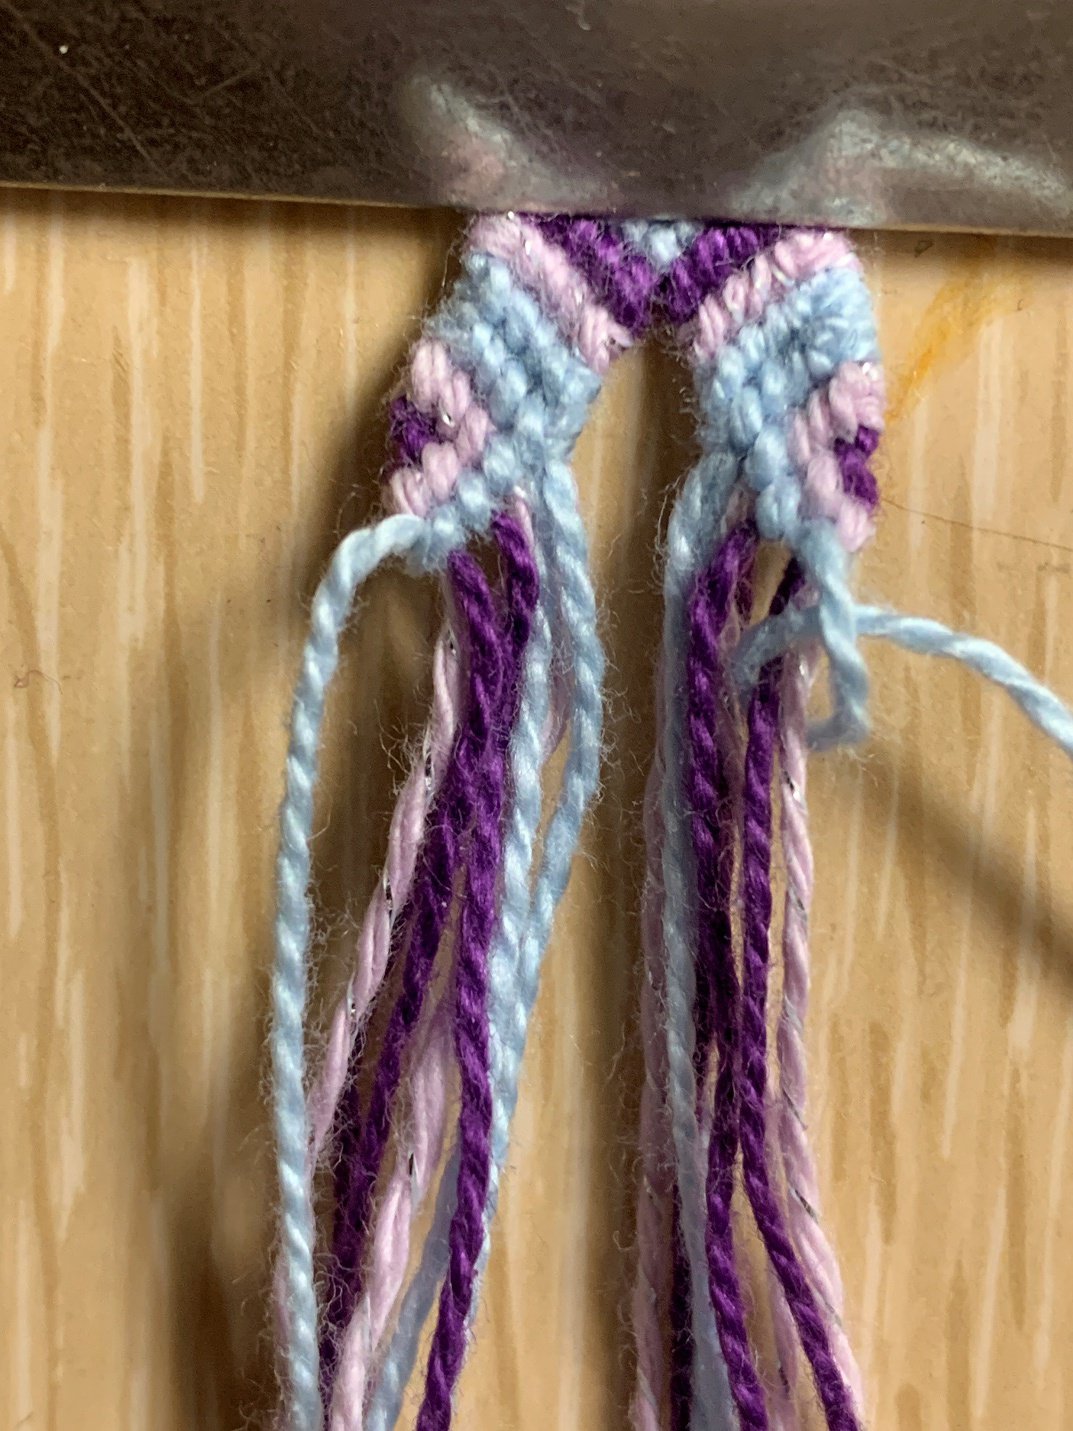
Step 7
Using the next pair of strings (light purple), make two forwards knots on the left side, then treating the remaining blue and dark purple as one string, make a forwards knot over both of them together. Repeat on the right side using backwards knots instead of forwards knots.
Step 8
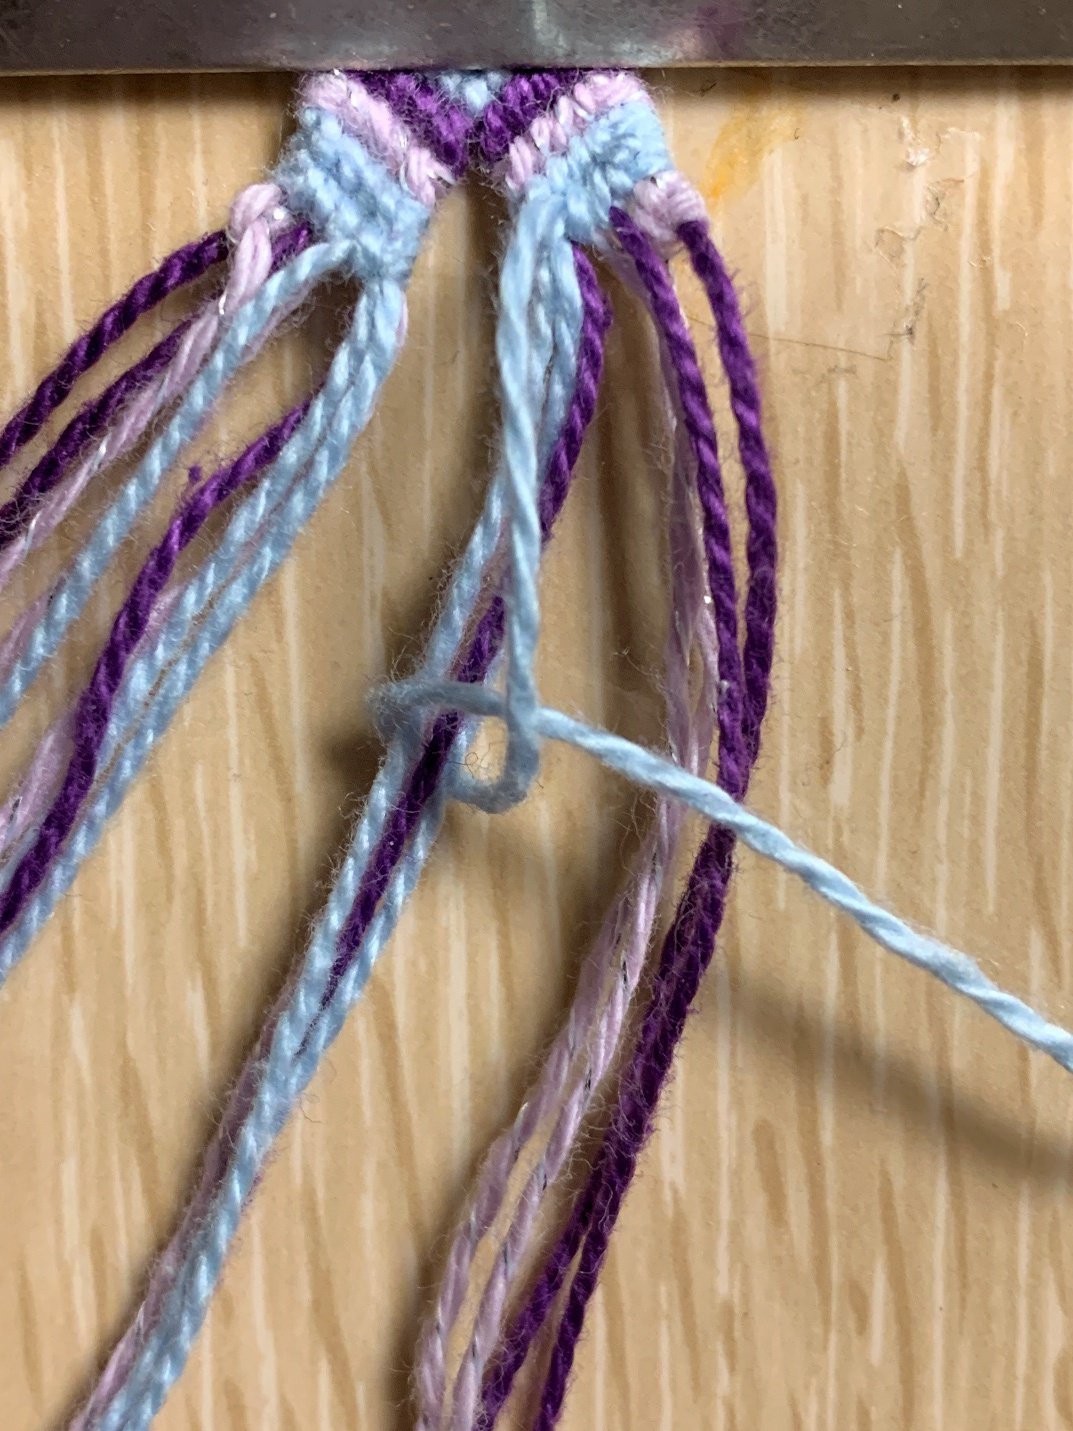
With the blue strings, make two forwards knots on the left side over the individual strings, and then a forwards knot over the bundle of light purple, dark purple, and blue strings. Repeat on the right side but use backwards knots instead of forwards knots.
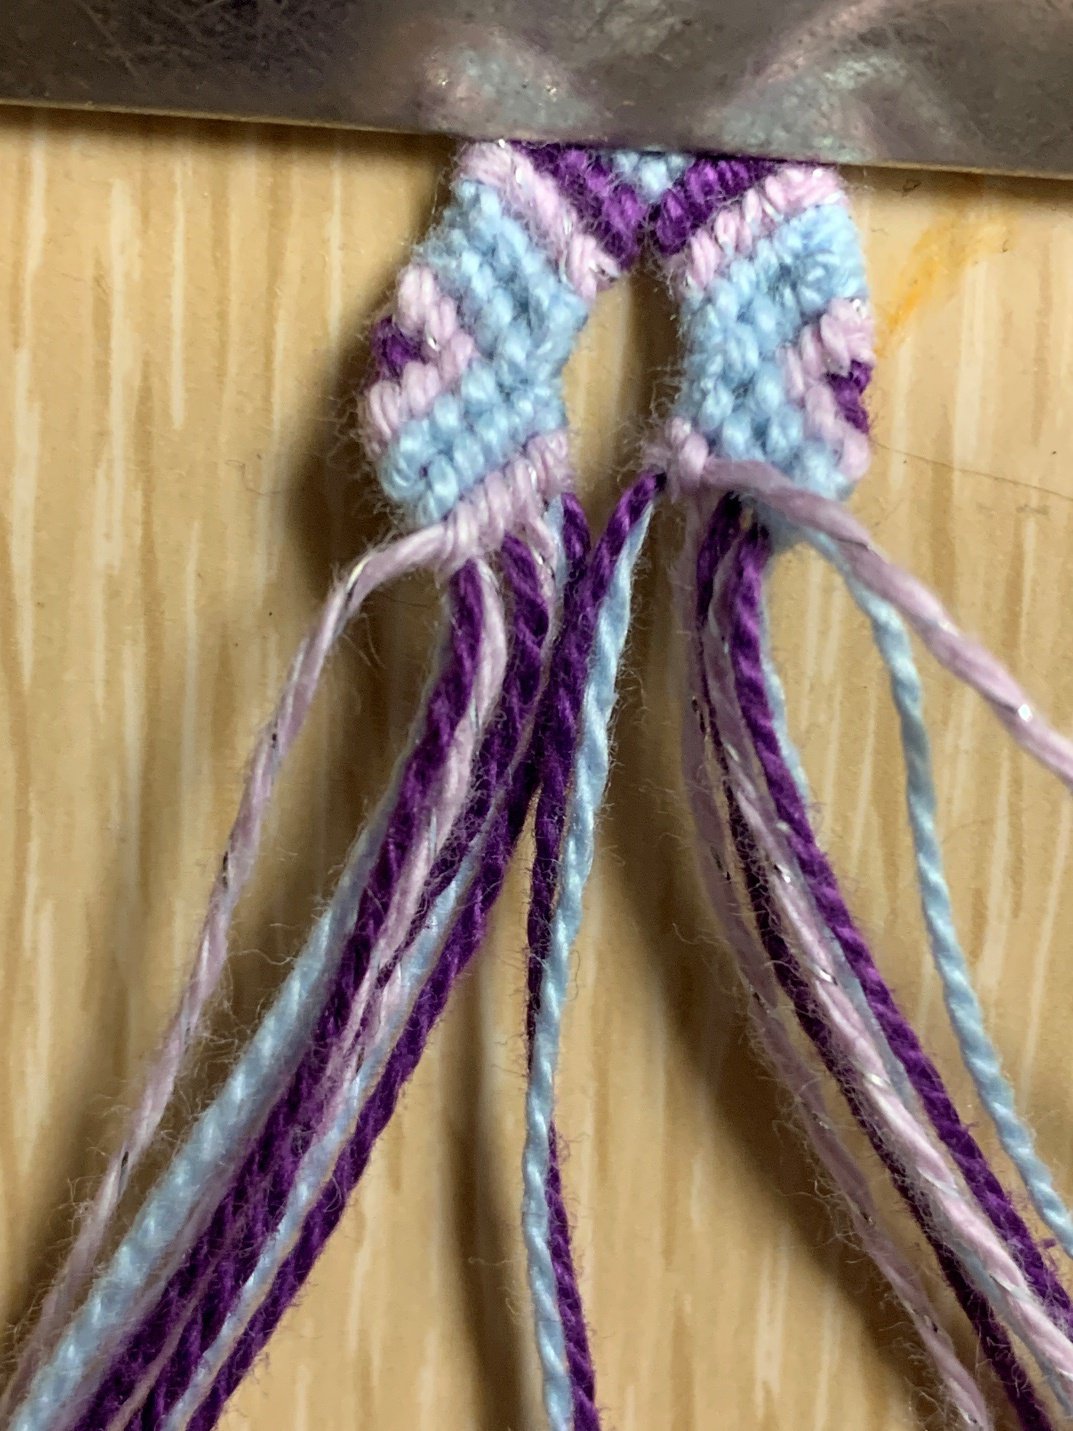
Step 9
With the next pair of blue strings, do two forwards knots on the left side over the individual strings and a forwards-backwards knot over the bundle of strings (2 blues, 1 light purple, and 1 dark purple). Repeat on the right side using backwards and backwards-forwards knots.
Step 10
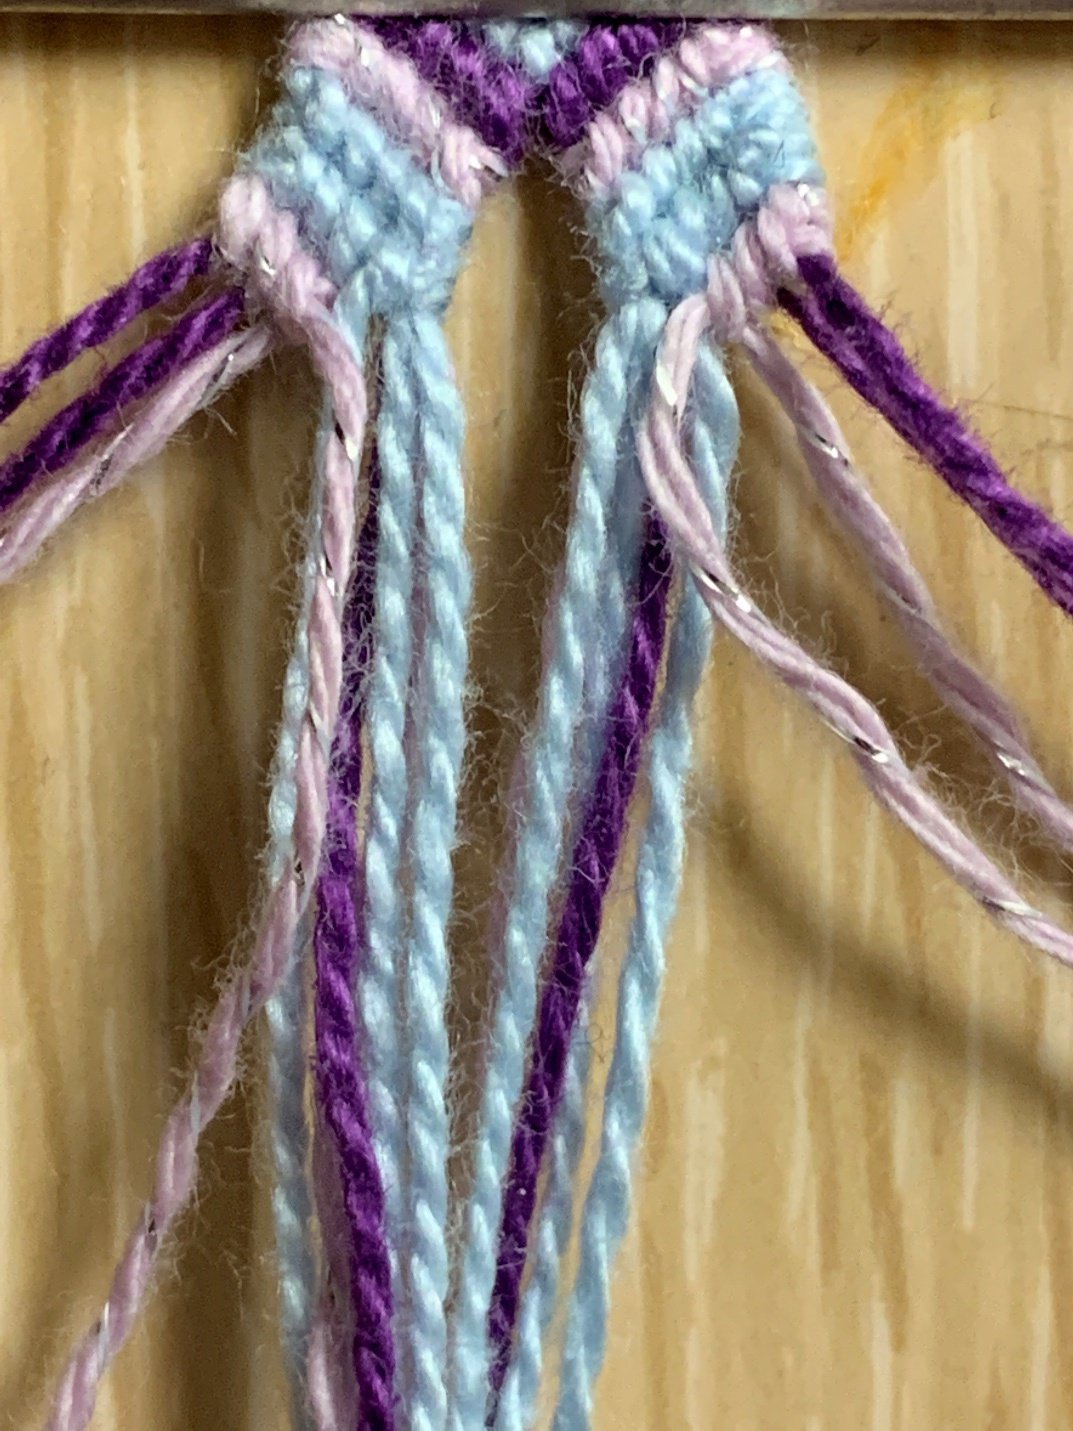
With the light purple, only do two forwards knots on the left and two backwards knots on the right.

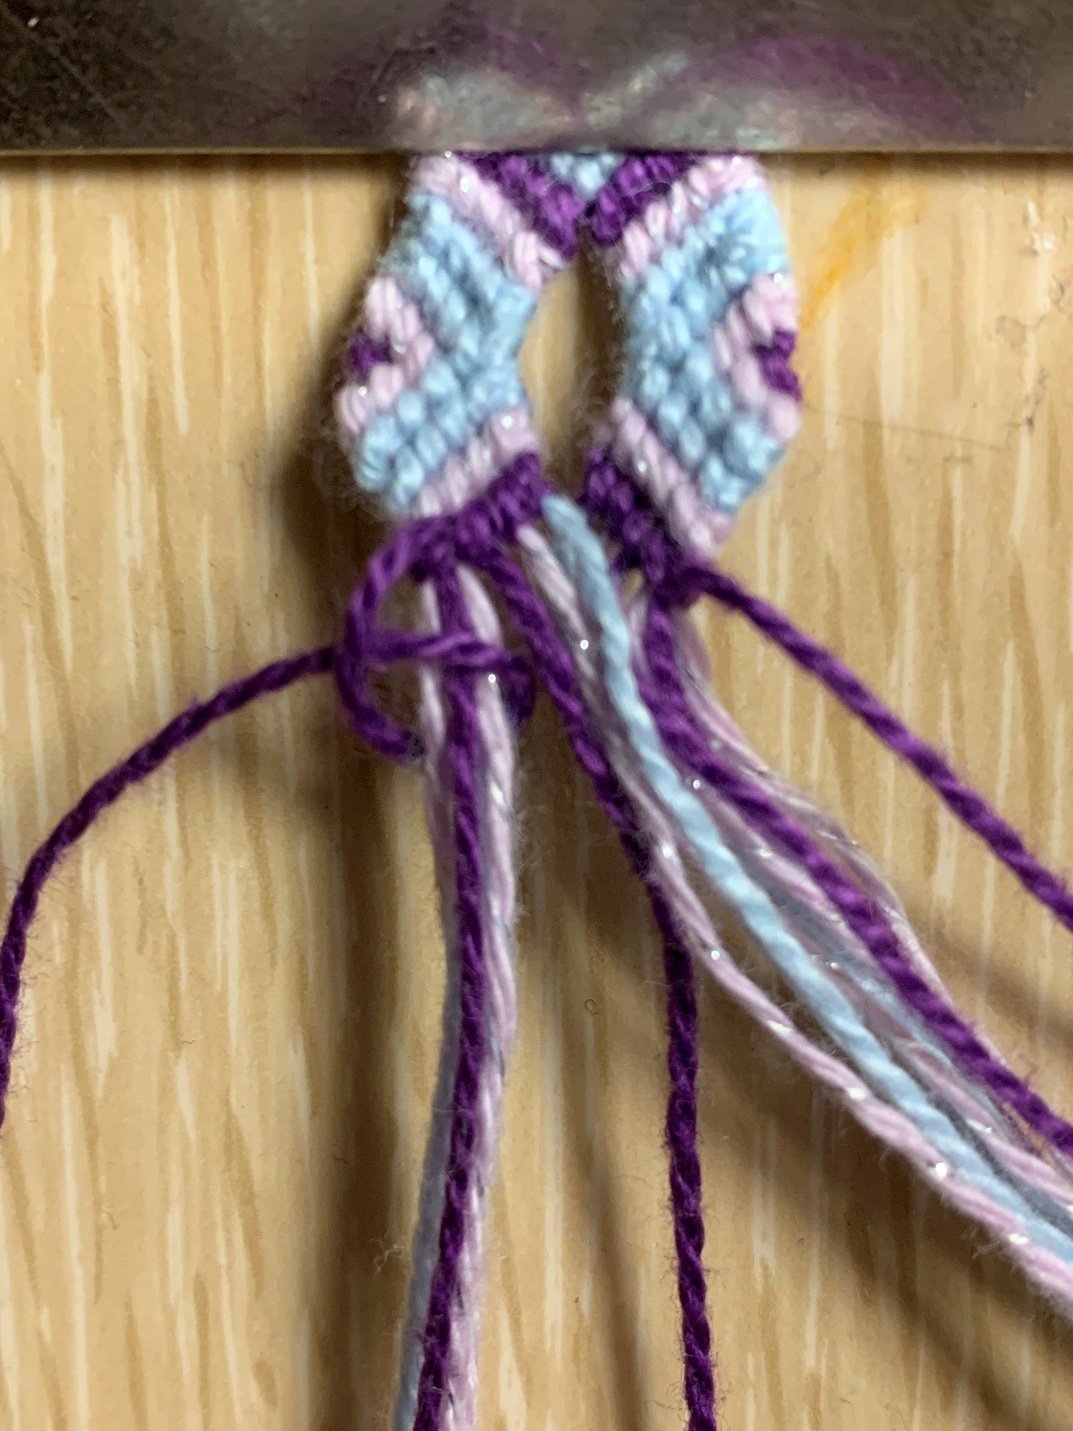
Step 11
Join the dark purple strings together on both the right-most and left-most sides.
Step 12
On the left side use the light purple closest to the dark purple strings to make 2 backwards knots to form a triangle, and on the right side use the light purple closest to the edge to make 2 forwards knots to also form a triangle.
Step 13
Use the outtermost blue string to make 2 backwards knots on the left and one backwards over the bundle of dark and light purple strings. Do the same on the right side but use forwards knots.

Step 14
Separate a blue out of the center bundle of strings on both sides. On the left side do a backwards knot over the entire center bundle of strings, then 2 backwards knots over individual strings, and a final backwards knot over the bundle of blue, light purple, and dark purple strings. Repeat on the right side using forwards knots instead of backwards knots.
Step 15
Repeat step 14 but use light purple instead.
Step 16
Repeat step 14 but use dark purple. The bundles in the center should lose strings as you move them to the edges and the bundles on the sides should gain strings.
Step 17
Join the blue strings in the center and make two backwards knots over individual strings on the left and a backwards knot over the left bundle. Repeat on the right side using forwards knots.
Step 18
Join the light purple strings in the center and make one backwards knot over an individual string on the left and one backwards knot over the whole bundle. Repeat on the right using forwards knots. (Sorry I forgot to take a picture for this one.)
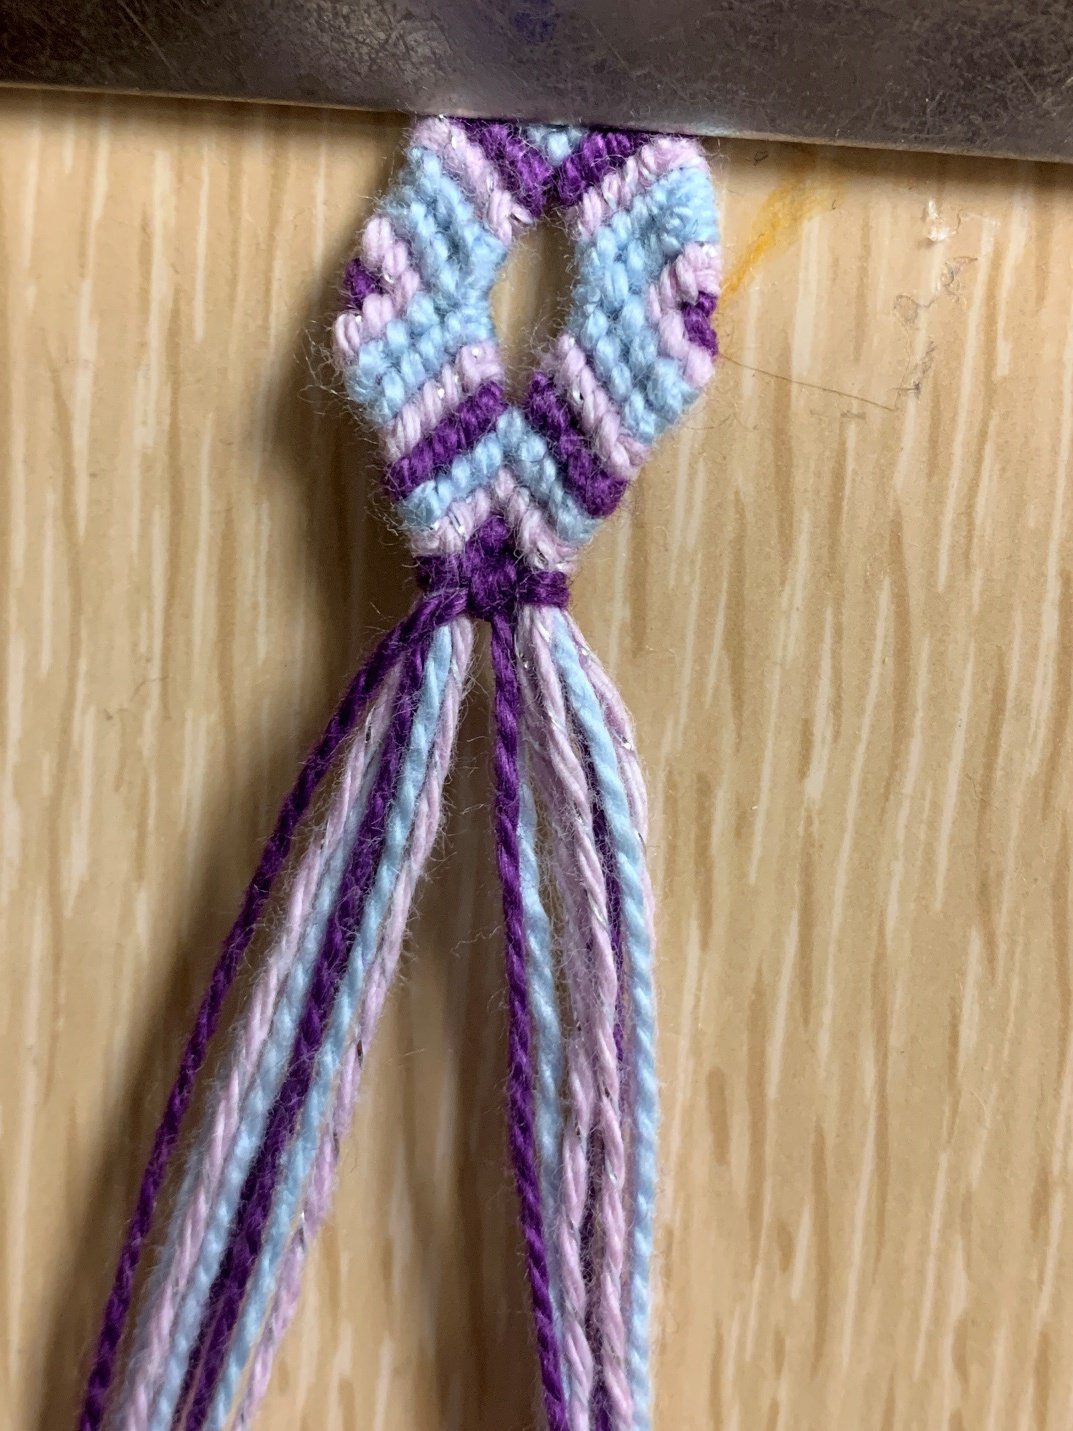
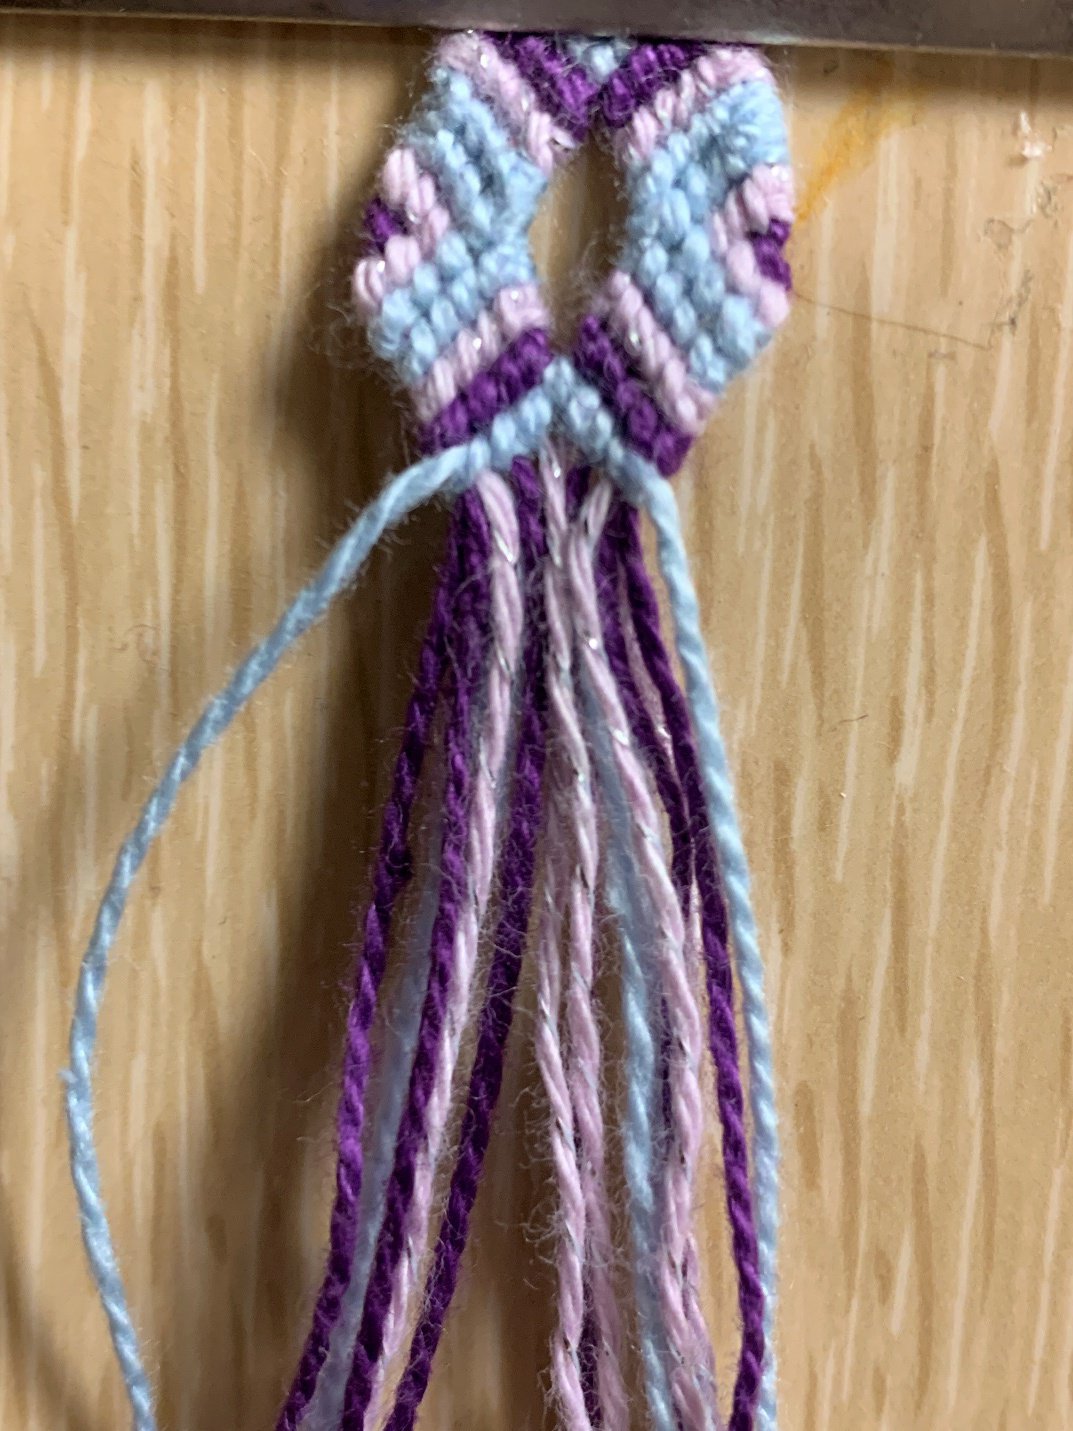
Step 19
Join the purple strings in the center, do a backwards-forwards knot over the whole bundle on the left and a forwards-backwards knot over the whole bundle on the right. Join the purple strings together again. A diamond with a hole in the center should have formed.
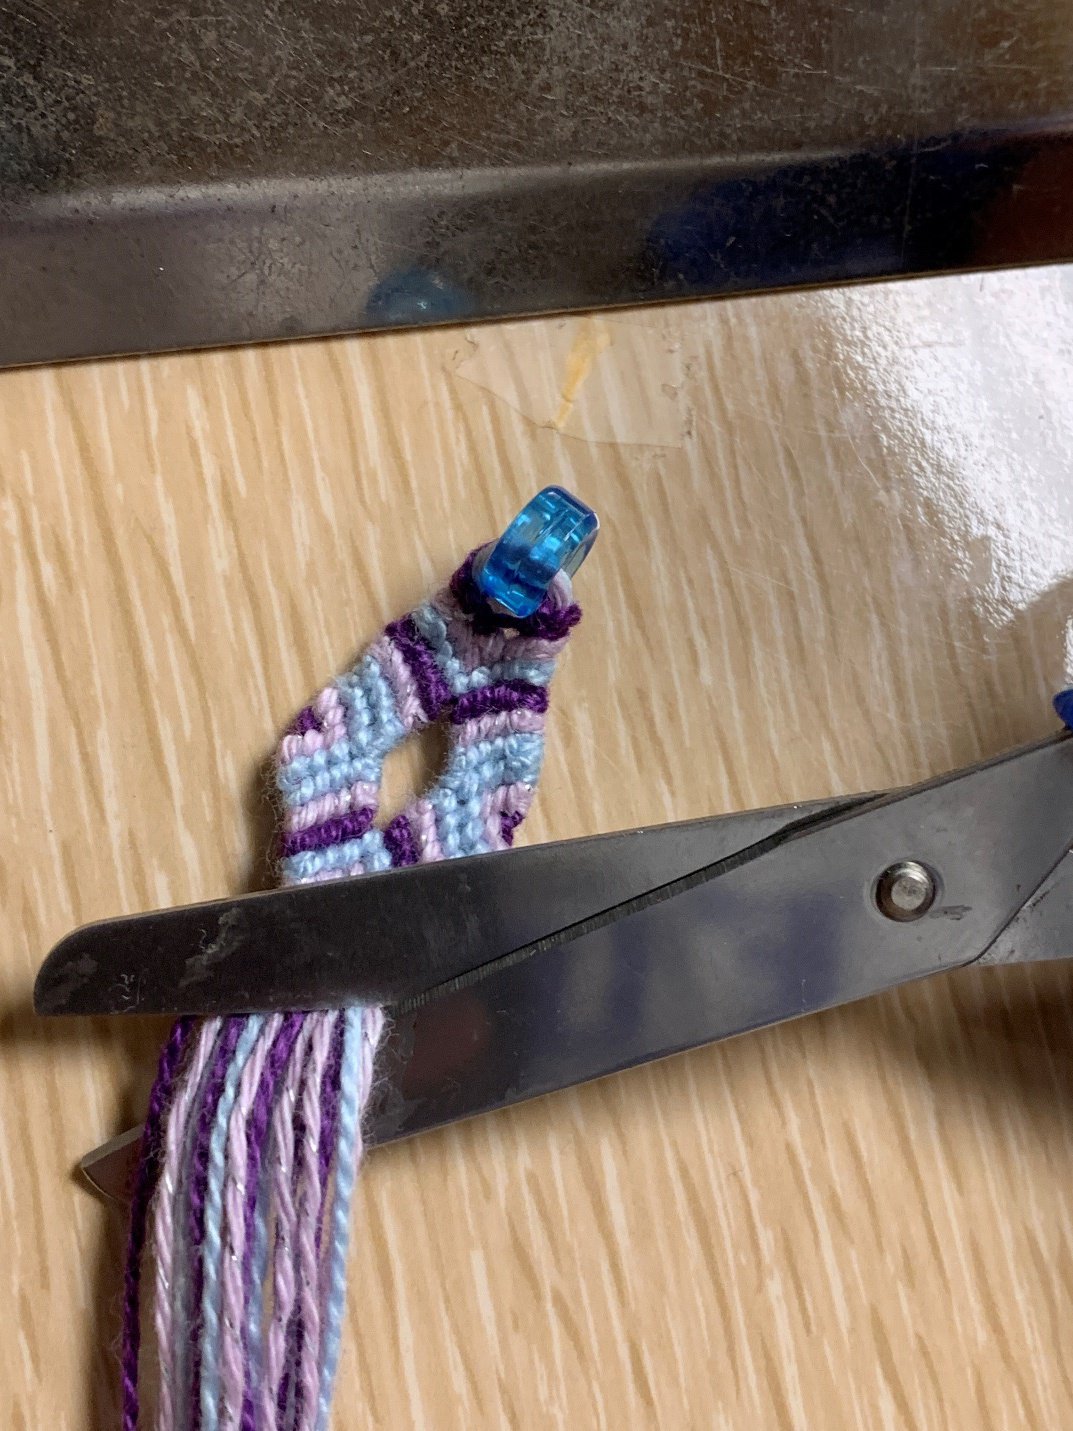
Step 20
Cut off the excess string as close to the knots as possible and seal with glue or clear nail polish. Alternatively, you could leave the ends longer to make a tassle-type ending.

Step 21
Open the jump ring at the top using pliers if you have them (or use your hands if you don’t) and close it around the ring of the dangly earring piece. You’re done!