Rate Tutorial
I was inspired to make this tutorial by Masha Knots’ video “10 Way to Improve Your Bracelets”. In her video, she talks about tips and tricks to improve your bracelets as well as different things you can try with your bracelets! This tutorial includes some of her tips as well as some things that I have learned to do. If you have never made friendship bracelets before I recommend checking out Masha Knots’ video titled “Beginners Guide”.
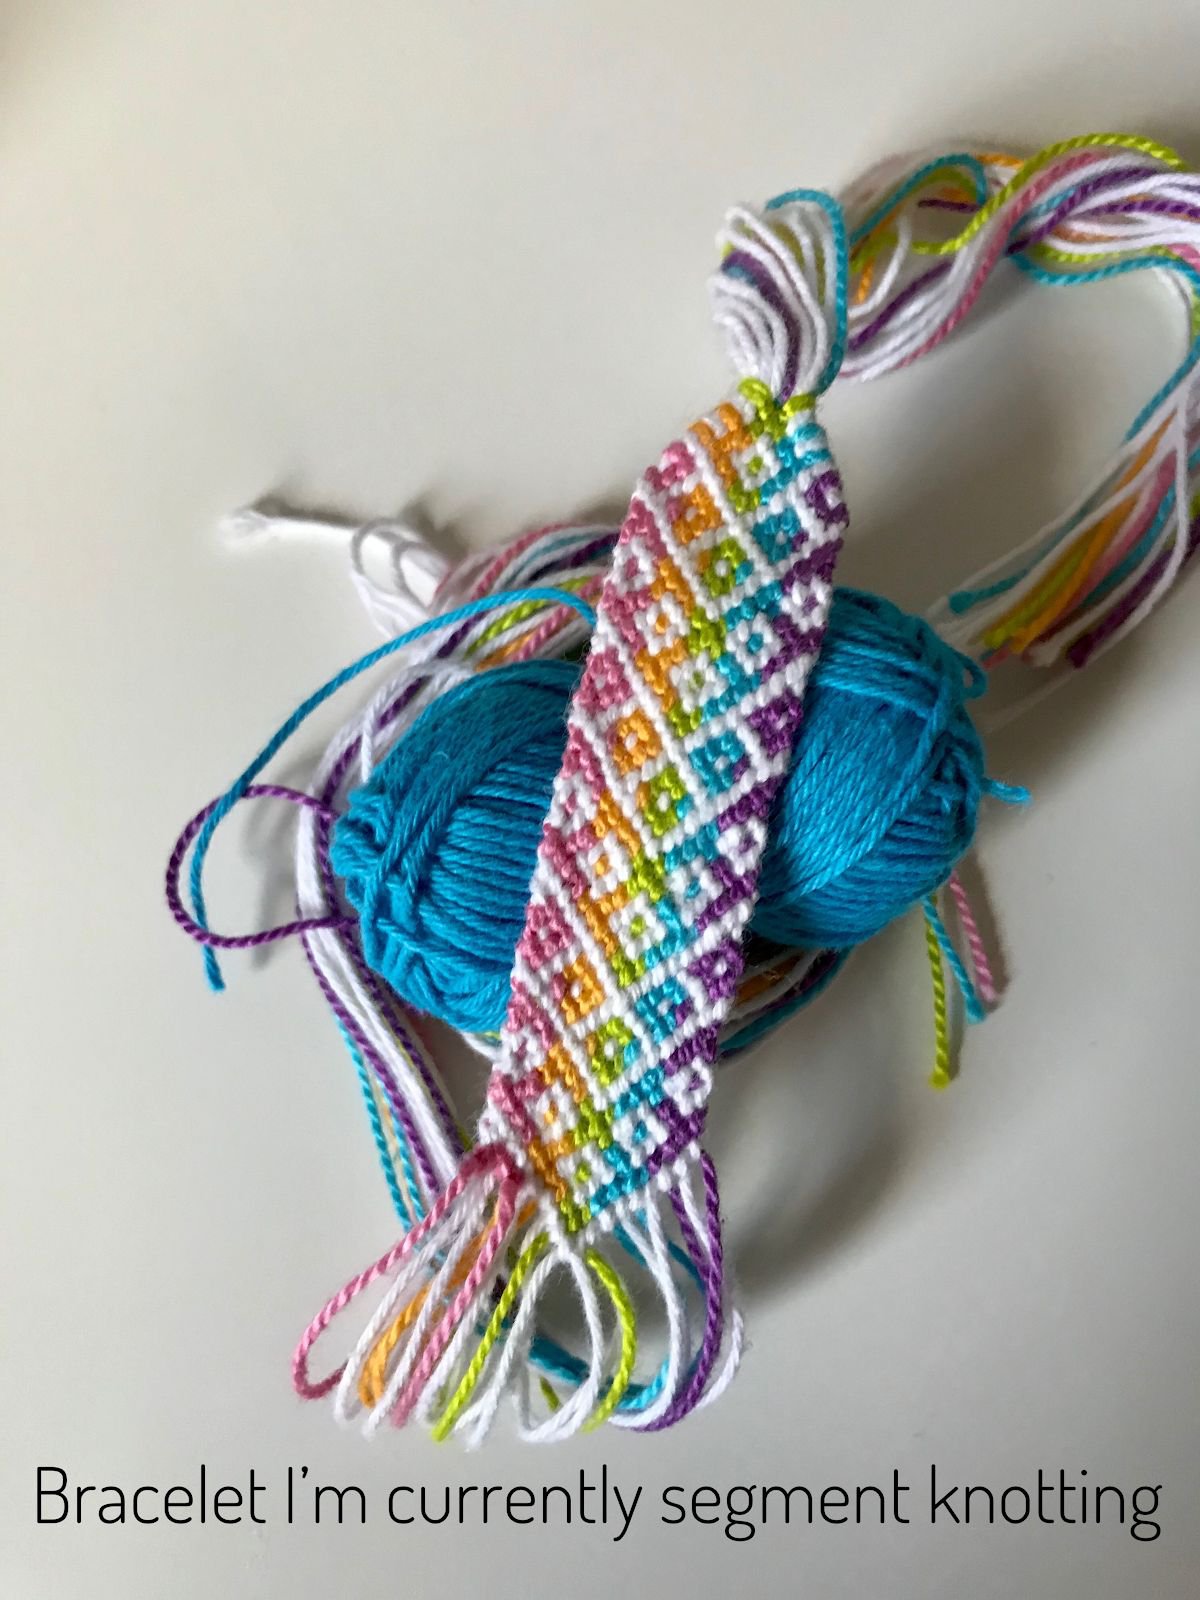
Tip 1: Learn to segment knot
Segment knotting is a way to make your bracelets faster. Instead of doing individual knots with pairs of strings, you try to find a group of knots that you can do with one string. If you’ve ever made a candy stripe or chevron, you’ve most likely segment knotted. Masha Knots and Megan Morris have video tutorials on how to segment knot.
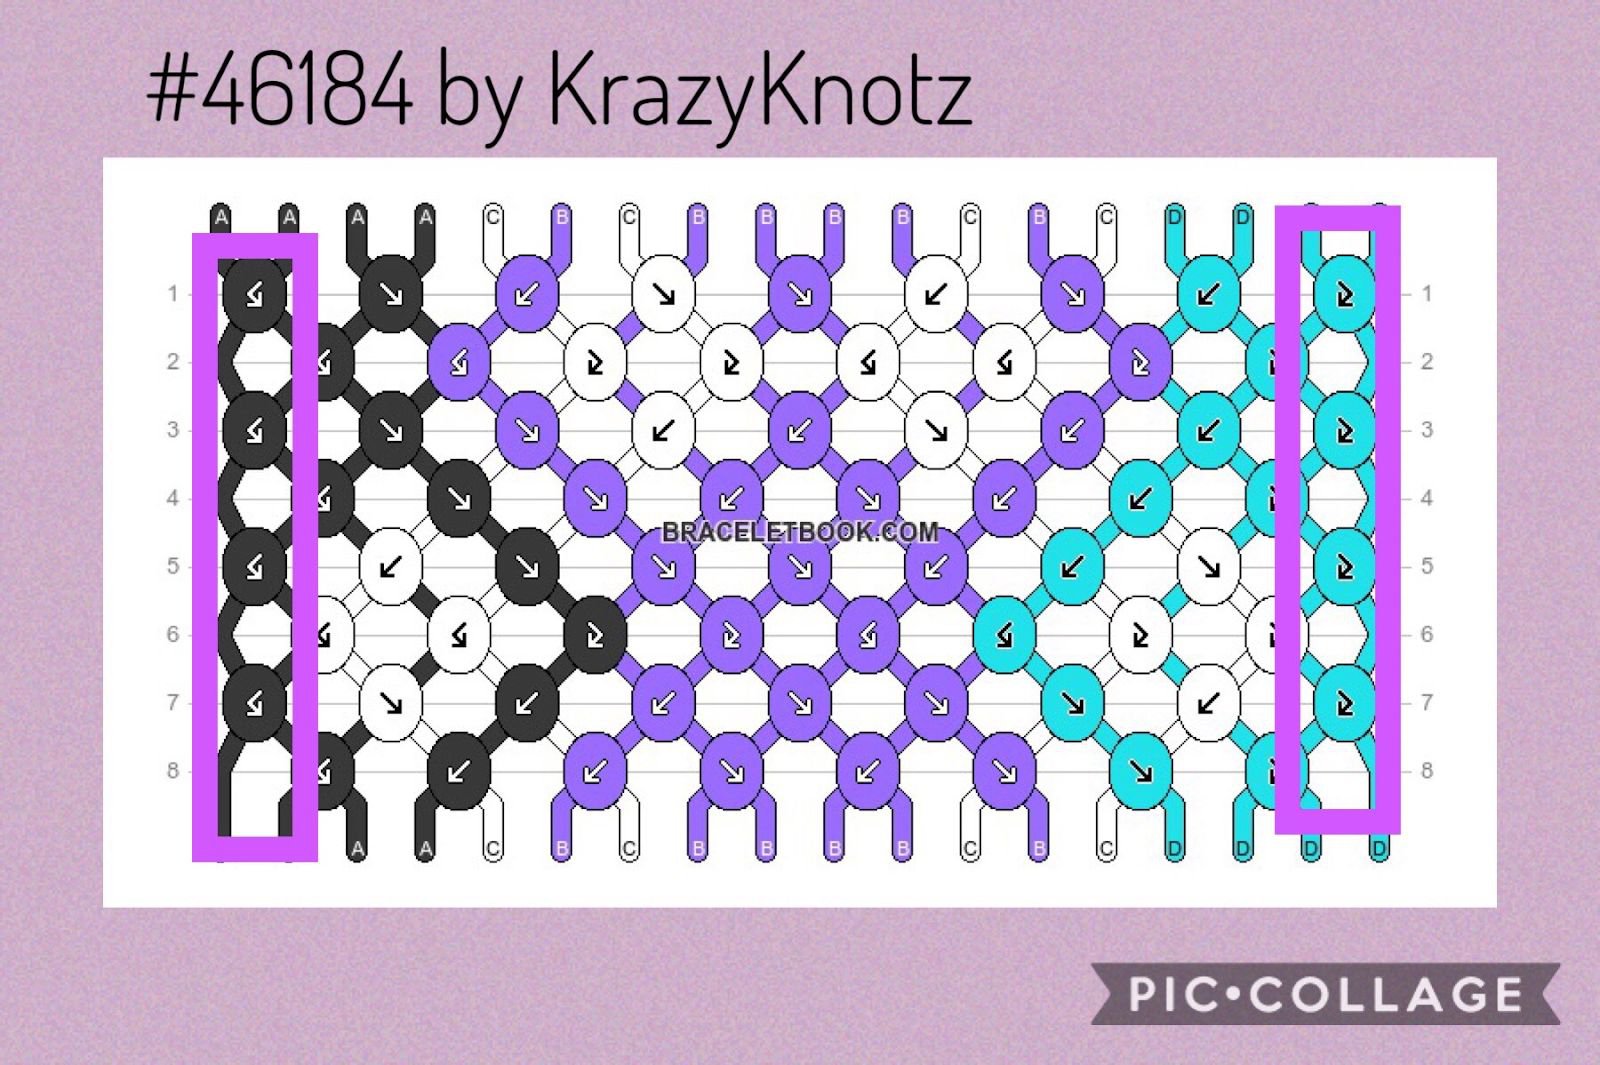
Tip 2: Use the straight edges technique
When making your bracelet you need to make backward-forward knots on the left side and forward-backward knots on the right side. Some patterns already have the straight edges technique built into the bracelet, but some do not. Masha Knots and Pattern and Craft have tutorials on how to keep your edges straight and what to do if the straight edges aren’t already built into the pattern. An example of the straight edges technique is in @KrazyKnotz pattern, #46184.
Tip 3: Learn to read patterns
Learning to read patterns can open a whole world of new and amazing bracelets! Watching tutorials is a good way to learn but if you find yourself wanting to make more complicated or detailed bracelets, learning to read patterns is a good way to go. Masha Knots can also teach you to read patterns in her segment knotting tutorial.
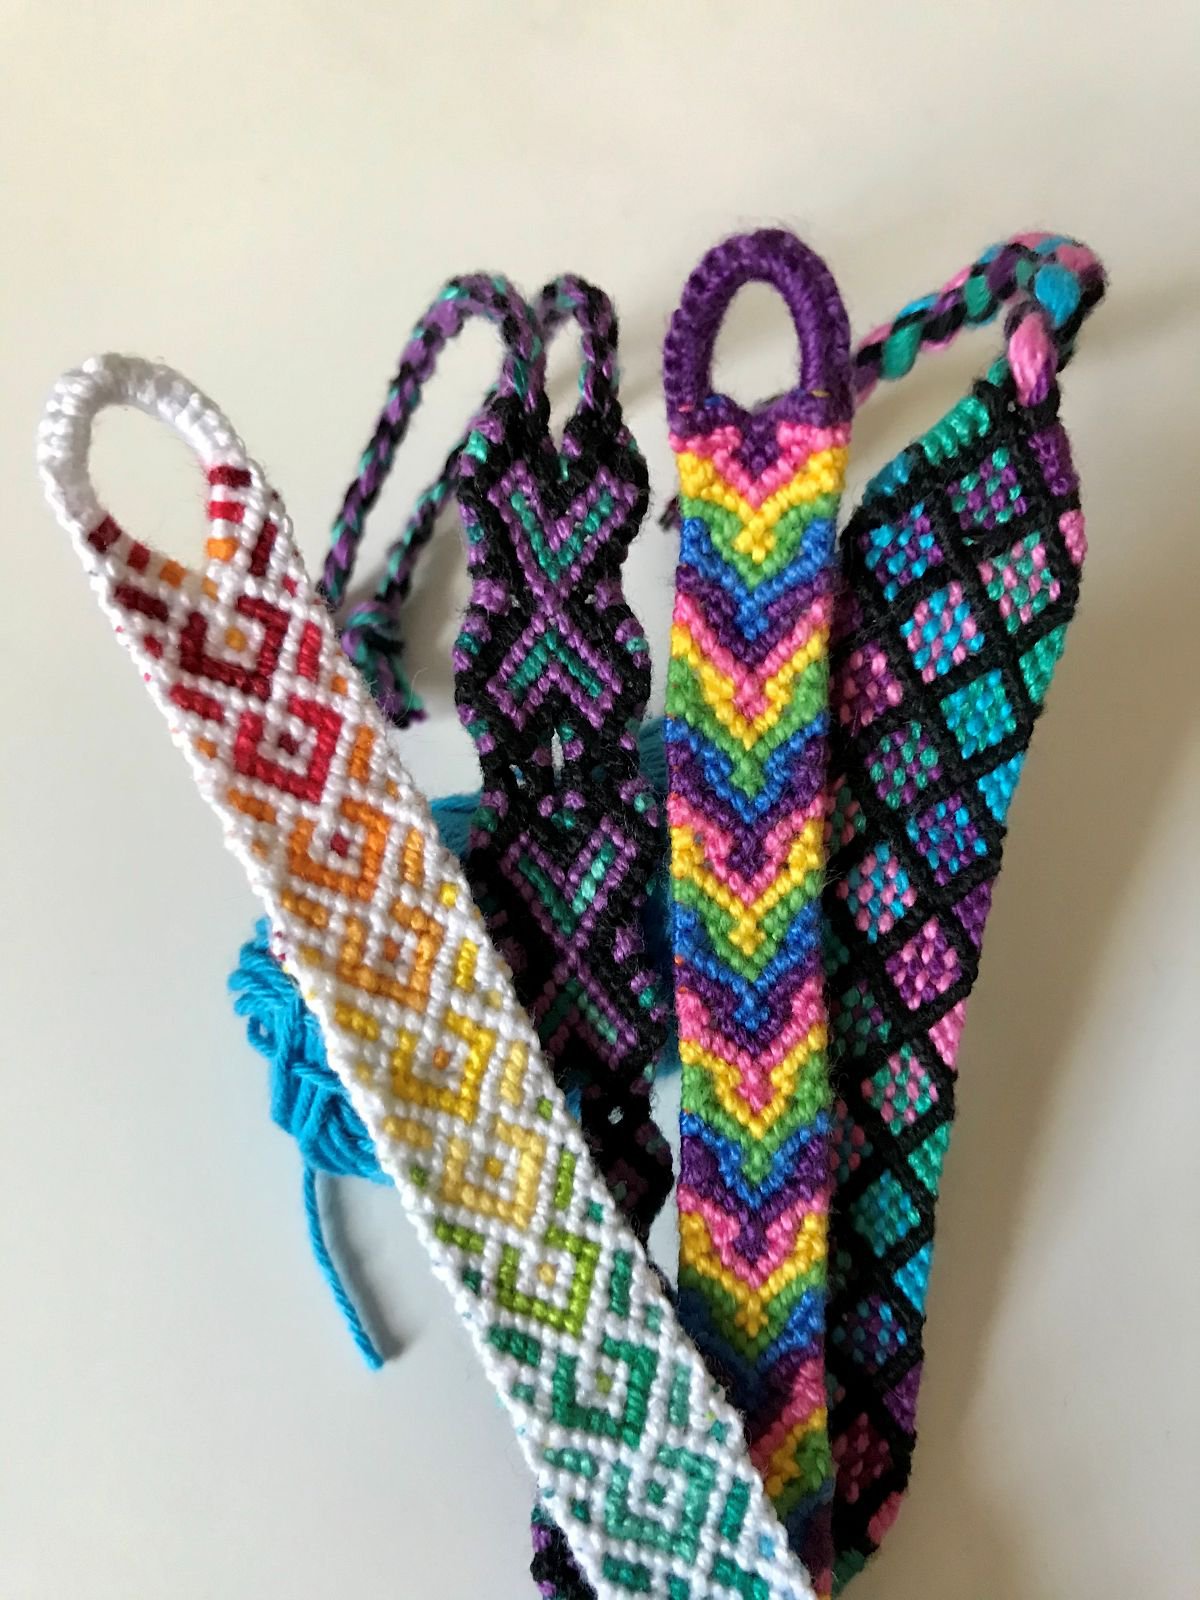
Tip 4: Ways to start and finish your bracelets
You can make your bracelets look a lot more interesting if you try different ways to start your bracelets. You could do triangle ends, a teardrop loop, crimp ends, triangle ends after a loop, and many more! I really enjoy making triangle ends on my bracelets, it gives them a more professional look that I really enjoy.
Tip 5: Customize your patterns
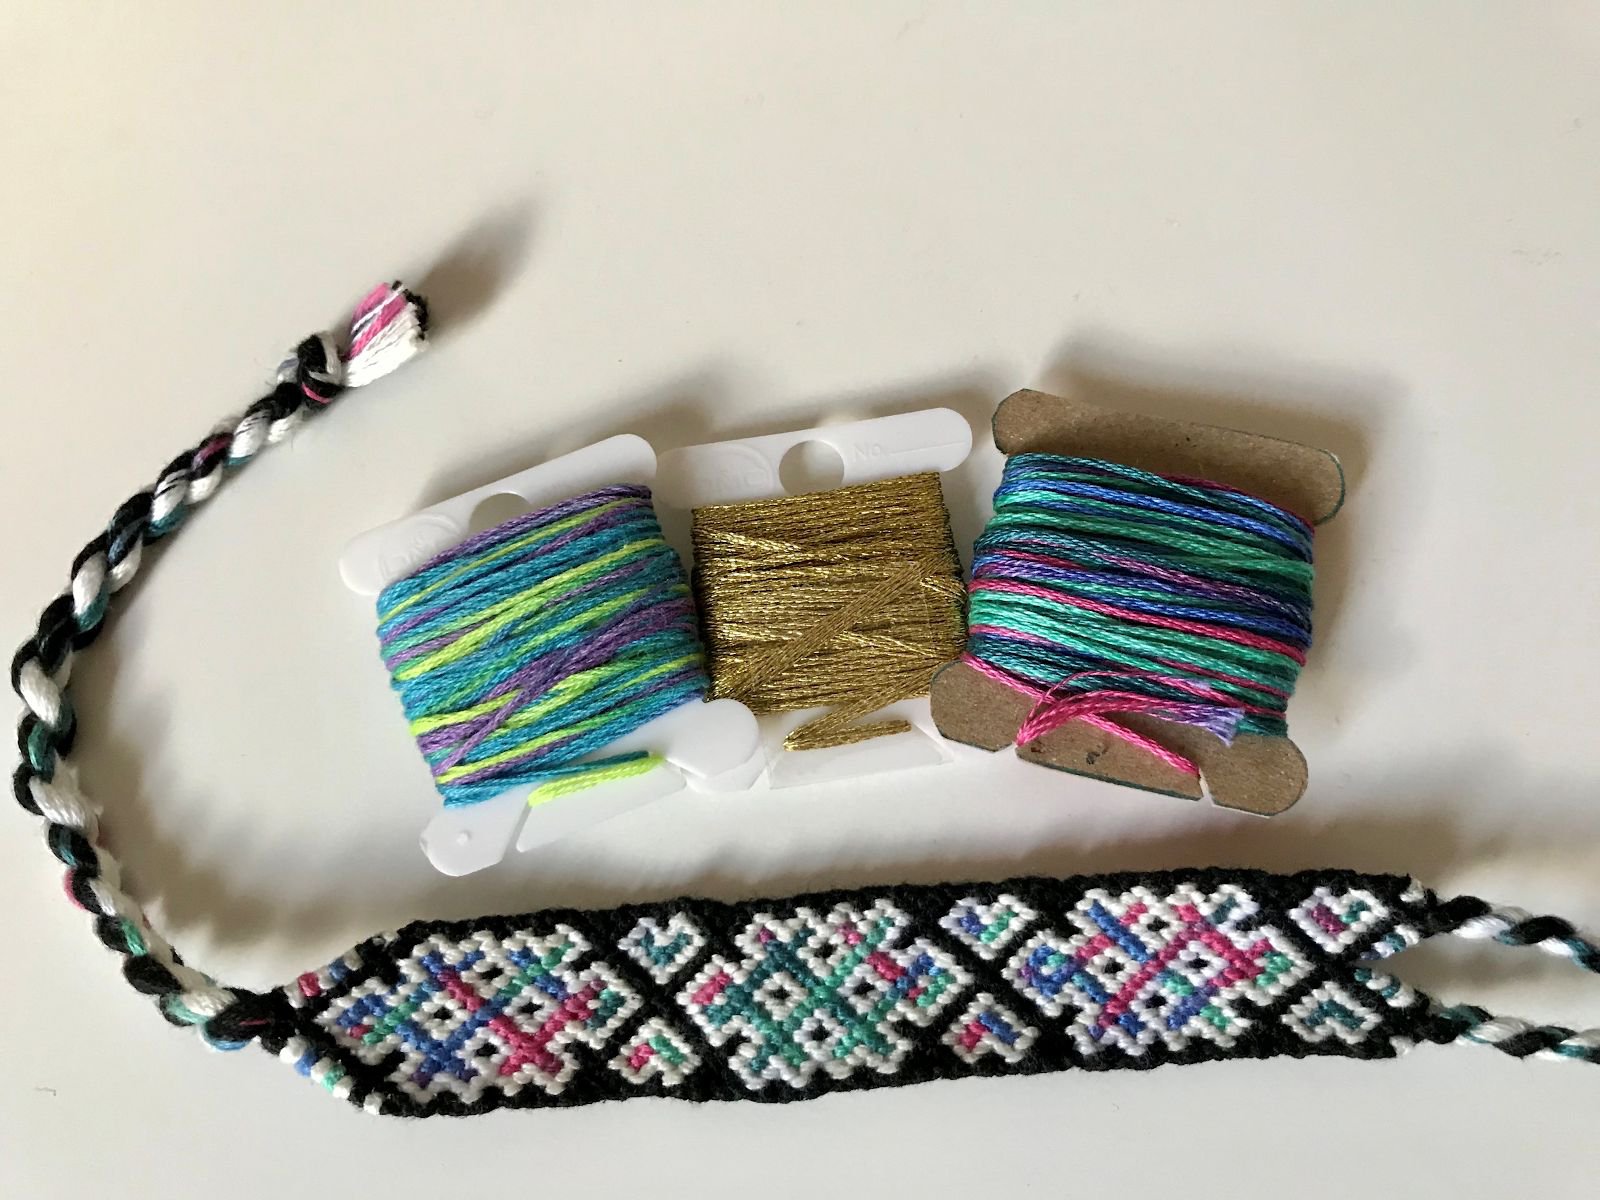
Tip 6: Experiment with your bracelets
Try something new that you’ve never tried before! You could get new string like multicoloured or sparky string and make a bracelet with that. You could try a new technique that you have never tried before. You could also try inserting charms into your bracelets or make your bracelets into a whole different thing like a collar for your pet or even make a belt! Don’t be afraid to experiment or try something new.
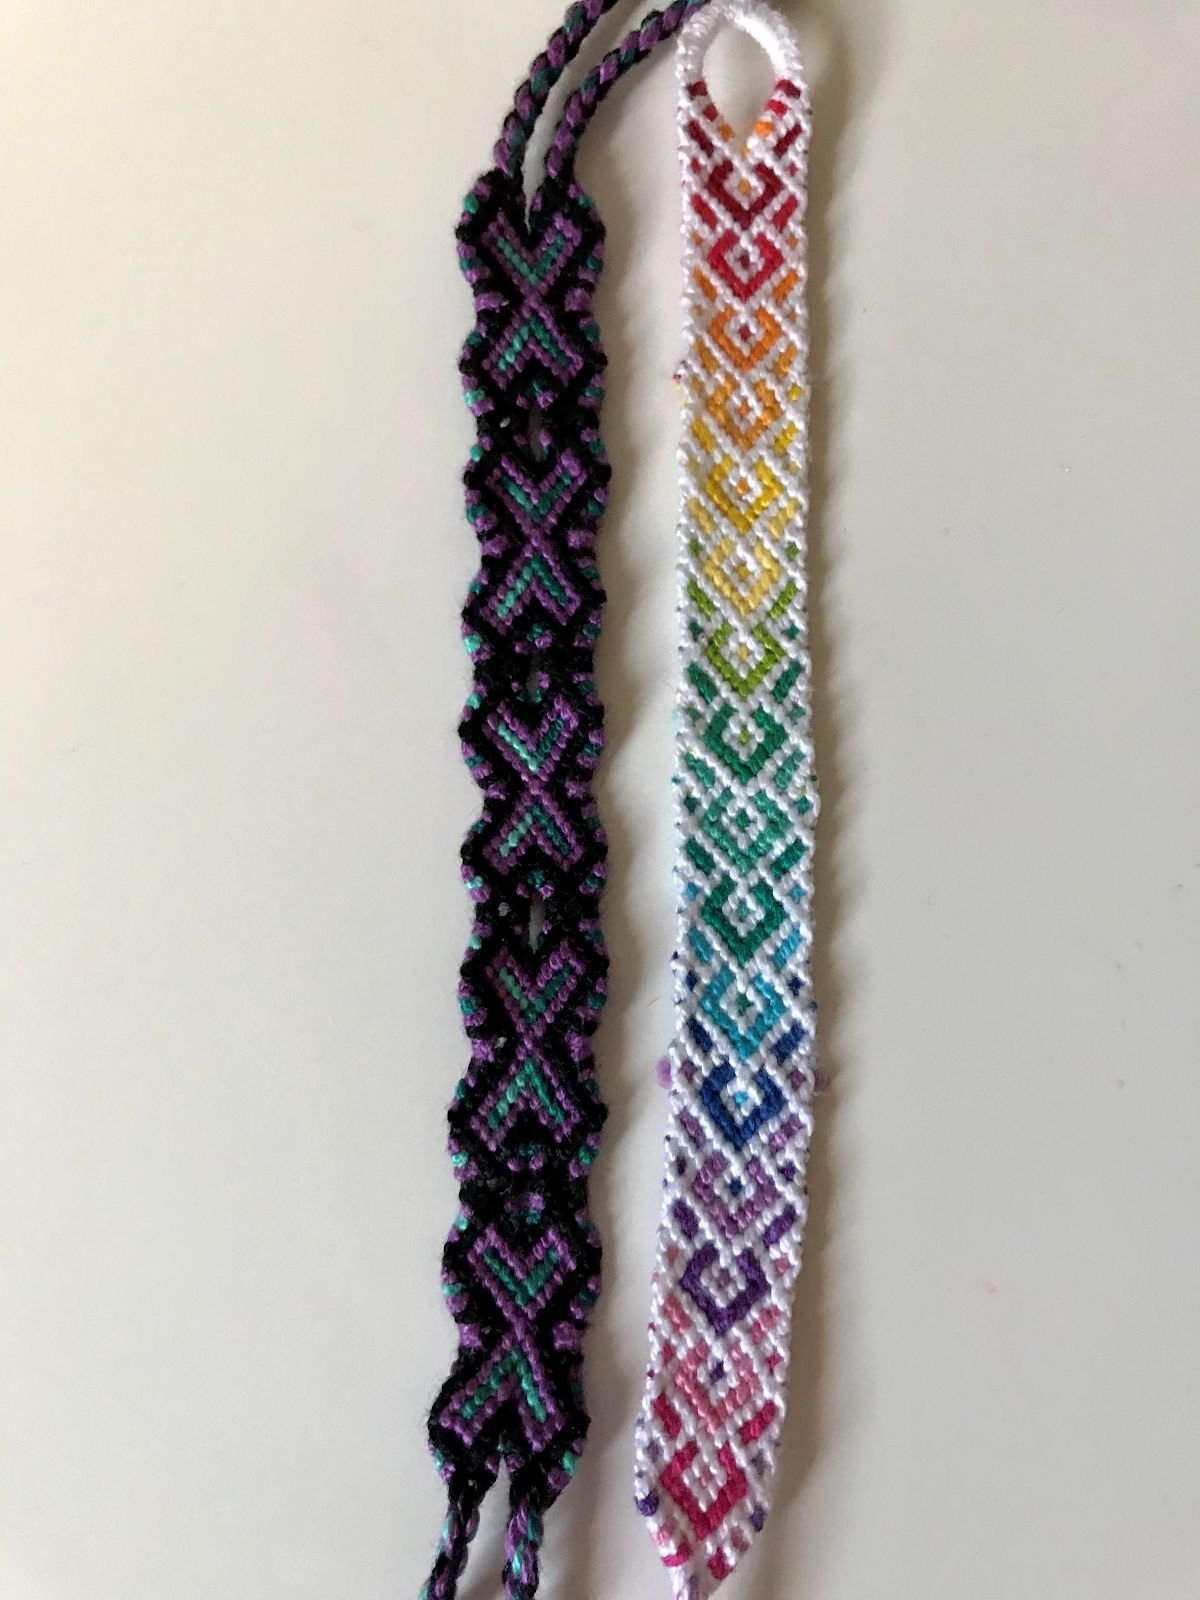
Tip 7: Practice
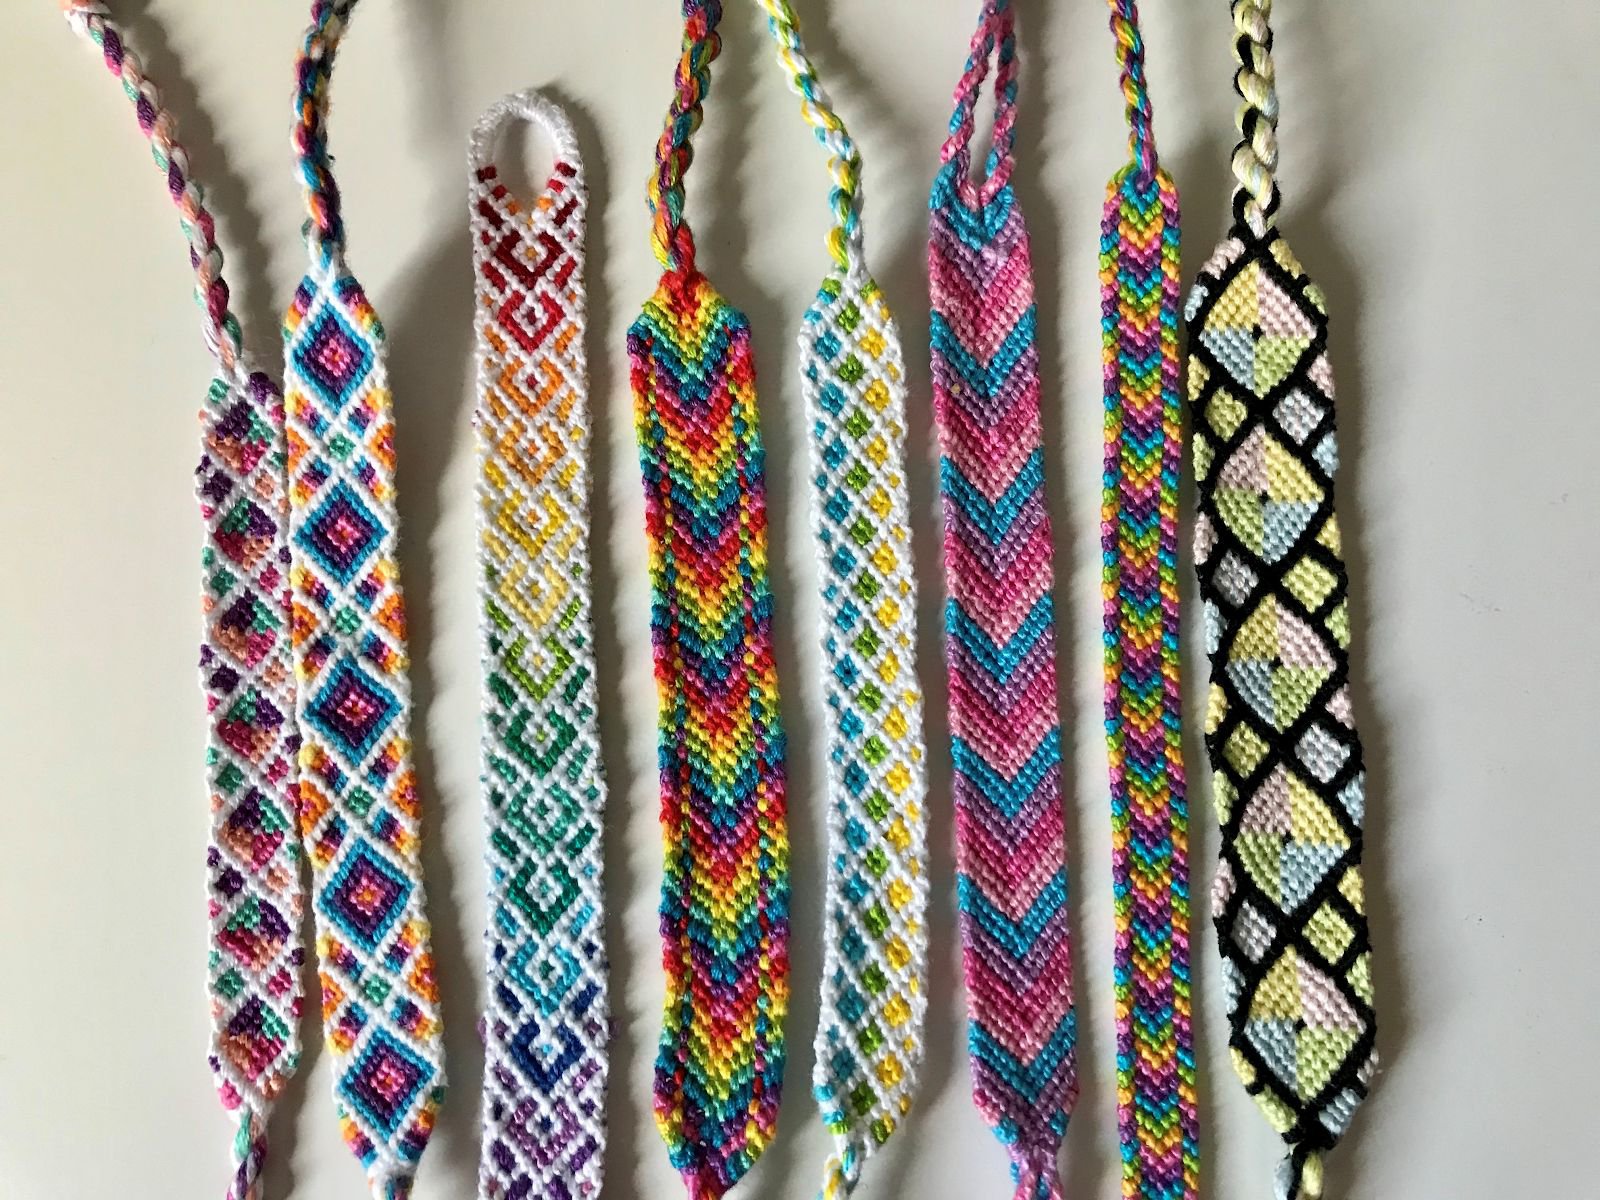
One of the best ways to improve your bracelets is to practice. If you keep continuing to make bracelets you will start to improve. You might start to notice that your bracelets start to turn out neater or straighter! I like to look at pictures of other people’s bracelets to motivate and inspire me to keep making bracelets.
I hope you found this tutorial helpful! If you have any questions or other tips that someone might find helpful leave a comment. Happy knotting!
BEGINNER'S GUIDE by Masha Knots.
NORMAL PATTERNS & SEGMENT KNOTTING TUTORIAL - FOR BEGINNERS by Masha Knots.
What is Segment Knotting? by Megan Morris.
HOW TO KEEP EDGES STRAIGHT by Masha Knots.
Straight Edges Technique for Friendship Bracelets by Pattern and Craft.