6
Crafty_K
Bracelet King
Gender: Female
Age: 18
Country: USA
Joined: 5 years, 11 months ago
Hey guys! I'm Kalea! (kah-LAY-uh)
Subscribe to my YouTube channel!: https://www.youtube.com/channel/UCURMBePoTyuR8spTqxmXLjw?sub_confirmation=1
Join Krafting Central, my bracelet and craft Discord server!: https://discord.gg/Y2PqSNgdf3
Follow me on Pinterest!: https://www.pinterest.com/kaleaeggertsen/
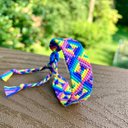
I have been making bracelets since I was around seven years old. ✨
You are totally welcome to send me a friend
request. All are accepted.
Not going to bore you with a long bio, but since you clicked and are clearly interested in reading this, here are some facts about me...
I'm a senior in high school, I run track & field and cross country, I am a writer (and aspire to be a published novelist one day!), I play piano, and love to read books.
Have a wonderful rest of your day, and thank you, as always, for stopping by. ❤
⚠️UPDATE: I’m back in the bracelet world, but won’t be as consistent. Expect to see an occasional video. I started making bracelets again due to summer vacation and your guys’ encouragement was enough inspiration to get me thinking of more video ideas. If you have any requests, you are more than welcome to DM me!!!!⚠️
P.S. If anyone was wondering, my alt account is @ColorKnot. 😜 I created it a while back for experimental reasons and will likely no longer be posting on the account, but we shall see.
Subscribe to my YouTube channel!: https://www.youtube.com/channel/UCURMBePoTyuR8spTqxmXLjw?sub_confirmation=1
Join Krafting Central, my bracelet and craft Discord server!: https://discord.gg/Y2PqSNgdf3
Follow me on Pinterest!: https://www.pinterest.com/kaleaeggertsen/
I have been making bracelets since I was around seven years old. ✨
You are totally welcome to send me a friend
request. All are accepted.
Not going to bore you with a long bio, but since you clicked and are clearly interested in reading this, here are some facts about me...
I'm a senior in high school, I run track & field and cross country, I am a writer (and aspire to be a published novelist one day!), I play piano, and love to read books.
Have a wonderful rest of your day, and thank you, as always, for stopping by. ❤
⚠️UPDATE: I’m back in the bracelet world, but won’t be as consistent. Expect to see an occasional video. I started making bracelets again due to summer vacation and your guys’ encouragement was enough inspiration to get me thinking of more video ideas. If you have any requests, you are more than welcome to DM me!!!!⚠️
P.S. If anyone was wondering, my alt account is @ColorKnot. 😜 I created it a while back for experimental reasons and will likely no longer be posting on the account, but we shall see.
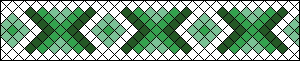
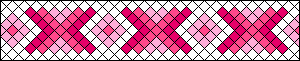
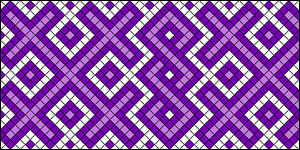
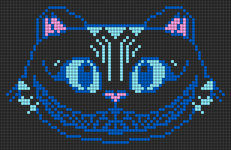
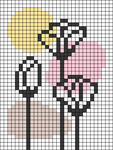
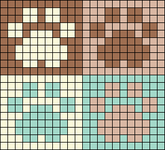
19 Patterns


99 Variations


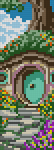
160 Photos


38 Videos
82 To-dos


563 Loves


752 Friends