Rate Tutorial
Things you will need
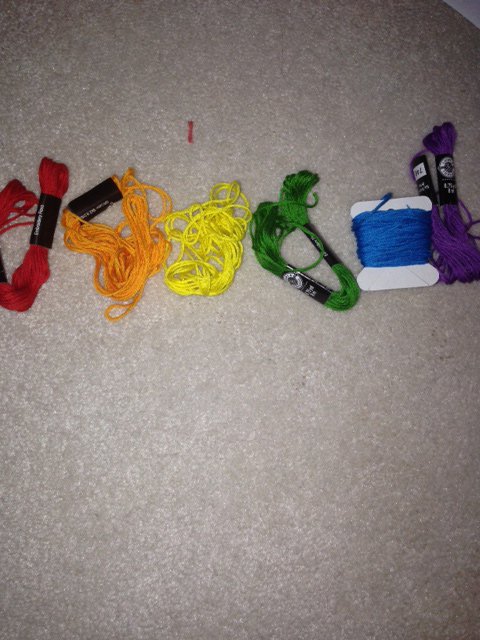
- string (this works best with multiple colors. I am using 6 strings of 6 different colors
- scissors
- a way of holding your bracelet in place while making
- scissors
- a way of holding your bracelet in place while making
Step 1
Cut your strings into equal length pieces, tie them in a knot, and secure them for making the bracelet.
Step 2
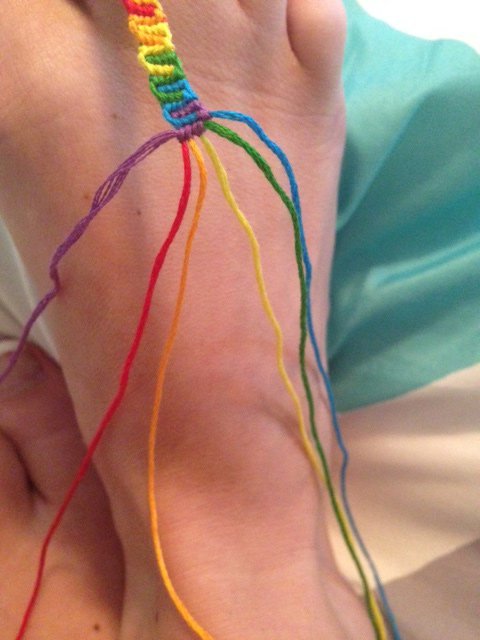
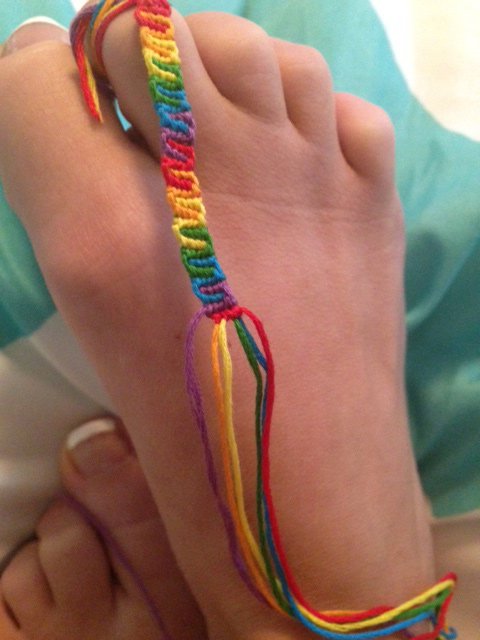
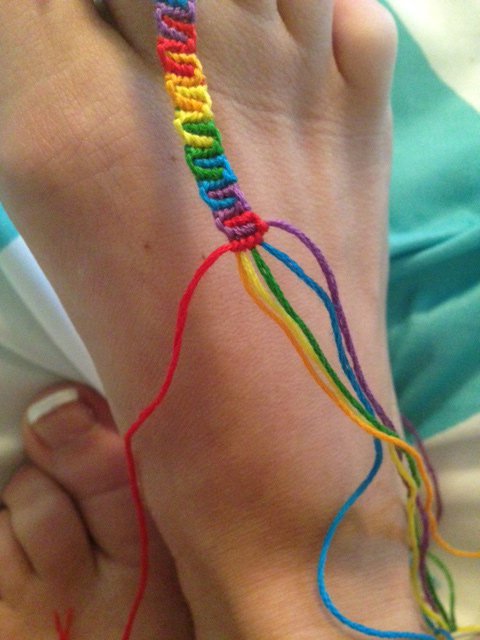
Organize your strings in the order you want them to appear, but with your last color string in your string order first (for example, my sequence/order is rainbow, so I put my purple as the first string instead of the last).
Step 3
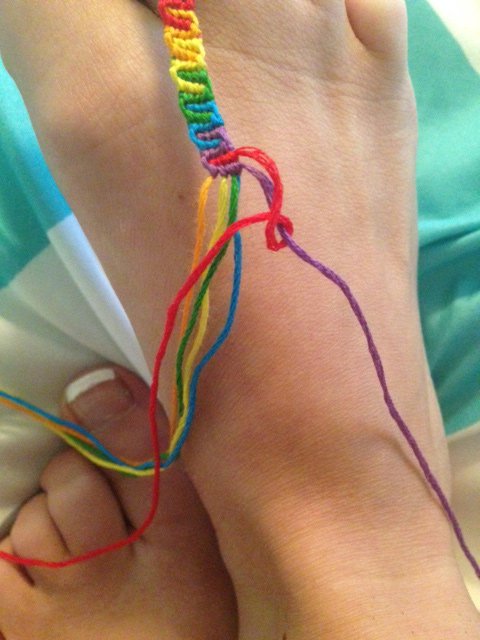
Using your second string (aka your first color in your order), tie a forward knot onto your third string.
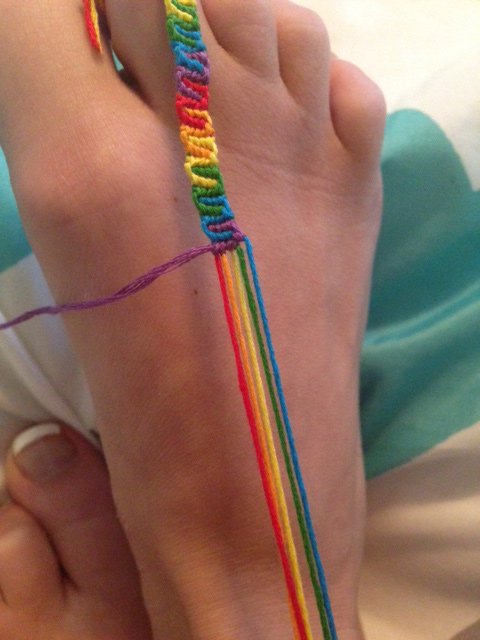
Step 4
Using the same knitting string, tie forward knots on the rest of the strings (but not on your first string). Put the string you just knotted with (first color) to the side.
Step 5
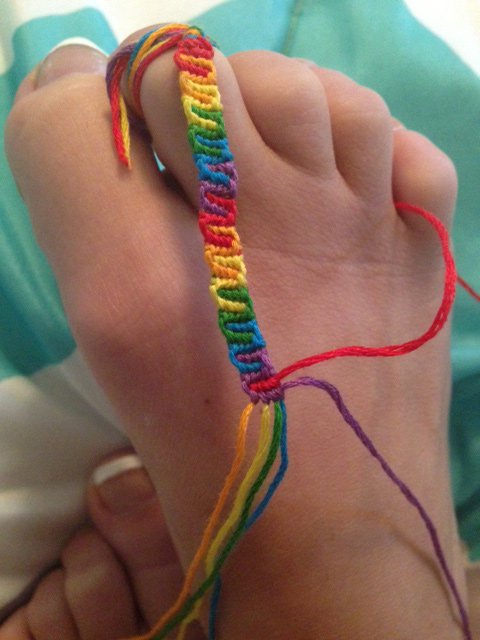
Using your first string (the last color) tie a forward knot onto the string closest to it.
Step 6
Using the same knotting string, tie knots across the rest of the strings, but not the last one (the one you put to the side).
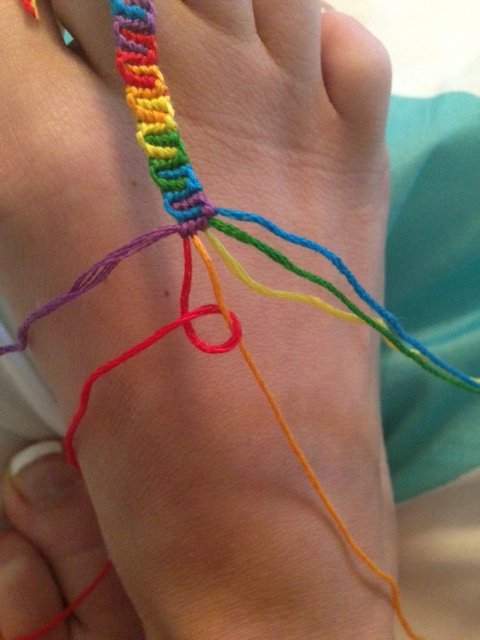
Step 7
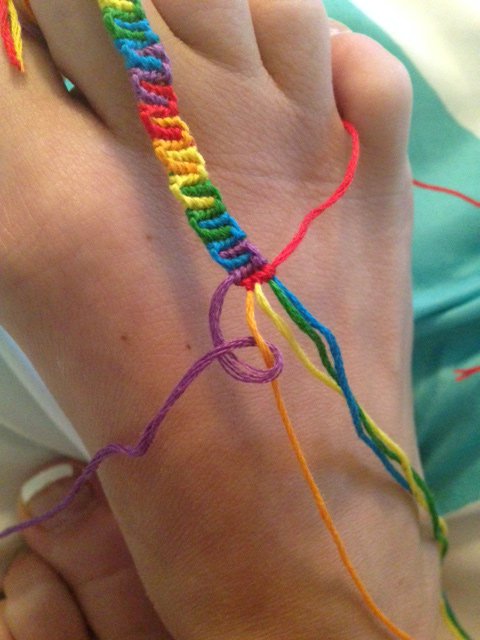
Now with the string you put to the side, tie a backward knot onto the nearest string (the string you had just knotted with).
Step 8
With the string you just knotted with, tie backward knots on all of the rest of the strings. Then put it to the side.
Step 9
Repeat steps 3-8 until your bracelet is your desired length.

Step 10
Finish off your bracelet with a knot to secure it.
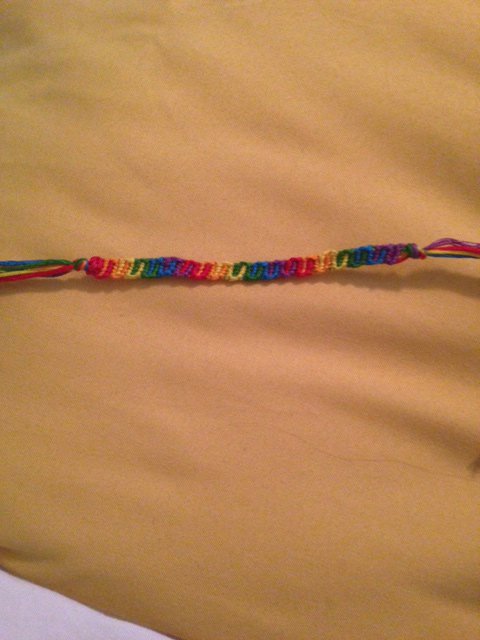
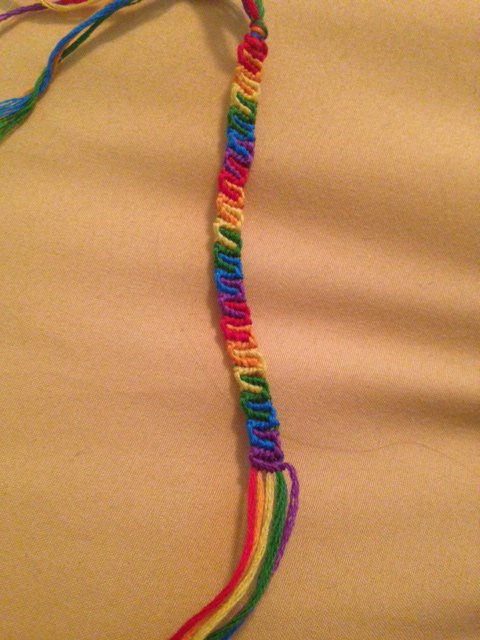
Done
Now you have your completed rainbow wave bracelet! I hope you enjoyed this tutorial and like how your bracelet turned out 🙂
Feel free to post pictures of your bracelet to pattern #15049.
Thanks for reading,
CWillard
Feel free to post pictures of your bracelet to pattern #15049.
Thanks for reading,
CWillard