Rate Tutorial
Things you will need
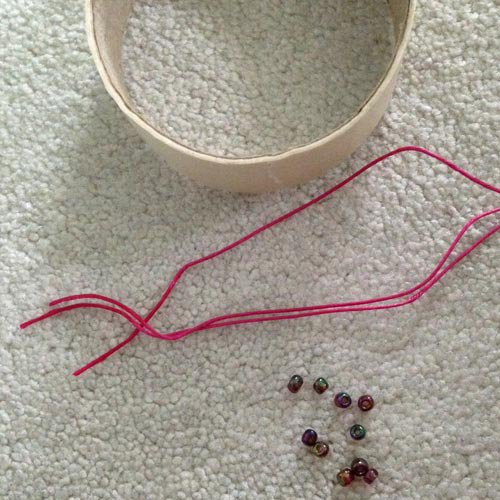
- string
- beads
- a way of holding the bracelet in place while making (I'm using tape)
- beads
- a way of holding the bracelet in place while making (I'm using tape)
Step 1
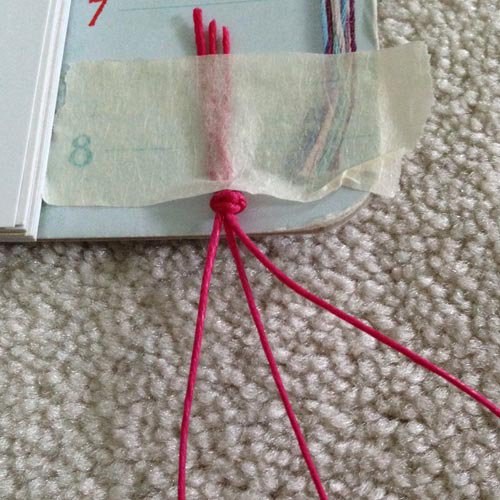
With your string, cut 3 pieces, tie them together in a knot, and secure them for making the bracelet.
Step 2
Take the left string and put it over the middle string.

Step 3
Take the right string and put it over the middle string. You have now completed your first braid stitch.
Step 4
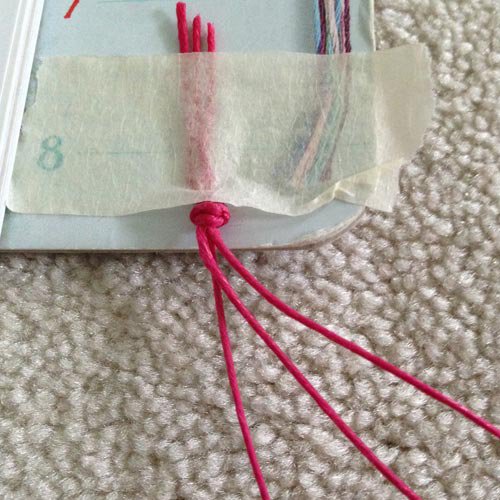
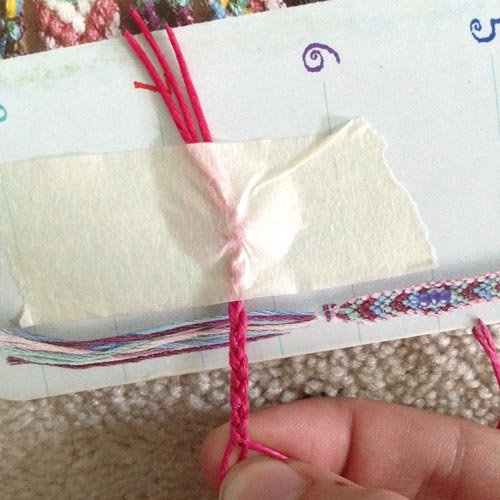
Now continue braiding for at least 10 stitches total, or more if you'd like.
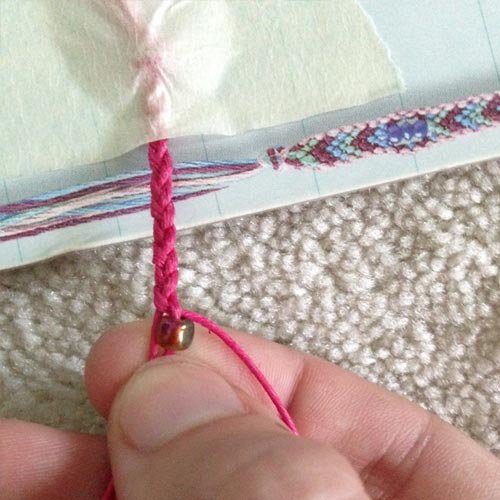
Step 5
When you've reached the length you want for the beginning part of the braid and have finished crossing over the right strand to the middle, slide up your first bead on the strand which is now in the middle.
Step 6
Cross the left string around the bead and over the middle strand, locking it in place.
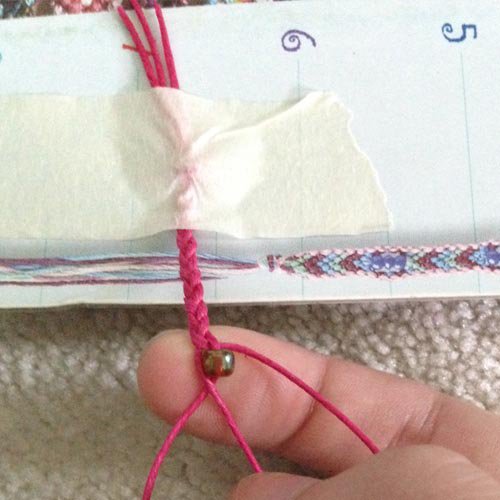
Step 7
Now keep repeating steps 5 and 6 by crossing over the right strand, adding the bead, and crossing over the left strand to lock the bead in place until you have the desired number of beads you want. If you want, you can also add a few more braid stitches between each bead.
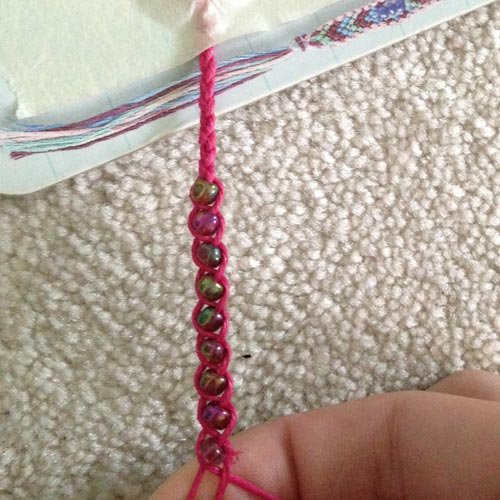
Step 8
When you have put on the desired number of beads on your bracelet, make the same number (or around the same number) of braid stitches so your bracelet is your desired length. Finish off your bracelet by tying a knot at the end.
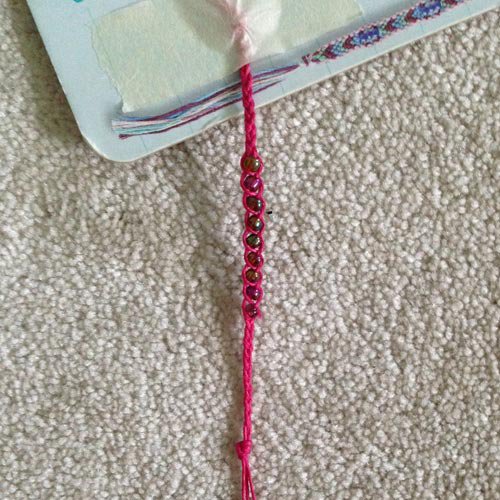
Now you have your completed braided bead bracelet! I hope you enjoyed this tutorial and like how your bracelet turned out 🙂
Thanks for reading,
CWillard
Now you have your completed braided bead bracelet! I hope you enjoyed this tutorial and like how your bracelet turned out 🙂
Thanks for reading,
CWillard