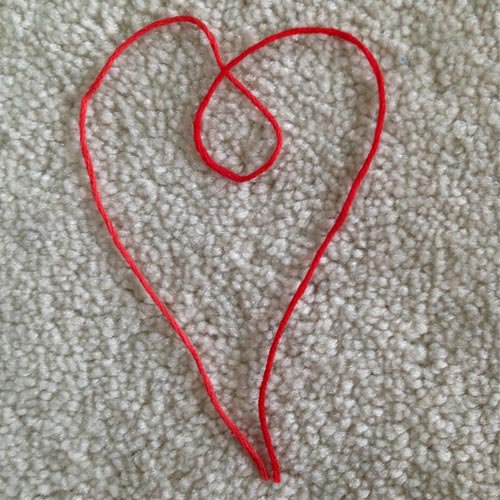
Rate Tutorial
What you will need
- your bracelet with end strings (this works best on friendship bracelets that have a loop at the beginning, but can work on some other bracelets as well)
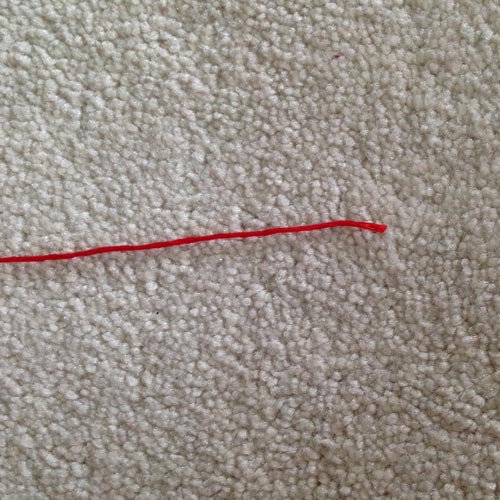
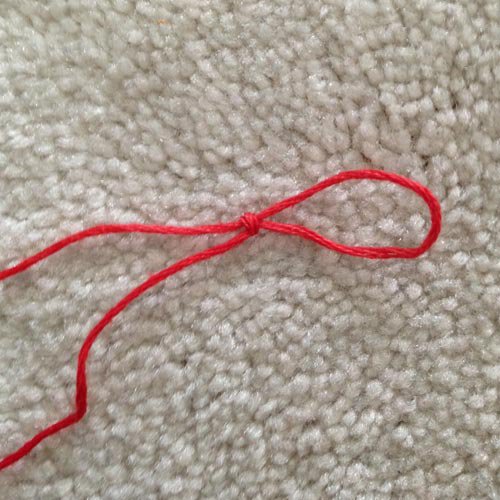
Step 1
Lay your ending string down in a straight line
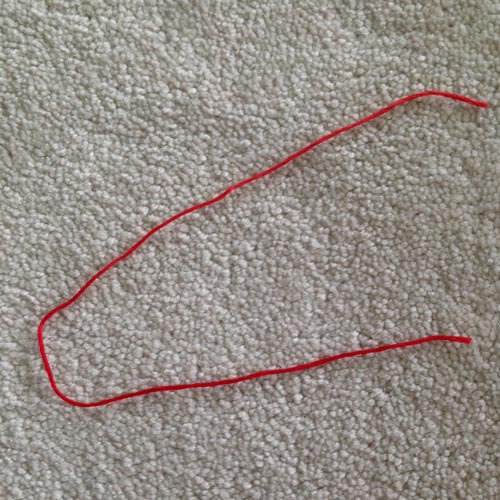
Step 2
Curve the string around towards the opposite direction, so that the end of the string is above where the rest of the bracelet string is, and so it looks kindof like a less than or greater than sign or a sideways V. (If your bracelet has a loop at the beginning, have the string going through the loop so that the loop is strung through the string and at or around where the string is changing direction).
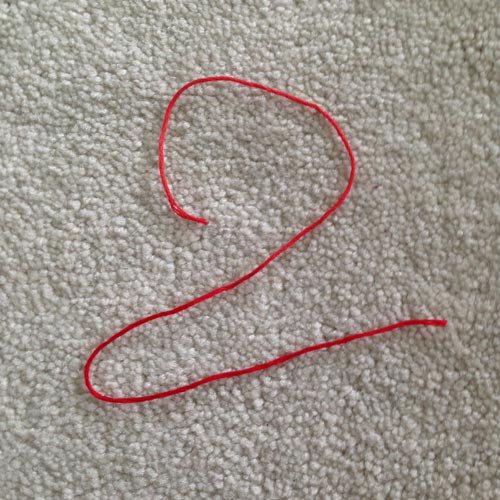
Step 3
Curve the string around again in the opposite direction so that it kind of looks like the shape of the number 2.
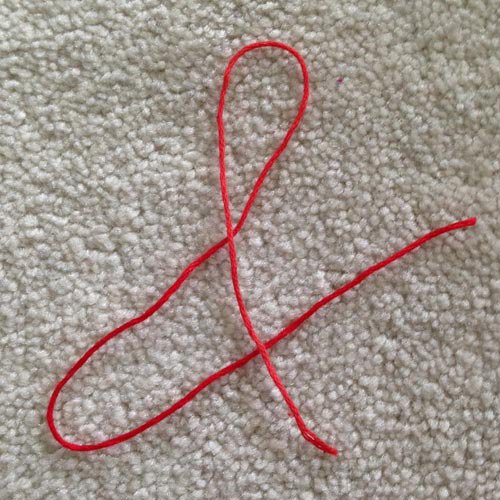
Step 4
Now take the end of the string which should be the end of the curved part of the 2 shape and pull it down over across the zig-zagging string. It should look kindof like the & symbol.
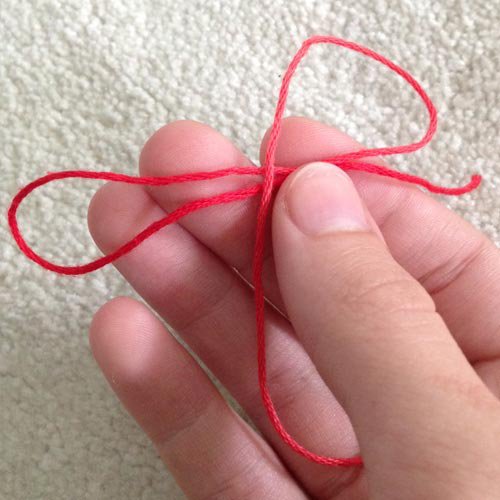
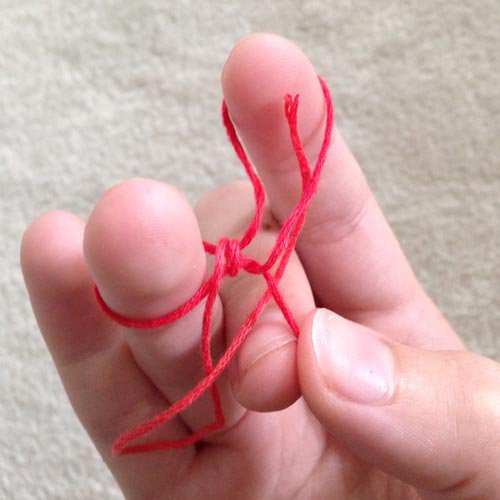
Step 5
Pick up the string. The best way to do this is by pinching the side of the string that's attached to the bracelet (what was the bottom of all of the shapes) with your thumb and putting your index finger through the top loop, pinching your thumb and index finger together to hold the shape.
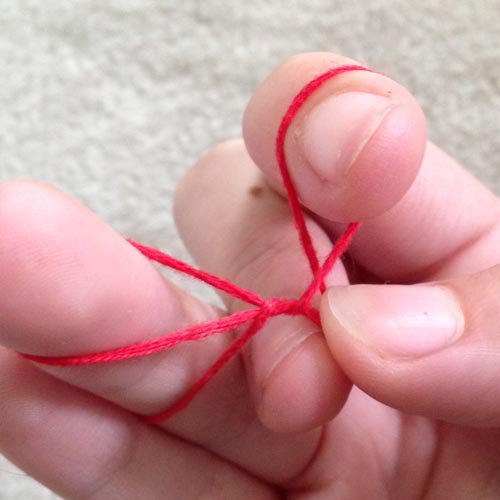
Step 6
Coil your end string around the other loop's strings one time. This is the same thing as wrapping it around once. Hold it tightly. My handwork may look slightly awkward and loose, because I am taking a picture.
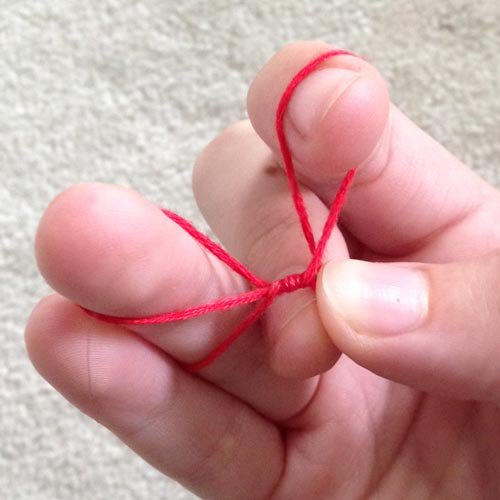
Step 7
Coil/wrap the end string around one more time, holding it tightly.
Step 8
Pull the end string under the other strings again, like you are going to wrap it around again, but instead, this time, poke the end through the loop that your index finger is pinching.
Step 9
Pull your end string all the way through the loop until it is nice and tight.
Now you are done with making the sliding knot! I hope this helped some of you guys figure it out 🙂
Thanks for reading,
CWillard
Now you are done with making the sliding knot! I hope this helped some of you guys figure it out 🙂
Thanks for reading,
CWillard