Rate Tutorial
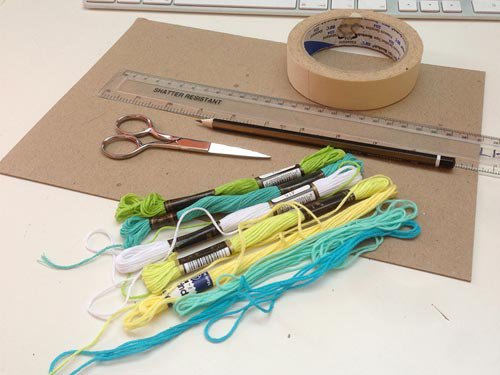
What you will need
- 7 Strings (about arms length)
- thin cardboard (I had a thick cardboard paper so it was more difficult to work with it)
- ruler
- pencil
- tape (I used the tape as a stencil to draw the circle on the cardboard)
- scissors
- thin cardboard (I had a thick cardboard paper so it was more difficult to work with it)
- ruler
- pencil
- tape (I used the tape as a stencil to draw the circle on the cardboard)
- scissors
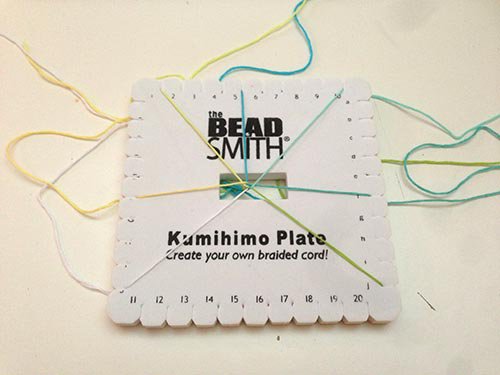
If you have a kumihimo ring (i have a square one) then use that! 🙂
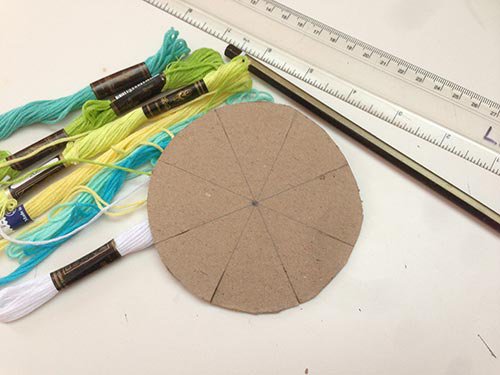
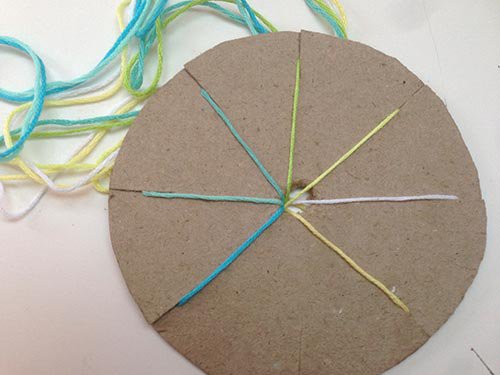
Draw a circle (10cm or 4inch)
Use the ruler to sketch pizza like slices - you will need 8 slices or 4 lines.
When you're done use the scissors to cut the circle out.
Make about 1cm long cuts along the lines.
Use the ruler to sketch pizza like slices - you will need 8 slices or 4 lines.
When you're done use the scissors to cut the circle out.
Make about 1cm long cuts along the lines.
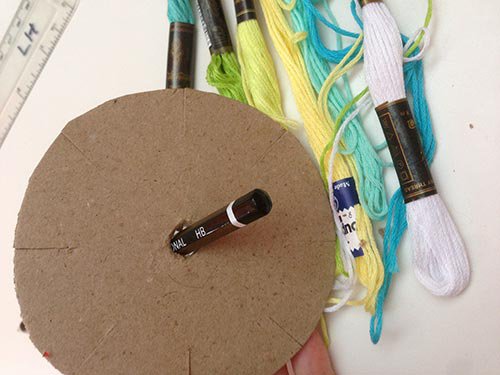
Make a hole in the middle of the cardboard circle. Use a pencil to "smooth" the edges of the hole.
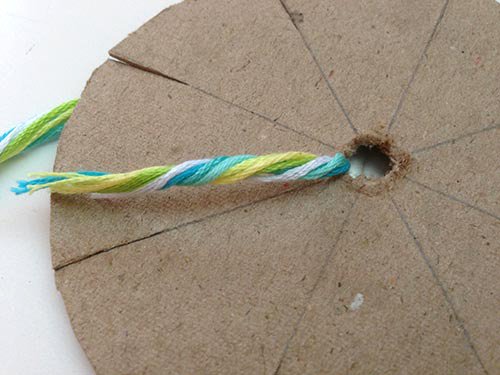
Twist your strings and put them through the hole.
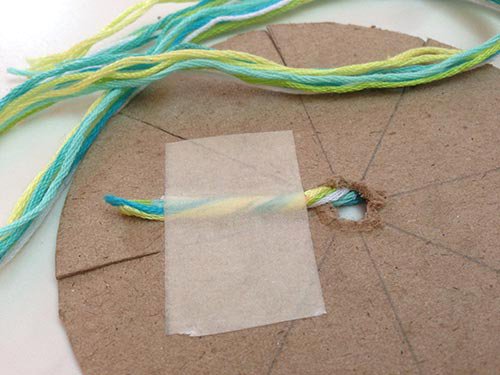
Tape the strings to the cardboard circle.
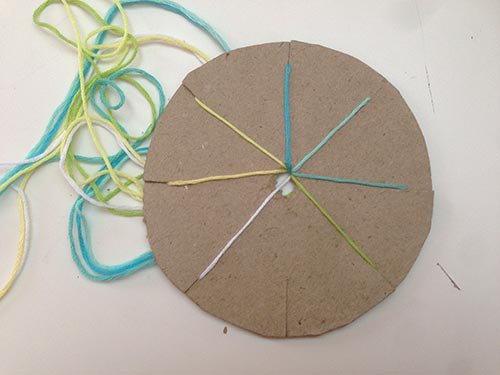
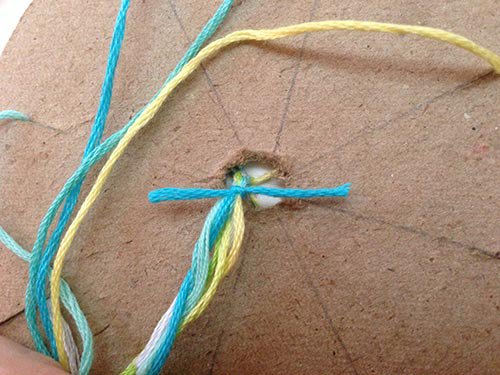
Put each of your strings into the cuts you made. You should have one cut without a string.
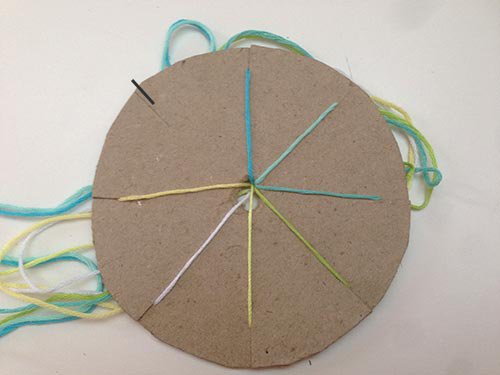
Hold the circle so that the empty cut is on the bottom.
Now take the third string clockwise - see the line on the picture - and put it into the empty slit on the bottom.
Hold the circle so that the empty cut is on the bottom.
Now take the third string clockwise - see the line on the picture - and put it into the empty slit on the bottom.
Rotate the circle so that the empty slit is on the bottom again. Take your third string clockwise and put it into the empty slit on the bottom again.
Repeat until the bracelet is long enough.
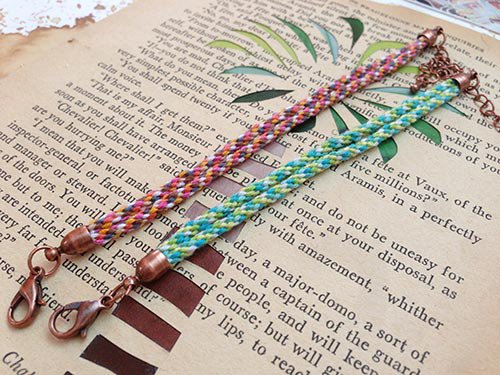
Repeat the leafs until the bracelet is long enough!
Once you started your bracelet you want to undo the tape on the other side of the cardboard.
Depending on your bracelet ending either end the strings with a big knot or use leftover string to tie the strings together.
I want to undo it later so i used the second option.
Happy tying!
Adik
Depending on your bracelet ending either end the strings with a big knot or use leftover string to tie the strings together.
I want to undo it later so i used the second option.
Happy tying!
Adik