Rate Tutorial
I don't start my bracelets like this. This tutorial is only for people who cant start a thicker bracelet without getting a really messy beginning.
For this tutorial I will be using my pattern #7809.
For this tutorial I will be using my pattern #7809.
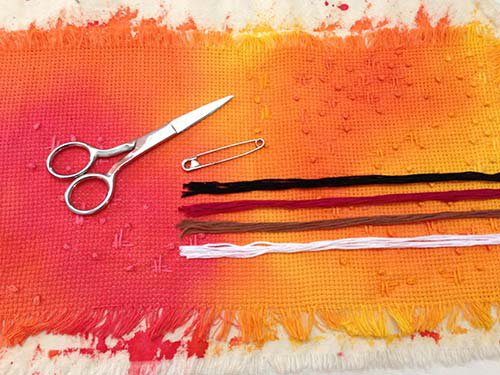
What you will need
- Scissors
- Safety pin
- Strings (4 different colors)
- Safety pin
- Strings (4 different colors)

We are using pattern #7809 which has 24 strings in 4 colors.
Cut 6 strings from each color.
I used 80cm (31.49 inches) long strings.
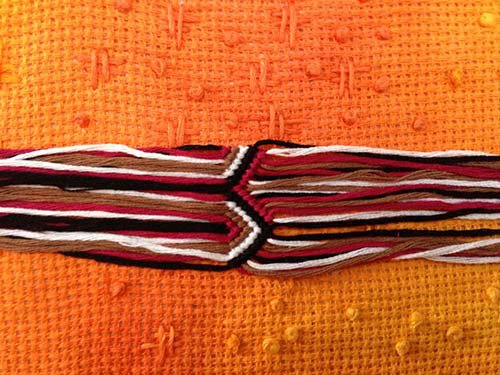
Lay your strings very closely next to each other in the string order from your pattern. In my case its ABCDDCBAABCDDCBAABCDDCBA.
TIP: Lay your strings on fabric and they will stay in place. If you lay them on a slippery surface it will be very hard to keep them in place.
Cut 6 strings from each color.
I used 80cm (31.49 inches) long strings.
Lay your strings very closely next to each other in the string order from your pattern. In my case its ABCDDCBAABCDDCBAABCDDCBA.
TIP: Lay your strings on fabric and they will stay in place. If you lay them on a slippery surface it will be very hard to keep them in place.
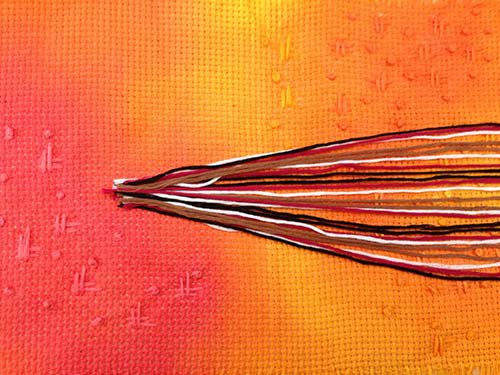
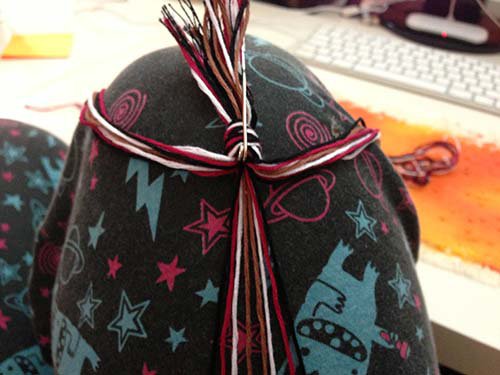
When you're done gather the strings together at the top.
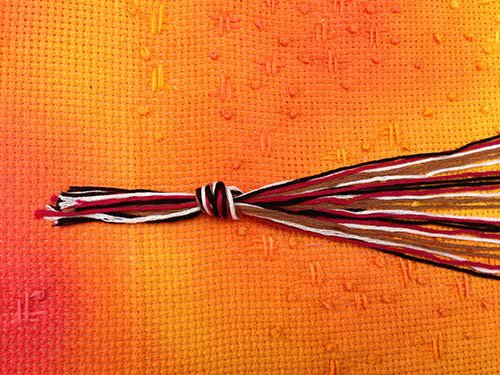
Carefully take the strings and make a big knot. Do not tighten it, make it quite loose so you can easily undo it later.
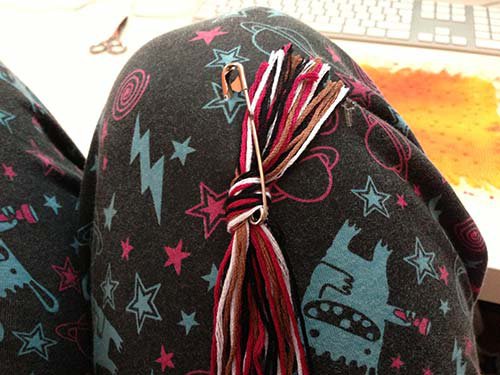
Attach the strings to your knee or a pillow with a safety pin.

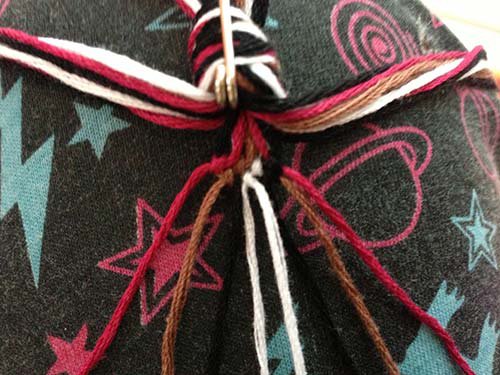
Because we've laid all the strings in the right order before making the knot it will very easy to put them in the right order now, so do that 🙂
If you don't have clumsy hands you can skip this step and start with all the strings laid out.
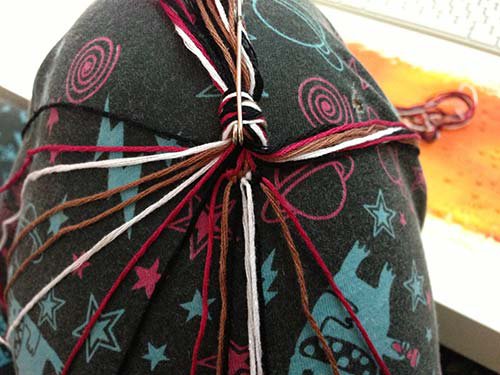
For the people with clumsy hands😄ivide the strings into 3 groups so you've got more place for the strings.
For the people with clumsy hands😄ivide the strings into 3 groups so you've got more place for the strings.

Now make the first row of knots from your pattern.
And the second row.
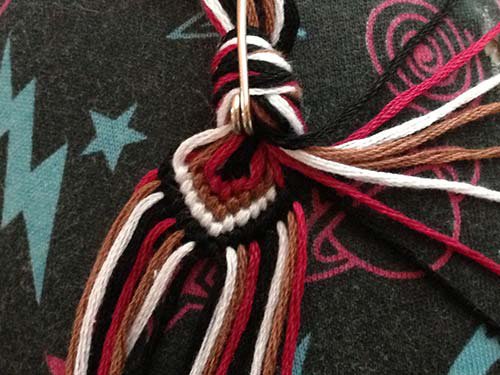
Now take the second group of strings and put them in the right order.

Now take the strings one by one starting by the one on the right and tie them into the bit that you've already done. When tying in the strings be careful so all the top strings are next to each other in a straight line.
Now take the third group of strings and put them in the right order.
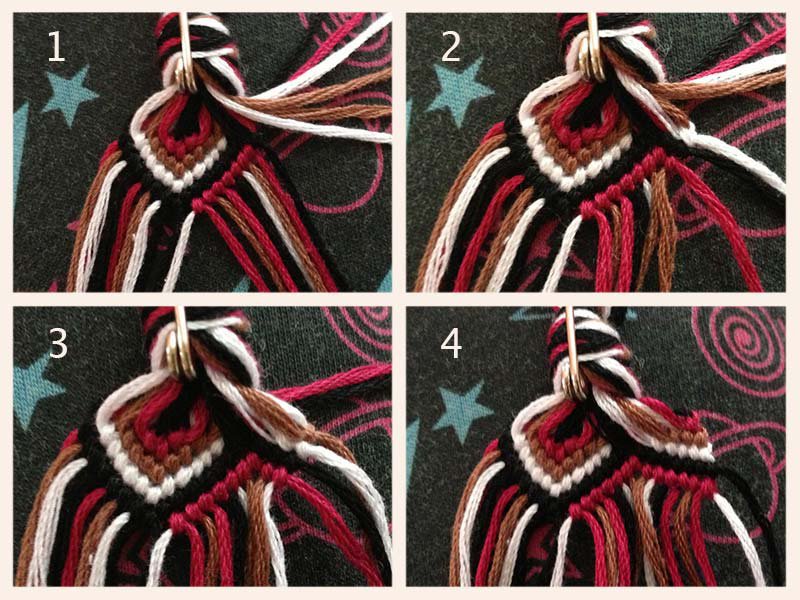
Same as with the second group of strings, start tying them into the bracelet one by one from the left.
Remove the safety pin and untie the knot.
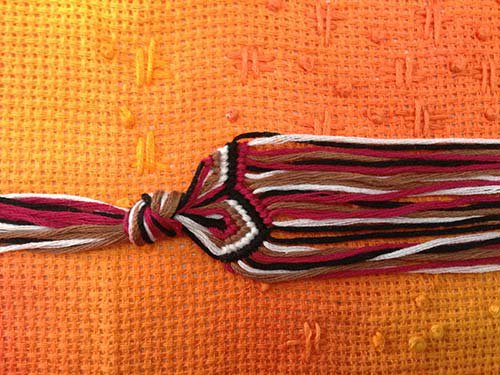
Now tie a new, more neat knot.