Rate Tutorial
This pattern is great for bracelets and key-rings. It uses less string than alpha patterns and is fairly easy to get the hang of.
Strings needed for a keyring: about from your fingertips to your shoulder (your arm).
Strings needed for a bracelet: About from your ankle to your hips (your leg).
Strings needed for a keyring: about from your fingertips to your shoulder (your arm).
Strings needed for a bracelet: About from your ankle to your hips (your leg).

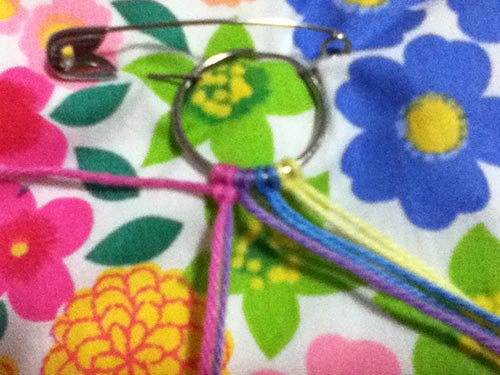
Starting a key-ring
Start by mounting four or more strings onto the key ring.
To do this, fold each string in half, exactly.
Then put the looped end under the metal and fold it down over the key-ring.
Thread the ends through the loop and pull snug.
Repeat for the other strings. Then start with the knotting technique.
To do this, fold each string in half, exactly.
Then put the looped end under the metal and fold it down over the key-ring.
Thread the ends through the loop and pull snug.
Repeat for the other strings. Then start with the knotting technique.
Starting a bracelet
You may need a clipboard for this.
Trap the strings under the clip with about 10-15 cm at the top.
Do two rows of forward knots.
Then, plait the ends to form a tie. Now you can start the knotting technique.
Trap the strings under the clip with about 10-15 cm at the top.
Do two rows of forward knots.
Then, plait the ends to form a tie. Now you can start the knotting technique.
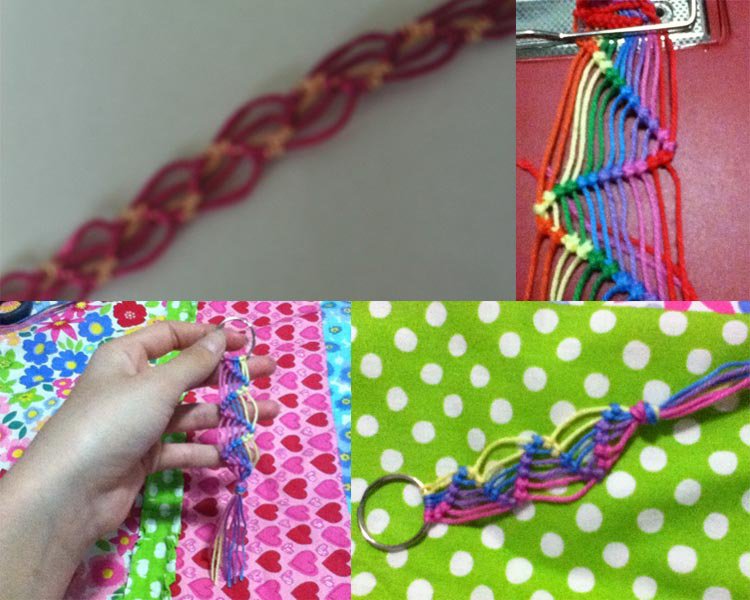
Pattern
I am using four strings that are pink, purple, blue and yellow (in that order) and will refer to them by number.
Assign a number to each string from left to right.
Grab string 1 and tie a forward-backward knot around the strings 2 and 3.
The working string (1) should end up on the left side of the strings it just tied a knot around which is the same side it started on.
Assign a number to each string from left to right.
Grab string 1 and tie a forward-backward knot around the strings 2 and 3.
The working string (1) should end up on the left side of the strings it just tied a knot around which is the same side it started on.

Put string 1 aside, use string 2 to tie another forward-backward knot around strings 3 and 4.
Now use string 3 to tie a forward-backward knot around strings 4 and 5.
Continues this process until you get to the end.
Now use string 3 to tie a forward-backward knot around strings 4 and 5.
Continues this process until you get to the end.

Now, use string eight to tie a backward-forward knot around strings 7 and 6.
Then, grab string 7 and tie a backward-forward knot around strings 6 and 5.
Continue this to the other end.
Then go back the other way and keep changing direction until you get to a desired length.
Then, grab string 7 and tie a backward-forward knot around strings 6 and 5.
Continue this to the other end.
Then go back the other way and keep changing direction until you get to a desired length.
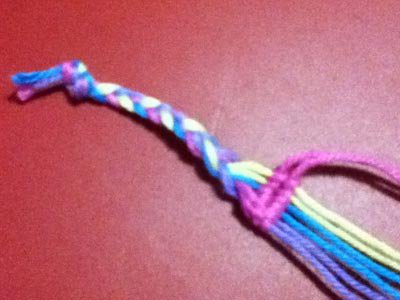
Finishing
Finishing a key-ring:
Just tie this in a knot and let the ends dangle.
Finishing a bracelet:
Clip the bottom of the pattern under the clipboard-clip and do two rows of forward knots.
Plait the end and you’re done!
Just tie this in a knot and let the ends dangle.
Finishing a bracelet:
Clip the bottom of the pattern under the clipboard-clip and do two rows of forward knots.
Plait the end and you’re done!