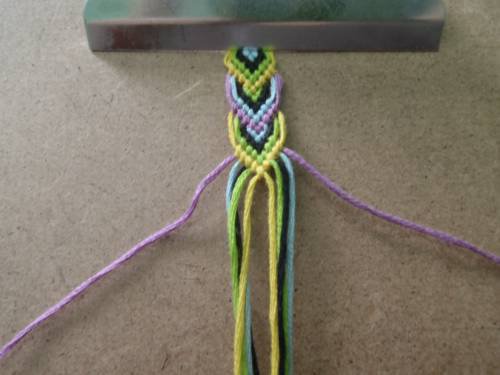
Rate Tutorial
*Make sure to start with a loop of some sort and YES you can start a loop with an odd number of strings.*
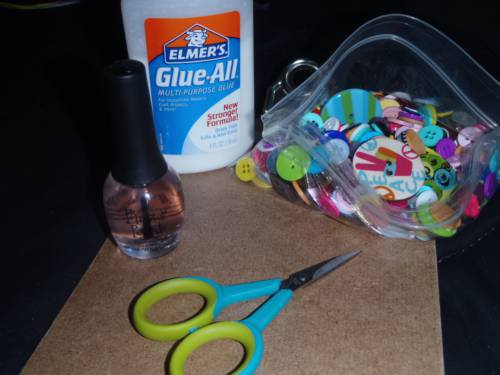
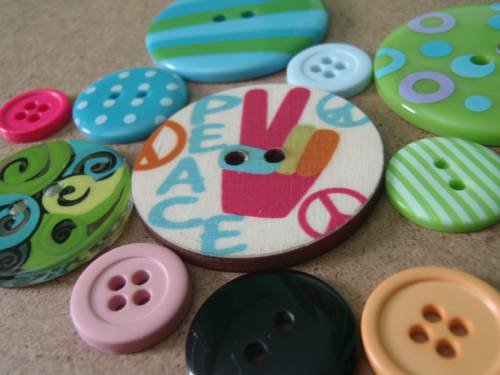
Things you'll need: buttons, scissors, clear nail polish or glue.
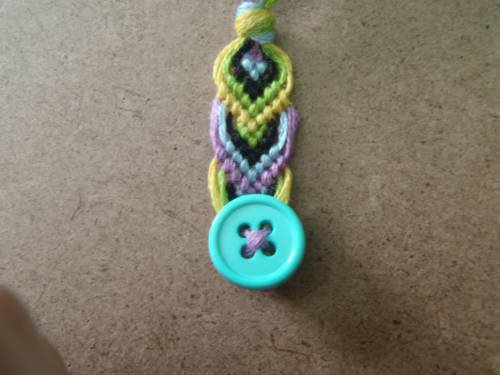
After finishing your bracelet, leave out the first and last strings.

Take your first string and put it through a hole in the button, starting from the back.
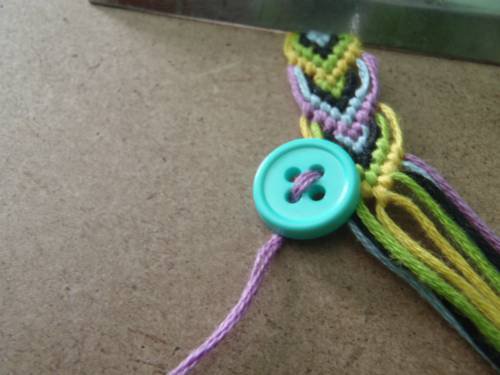
Take the end of the string and put it through the hole diagonal from the hole you started with. The string should loop in front of the button as shown.
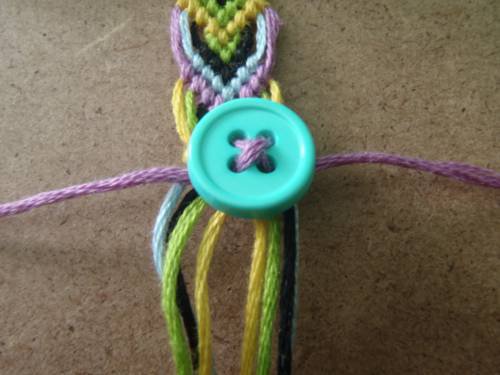
Do the exact same to the last string as you did with the first string, just use the remaining holes.
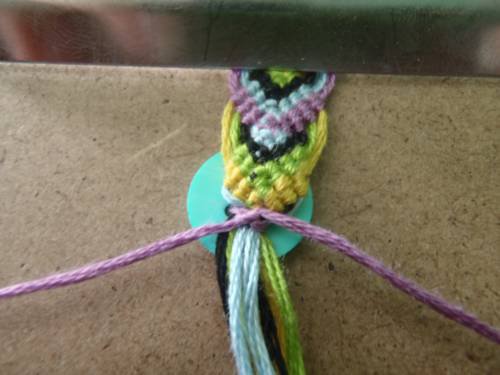
Turn your bracelet so the back is facing you. Push your button up to the base of the bracelet by pulling the two strings. Make a few knots with your first and last string.
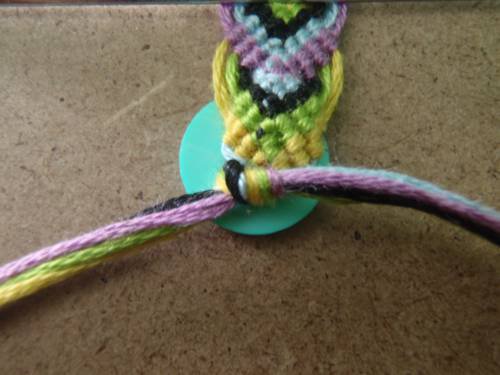
Then separate all of your strings into two groups and make a knot or two with all of your strings. (If you have a bigger bracelet, it might be a good idea to use a bigger button just in case your knotted strings show.)
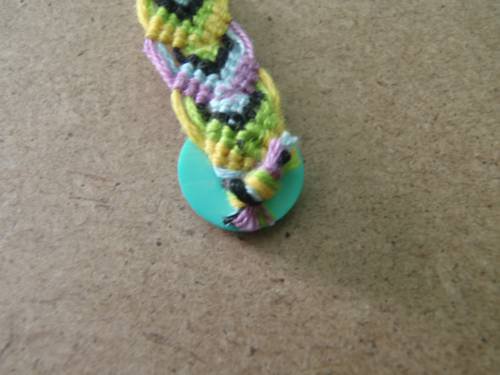
Cut all of your strings. I like to put clear nail polish (glue works too) on the knot so it won't come undone.
Tada!
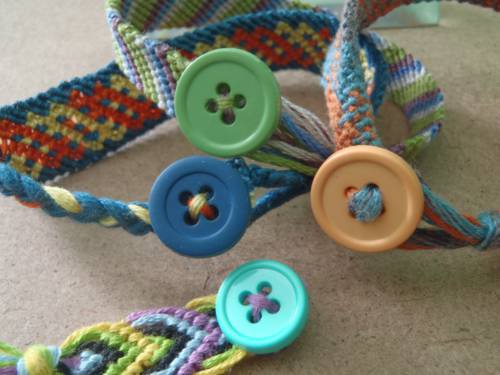
In the one with the orange button, I used ALL my strings instead of just two. It looks a lot messier.