

Rate Tutorial

This bracelet is a original design by me, I am currently working on some other versions of this design. Photos can be posted to pattern #212725, if you post on socials, tag me (I love inspiration for colour schemes and alterations).
The pattern does not correlate to the finish result as the bracelet involves weaving the chains as you knot. The length of the teardrops are changeable by adjusting how many knots you make. My recommendation is to keep the length between 5-8 knots and keep the lengths of all teardrops the same. I find this pattern pretty quick to make and super fun to wear.
In order to make this bracelet you need to understand the four basic knots of bracelets: forward, backward, forward-backward and backward-forward knots. You will also want to know the slip knot though if you cannot grasp that concept you can start you loop skipping the slip knot which helps anchor the first few knots.
The pattern does not correlate to the finish result as the bracelet involves weaving the chains as you knot. The length of the teardrops are changeable by adjusting how many knots you make. My recommendation is to keep the length between 5-8 knots and keep the lengths of all teardrops the same. I find this pattern pretty quick to make and super fun to wear.
In order to make this bracelet you need to understand the four basic knots of bracelets: forward, backward, forward-backward and backward-forward knots. You will also want to know the slip knot though if you cannot grasp that concept you can start you loop skipping the slip knot which helps anchor the first few knots.

1.
The first step is to cut four strings that will be folded in half to create eight strings. For this pattern, you can go with up to four colours, but it’s important to have eight strings total. Use the first colour to create a slip knot on the rest of the strings.

2.
Next you are going to make six forward back ward knots with one of the loop strings onto the other three strings.

3.
Rotate your strings so the other loop colour string is facing closest to you and the section you just knotted it pointing away (vertically). Make six backward forward knots on to the three strings to create the second half of the starting loop.

4.
You have just started the first loop! Now you can secure your bracelet with your chosen method to start the main pattern. I use a clipboard for my knotting.

5.
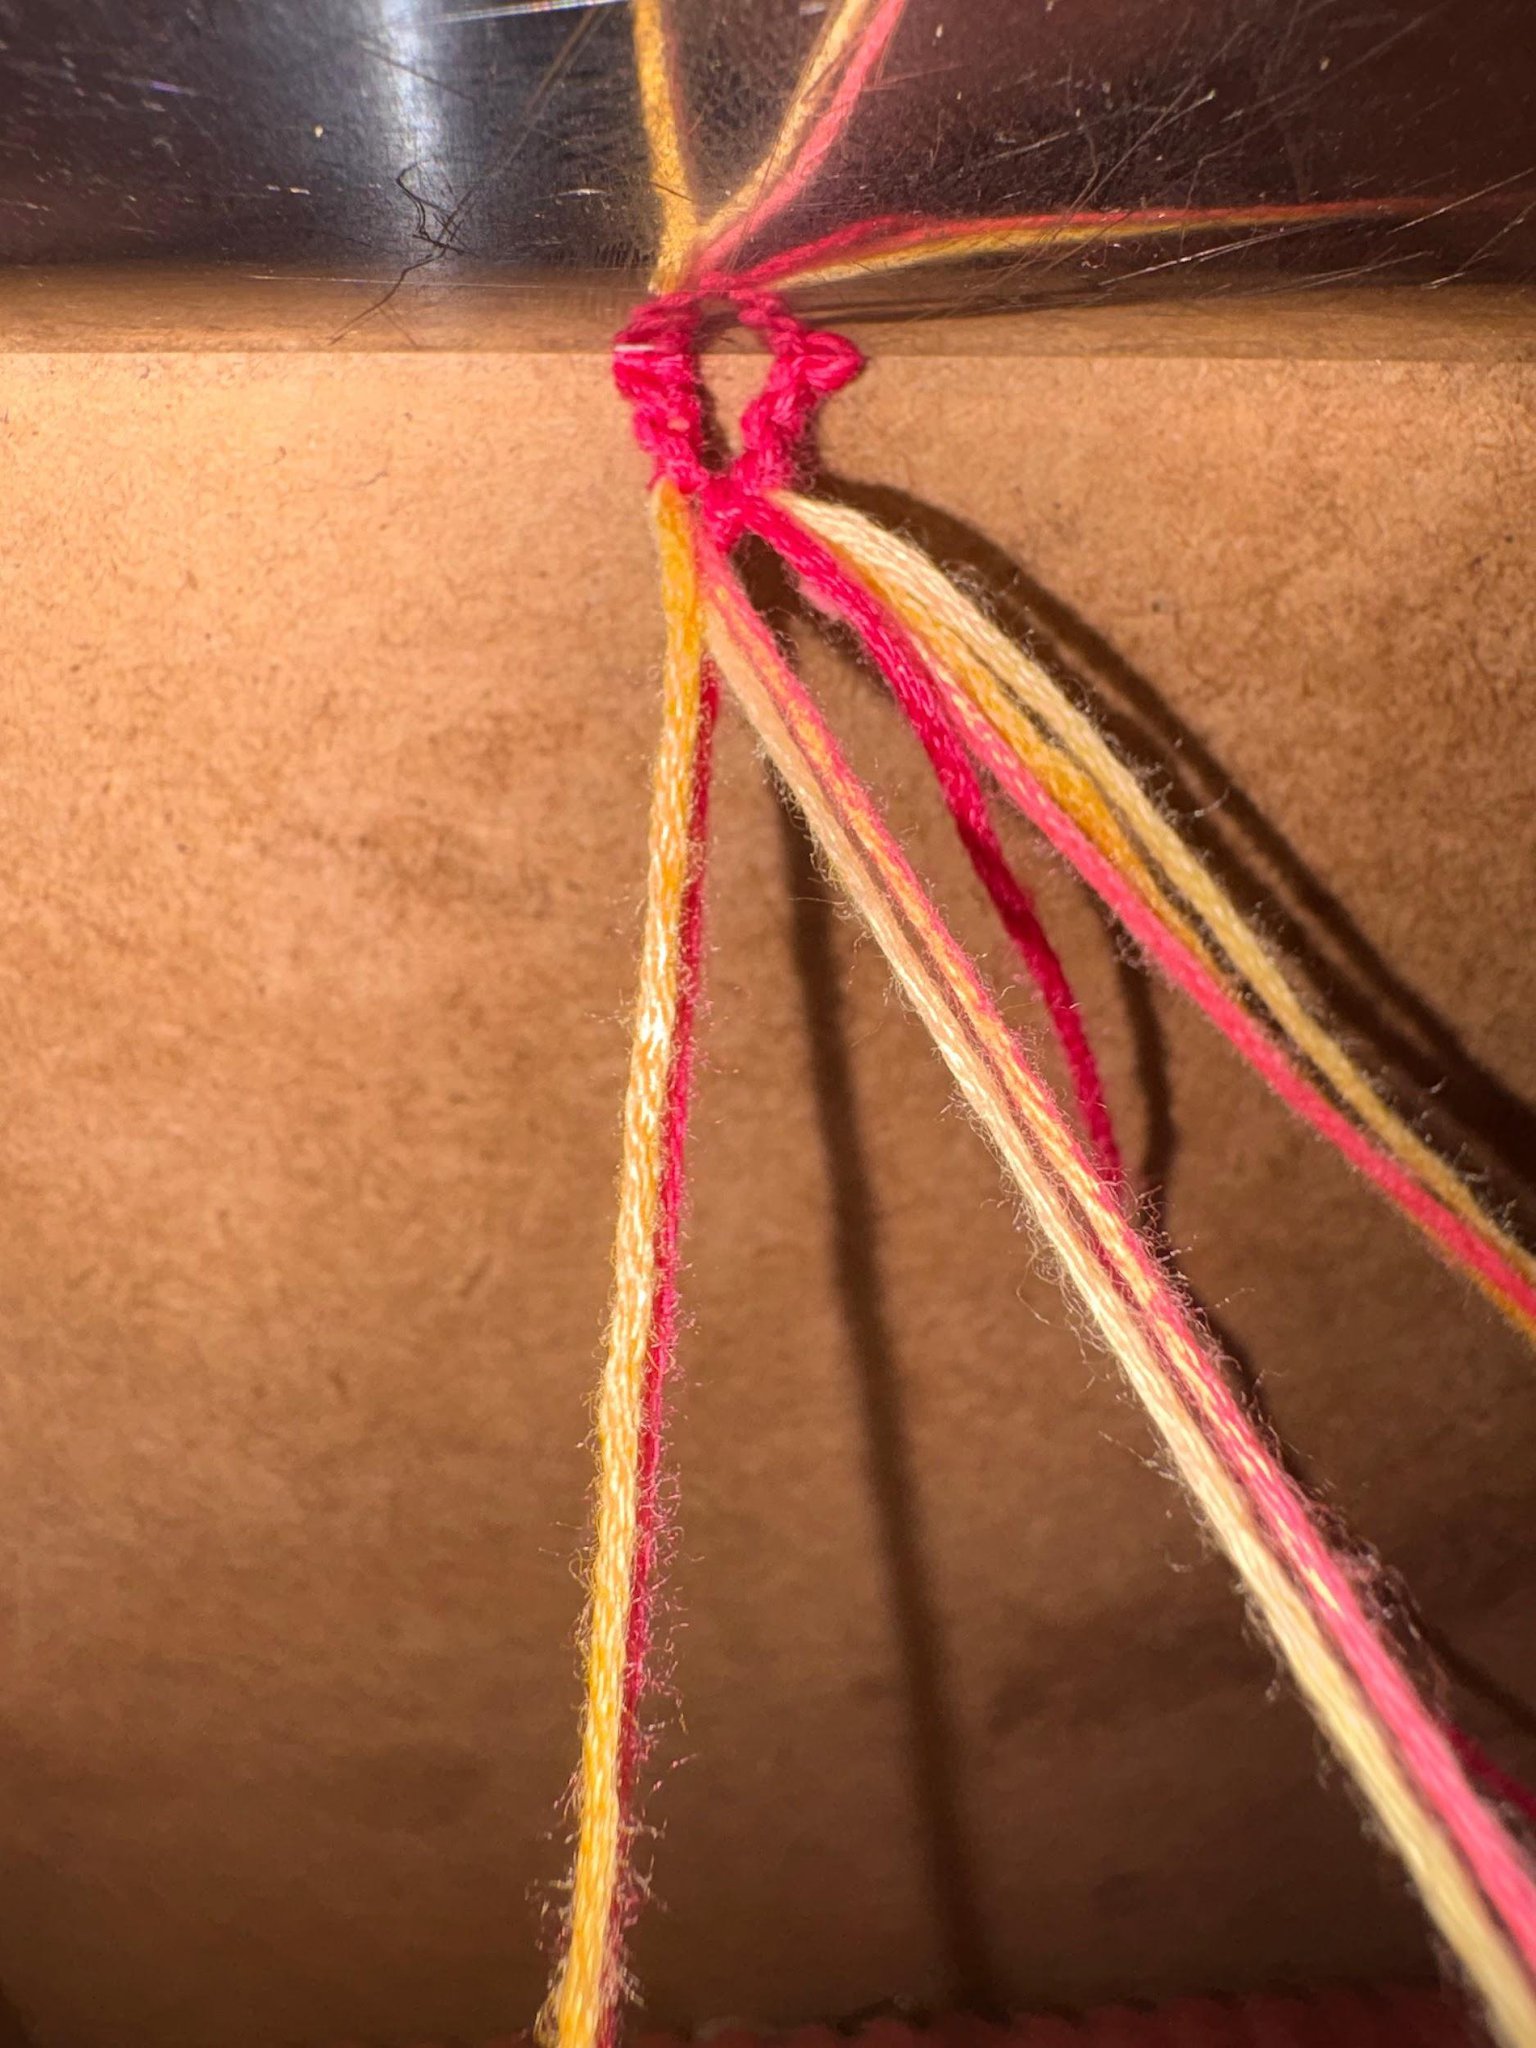
To connect the two sides on the left bundle do a forward knot and the bundle right a backward knot then connect the two strings with your preferred knot.
6.
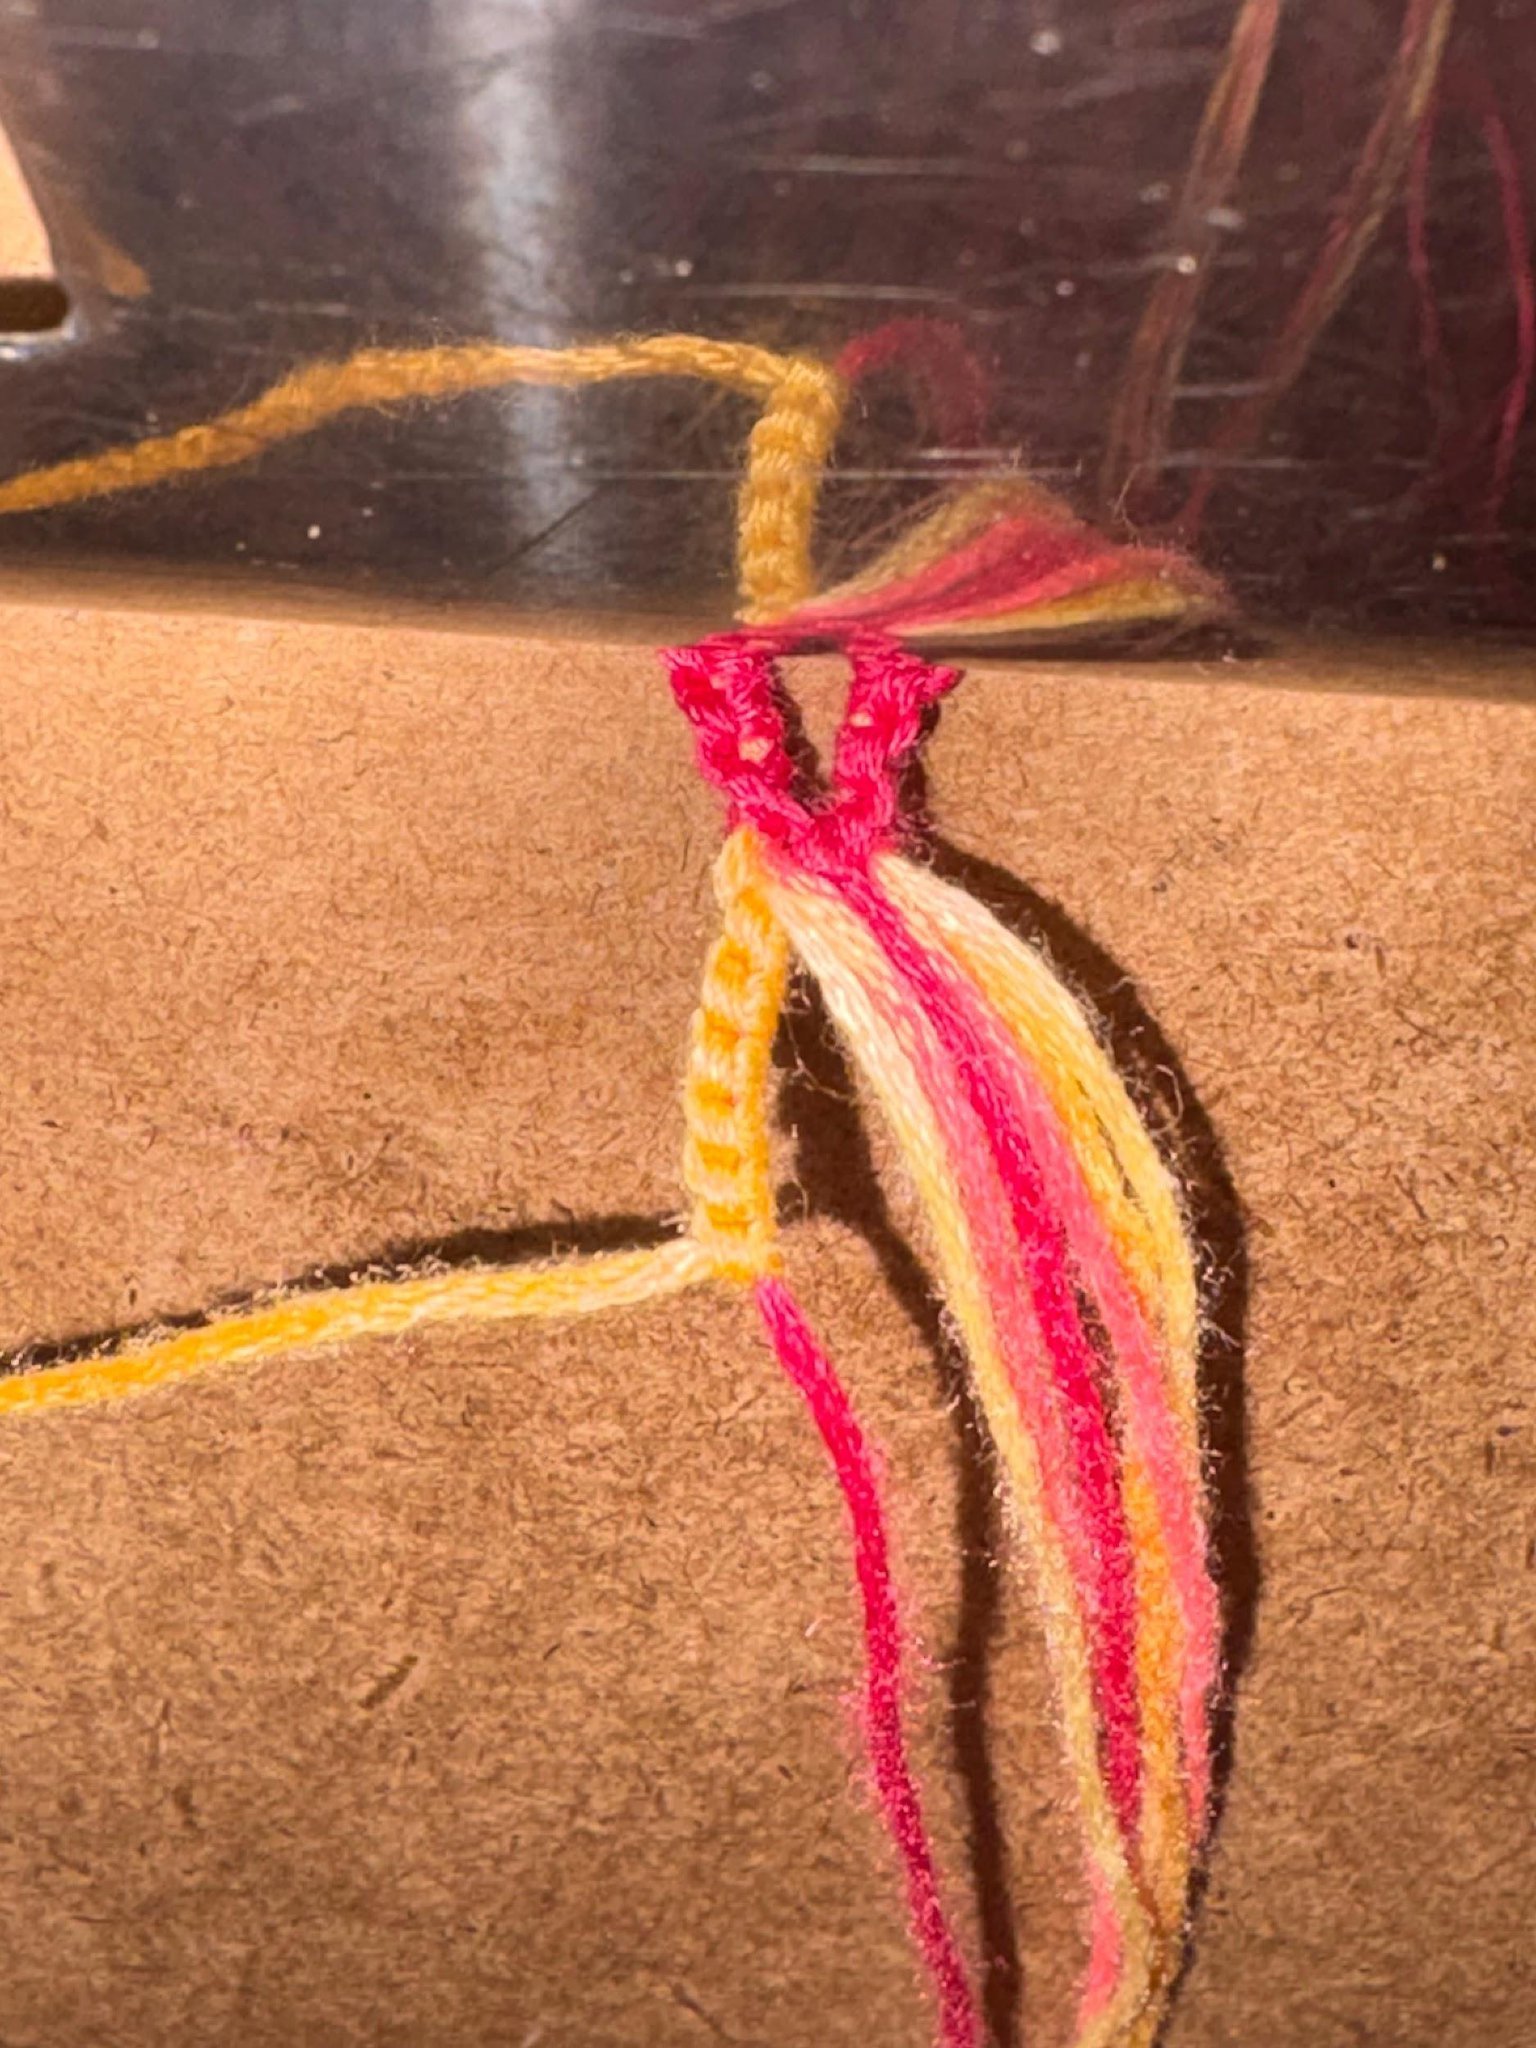
Now you need to choose the order of your strings. Pair colour one with colour three and colour two with colour four for both sides of the bracelet. For the sake of this pattern each string will be called colour one through four based on the order they appear in the teardrops.
7.
Using colour three make six forward backward knots onto the first colour for the left side.

8.
Using the second colour make six forward backward knots onto the fourth colour.

9.
On the right side we are going to mirror what we just did. Use the third colour to make six backward forward knots onto the first colour.

10.
Using the second colour string make six backward forward knots onto the fourth colour string.

11.
The second colour chains are going to come inward on top of the third colour chains, we then can connect the two second colour strings with the same method used to close the loop (a forward knot on one side and then backward on the other and one knot between the two).

12.
Every time we close the bottom of a teardrop we now have the other colour to use for the chains. The left side will use forward backward knots and the right side will use backward forward knots to make six knots each.

13.
Now we are back to the chains with the second colour string we are going to do another six knots on each side. They are going to look long but its essential to creating the teardrop effect.

14.
Now the bracelet repeats steps 11-13 continuing to weave the chains as you knot to create the teardrop effect. Everytime a teardrop is closed you are changing the colour and starting the next teardrop. Keep knotting your bracelet to the chosen length.

15.
When you are ready to end the bracelet you will have one completed teardrop and two chains sticking out on the sides. To close off the bracelet make two more knots on the chains (that are on the left/right side) and connect the two sides together to complete the final teardrop.

16.
Move your final completed teardrop up so the third colour teardrop is visible.

17.
Using the first colour do three forward backward on the left sie and 3 backward forward knots on the right side.

18.
Now you can put back down the final teardrop and you can add whatever ties you want or cut the excess strings short for a keychain/bookmark ending.

And that is how you make my woven teardrop bracelet. You can make it with two colours and use a thicker base string or change the order of the colours as you knot the teardrops. It is a super quick and easy bracelet to make and looks good.


