

Rate Tutorial
Materials:
• Thread in green and white
• PVA / clear glue OR clear nail polish
• A needle with a large eye (such as a tapestry needle)
• A pencil, pen or a similarly shaped object
• PVA / clear glue OR clear nail polish
• A needle with a large eye (such as a tapestry needle)
• A pencil, pen or a similarly shaped object
Special Techniques Used:
• Shaped alphas - Shaped Keychain Tutorial
• Stitched loop - Stitched Loop Tutorial
• Lark’s head knot - The Lark’s Head Knot
• Twisted ties - Cool bracelet ending
They can all be found in the tutorial section under these titles.
• Stitched loop - Stitched Loop Tutorial
• Lark’s head knot - The Lark’s Head Knot
• Twisted ties - Cool bracelet ending
They can all be found in the tutorial section under these titles.

Part one: make the leaves
The leaves are worked in green according to this pattern using the shaped alpha technique.

Step 1
Create the first leaf with one repeat of the pattern. Make sure your base strings are long enough to knot 2 repeats + extra length for the loop. I used about 25cm for each base string.

Step 2
Create the loop. Tie forward-backward knots with your leading string over all the base strings together. Repeat for 2.5cm of length or your desired circumference of the loop.

Step 3
Fold the loop in half. Tie 2 or 3 forward-backward knots over all the base strings and the start of the loop to close it (see pic).

Step 4
Create the second leaf with one repeat of the pattern by continuing to knot on the same base strings.

Step 5
Finish the start and end of the leaf piece by cutting the excess strings and applying glue or clear nail polish.
The leaf piece is complete.
The leaf piece is complete.

Part two: make the flowers
Each flower is worked in white according to this pattern.
Cut and order the strings as follows:
From left to right, one 15cm string (to be called the “gathering string” for the rest of the tutorial), two 100cm strings and eight 15cm strings.
Cut and order the strings as follows:
From left to right, one 15cm string (to be called the “gathering string” for the rest of the tutorial), two 100cm strings and eight 15cm strings.

Step 1
Make 6 repeats of the pattern and an additional row 1. Each repeat corresponds to one petal.
Make sure to not leave gaps between the rows you create (see pic).
Make sure to not leave gaps between the rows you create (see pic).

Step 2
Fold the piece in half with the back side (“wrong side”) facing outwards.
Match the strings of each end with their counterpart in the same position on the other end, and tie them together securely. DO NOT TIE the two ends of the gathering string (the leftmost string).
Match the strings of each end with their counterpart in the same position on the other end, and tie them together securely. DO NOT TIE the two ends of the gathering string (the leftmost string).

Step 3
Pull on the ends of the gathering string to gather the edge of the flower into a circle. Do this carefully to avoid the string snapping. Tie the two ends together.

Step 4
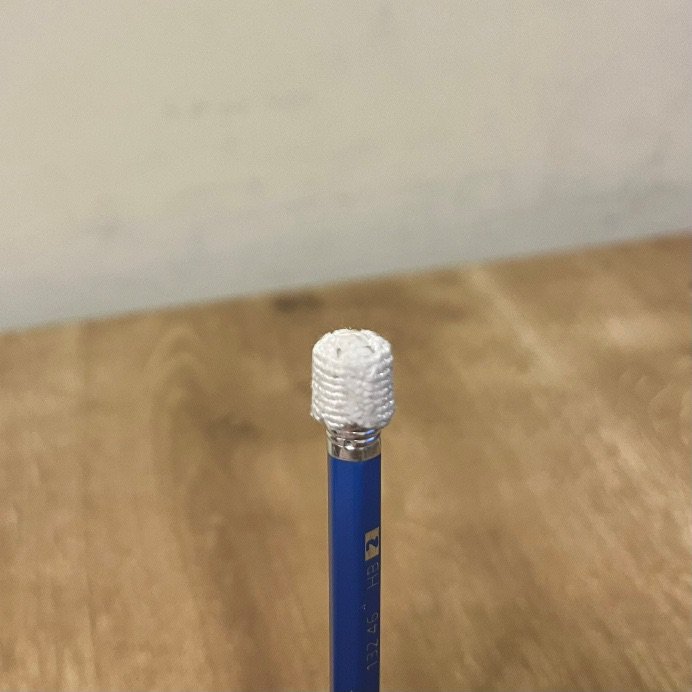
Place the flower on the end of a pencil, a pen or a similarly shaped object to give it the correct shape.
Step 5
Apply glue or clear nail polish to the knots created in steps 2 and 3.
Cut the excess strings and let dry (while still on top of the pencil).
Cut the excess strings and let dry (while still on top of the pencil).

Step 6
After making sure the glue/polish is completely dry, flip the flower with the right side out.
The flower piece is complete. Repeat this part to make as many flowers as you want.
The flower piece is complete. Repeat this part to make as many flowers as you want.

Part three: putting everything together
I made 5 flowers for this example.

Step 1 – attaching flowers to the leaf piece
Cut two short pieces of green string (approx. 15 cm) and fold them in half together. Tie them with a lark’s head knot through the loop of the leaf piece.

Step 2
Twist the strings together as you would create twisted ties. Hold the ends but do not tie them together.

Step 3
Thread the ends through a needle. Take one flower piece and pass the needle through the circle created when gathering the flower together (part 2 step 3).

Step 4
Tie an overhand knot to secure the twisted green strings. Slide the flower to the very end of the green strings and make sure it cannot pass through them and fall off (otherwise, tie more overhead knots over the first one). Cut the excess string after the knot.
Note: the position of the knot determines the height of the flower dangling from the leaf piece, so place it according to this desired height.
Note: the position of the knot determines the height of the flower dangling from the leaf piece, so place it according to this desired height.

Step 5 – connecting flowers to stems
Repeat step 1, but instead of tying through the loop of the leaf piece, tie the green strings with a lark’s head knot over the stem of another flower. Push the knot down to touch the top of the other flower.
Repeat steps 2-4 to finish connecting the flower.
Repeat steps 2-4 to finish connecting the flower.

Step 6
Continue connecting all flowers to the leaves and to each other as desired in the same manner.
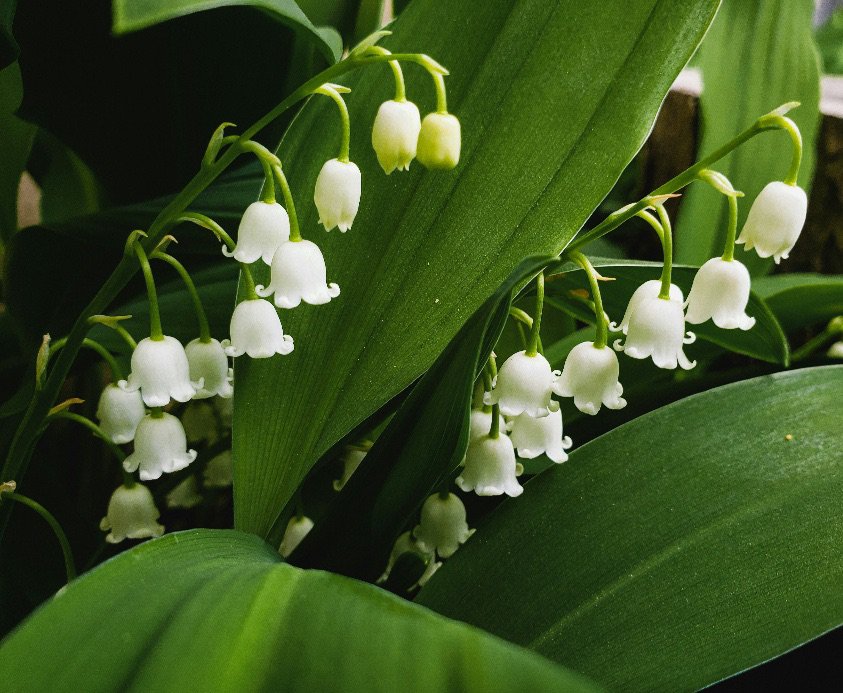
Your lily of the valley keychain is complete!


