Rate Tutorial
About the tutorial
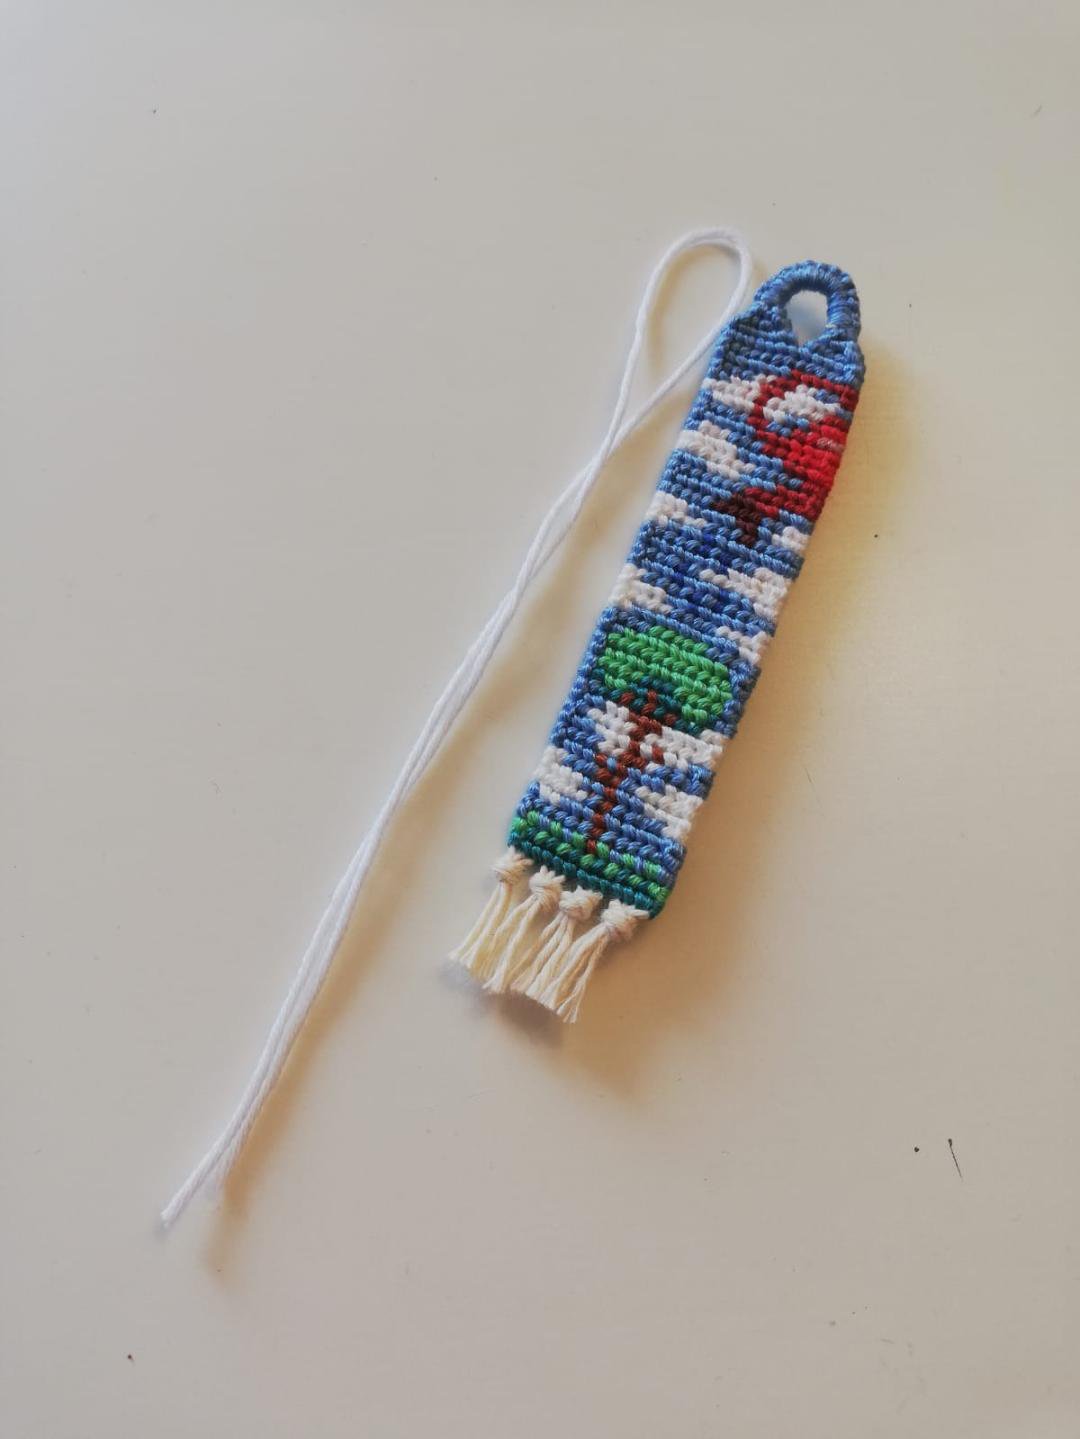
In this tutorial, I will show you how to make a beautiful tassel on your friendship bracelet, (and yes, it is very easy)!
You will need any pattern (mostly alphas are used for bookmarks but normals are also fine) that has a loop (teadrop loop, loop with 2 triangle ends, bookmark hole, etc.) and some strings for the actual tassel!
The pattern I used is #153983 by @halokiwi.
You will need any pattern (mostly alphas are used for bookmarks but normals are also fine) that has a loop (teadrop loop, loop with 2 triangle ends, bookmark hole, etc.) and some strings for the actual tassel!
The pattern I used is #153983 by @halokiwi.
Skills needed
• The larks head knot
• Twisted ties
Step 1
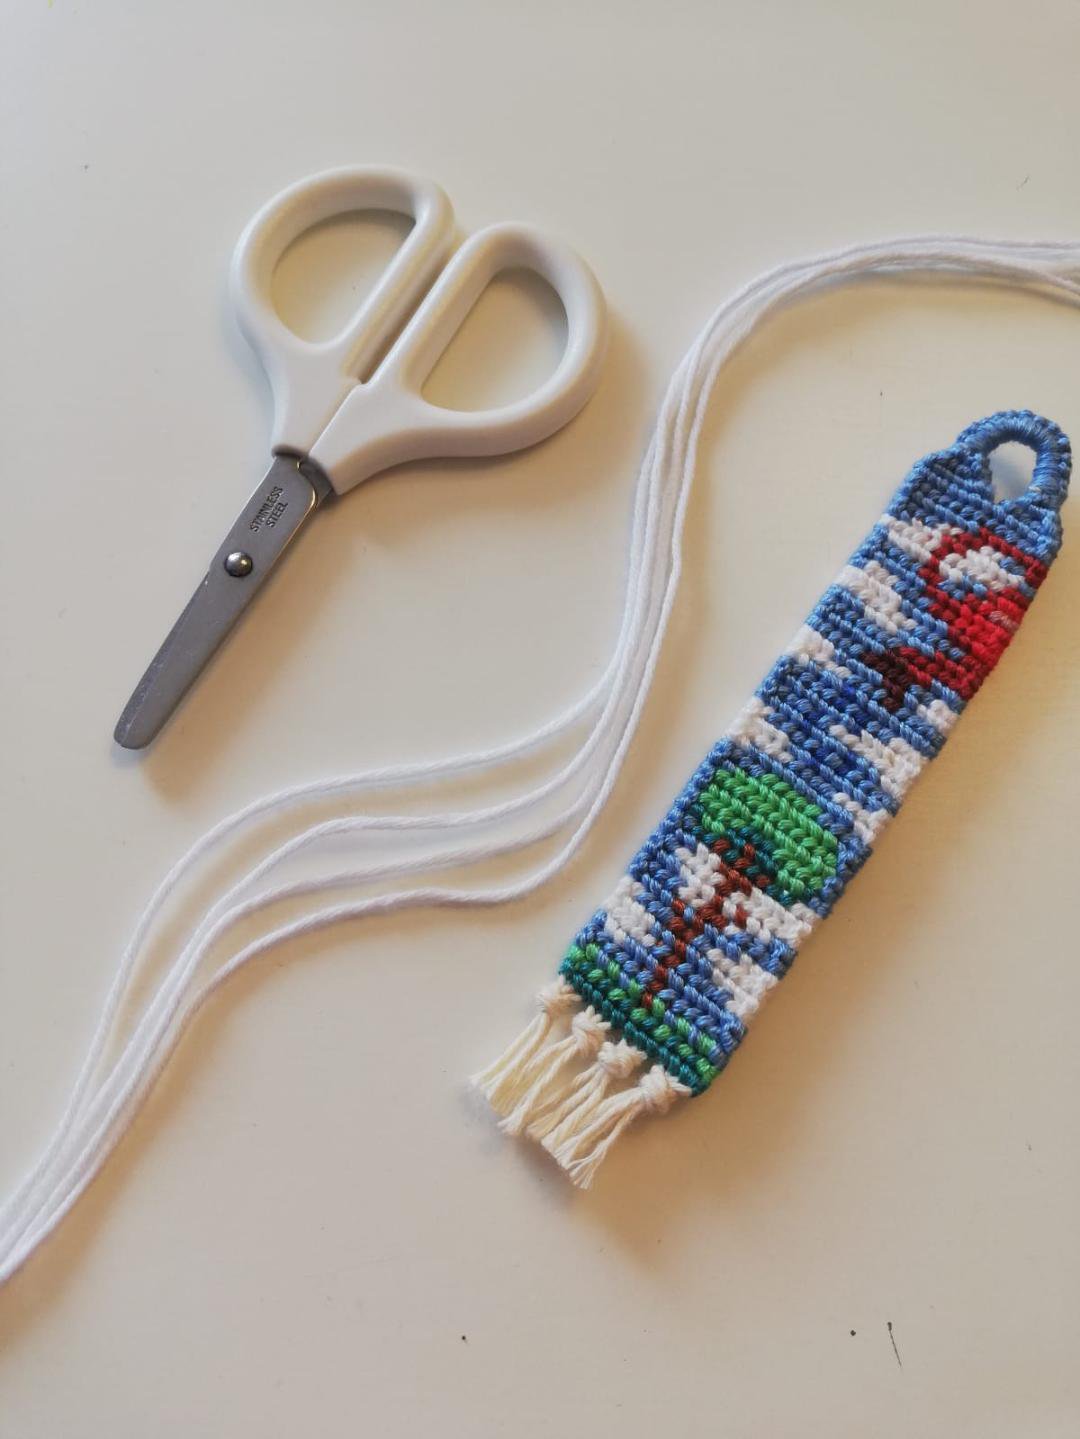
First we need to measure and cut our strings. The length of one thread folded in half needs to be the length of your creation, plus about 4-5 cm (≈2 inches) more.
Step 2
Cut 4 of these strings.
Step 3
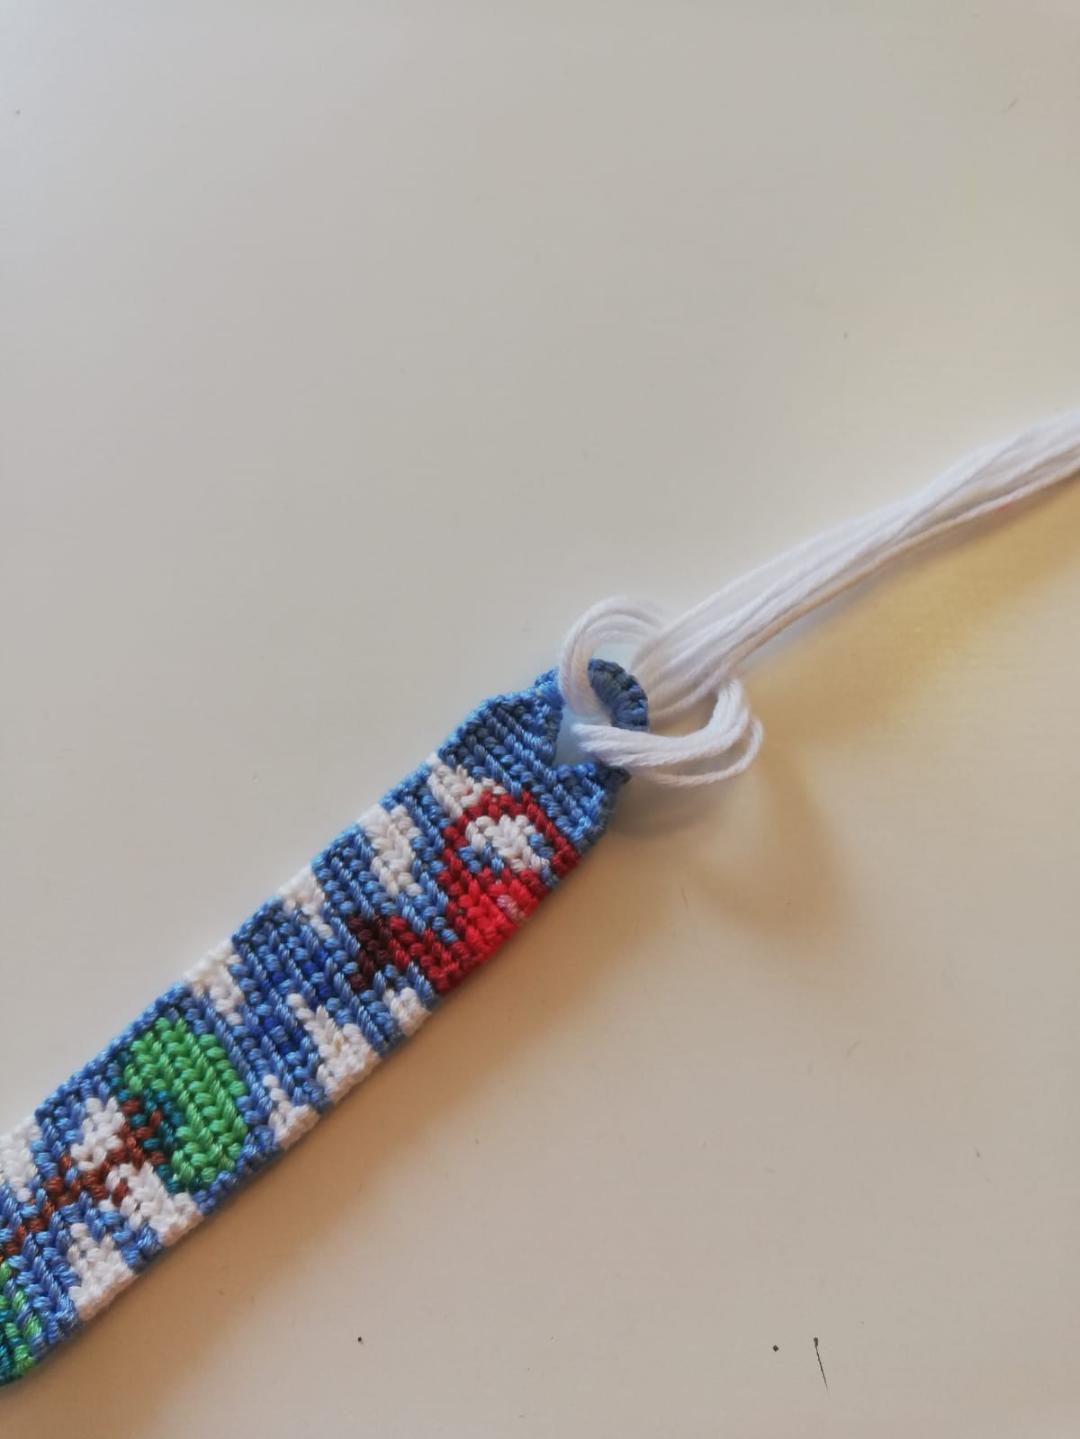
Now, fold your four strings in half. You should have eight strings now. Make a larks head knot.
Step 4
You should have eight strings attached to your loop/bookmark hole. Divide the strings in two halves, with four strings on each side.
Step 5
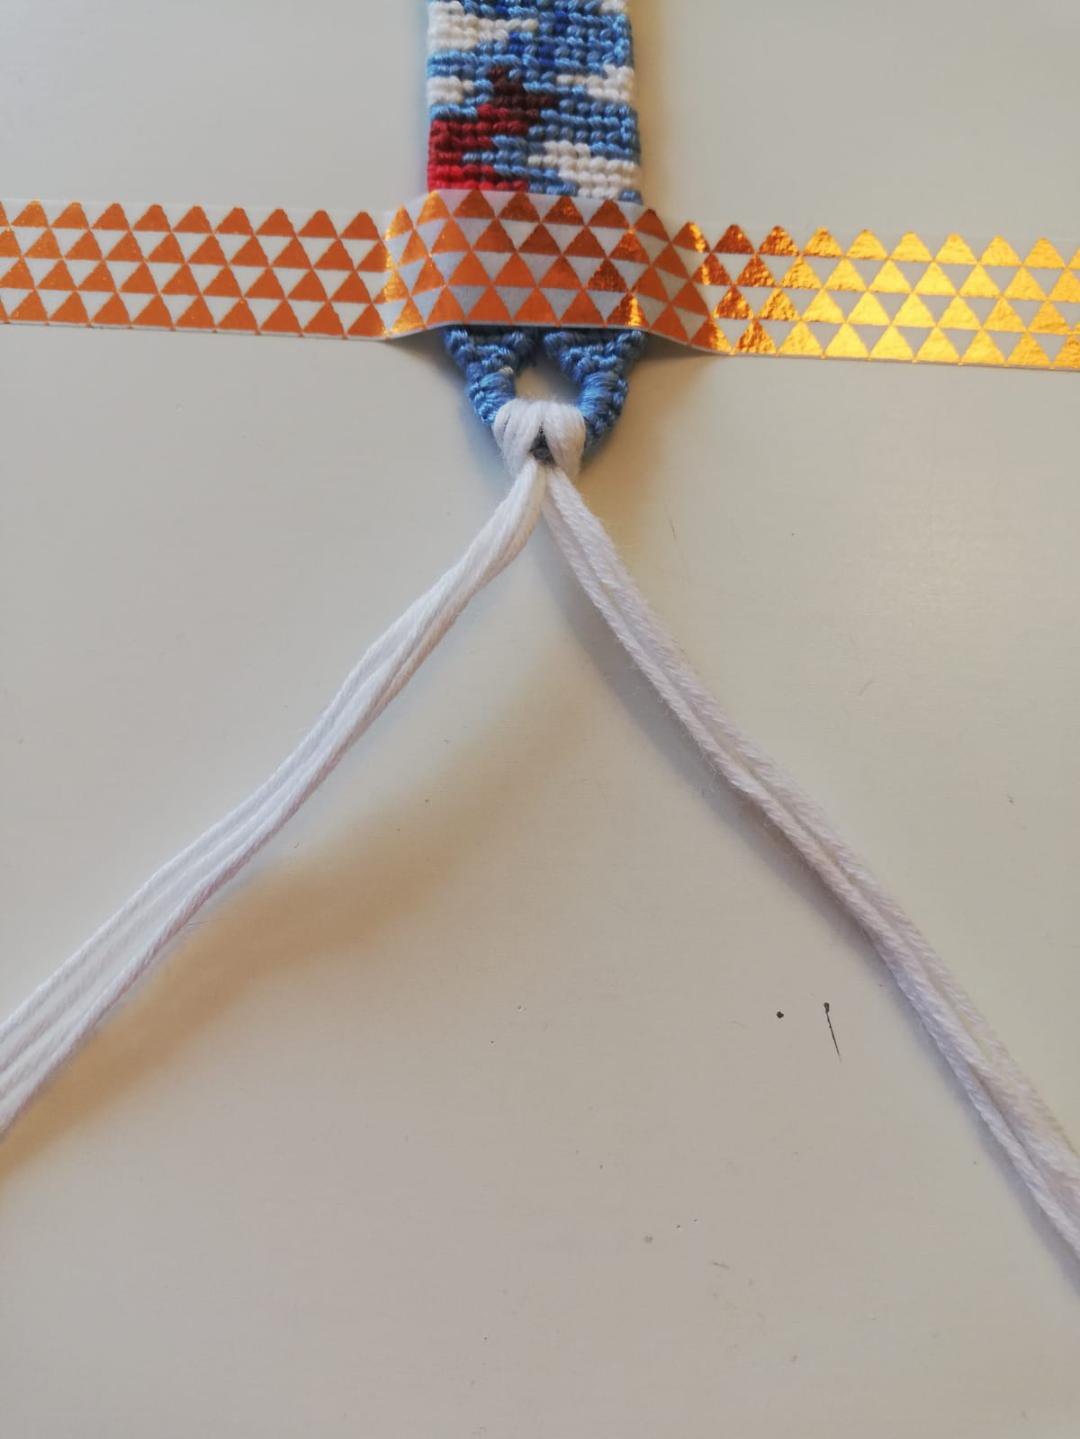
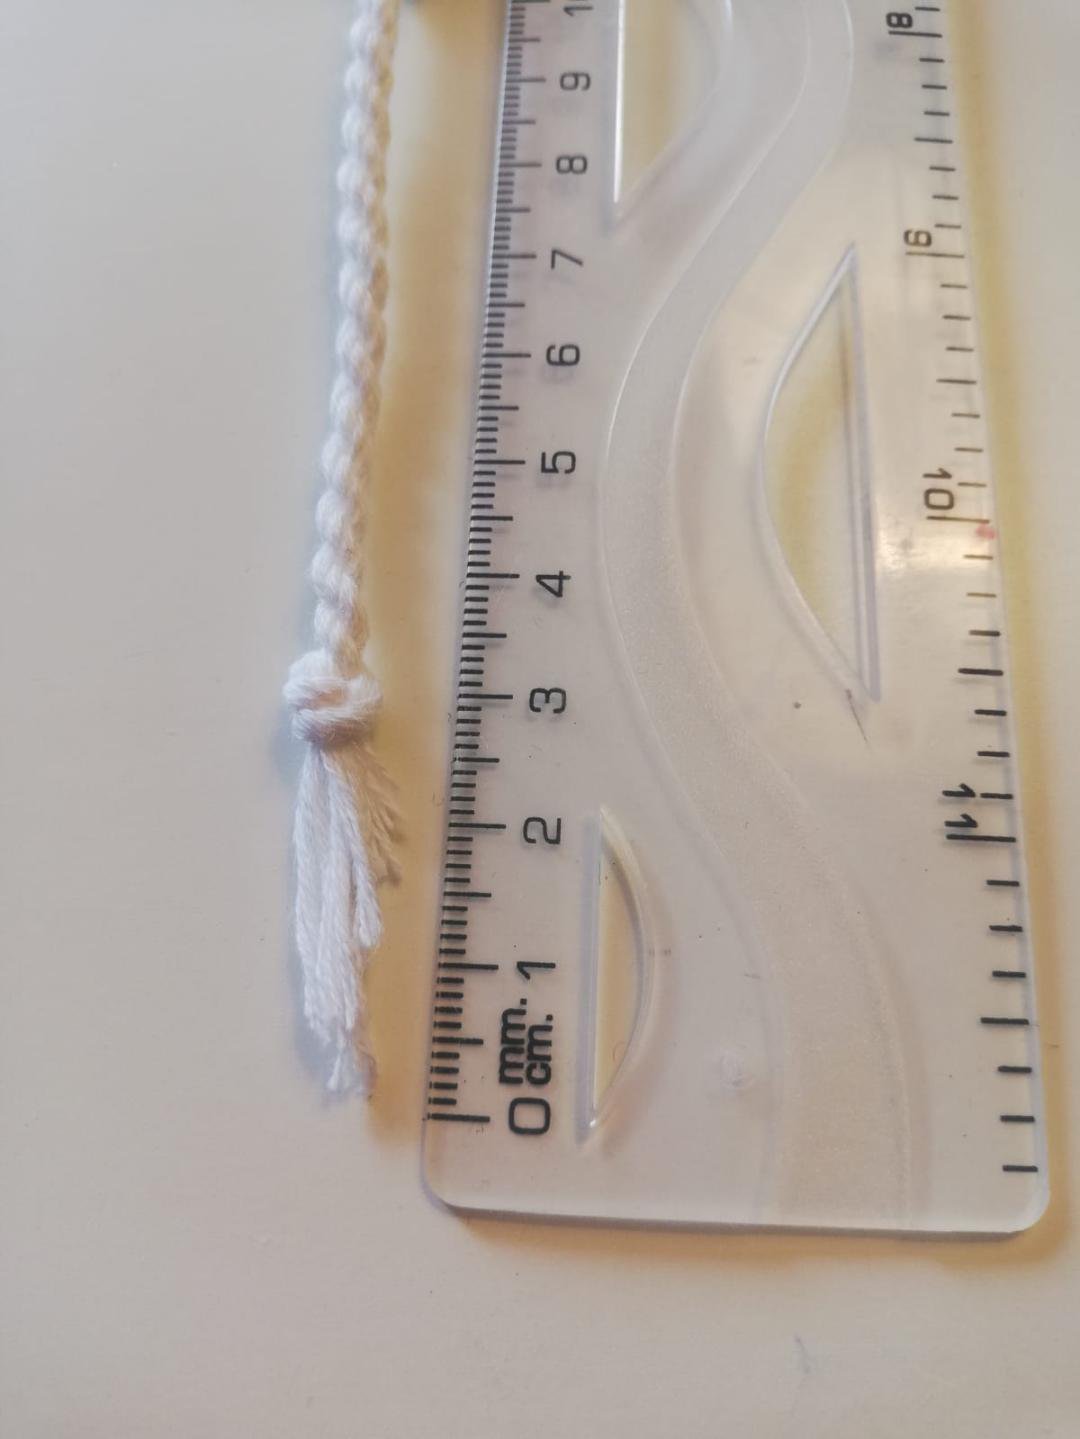
Make a twisted tie. The small strings that remained under the overhand knot should be about 3 cm (≈1 inch).

Step 6
Now we need to cut some new strings for the actual tassel part. These strings will need to be twice as long as the remaining threads under the overhand knot, so that makes about 6 cm (≈2.5 inches).
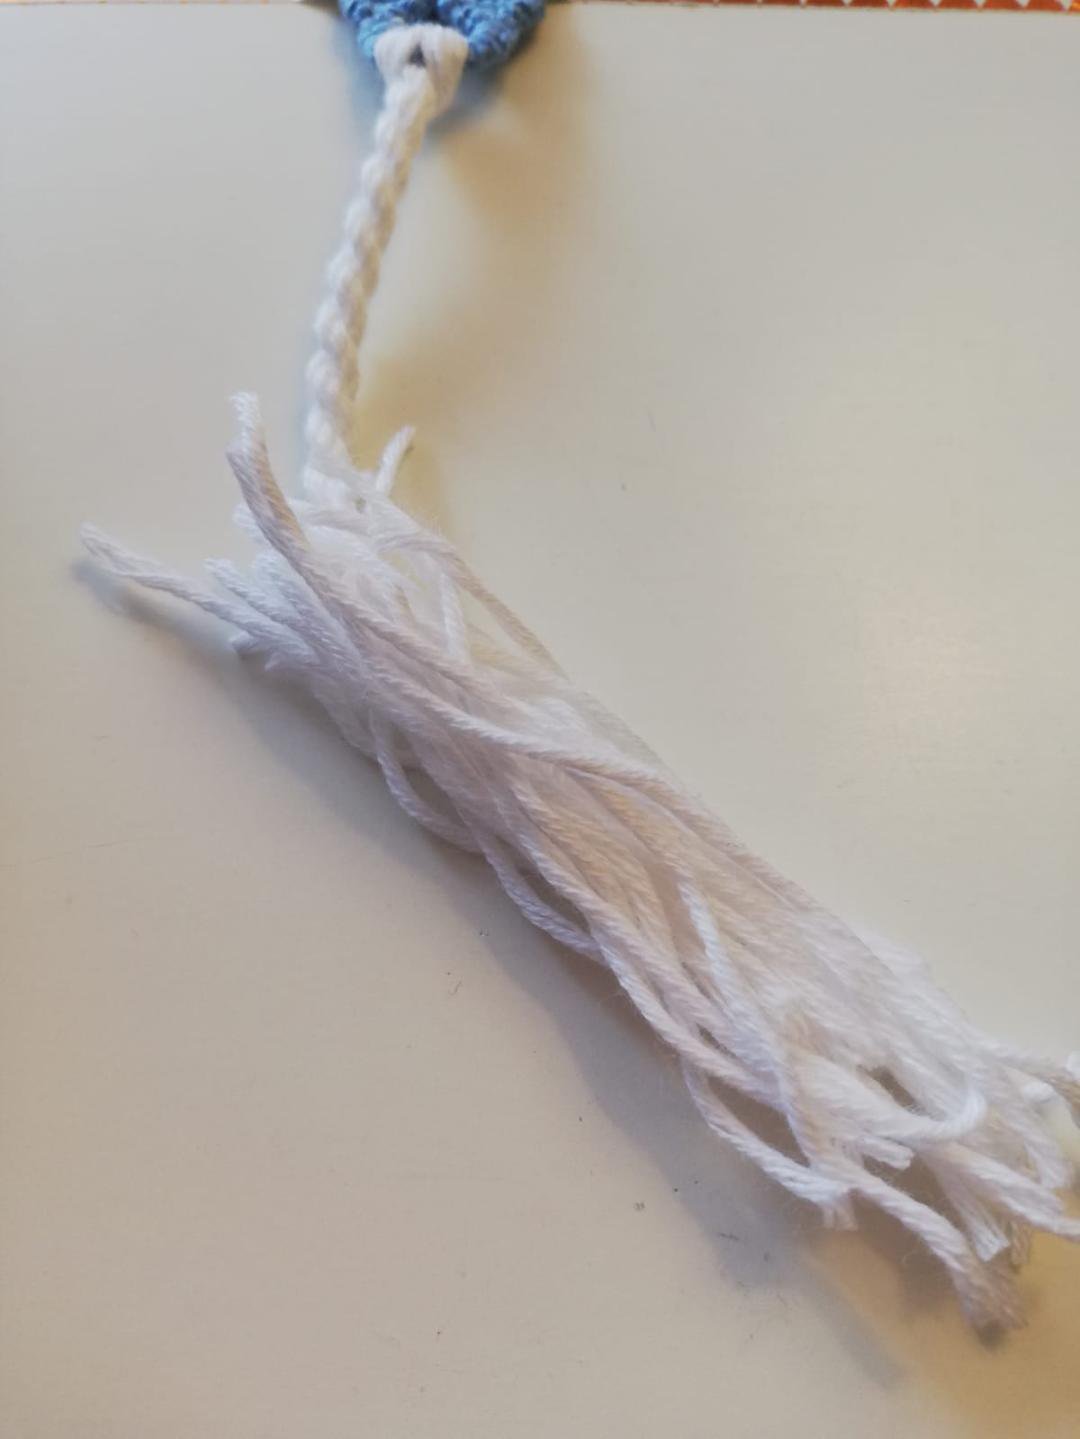
Step 7
Cut around 20 strings like that. It's more about personal preference here, but I'd say; the more the better.
Step 8
For this step, cut a new string that is twice as long as the previous strings we cut. Tie with this new string a knot OVER the big overhand knot that we did when we finished the twisted tie. I recommend tying the knot twice, just to be safe.
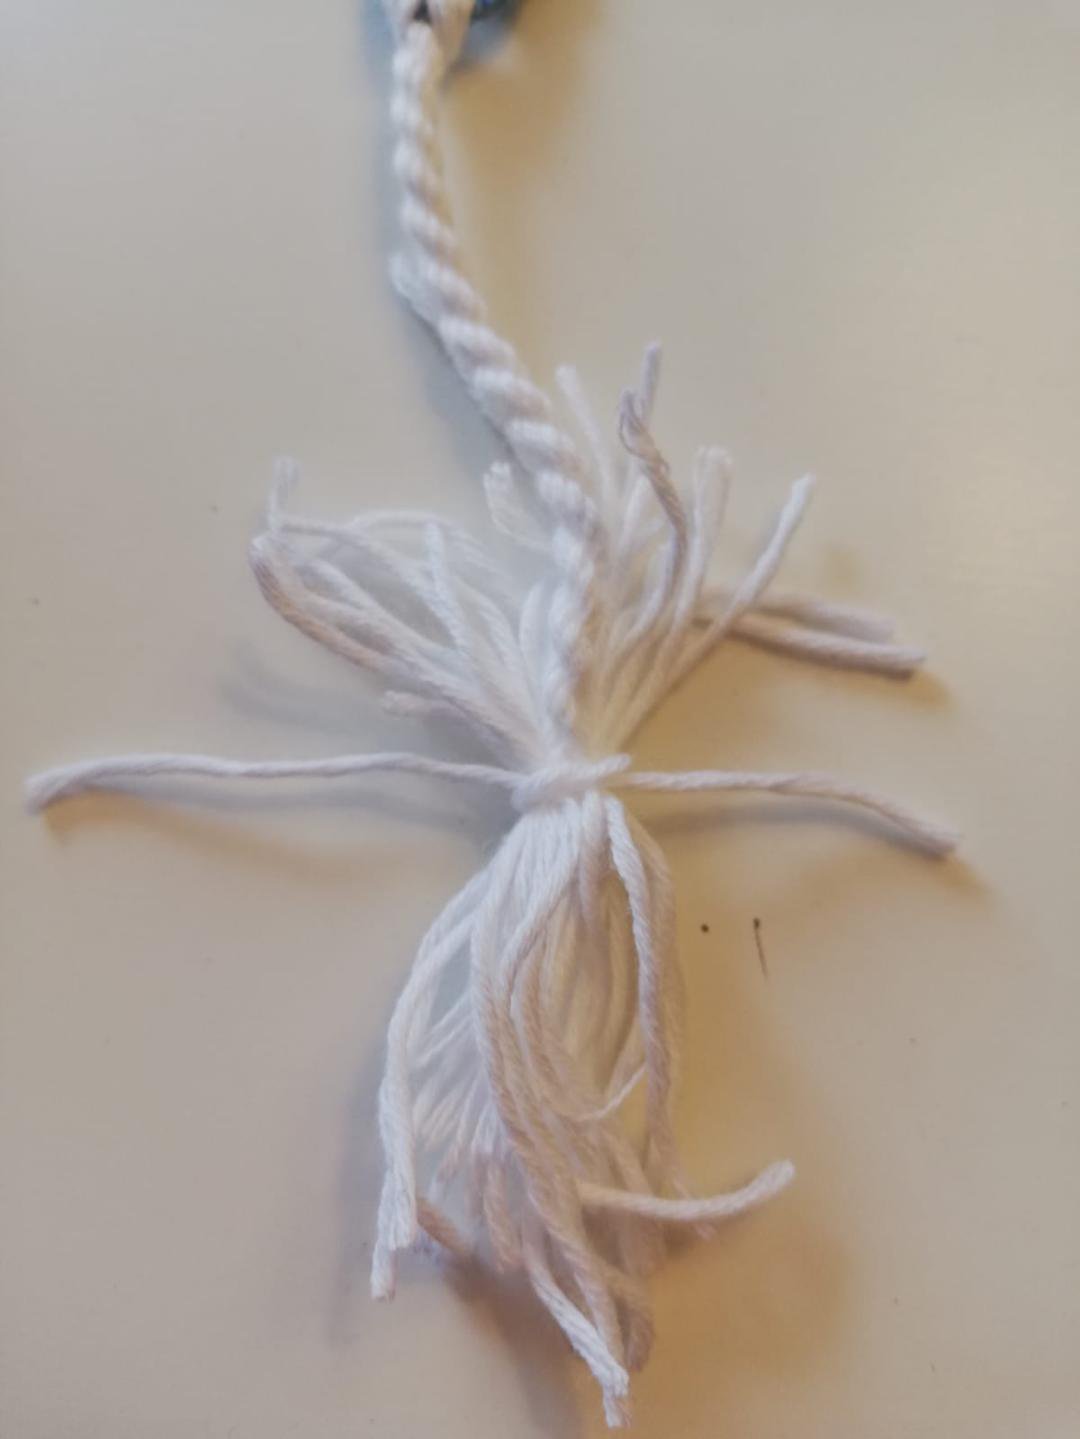
Step 9
Bring the strings above the small knot just made down, as in the picture on the left. Now you should have all the strings in the same place.
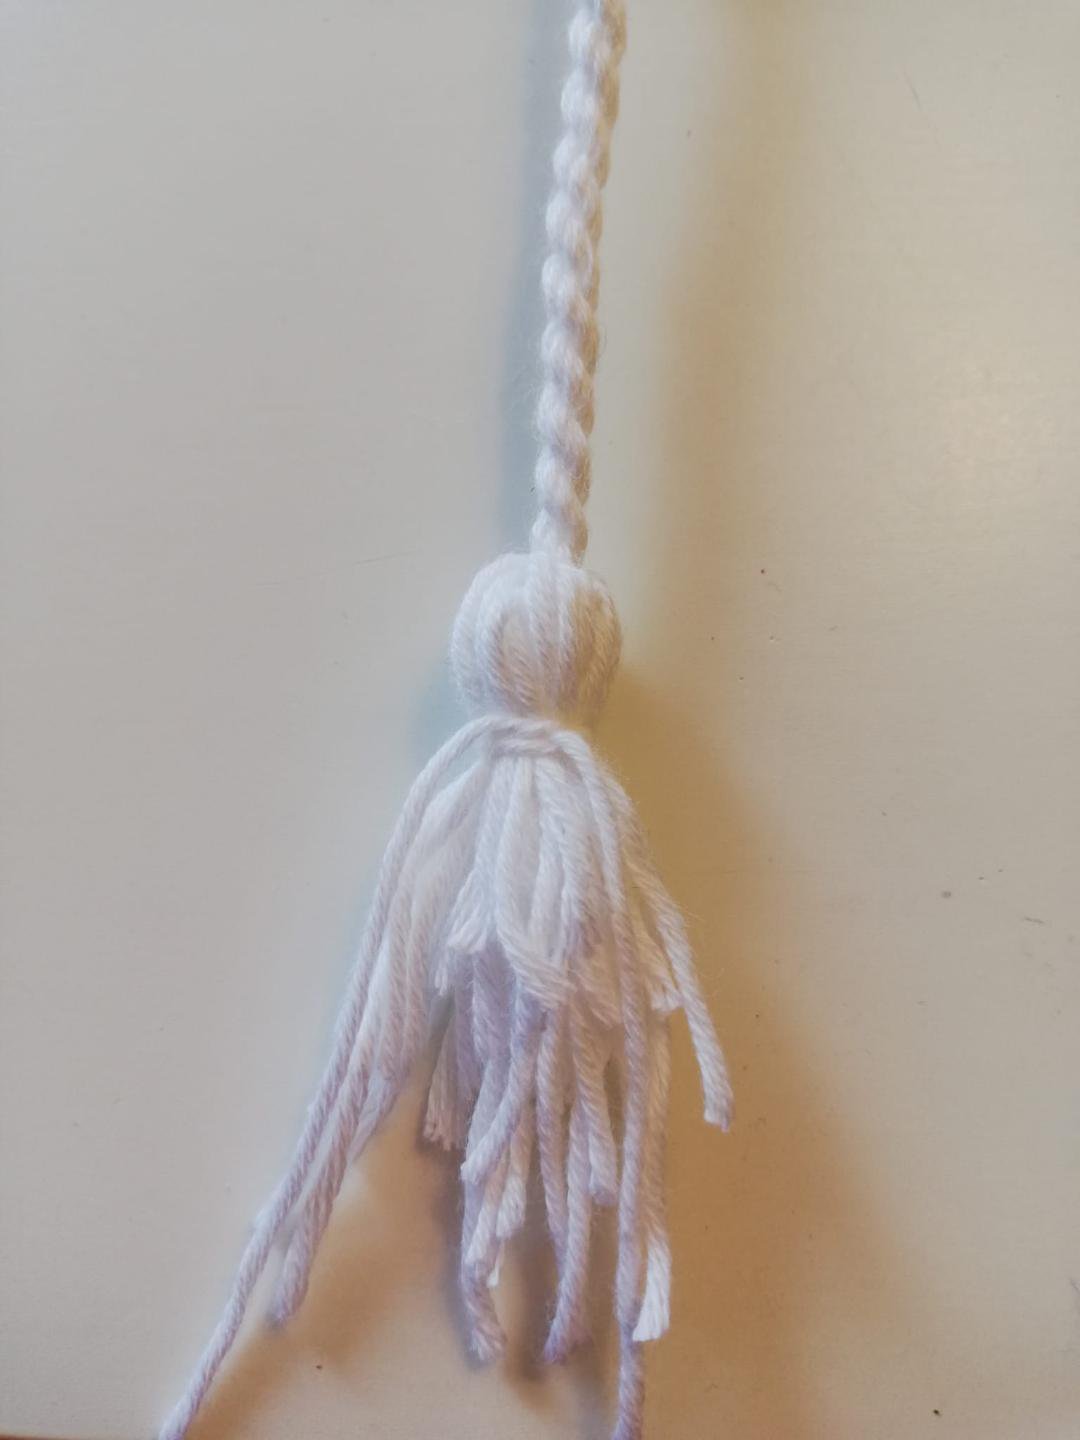
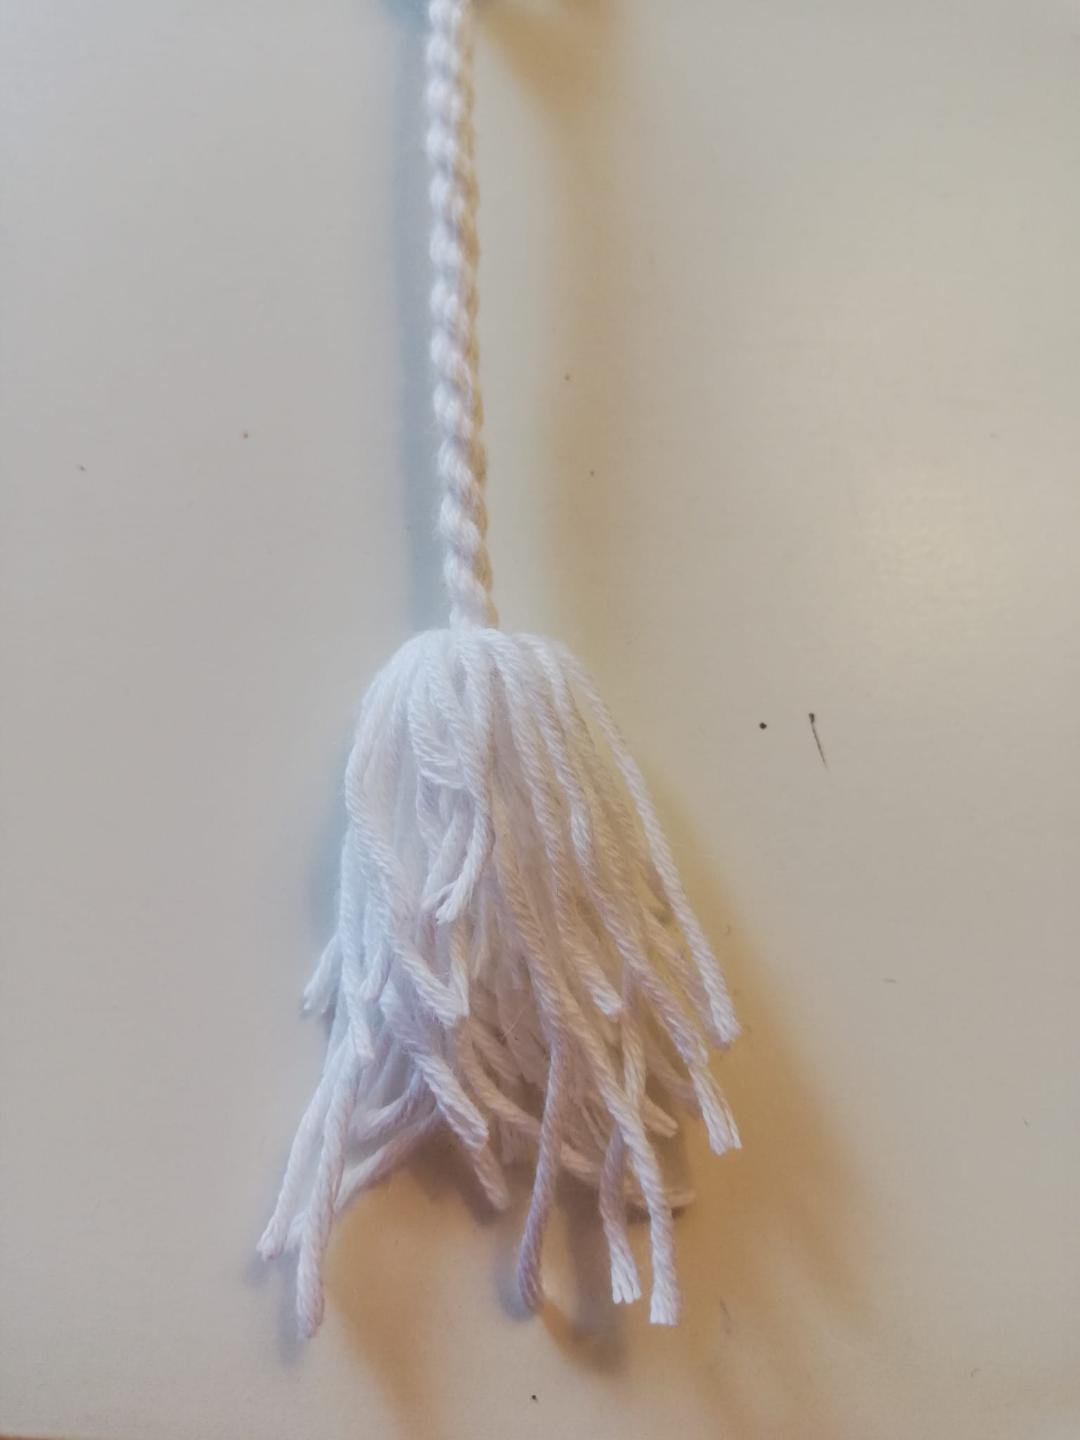
Step 10
Cut a new string again, with the same length that the previous string we cut had (about 12 cm/ 5 inches ). Repeat step 8, BUT tie the knot UNDER the overhand knot, not over. And also try to arrange the strings so that the overhand knot doesn’t show off.
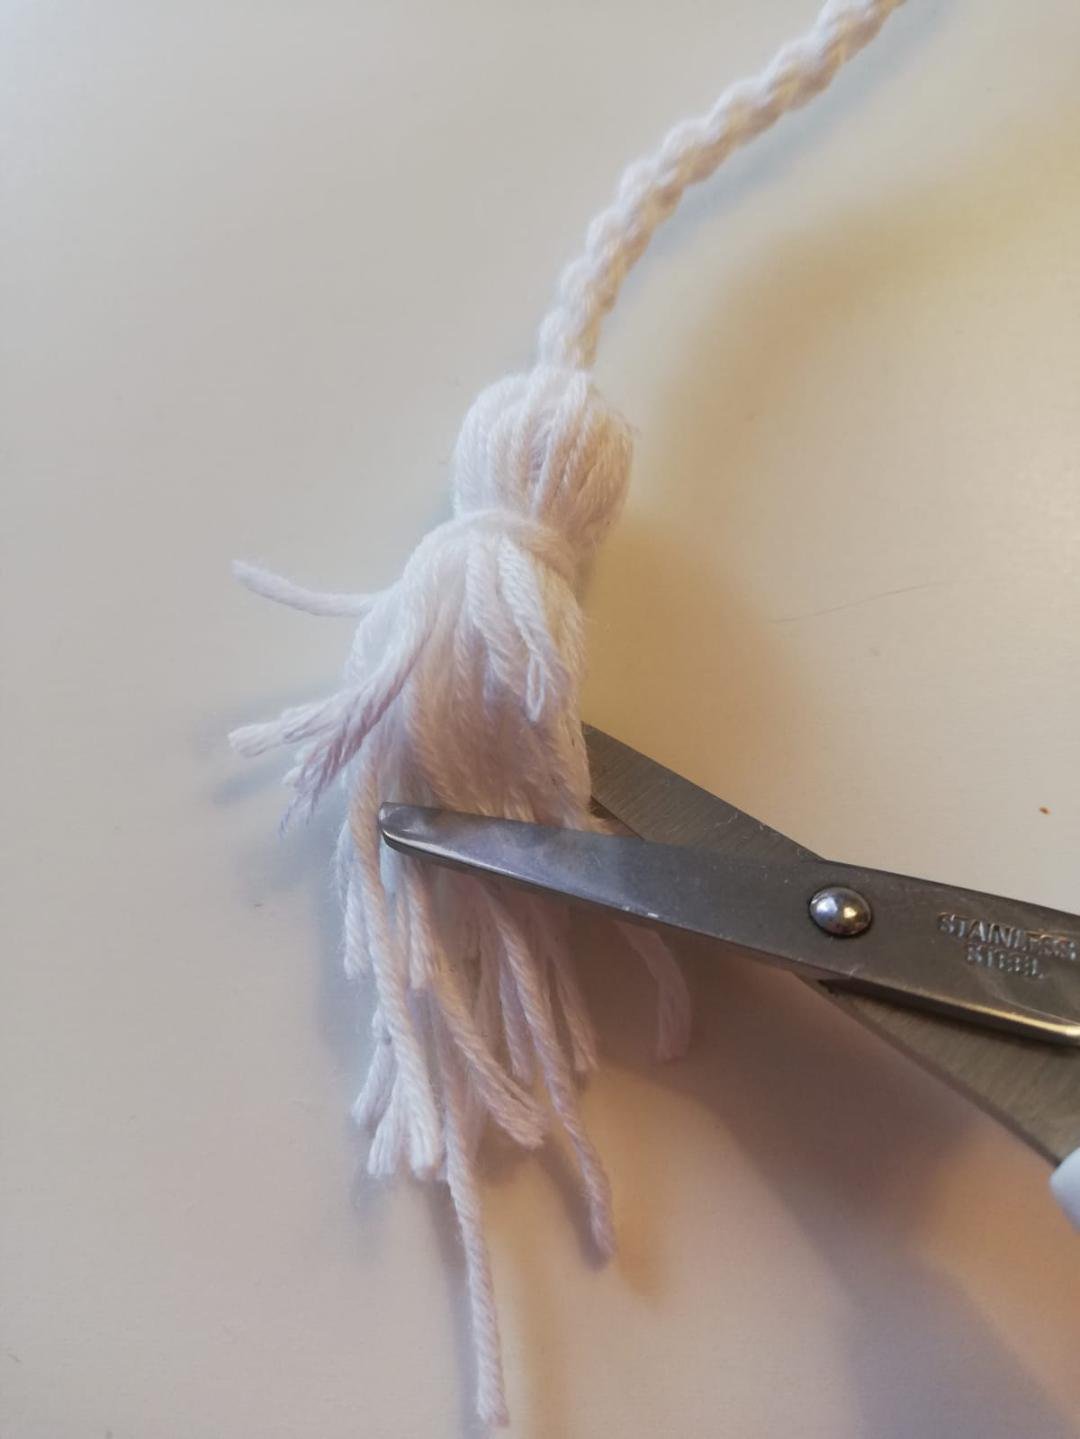
Step 11
Cut the excess of your strings.
Final result
Here you have it, your finished bookmark; congrats! 🎉 My tassel and bookmark are a little bit small, because I actually made it to be a keychain, but this tassel can work for any pattern that has a loop or a bookmark hole!
Tips & tricks
• This kind of tassel is perfect for scrap thread! I didn’t use scraps just because I have a big bobbin of white crochet thread that is a little bit thick for knots, so it’s amazing for tassels like this!
• If you decide later that you don't want the tassel on your creation anymore, no problem! You don’t need to cut it, just untie the larks head knot you made in the beginning!
• When you make two knots in steps 8-10 to secure your strings for the actual tassel part, I recommend making one knot on one side of the tassel, and then flipping your tassel to make the second knot on the other side. I find that this extra step makes it look neater, but it's totally fine if you don't do it, as it isn't necessary!
• Don't worry if your strings aren't the same length at first. Once you cut the excess, all of them will be the same size and length!
Outro
Thank you so much for reading, I really hope you’ll find it helpful! If you have any questions, or if something was unclear to you, feel free to comment down bellow, I will be more than happy to help!
~@AlmaLlama
~@AlmaLlama
19 Comments