Rate Tutorial
Introduction
Hello! This tutorial will show how to start and finish your bracelets so that they are adjustable and can easily be slid on and off. You will not need any special materials apart from the string you’re already using and a pair of scissors. You will need to know how to make a square knot (video here), but it is also explained in Steps 6 and 7.
The pattern used is #167205 by @ponotama.
The pattern used is #167205 by @ponotama.
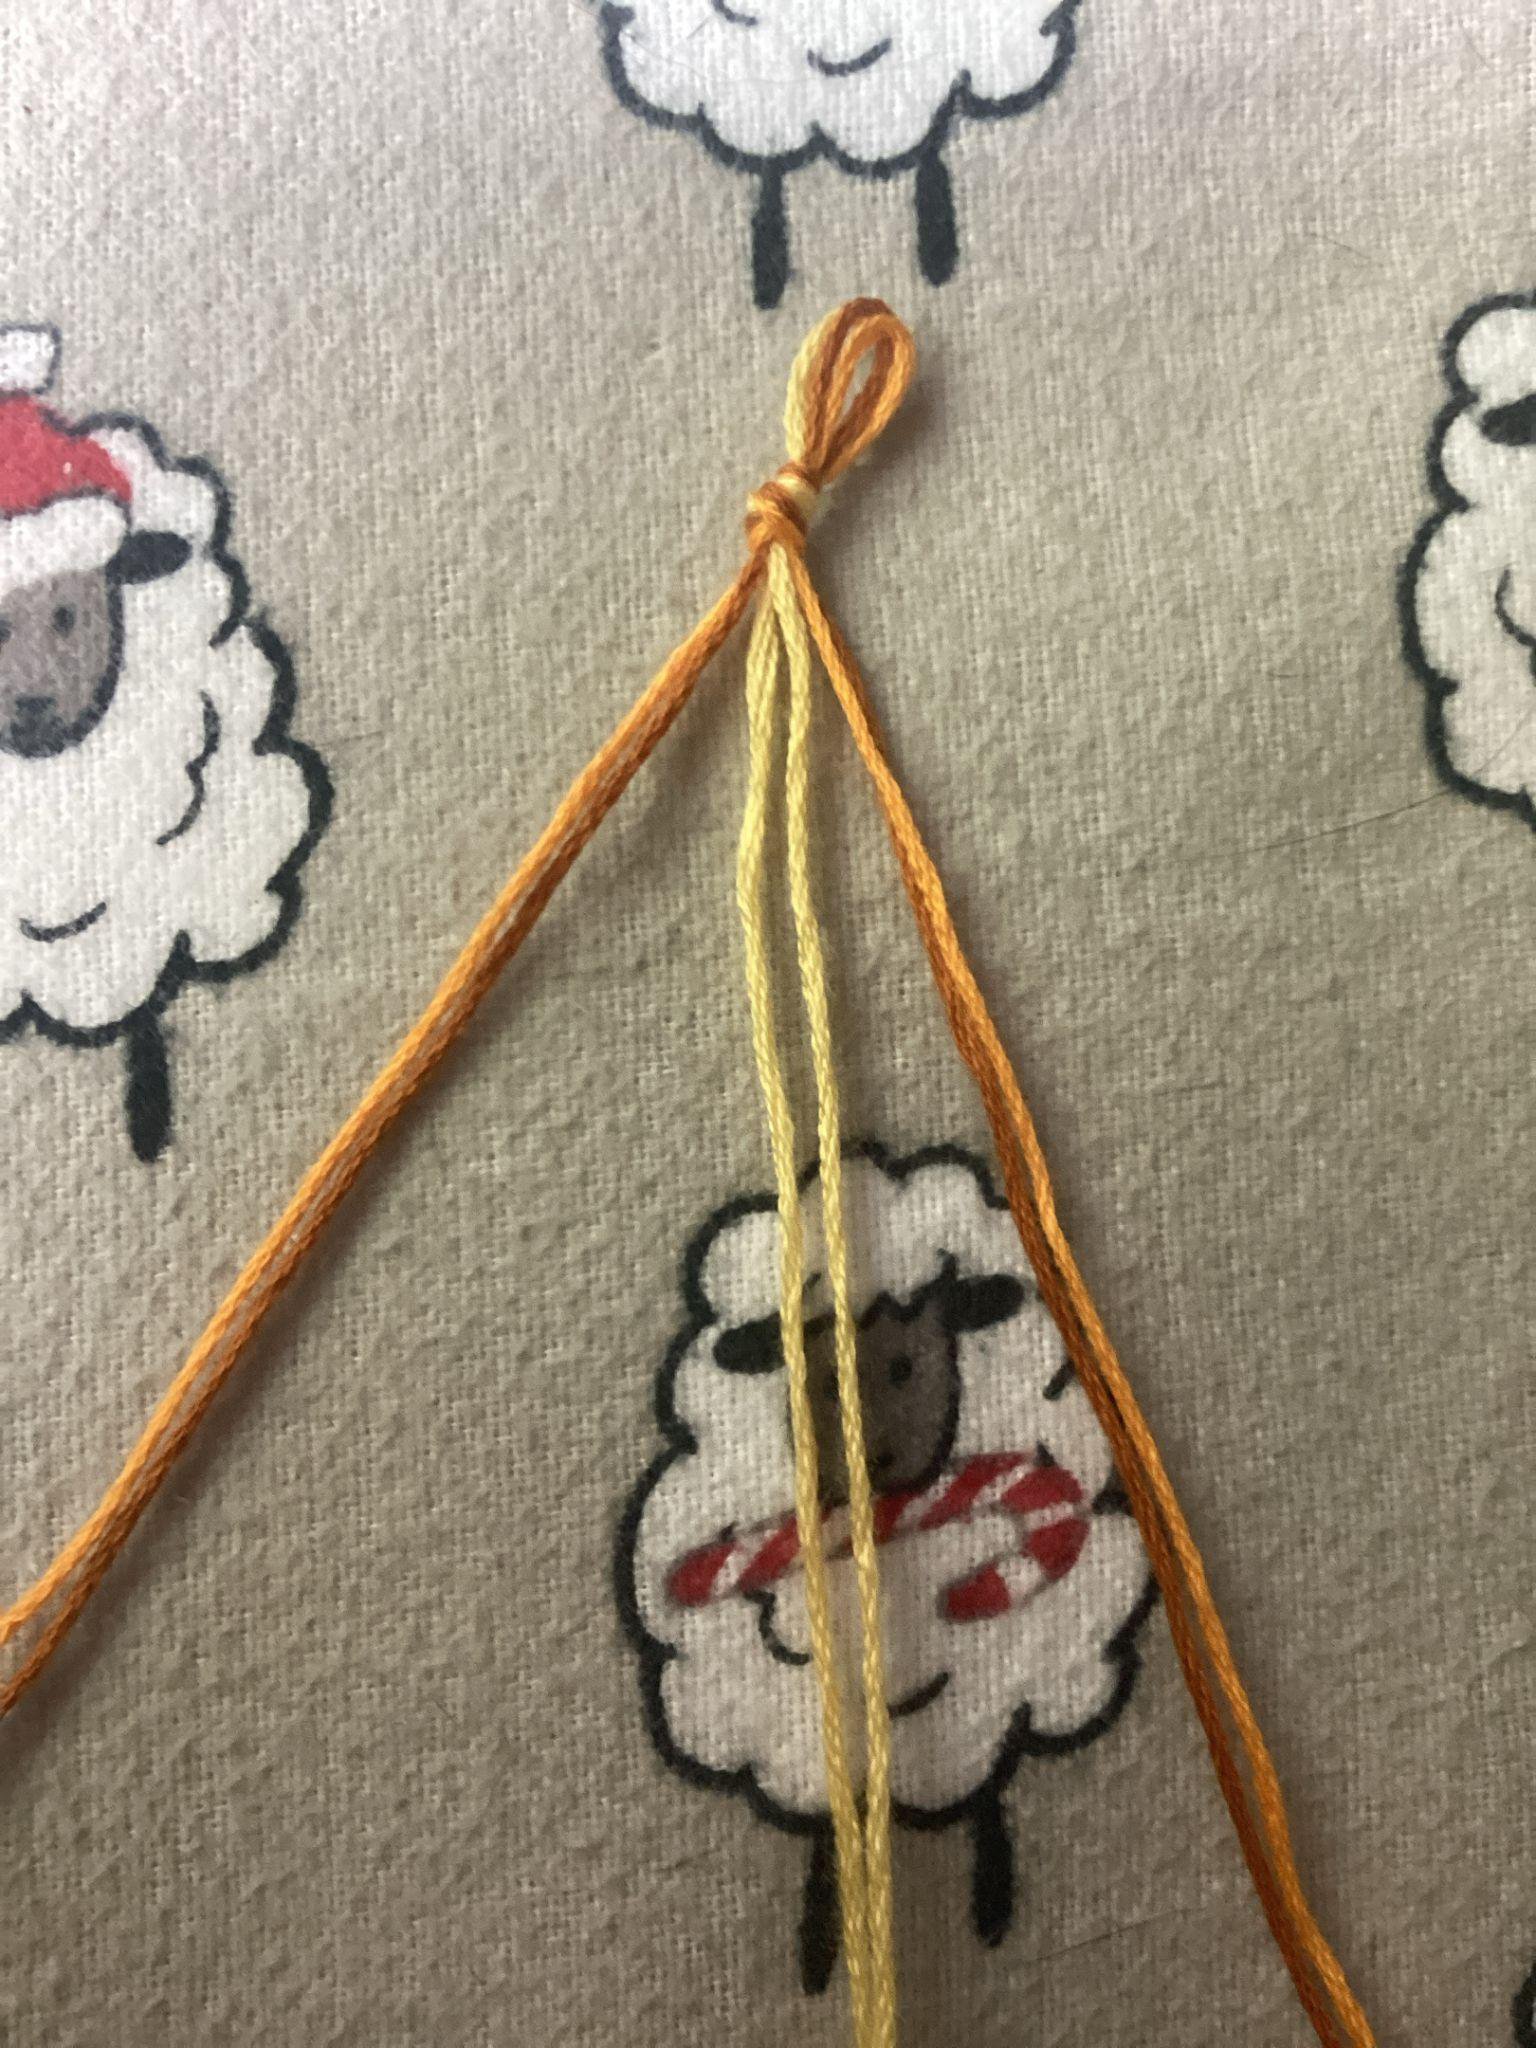
Step 1
Tie all your strings together in a knot at the top. Don't do any fancy kind of beginning like the loop, just a simple knot. Roughly arrange your strings in the order that they will start the pattern and split them into equal sections for a braid. If you want to fishtail, twist, or start your bracelet in another way, you can skip to Step 3. However, there are still important notes in Step 2.
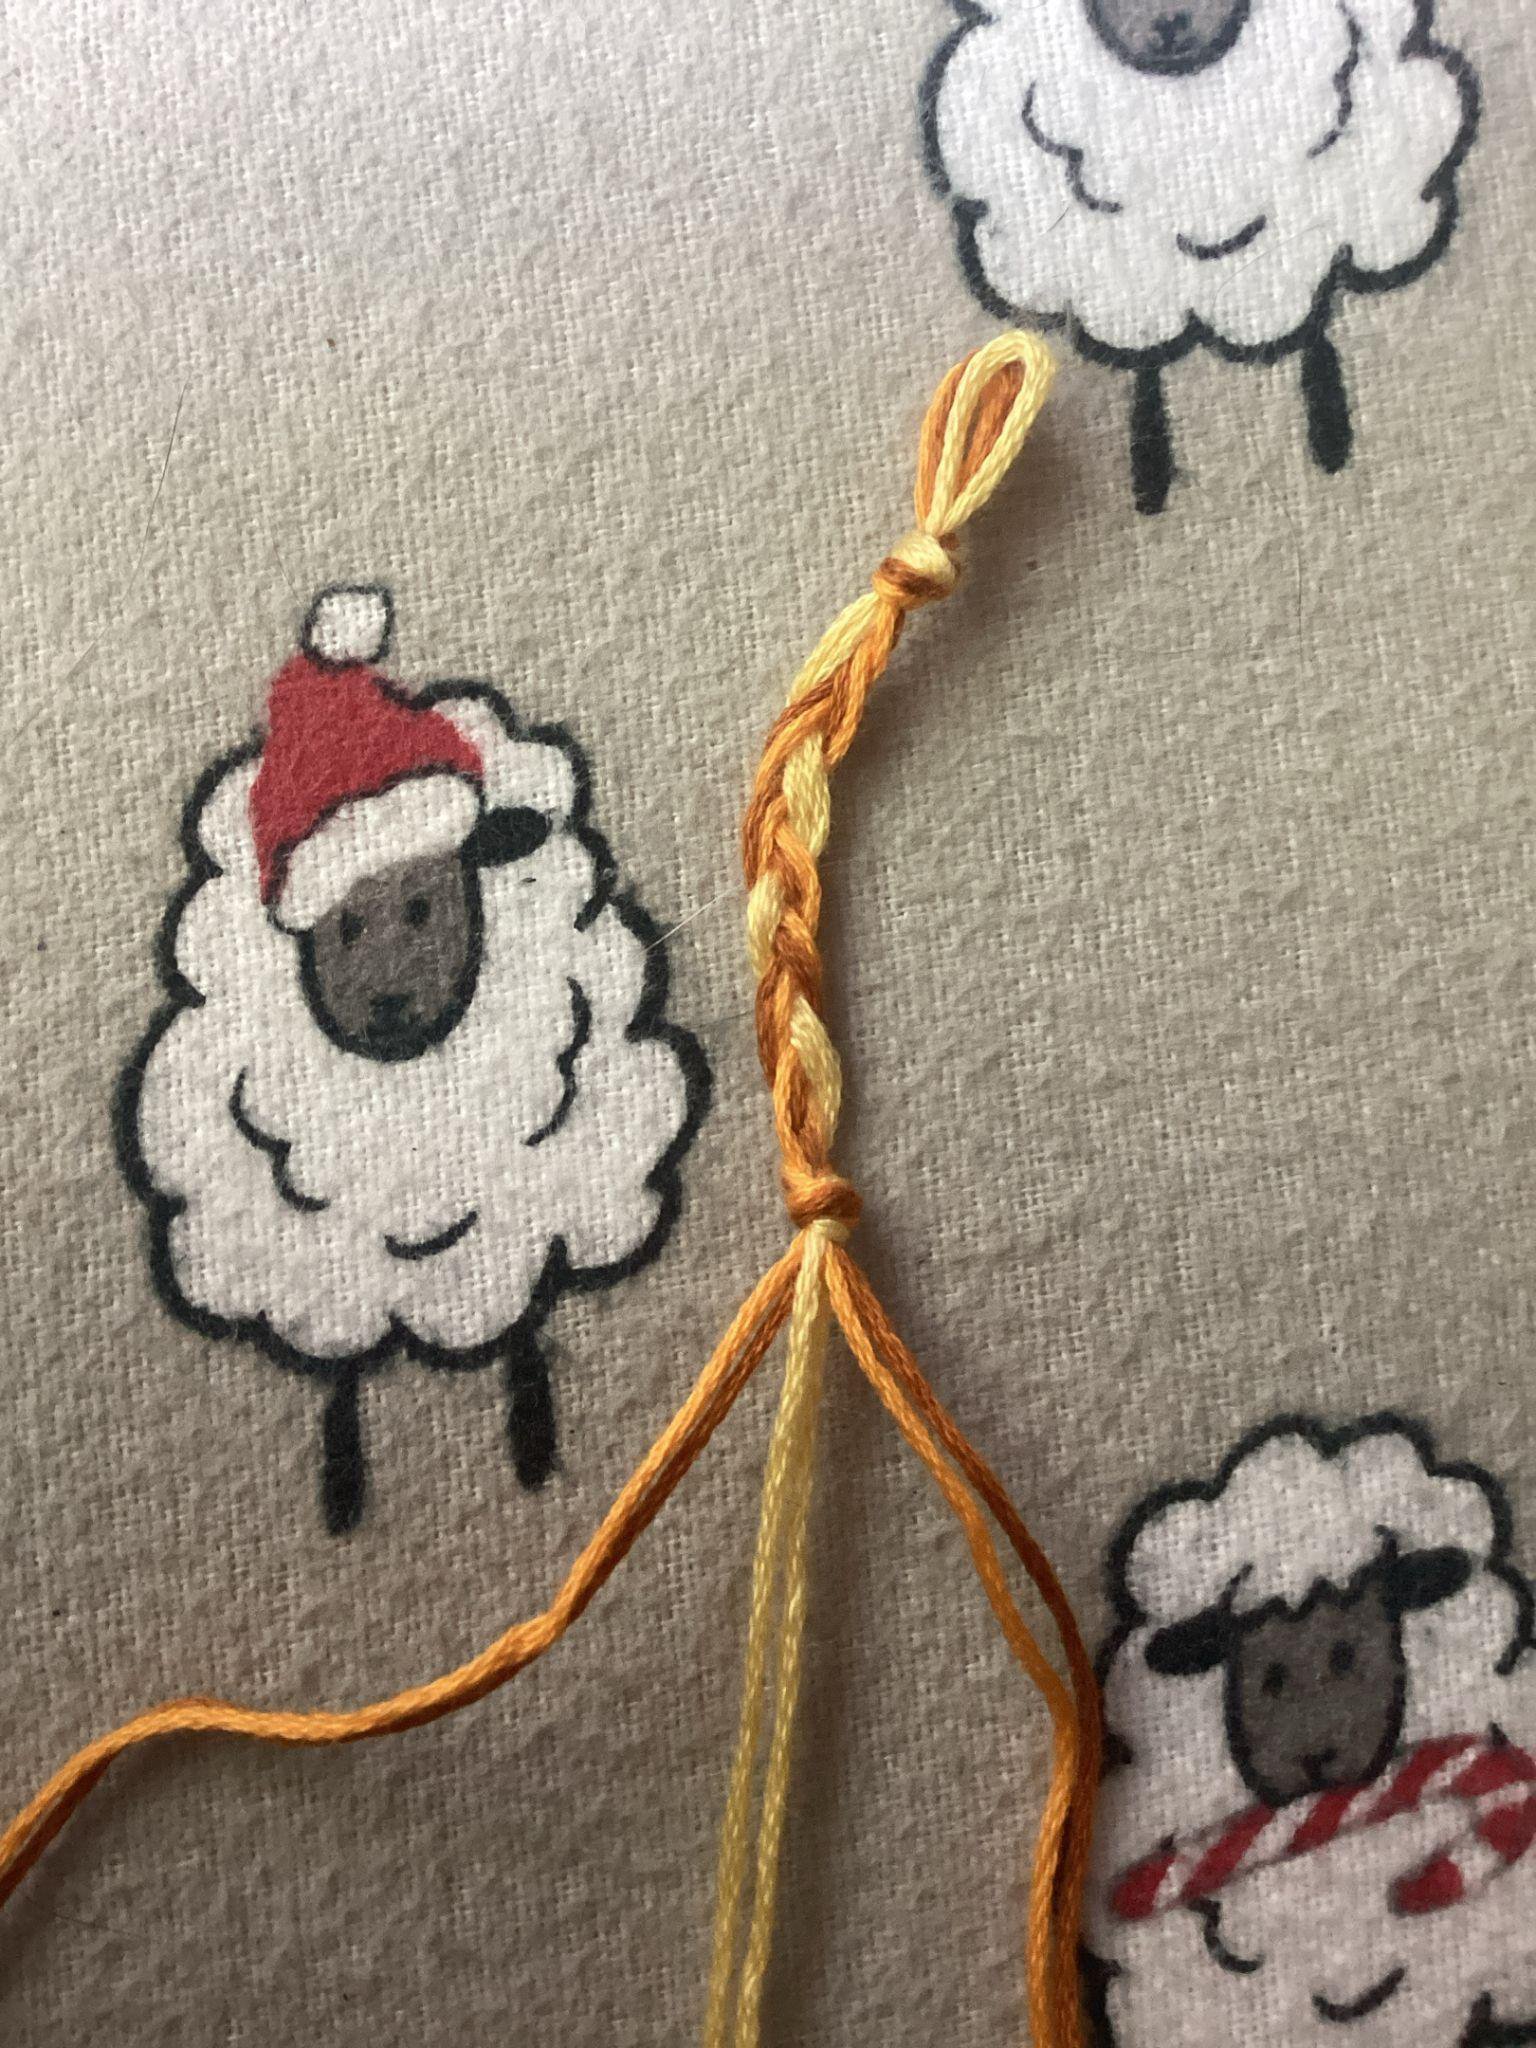
Step 2
Braid your sections together until it is about 1-1.5 inches long, or 3 to 4 centimeters. It should not be longer than your pinky finger or so. Tie off the bottom of your braid like you tied all your strings together at the beginning. After this knot, if you choose, you can start the bracelet any way you want- simply putting the strings where they go, or doing fancier stuff (I chose to keep it simple, but there are plenty of techniques on how to start a bracelet). Braid tension does not matter much, but I prefer to tie tighter because it looks cleaner. However, looser braiding will allow for smoother adjustability once you're done. You do not have to tie off the bottom in the same way I did- if you have other ways to start your bracelet, that’s completely fine.
Again, if you do not like the style of a braid, it’s completely fine to twist the strings or fishtail braid them, or any other method of putting the strings together you’d like! I prefer the braid because it slides easily and looks nice, but most other methods should work. It will work as long as you do not begin with a loop!
Again, if you do not like the style of a braid, it’s completely fine to twist the strings or fishtail braid them, or any other method of putting the strings together you’d like! I prefer the braid because it slides easily and looks nice, but most other methods should work. It will work as long as you do not begin with a loop!
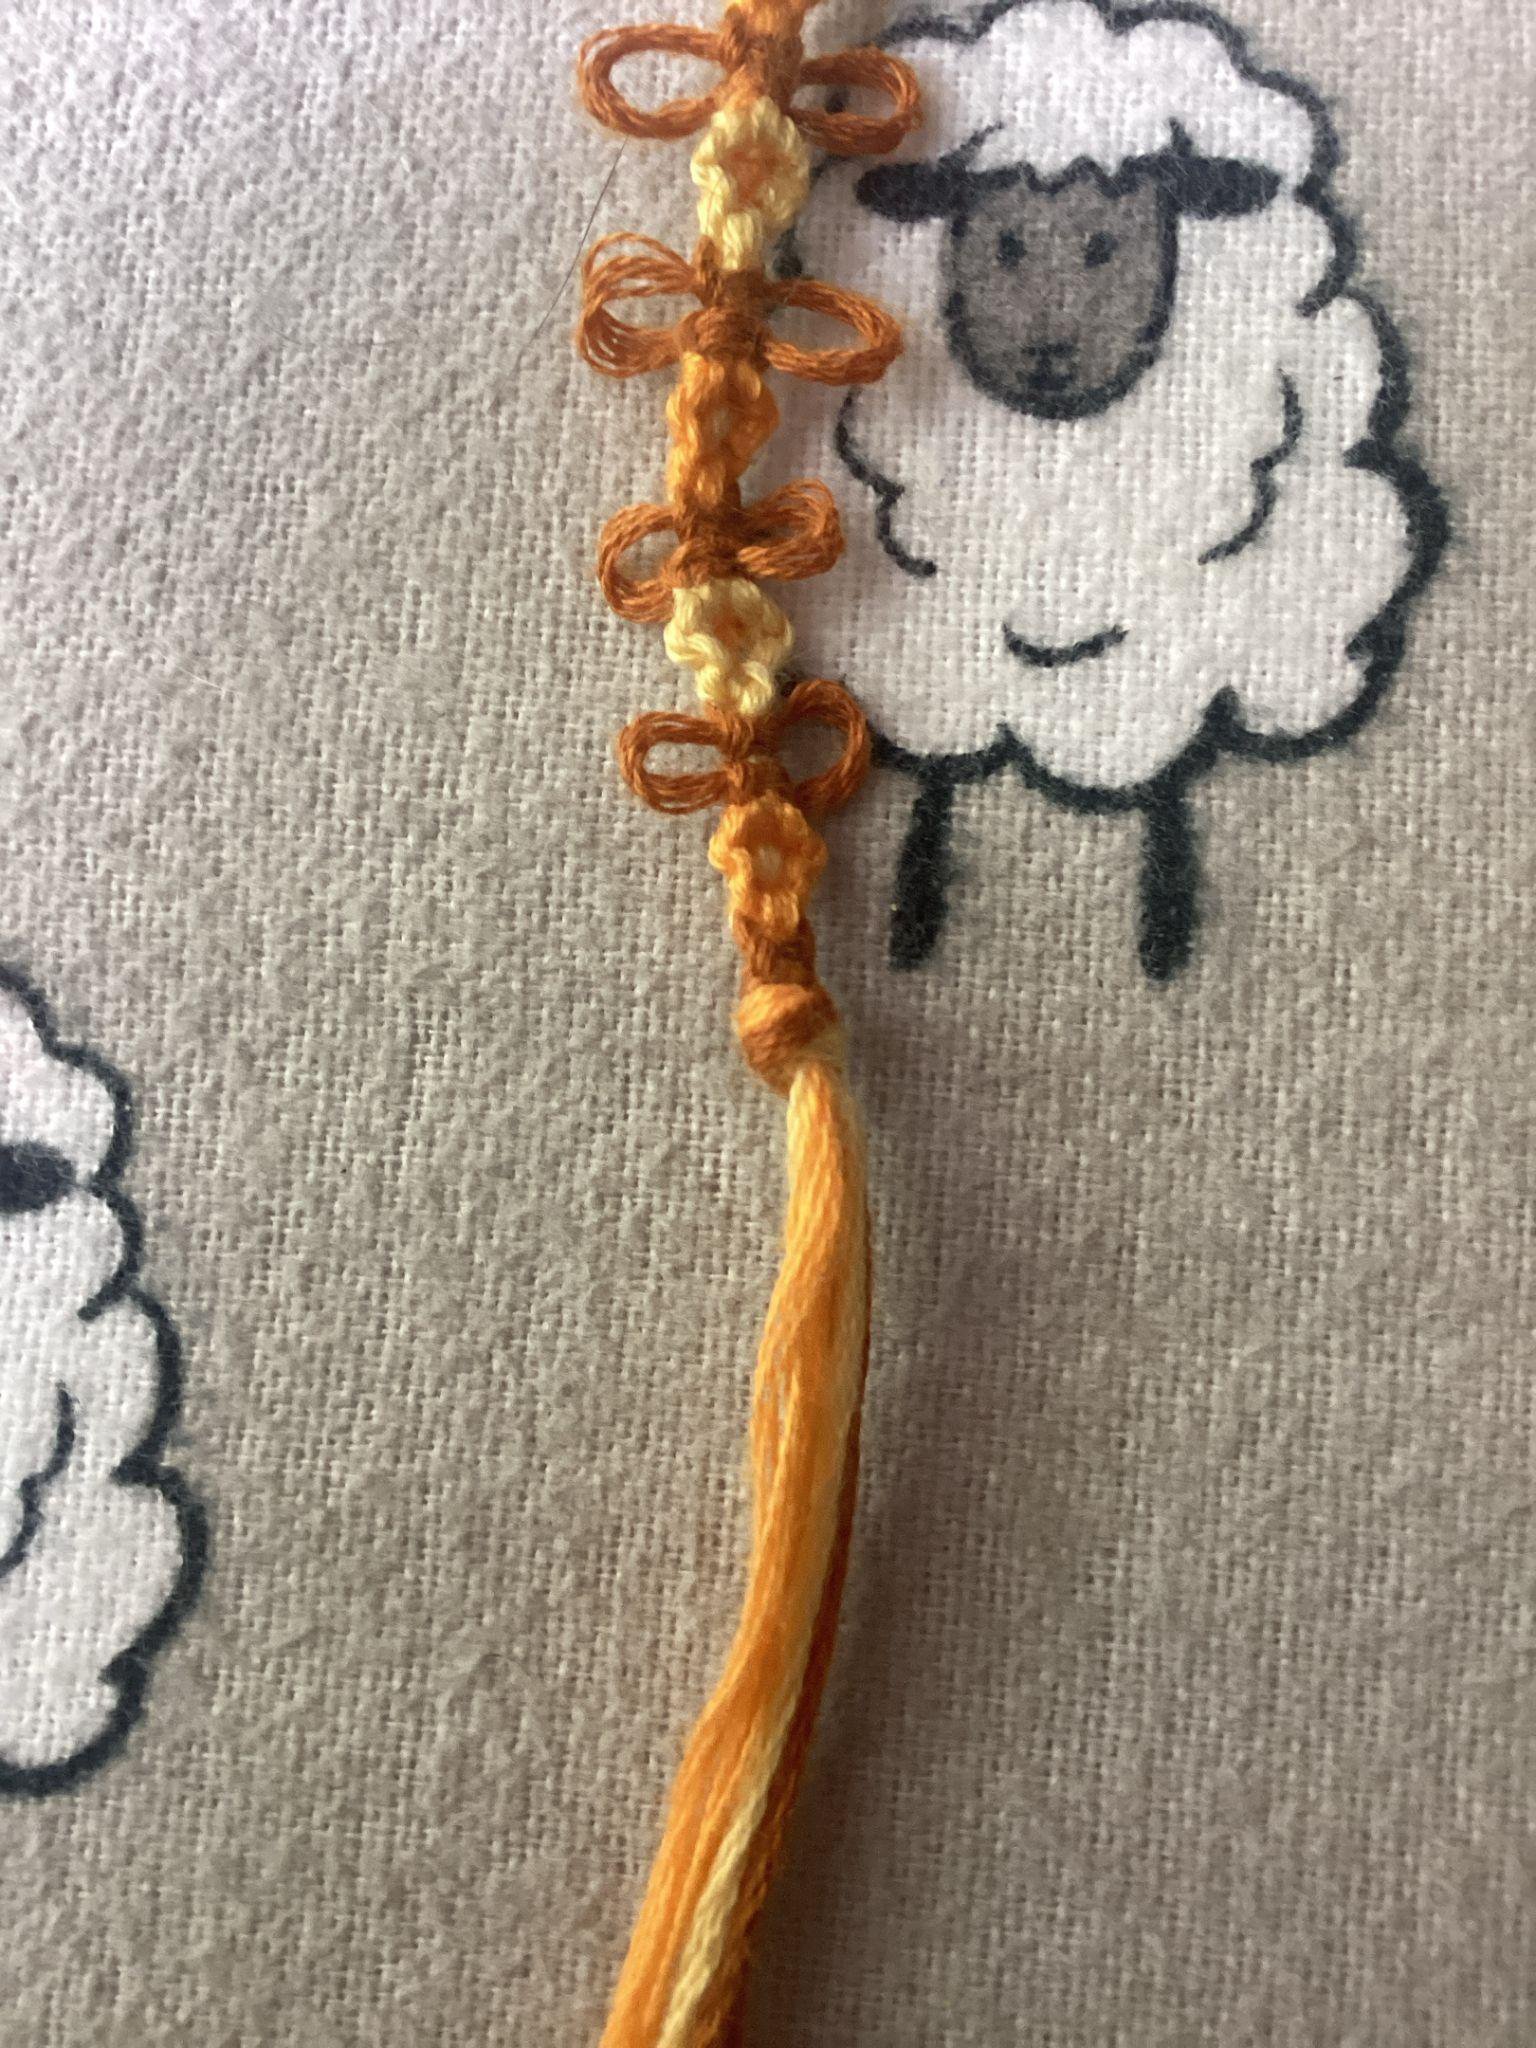
Step 3
Knot your bracelet like normal and tie all the strings together at the bottom. Again, it doesn't have to be fancy or anything, but you can tie the strings onto each other to look nicer if you'd like.
IT IS CRUCIAL THAT YOU DO NOT CUT ANY OF THE EXCESS STRING AT THIS POINT!
IT IS CRUCIAL THAT YOU DO NOT CUT ANY OF THE EXCESS STRING AT THIS POINT!
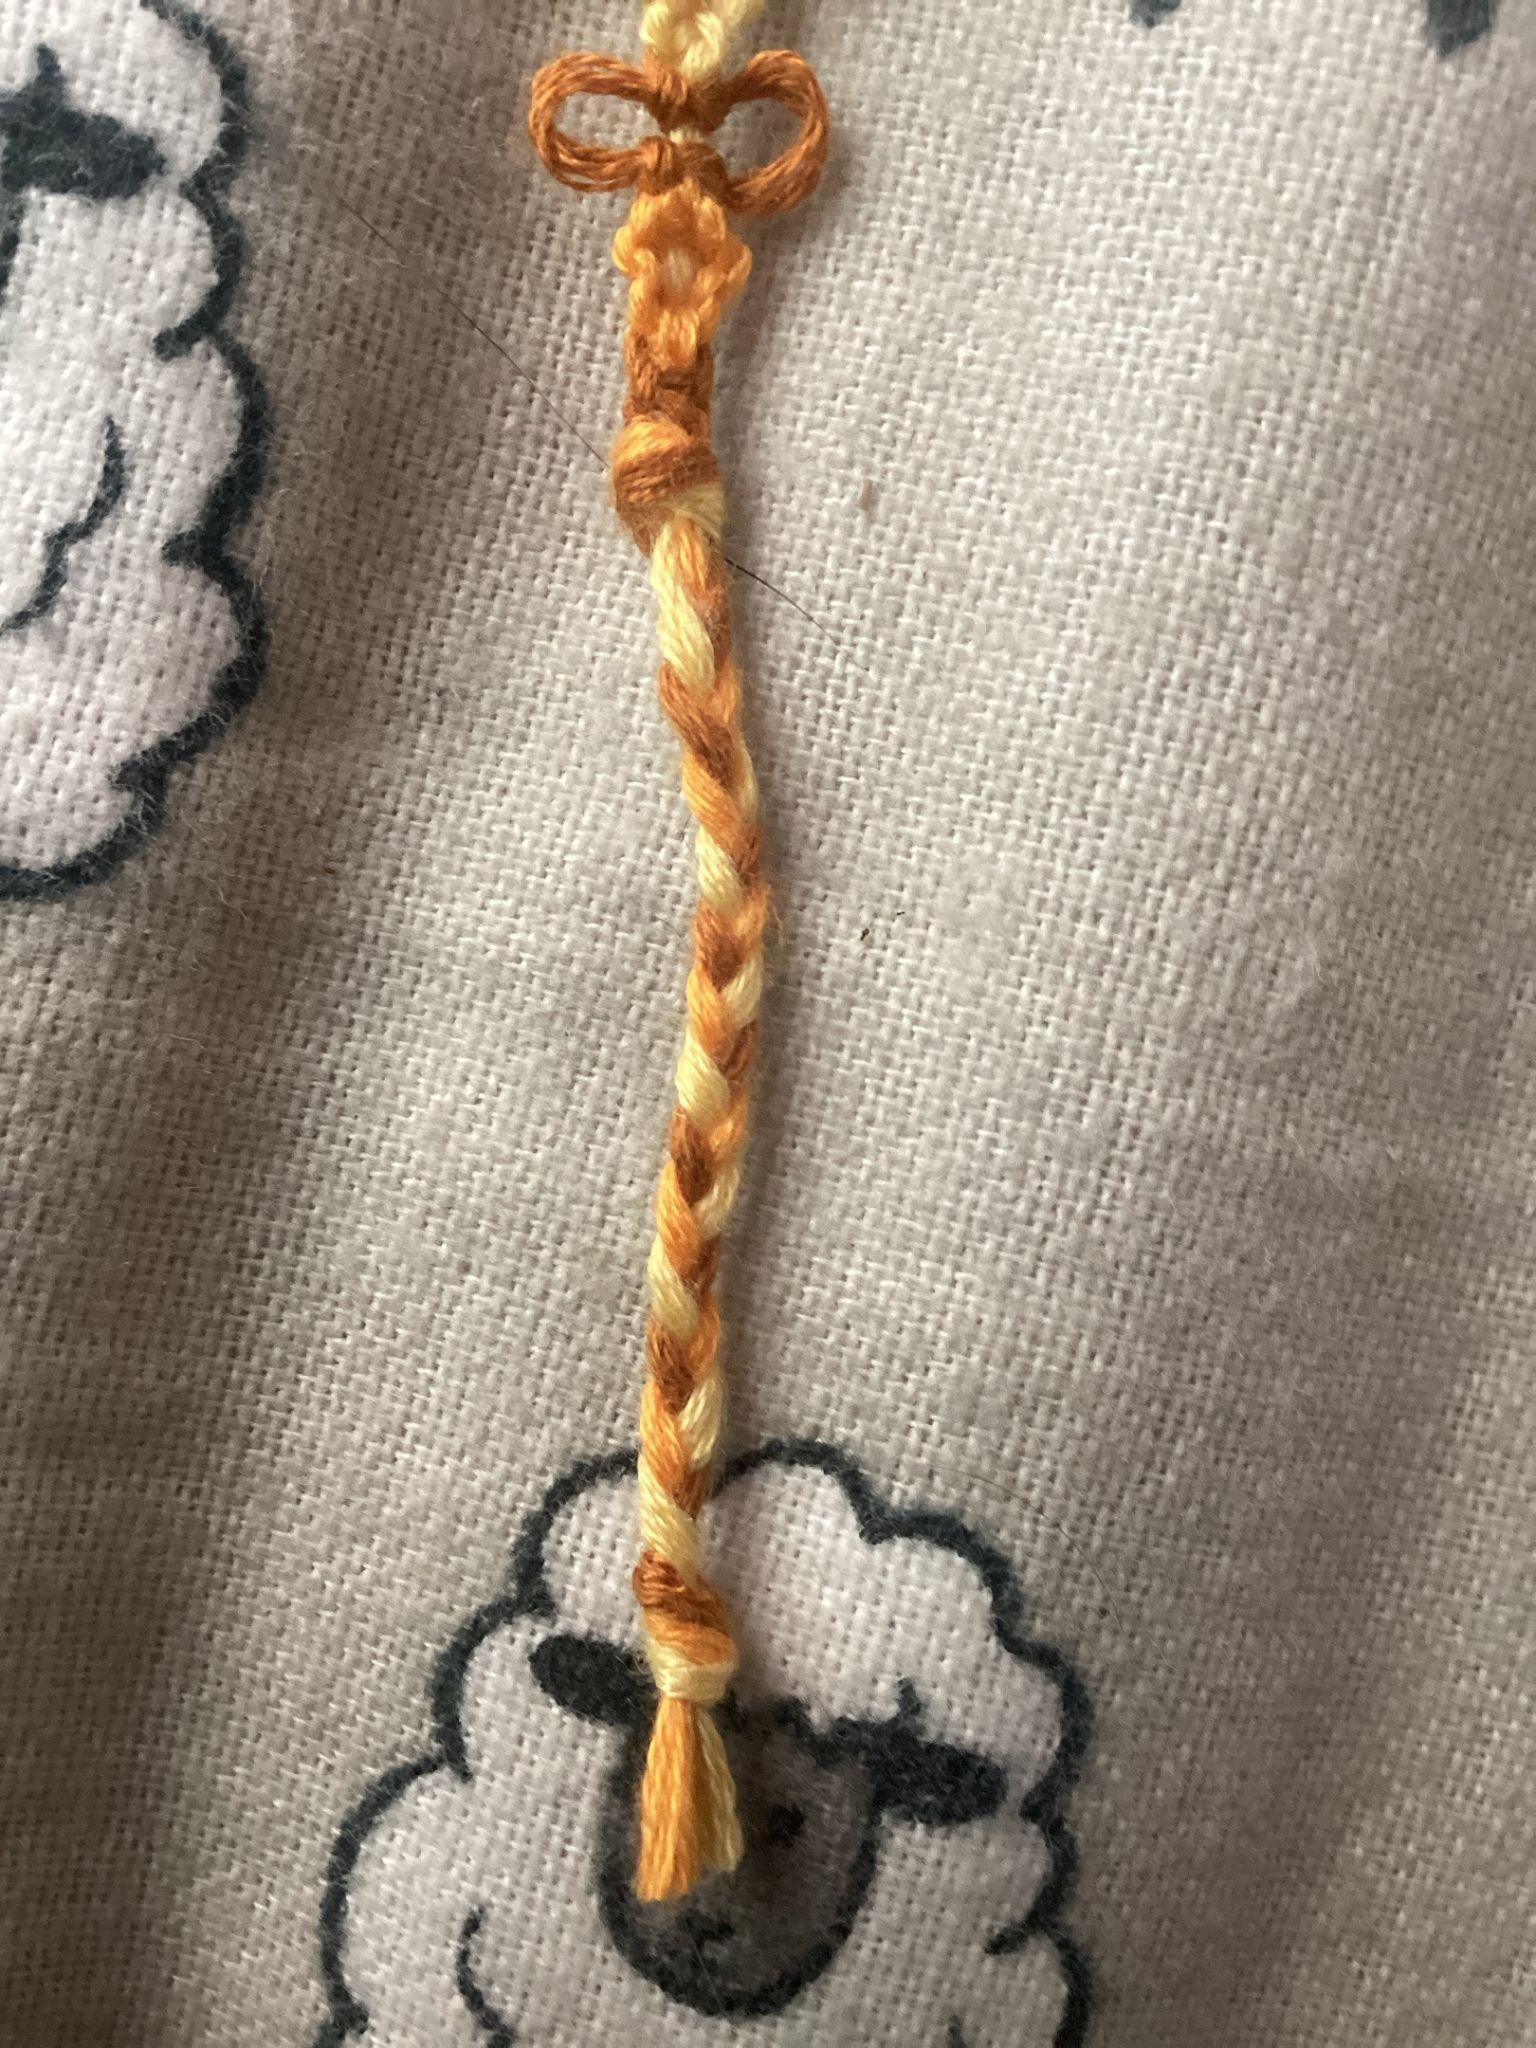
Step 4
Once you’ve finished your bracelet, braid the excess string to the same length as when you started out. Tie it off and cut the extra bits off. The same braiding rules apply here as they did in the beginning, Keep that string for the next step.
Step 5
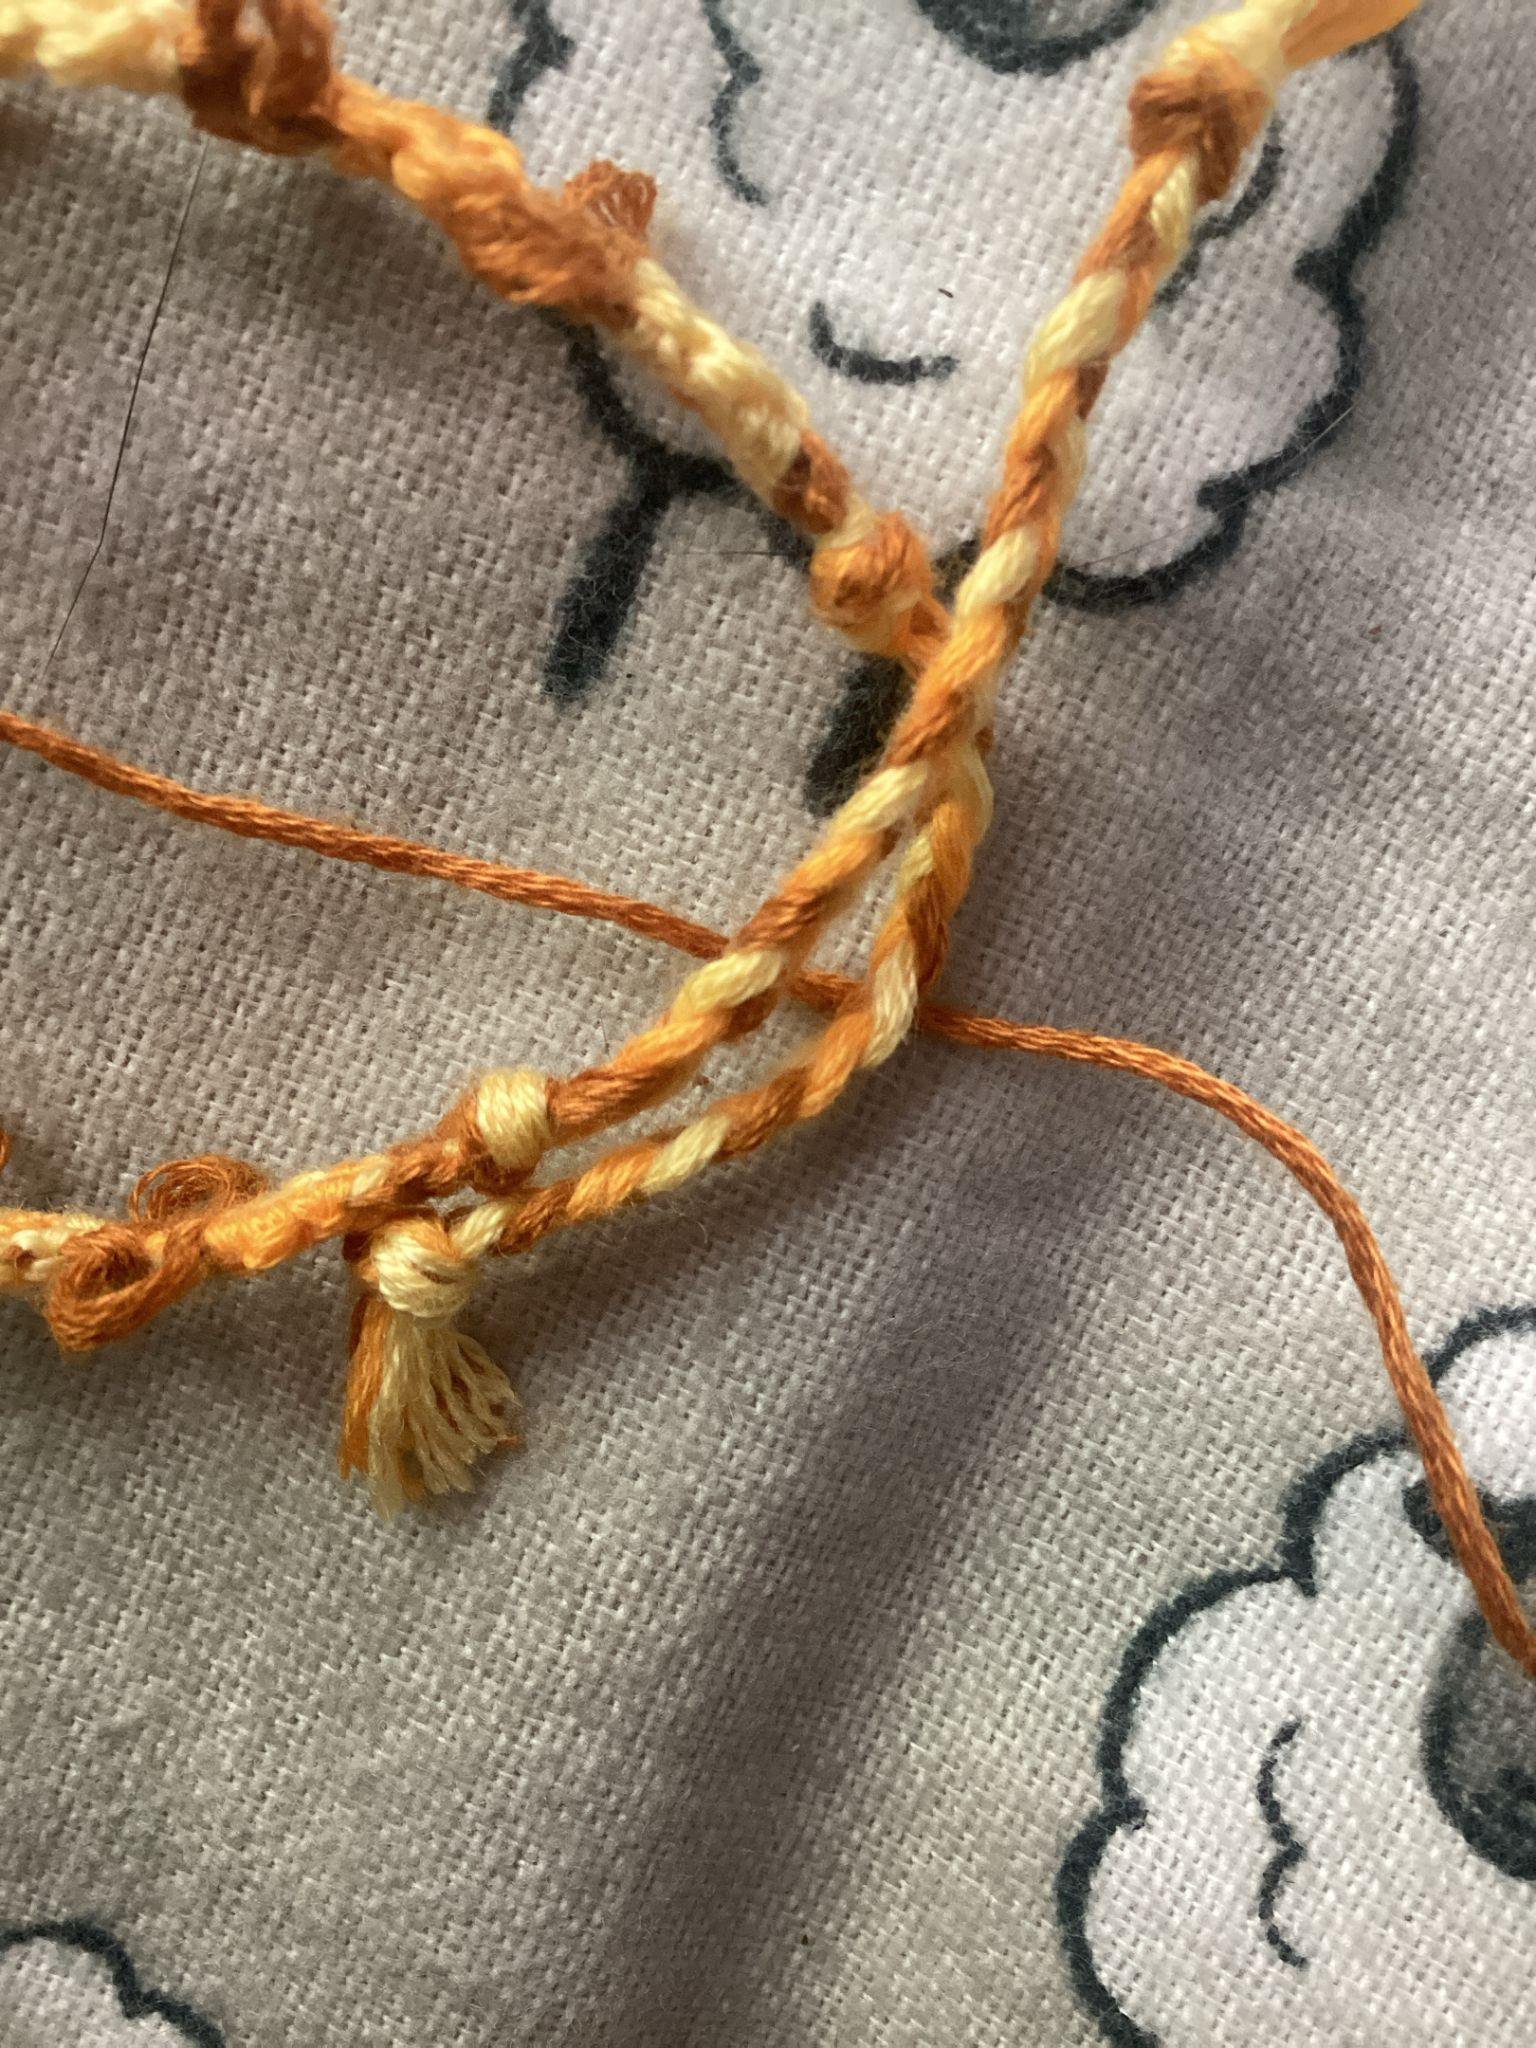
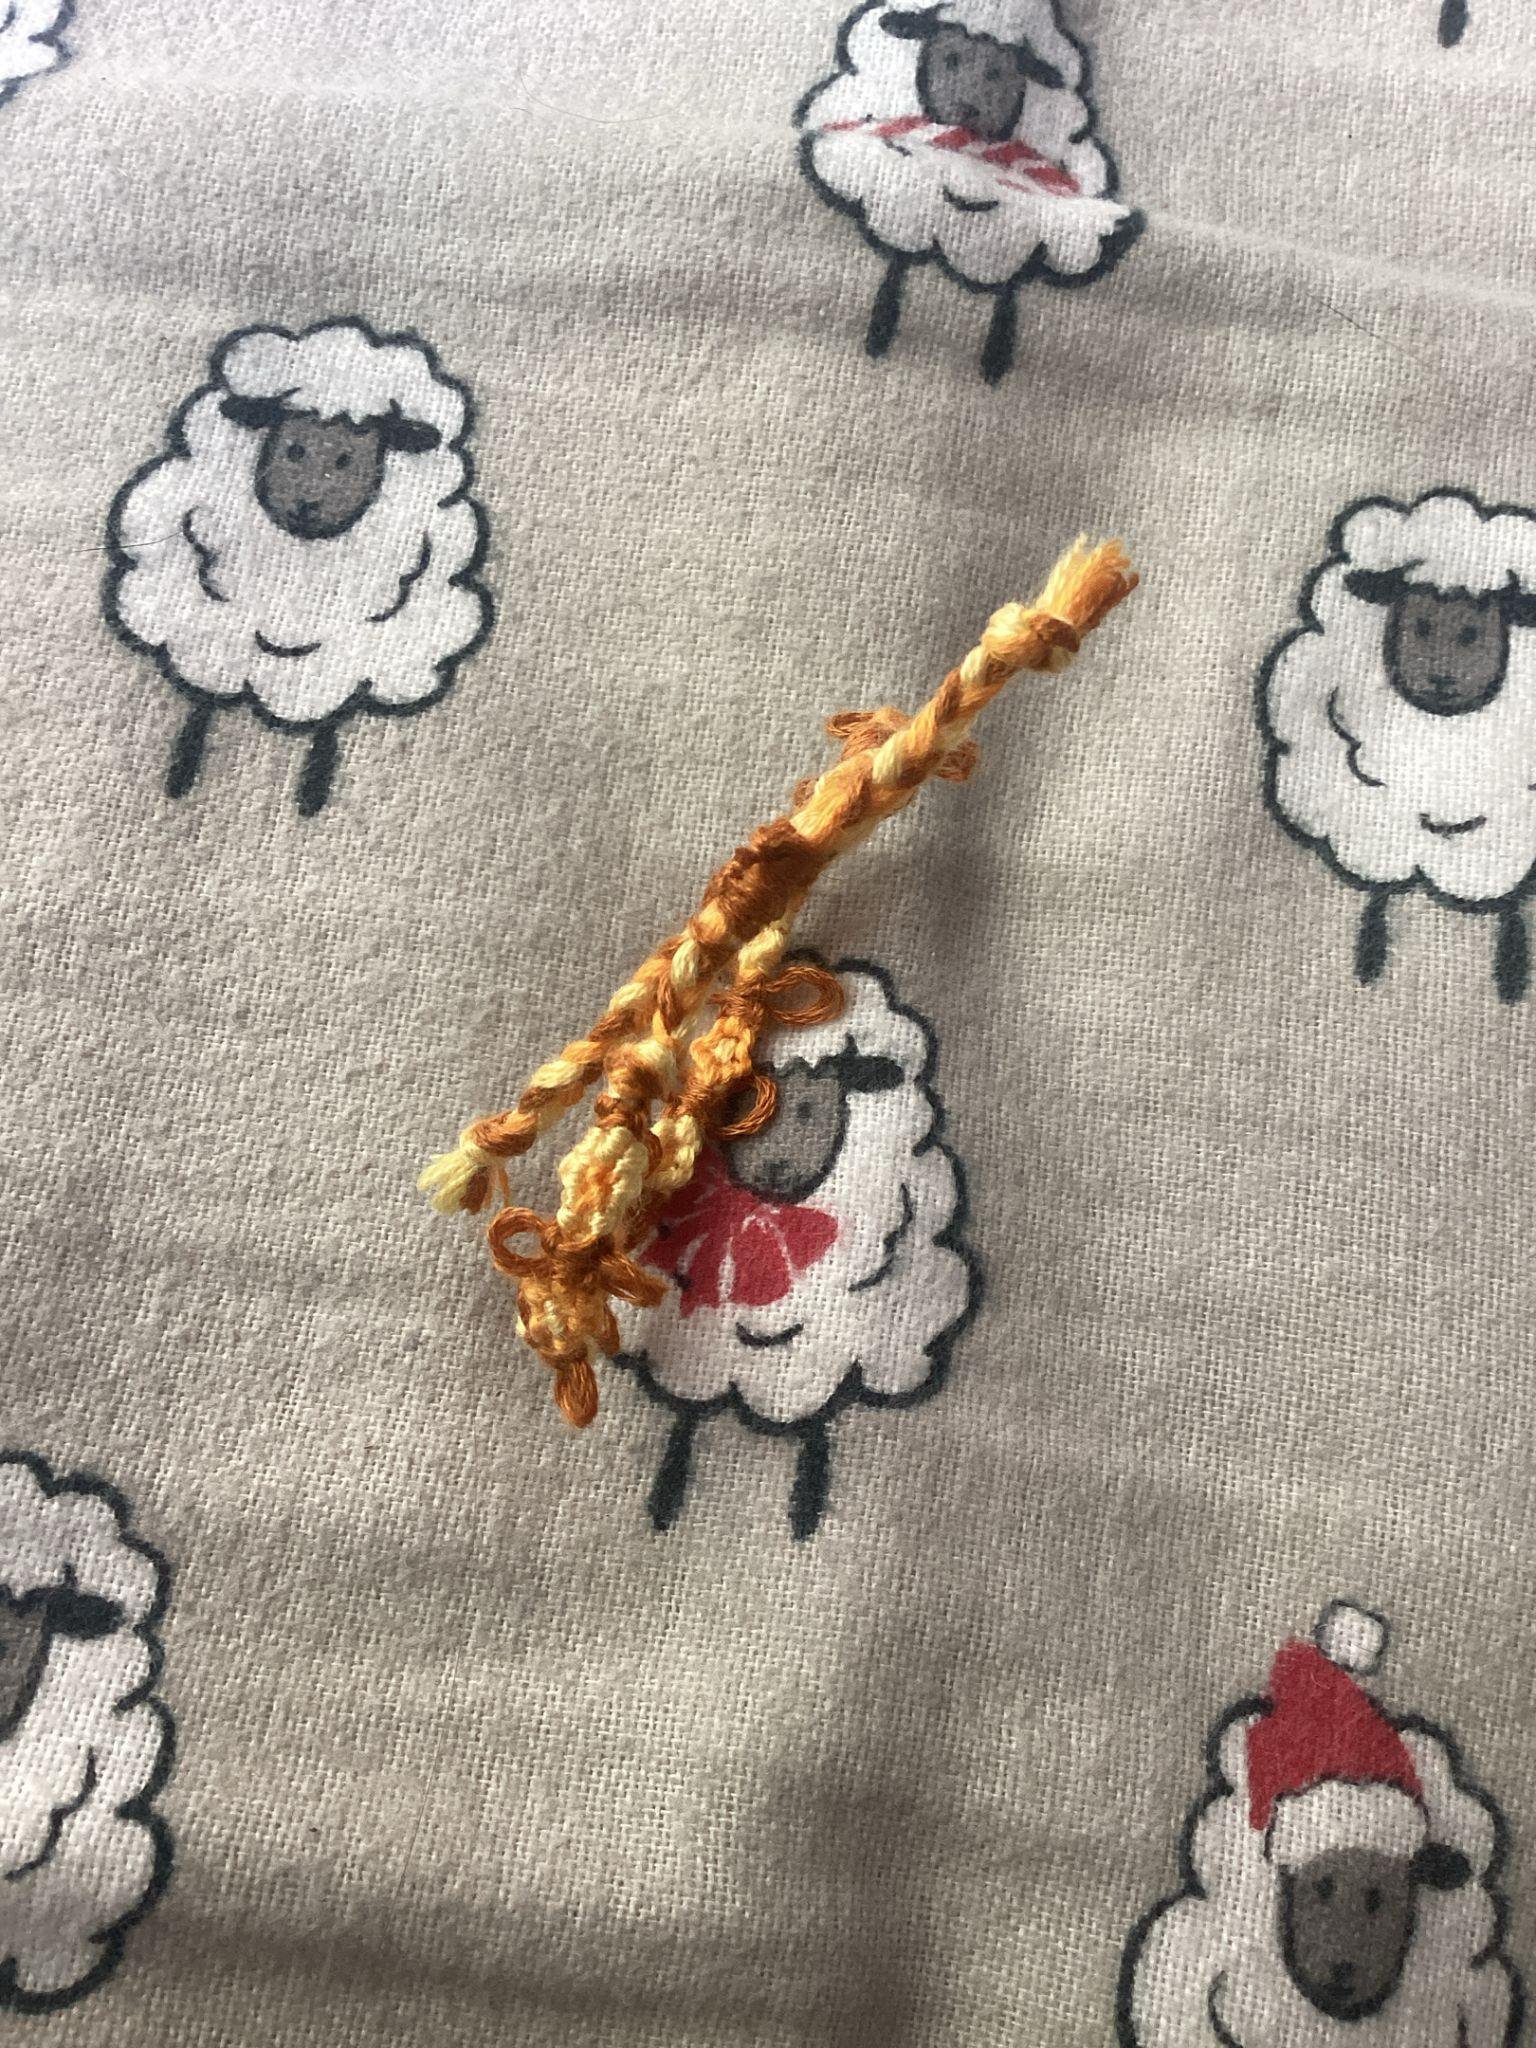
Keep the longest string from your excess thread, or cut a new piece that is about six inches long, or fifteen centimeters. Take your full bracelet and roll it into a loop so that the two braids overlap, as shown in the photo. Place your string underneath both braids.
Step 6
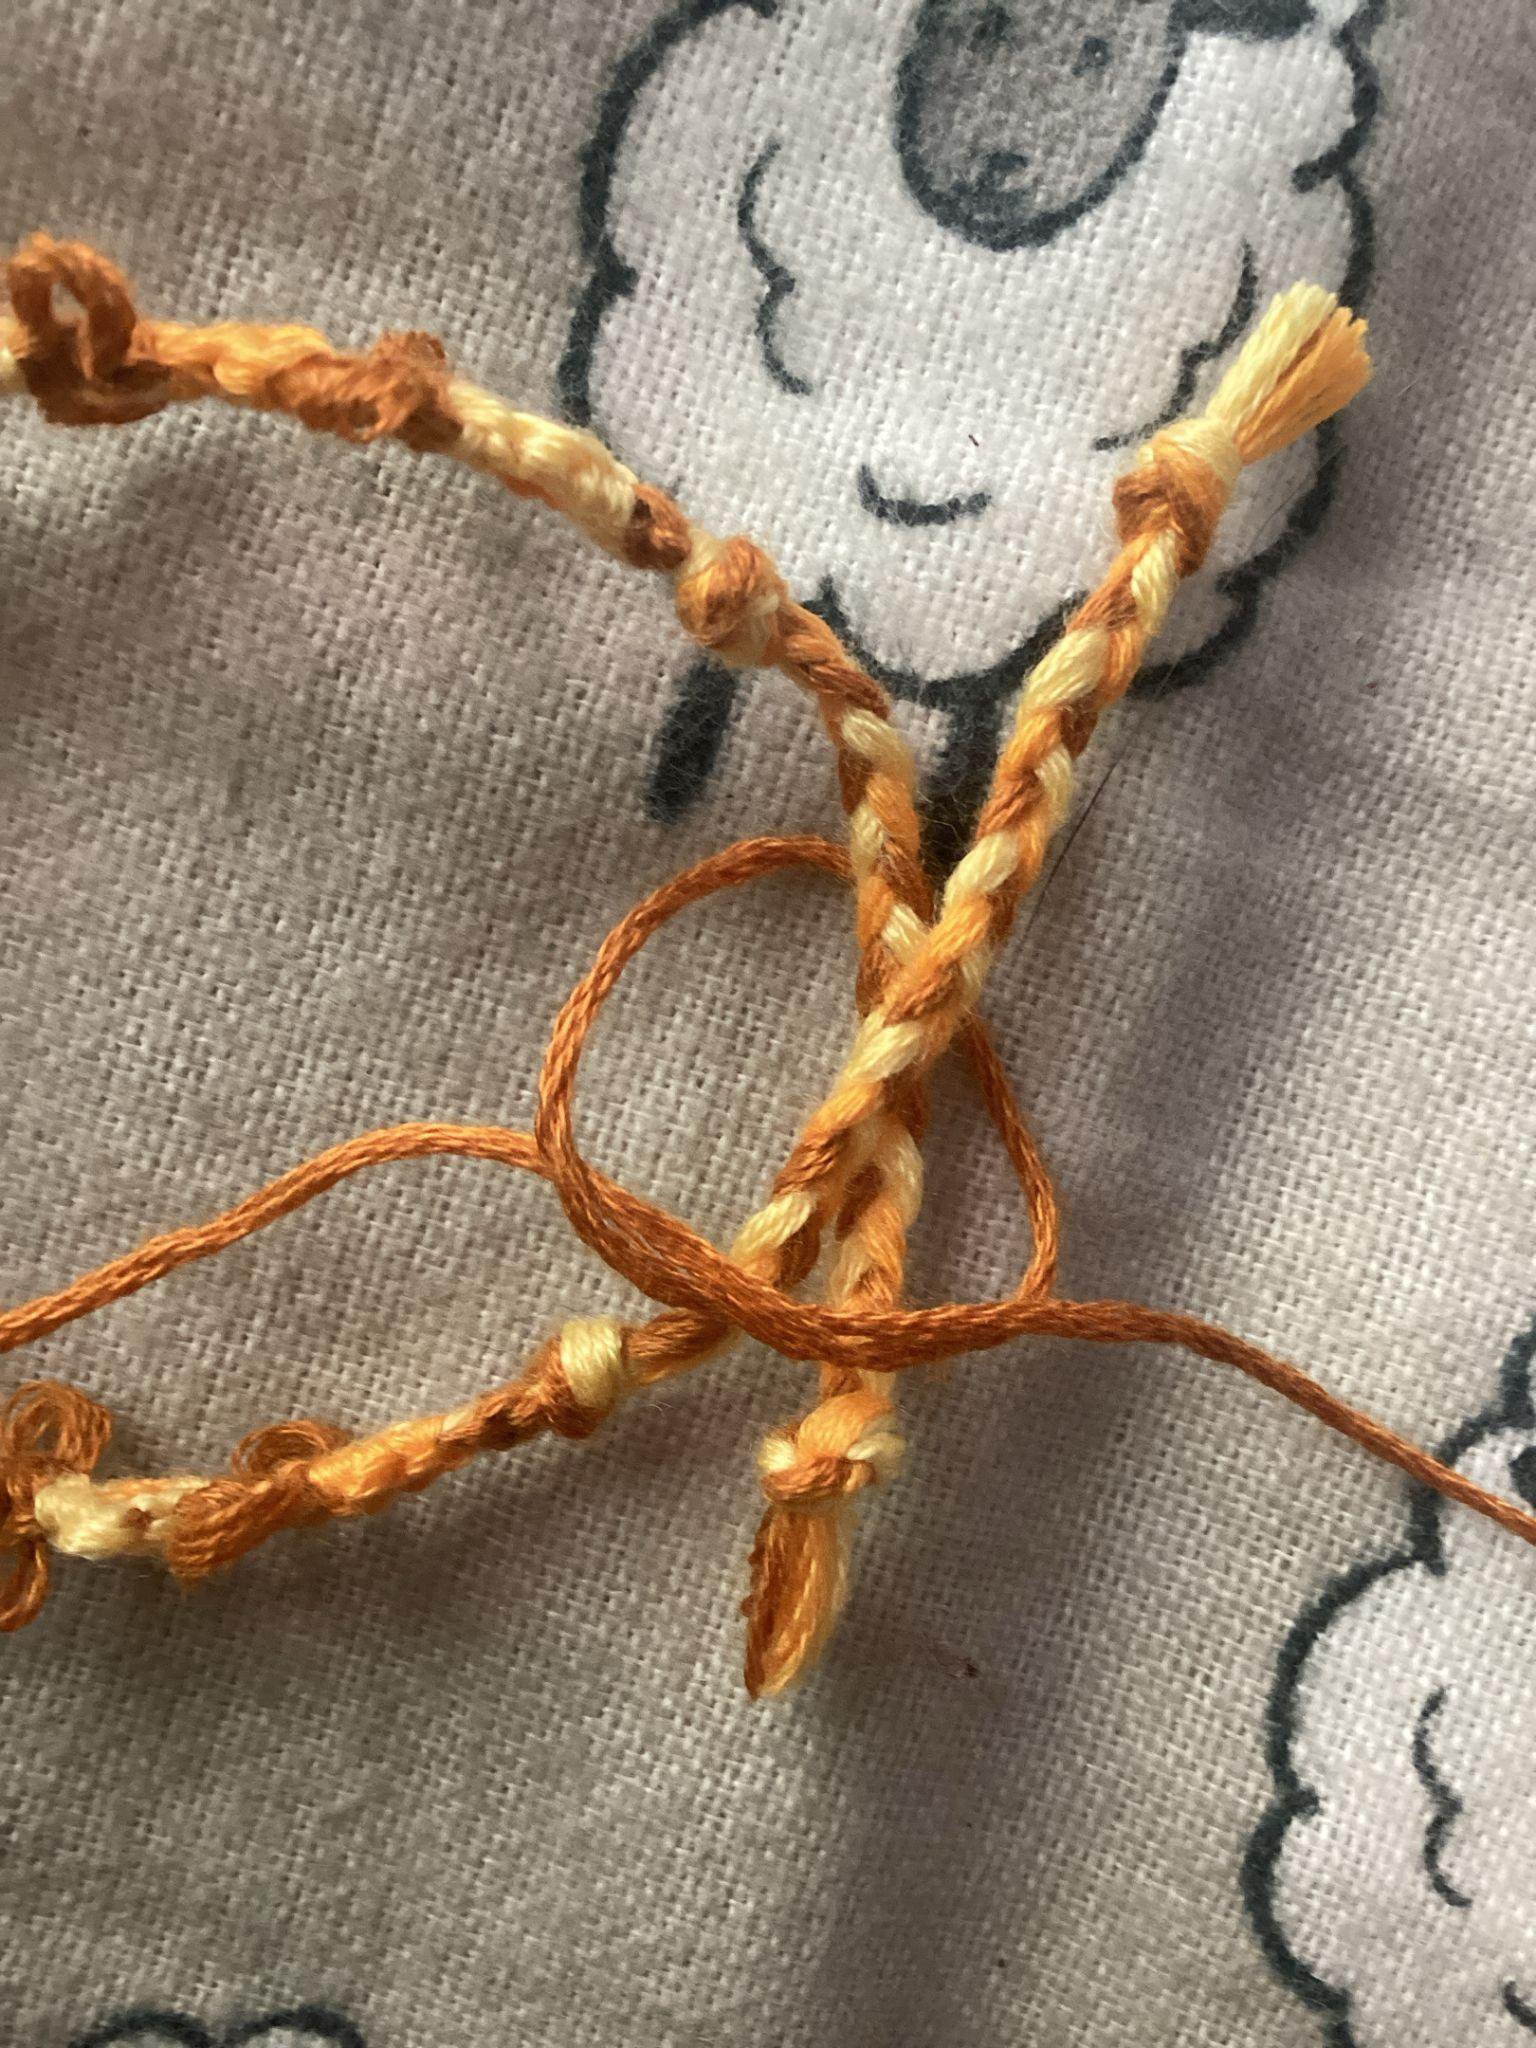
Tie your string onto both braids, placing one end over and then under the other, and vice versa for the other.
Step 7
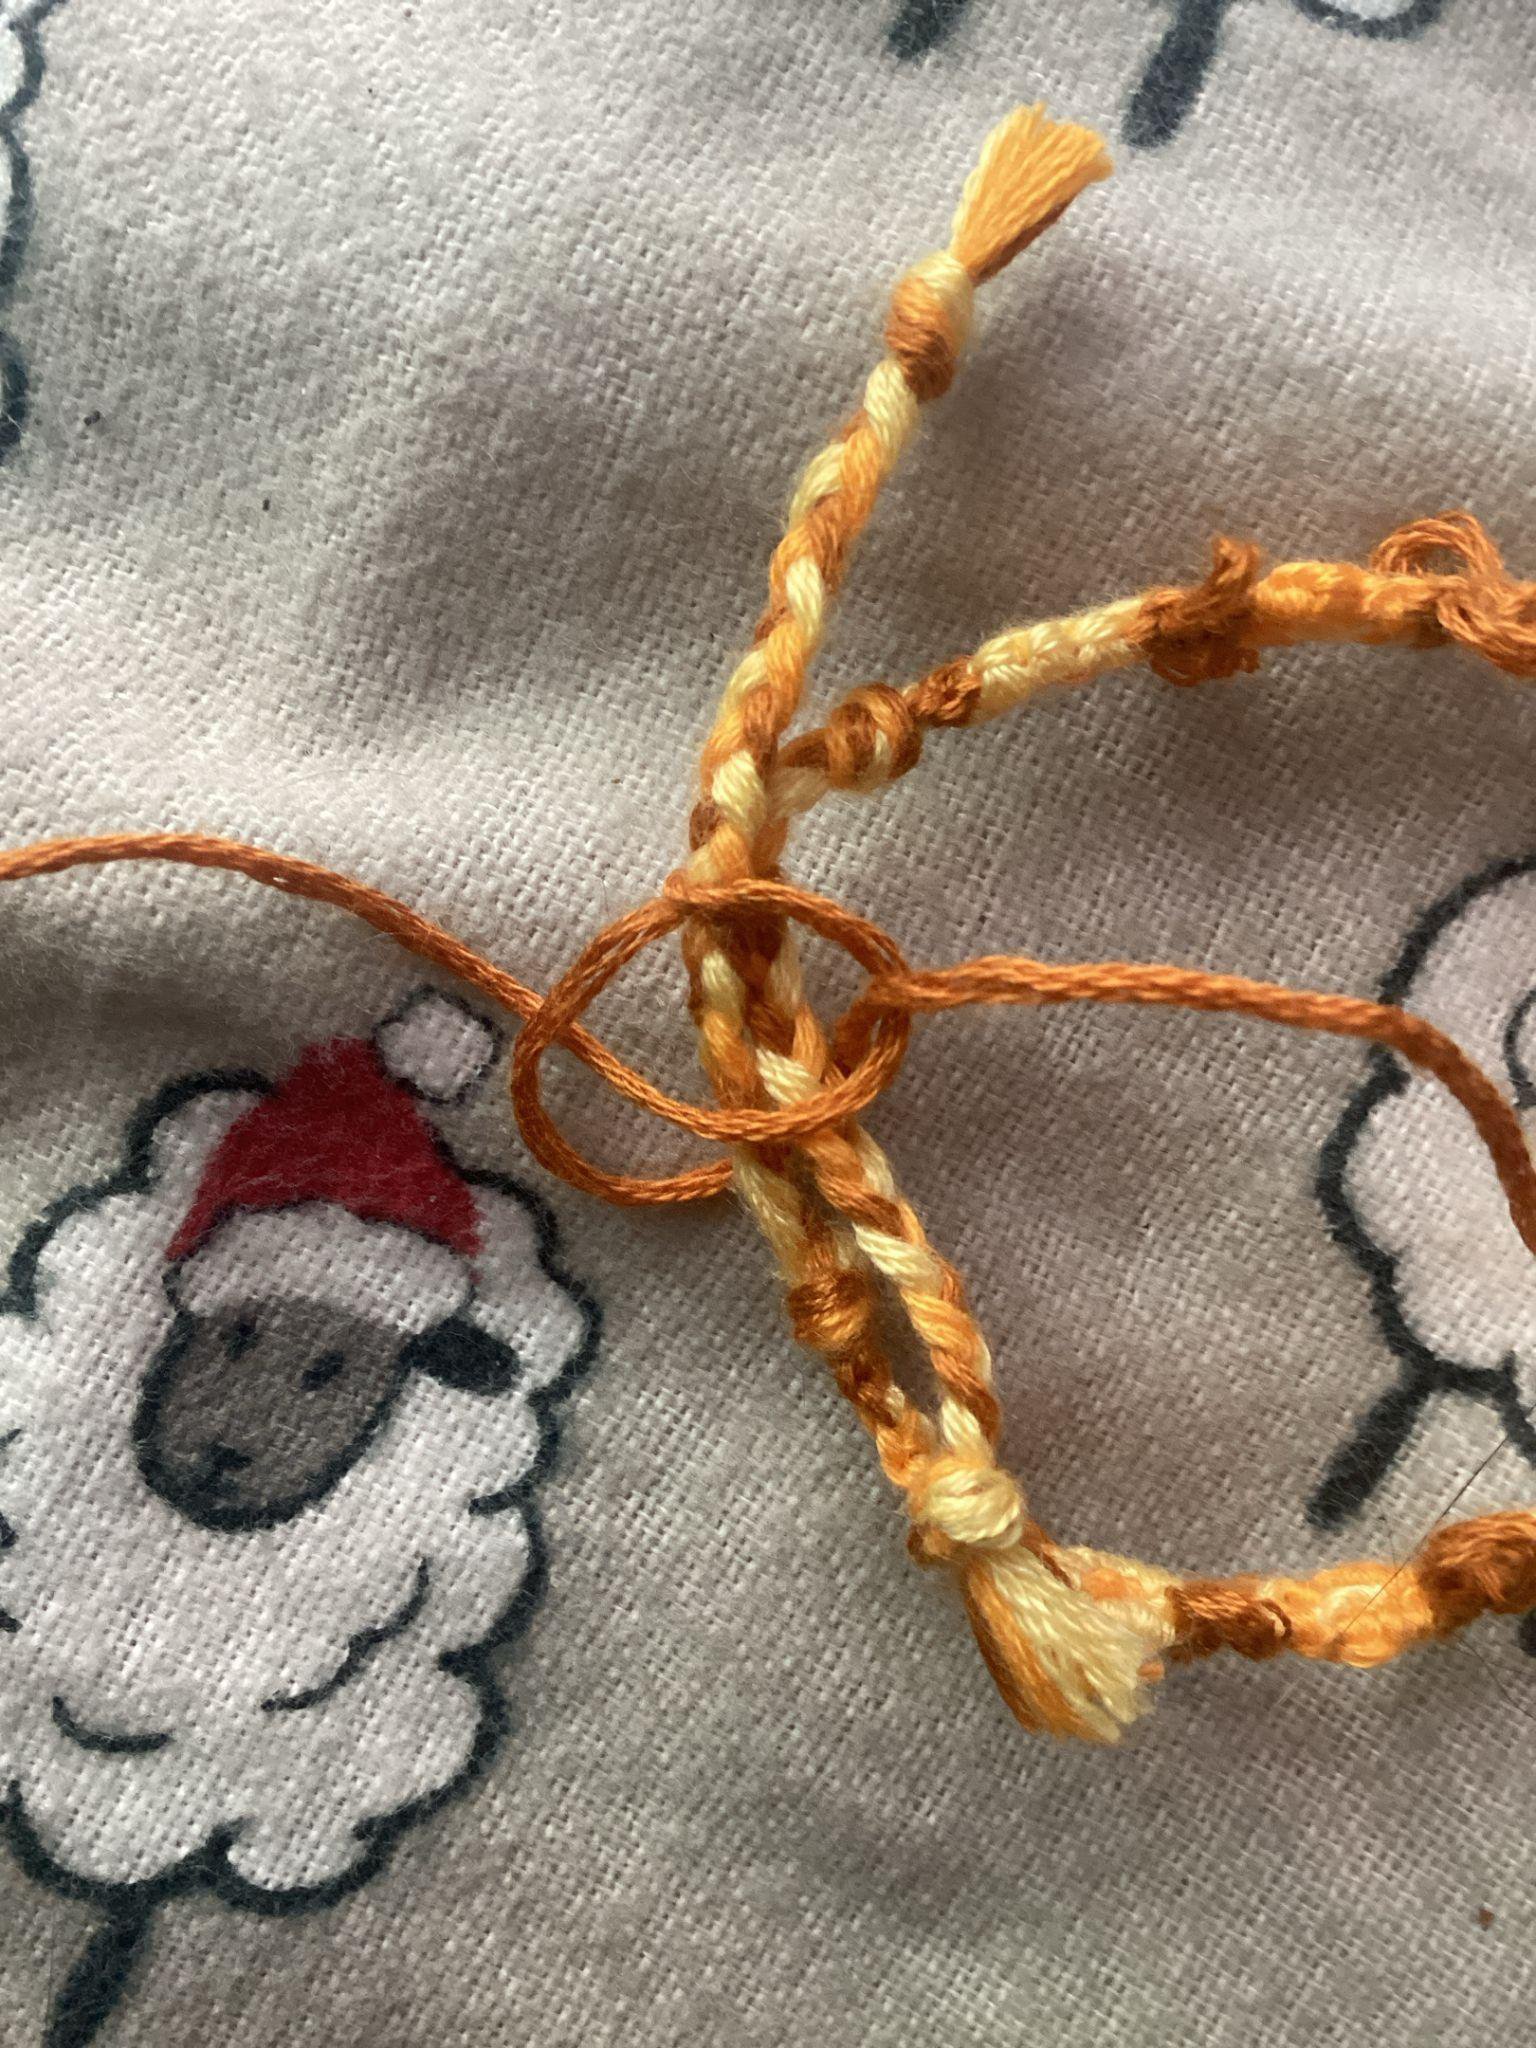
Alternating top ends with each knot, take one end and run it over the braids. Then, take the other end and run it over the other end, under the braids, then back over your loop from the first end, as shown below. Repeat this 8-16 times. This is the same type of knotting as paracord bracelets or square knots.
Step 8
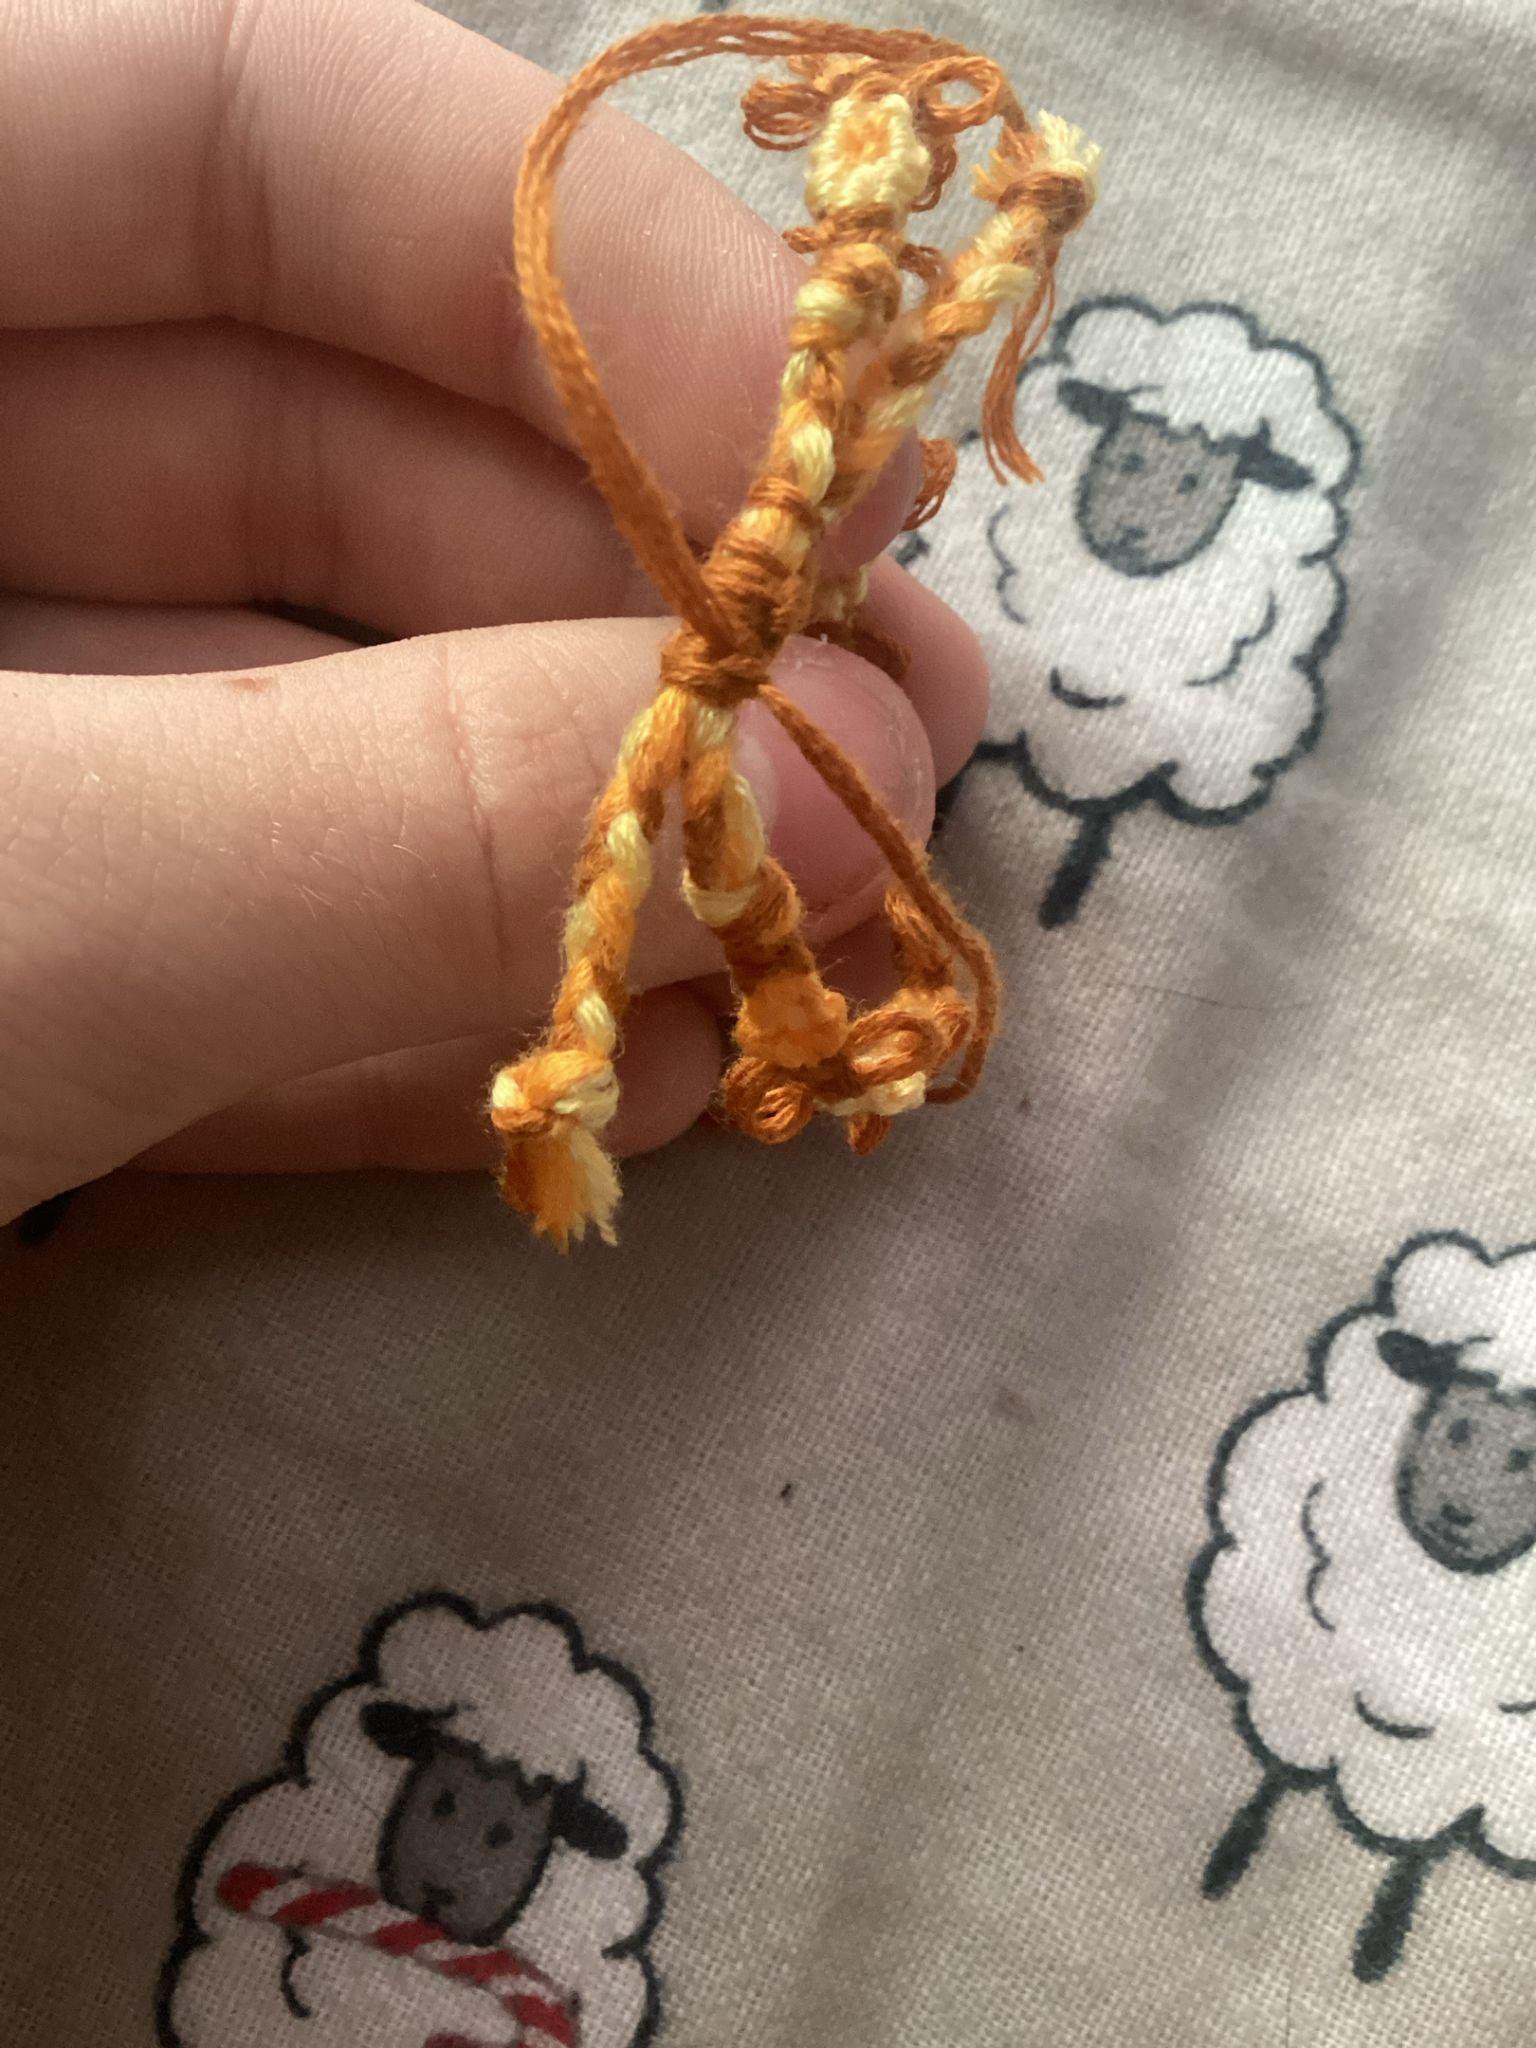
When you have finished the knots, flip the bracelet inside out and take your two ends. Tie them together like a normal knot in a bracelet, double knotting as always. Cut the excess off and flip the bracelet back to its regular side facing out. You now have an adjustable bracelet! To adjust it, you can pull both of the braids at the same time. The first few times, you may need to slide the middle piece around as well to let it slide easier. If desired, you can put drops of superglue on the ends of the string used to tie the braids together in order to decrease the chances of fraying or untying. However, it would be fine to just tie the strings together a couple of times.
Outro
I hope this was helpful, and feel free to ask me questions if anything is unclear! 😊