Rate Tutorial
Why use this technique:
Have you ever noticed when using the original flat alpha technique that a little bit of the old leading string colour sticks out in between the knot between the old/new colour? My technique gets rid of that problem and will still allow for a flat “clean” front side of an alpha. I still use the original flat alpha technique when I’m switching colours very frequently but this technique is especially helpful when working with two very distinct colours like black and white. The photo beside this text shows the little dots that are from strings sticking out a tiny bit between the original flat alpha colour changes vs with my technique.
What you should learn first:
If you don’t already know the original flat alpha technique I would recommend doing so prior to learning this one. You must already know how to do forward/backward knots and I’d recommend practicing the upside down alpha technique to help with understanding this one (however it's not necessary as I don’t do that technique often).
Basic knots tutorial.
Upside down alpha technique tutorial.
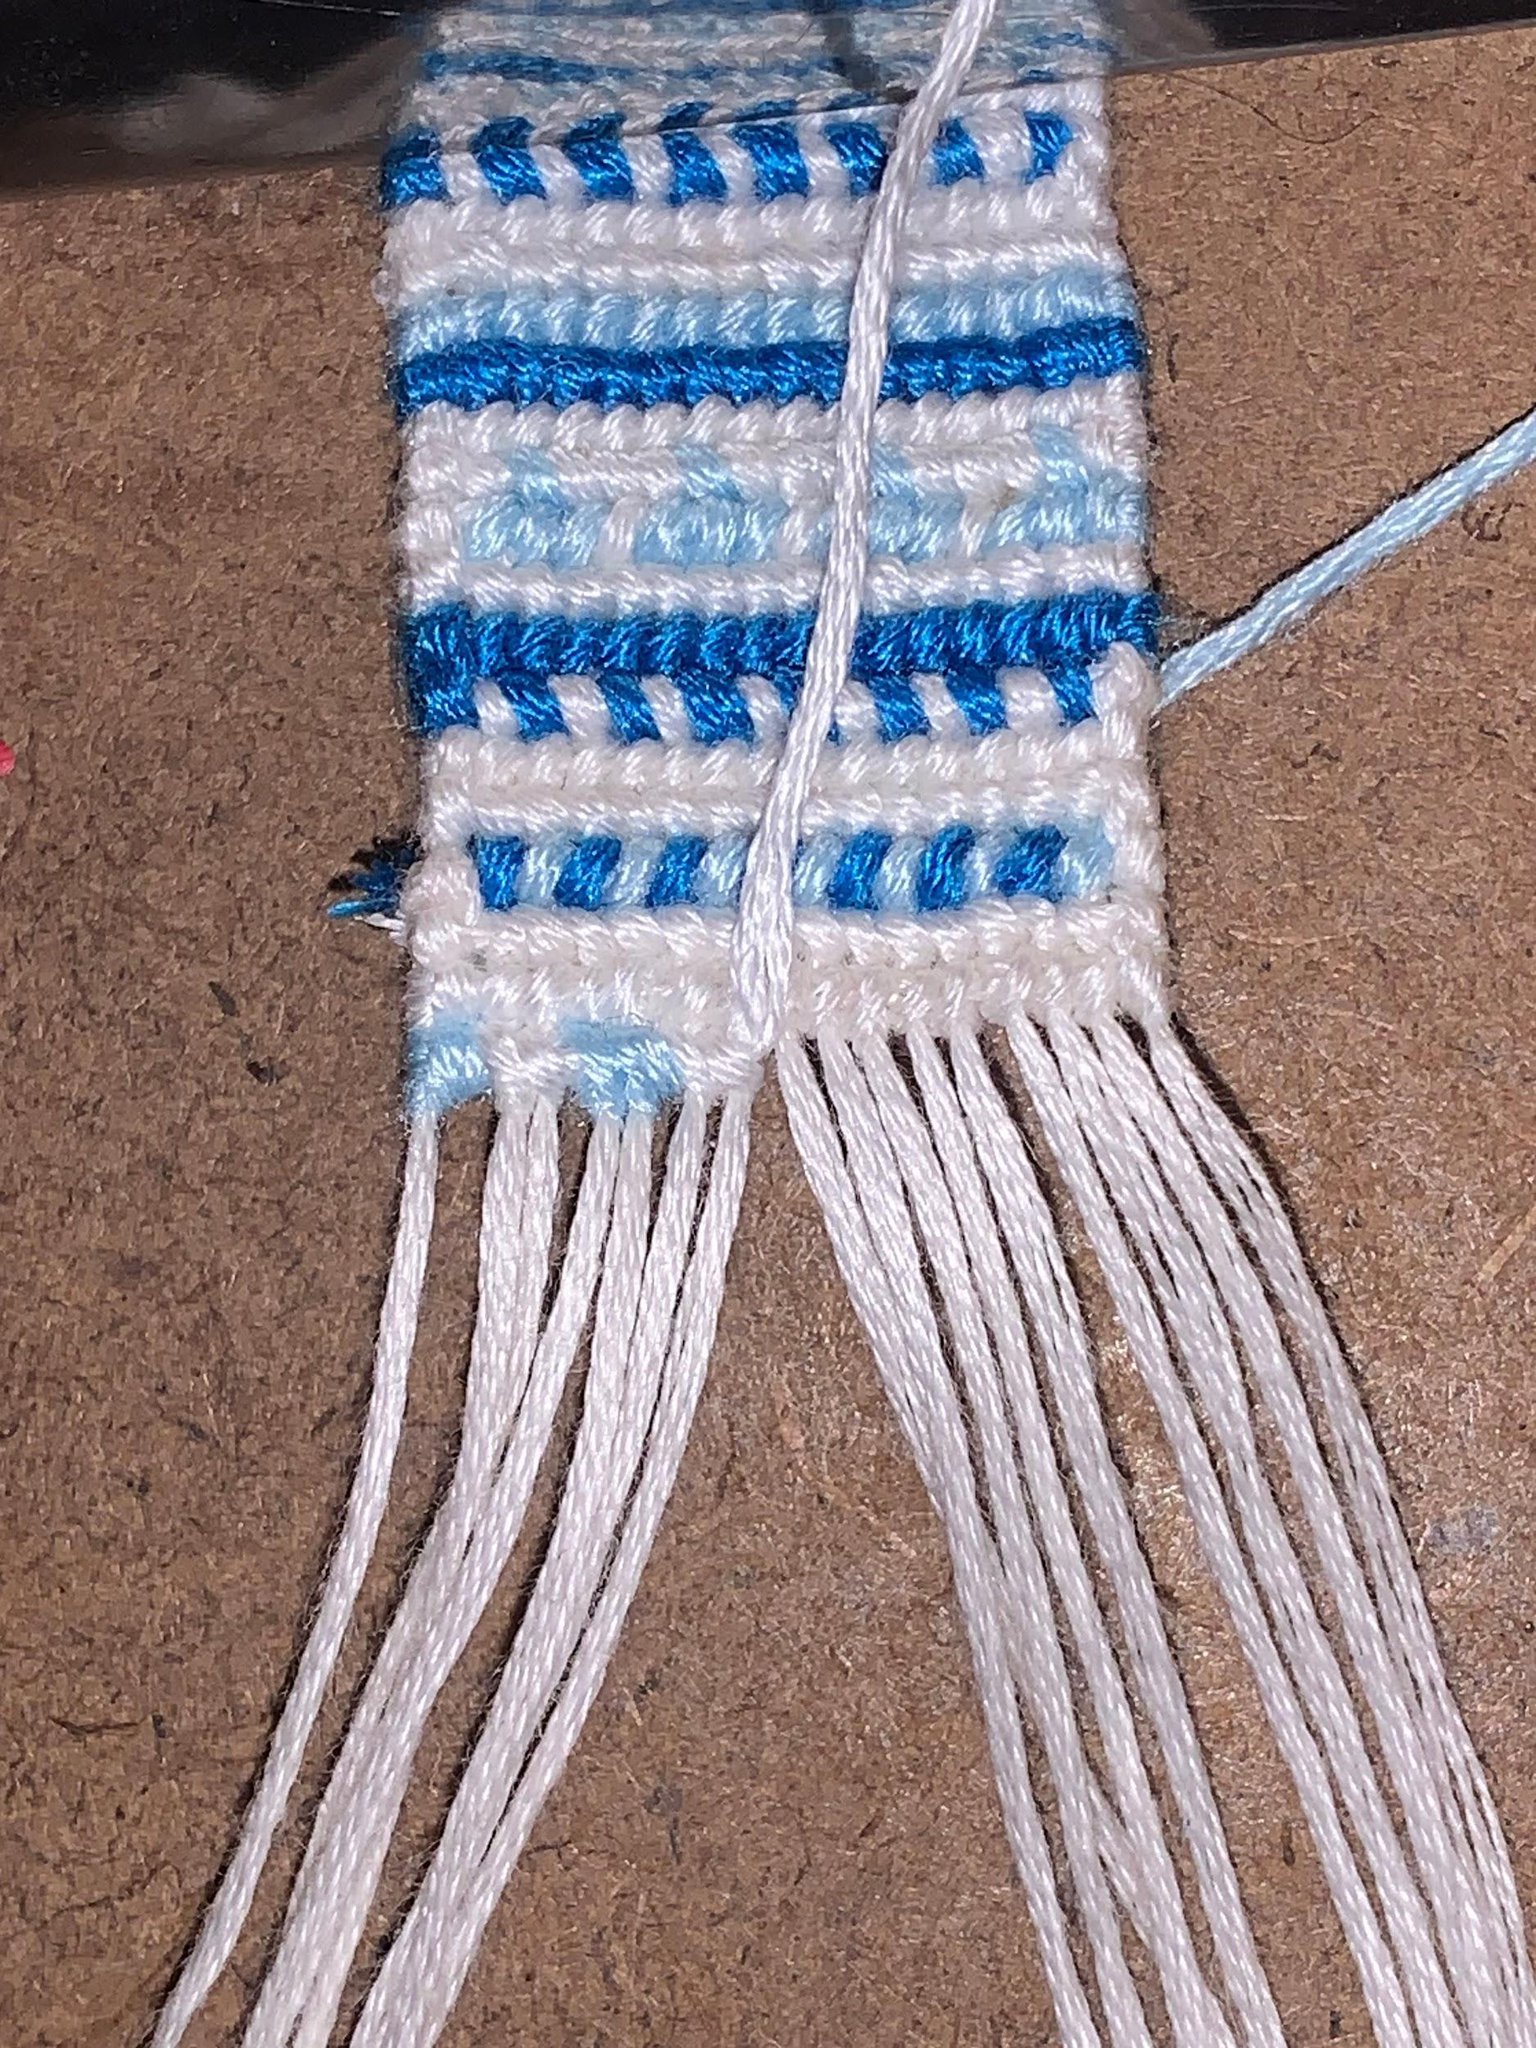
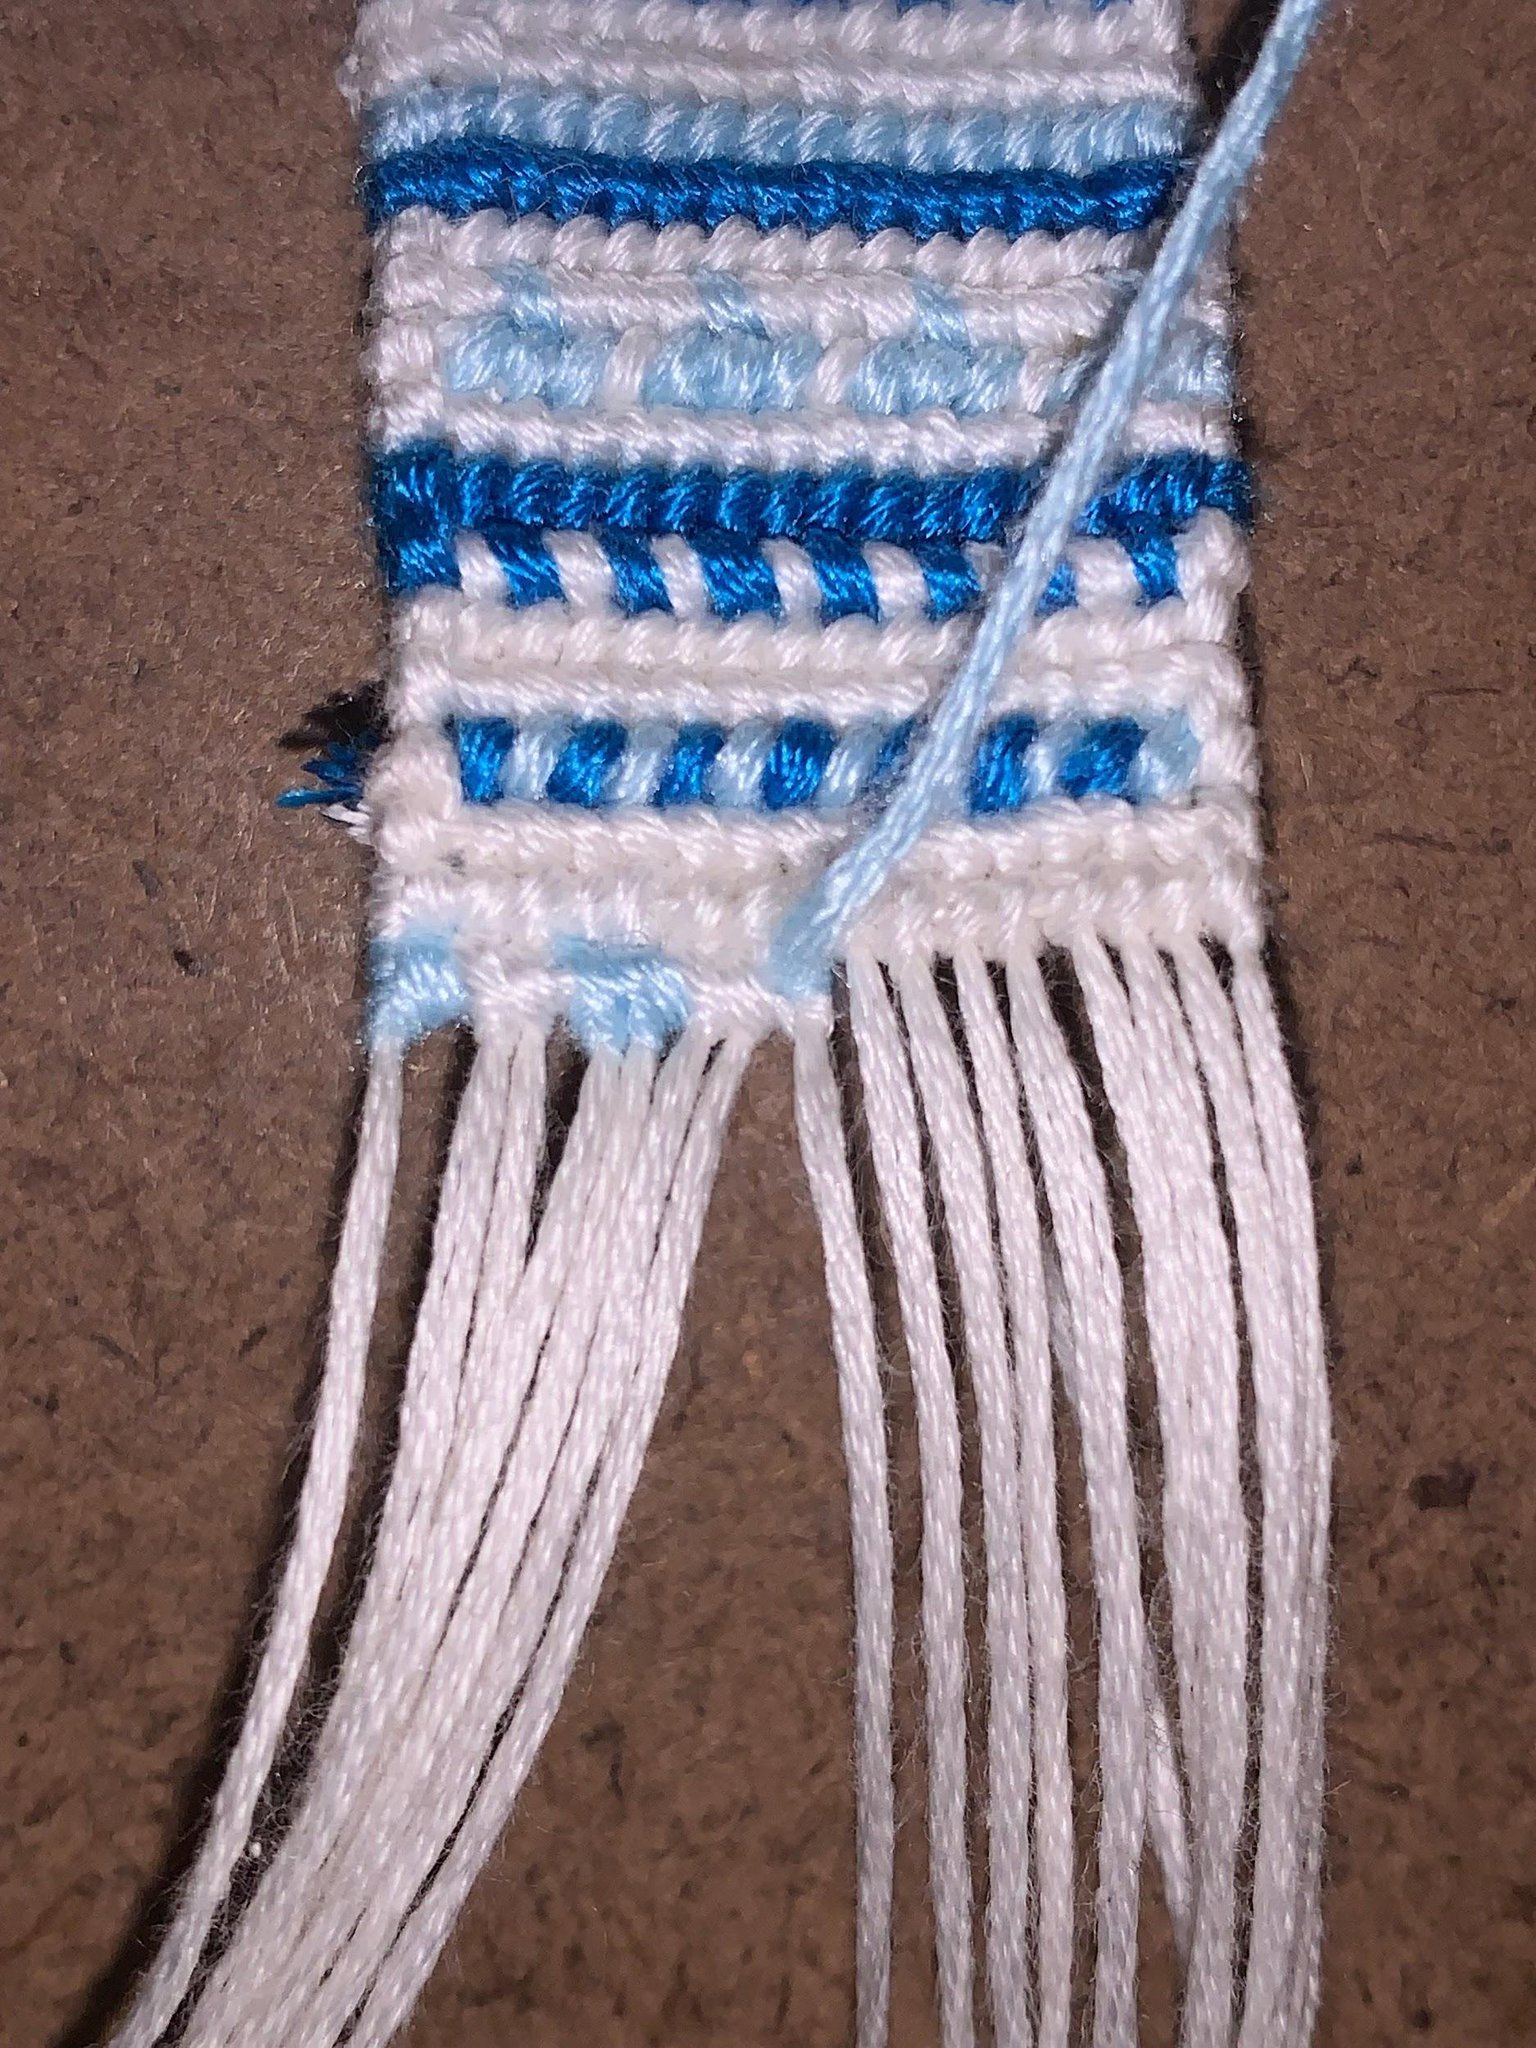
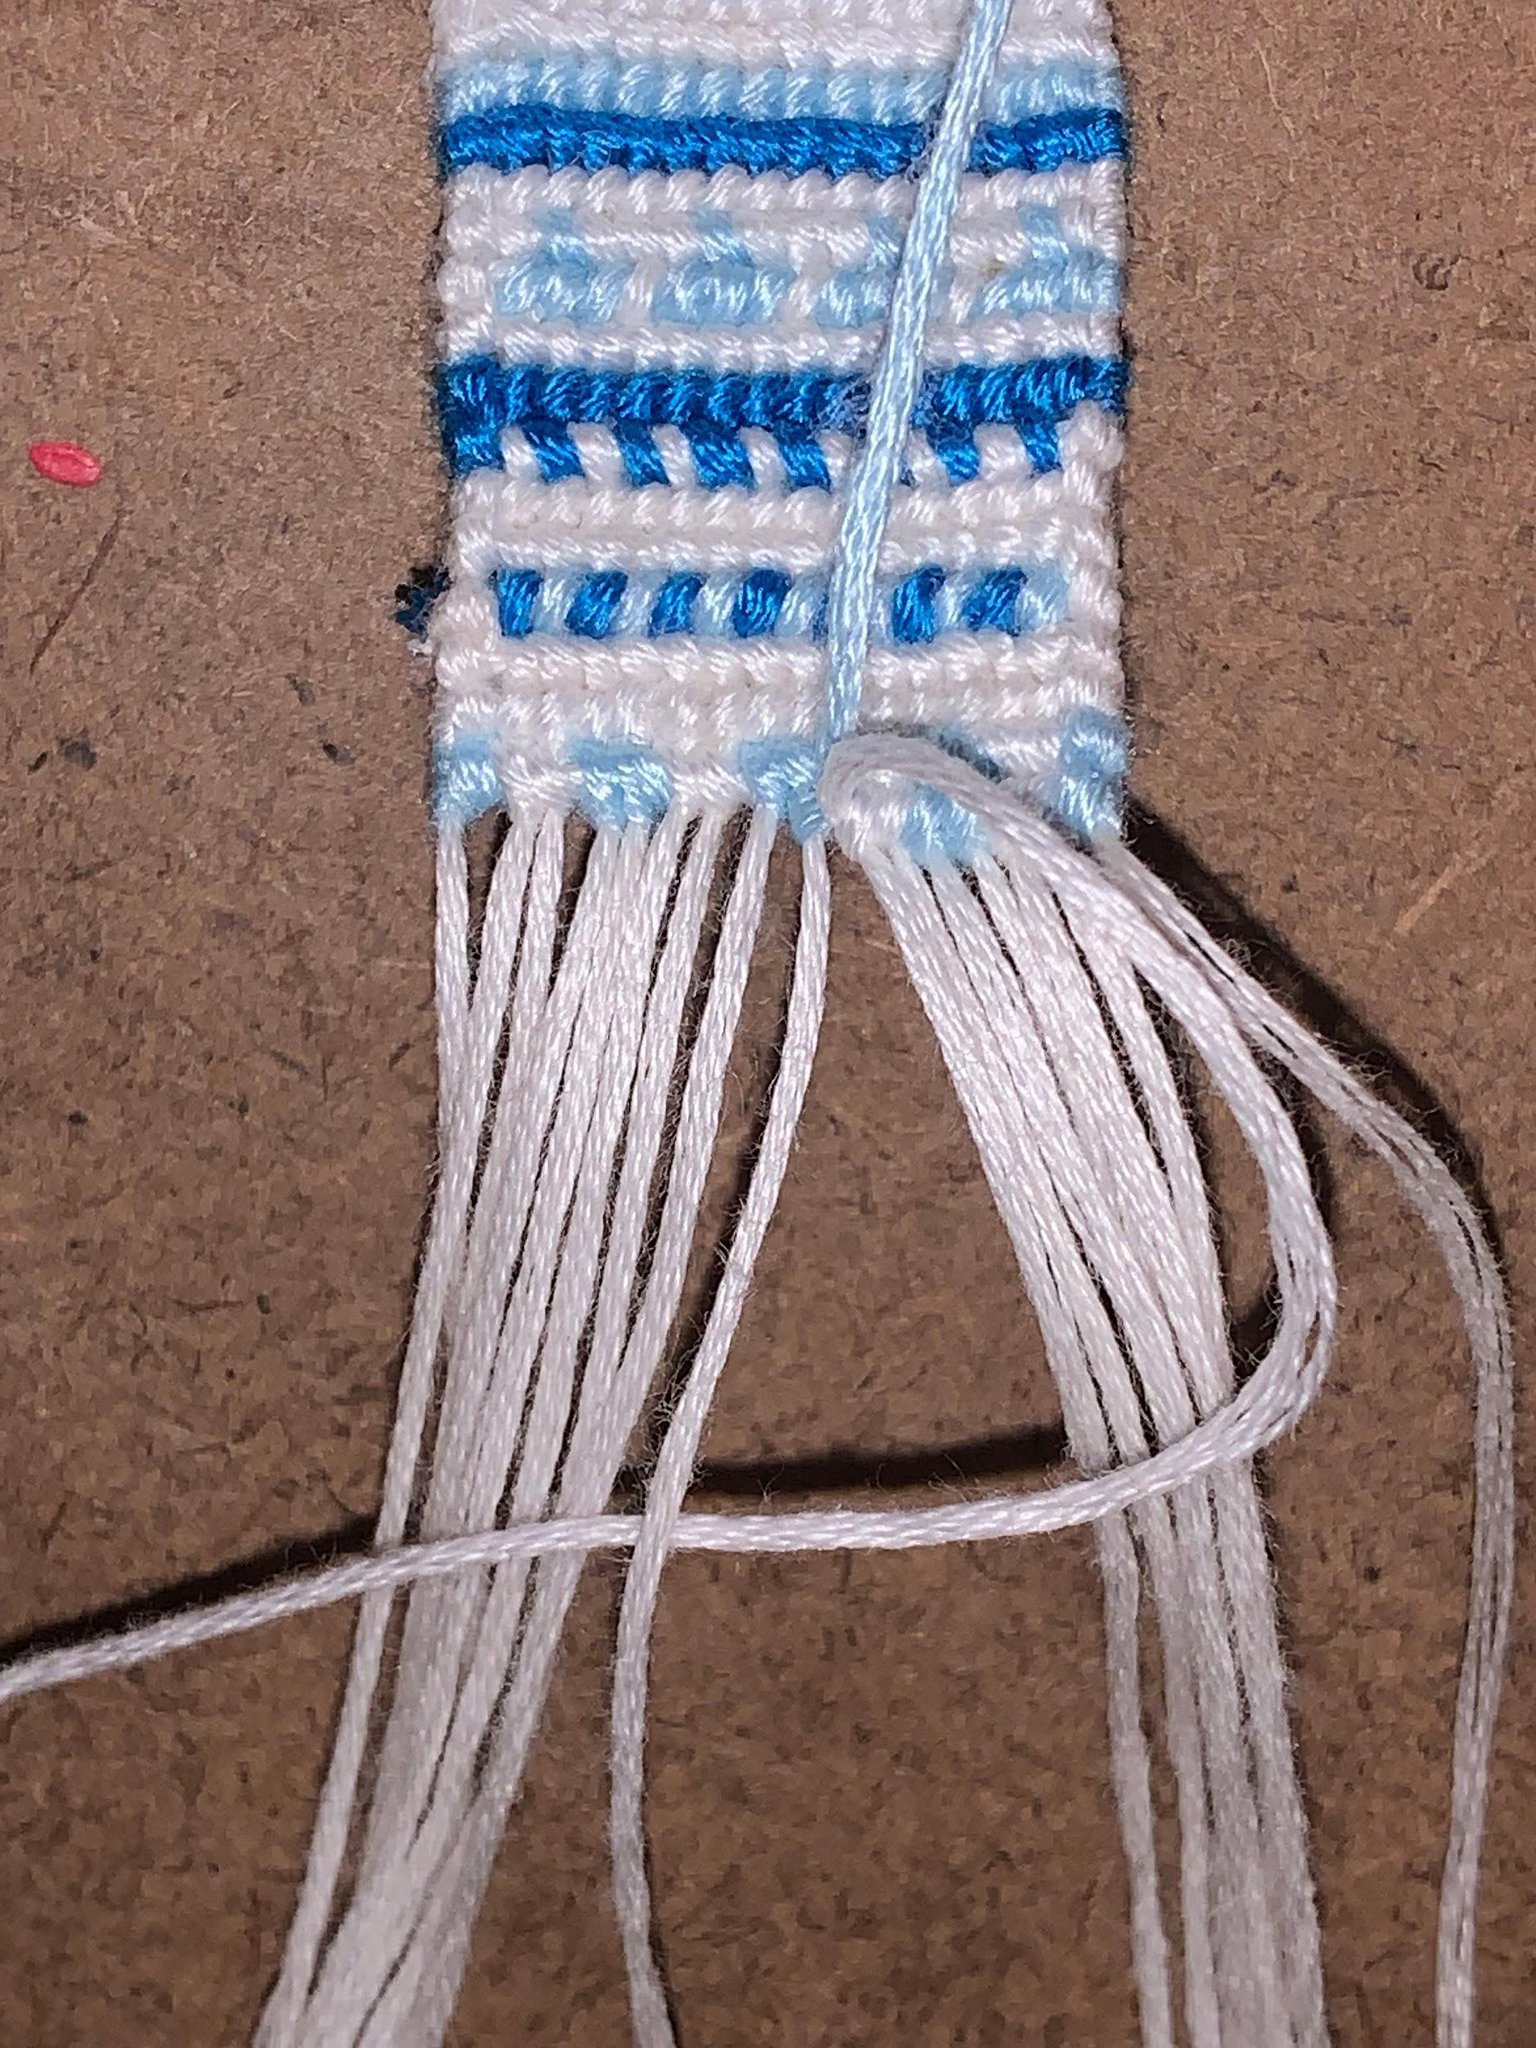
Forward Knot Colour Change 2.0 🔸 Step 1.
This is right before I am going to do my colour switch for a forward knot.
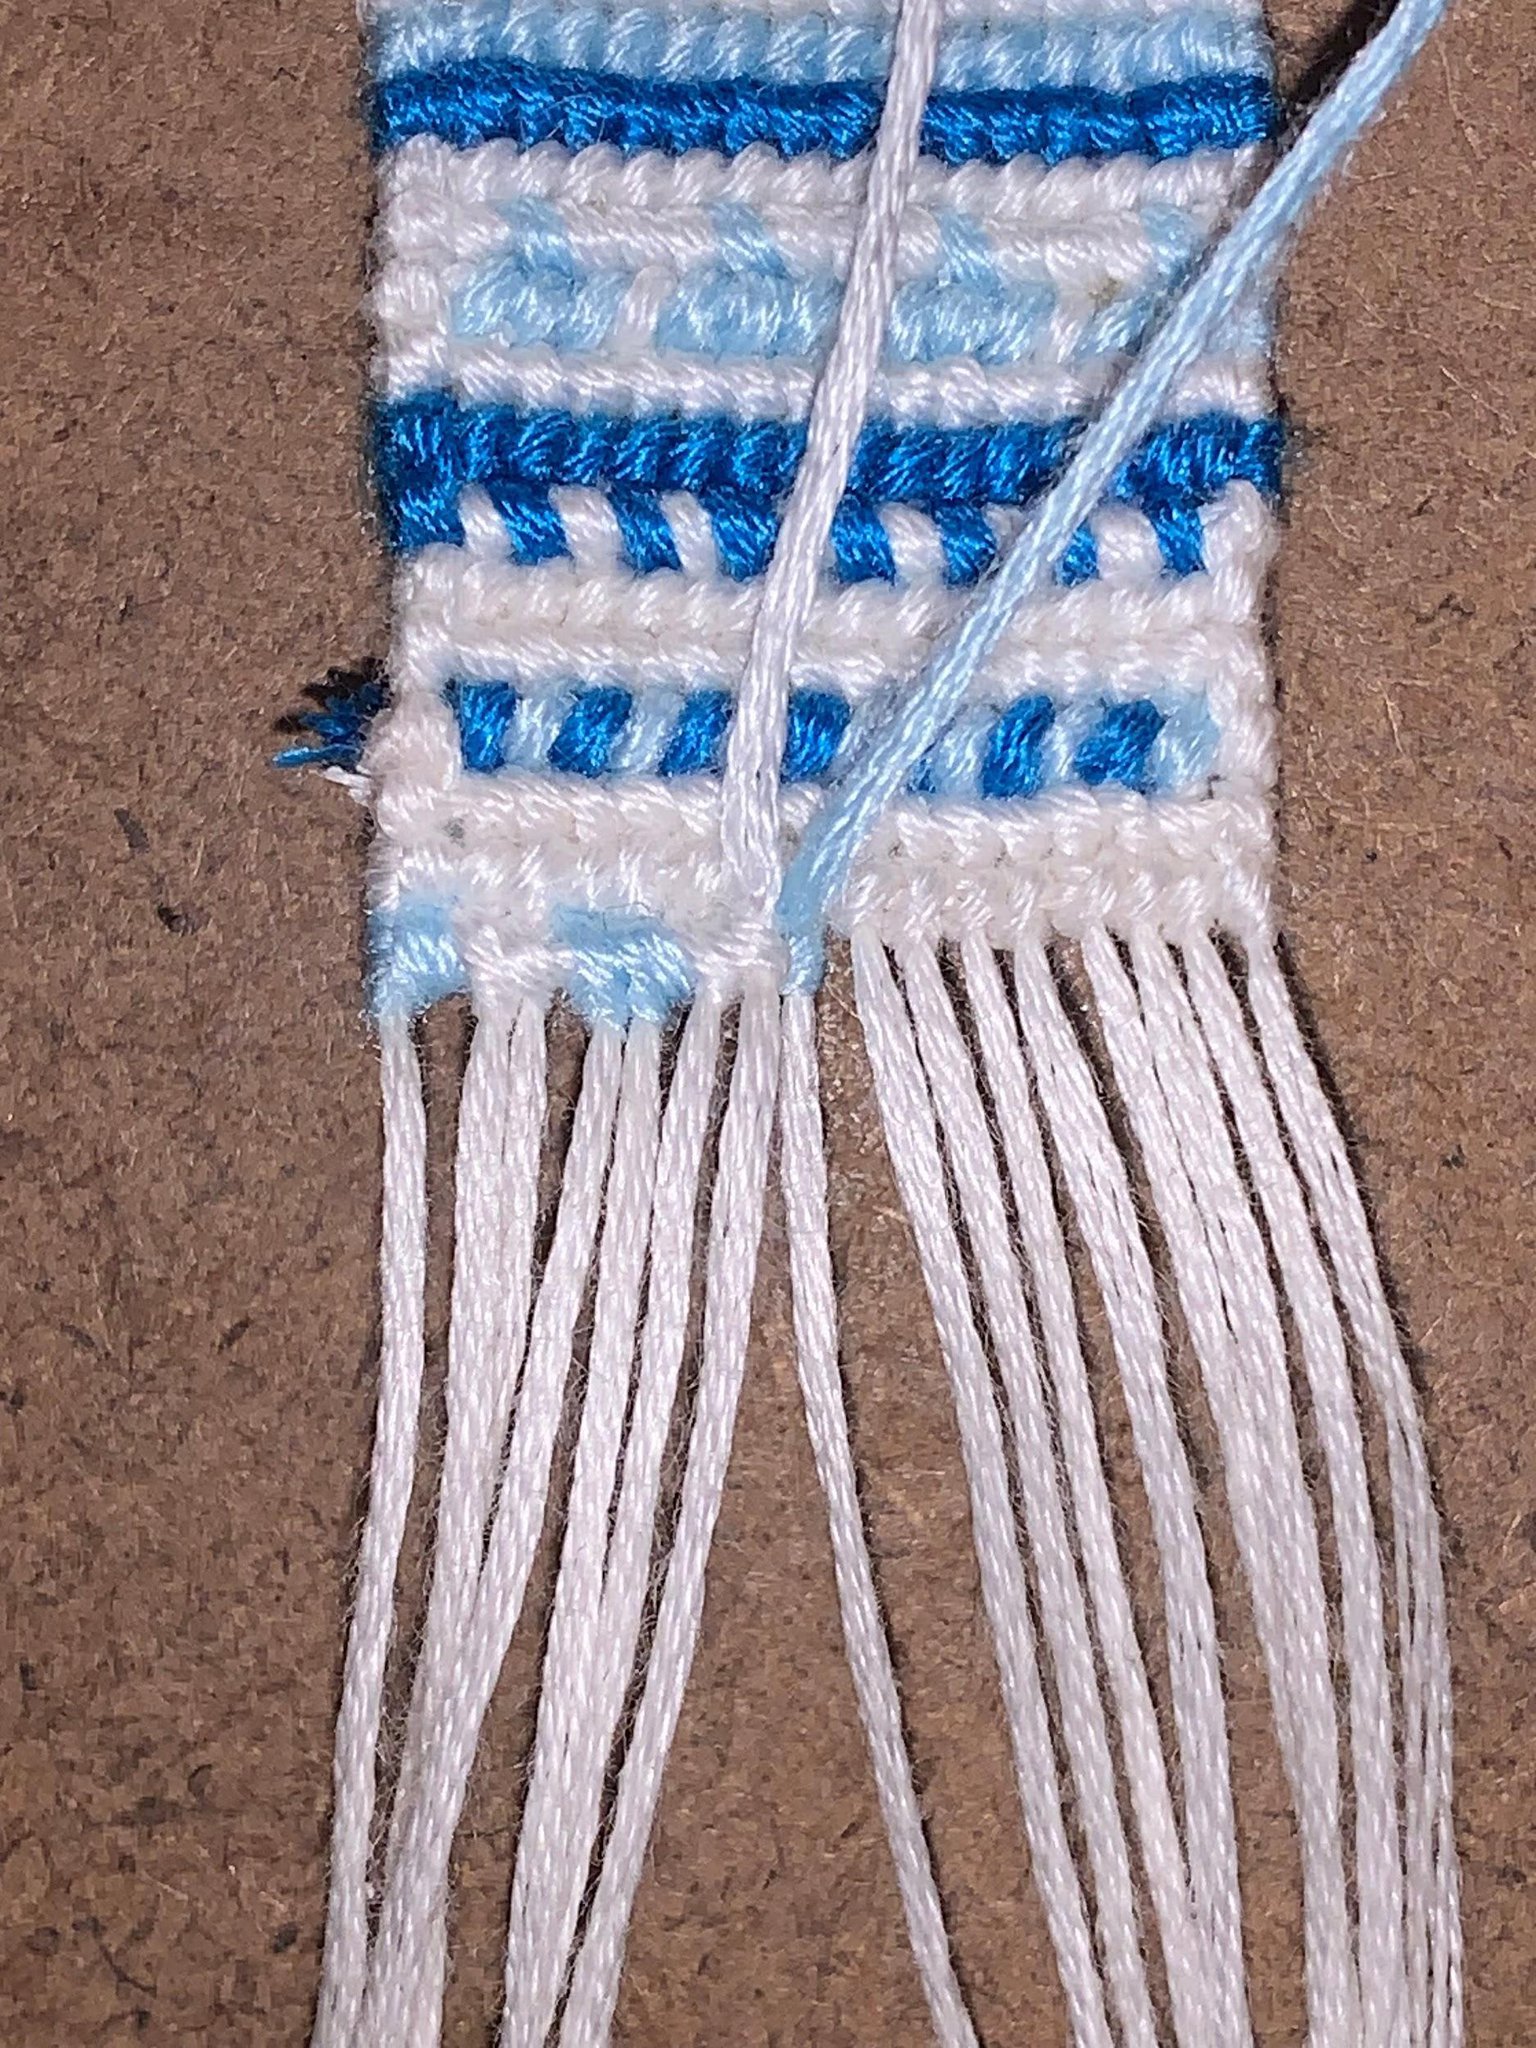
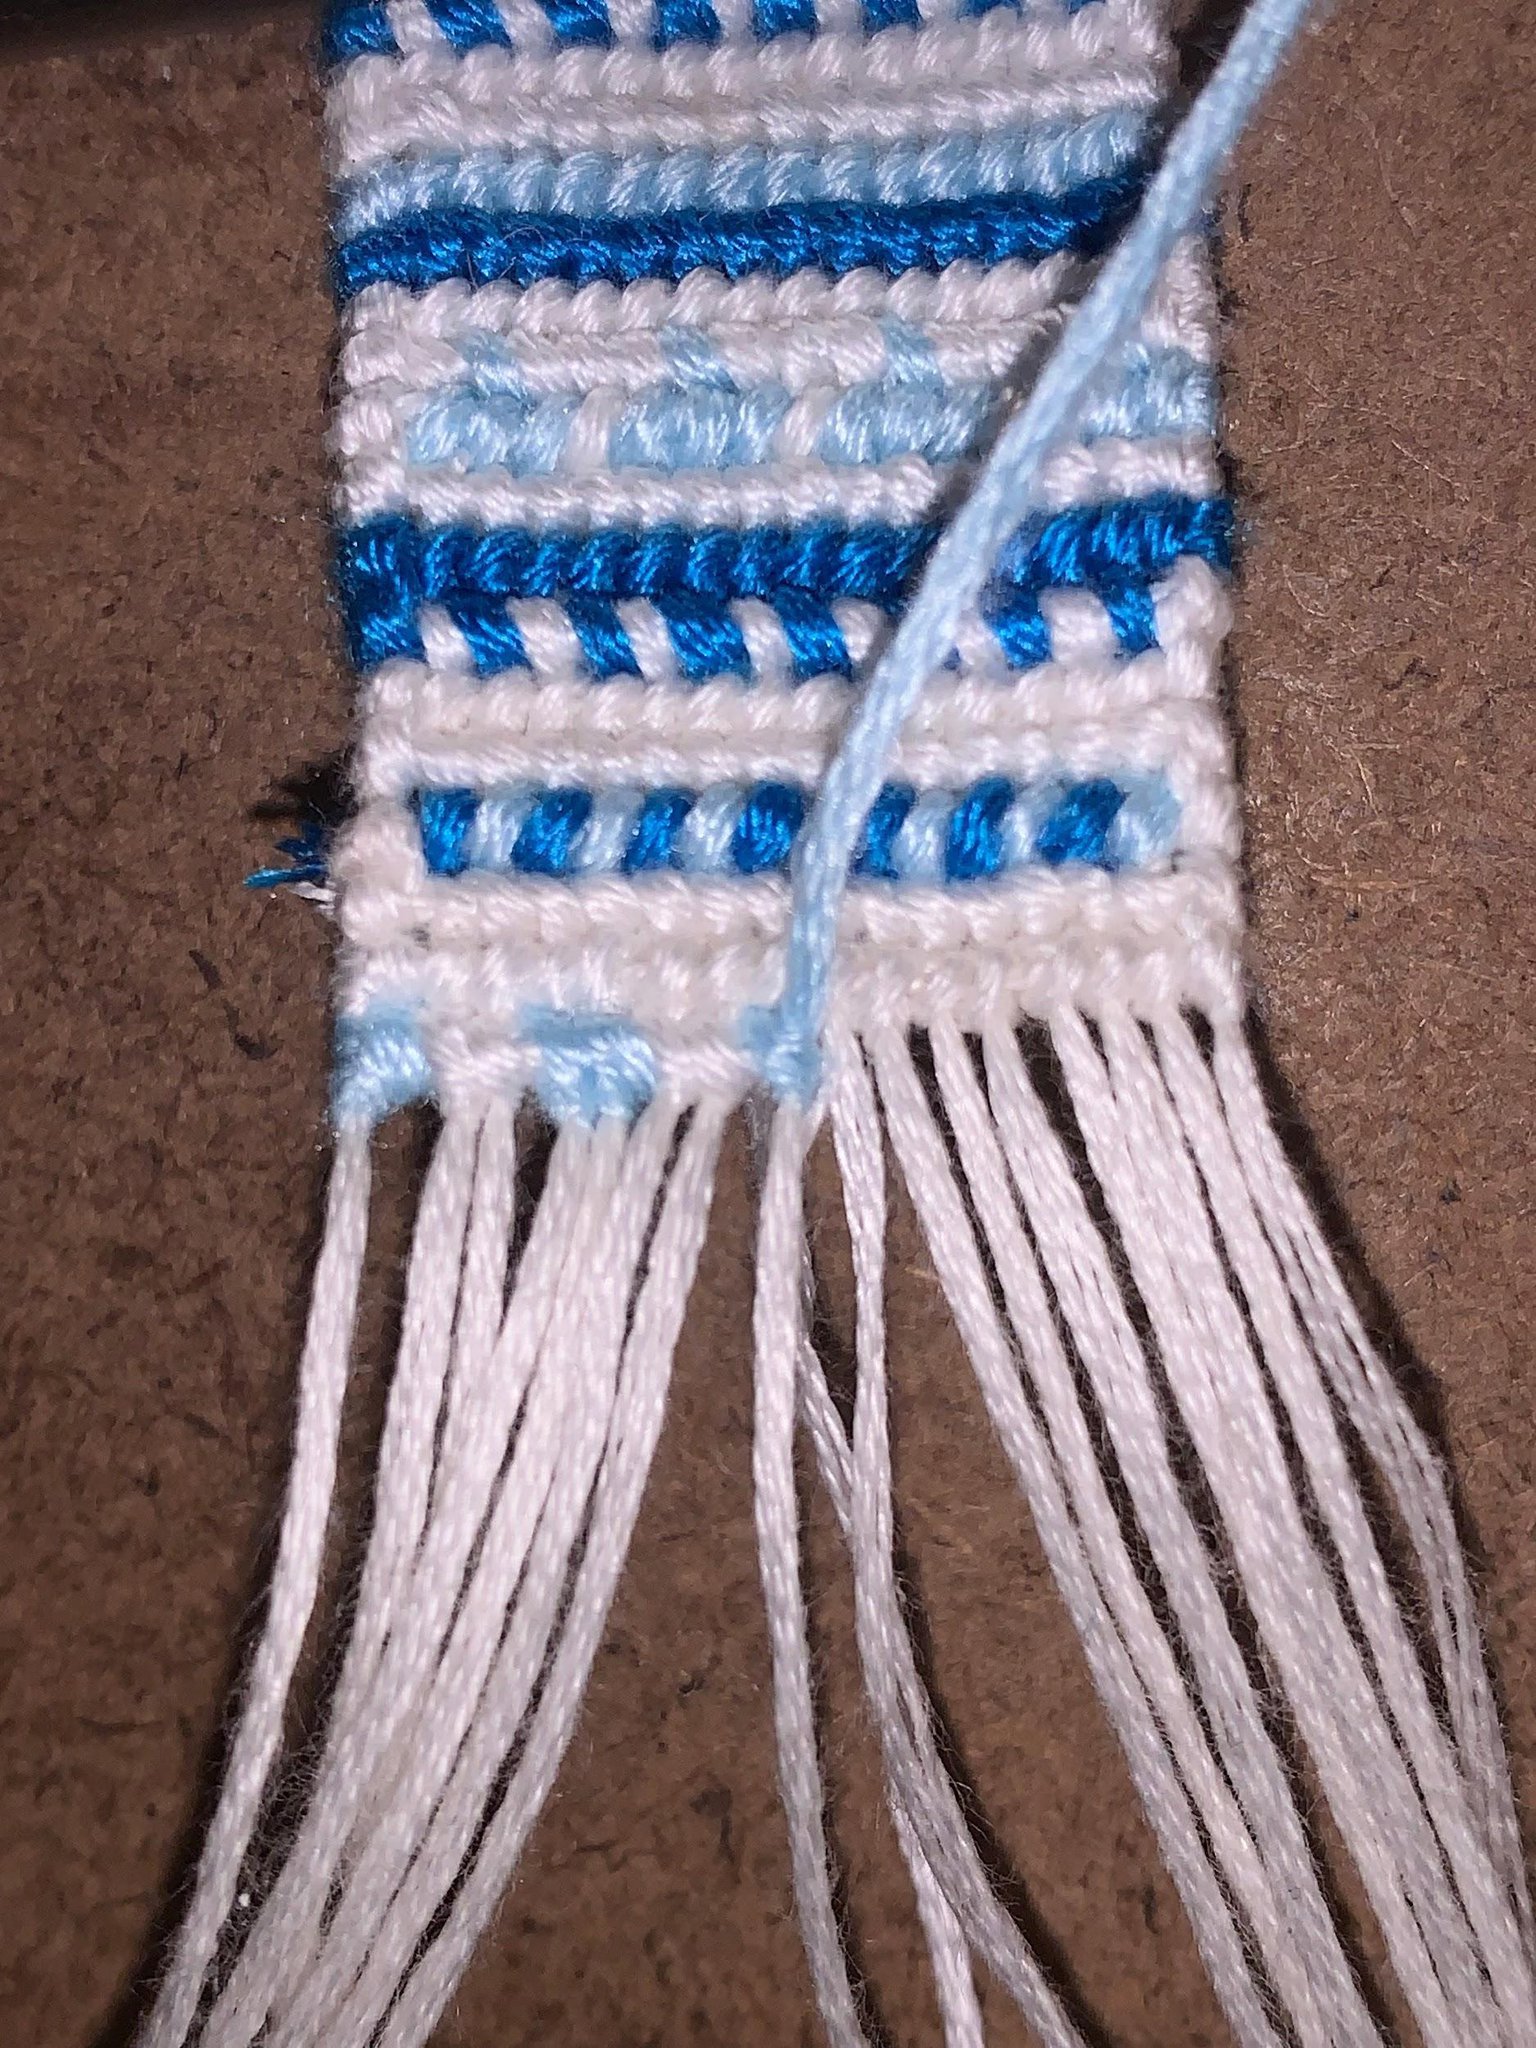
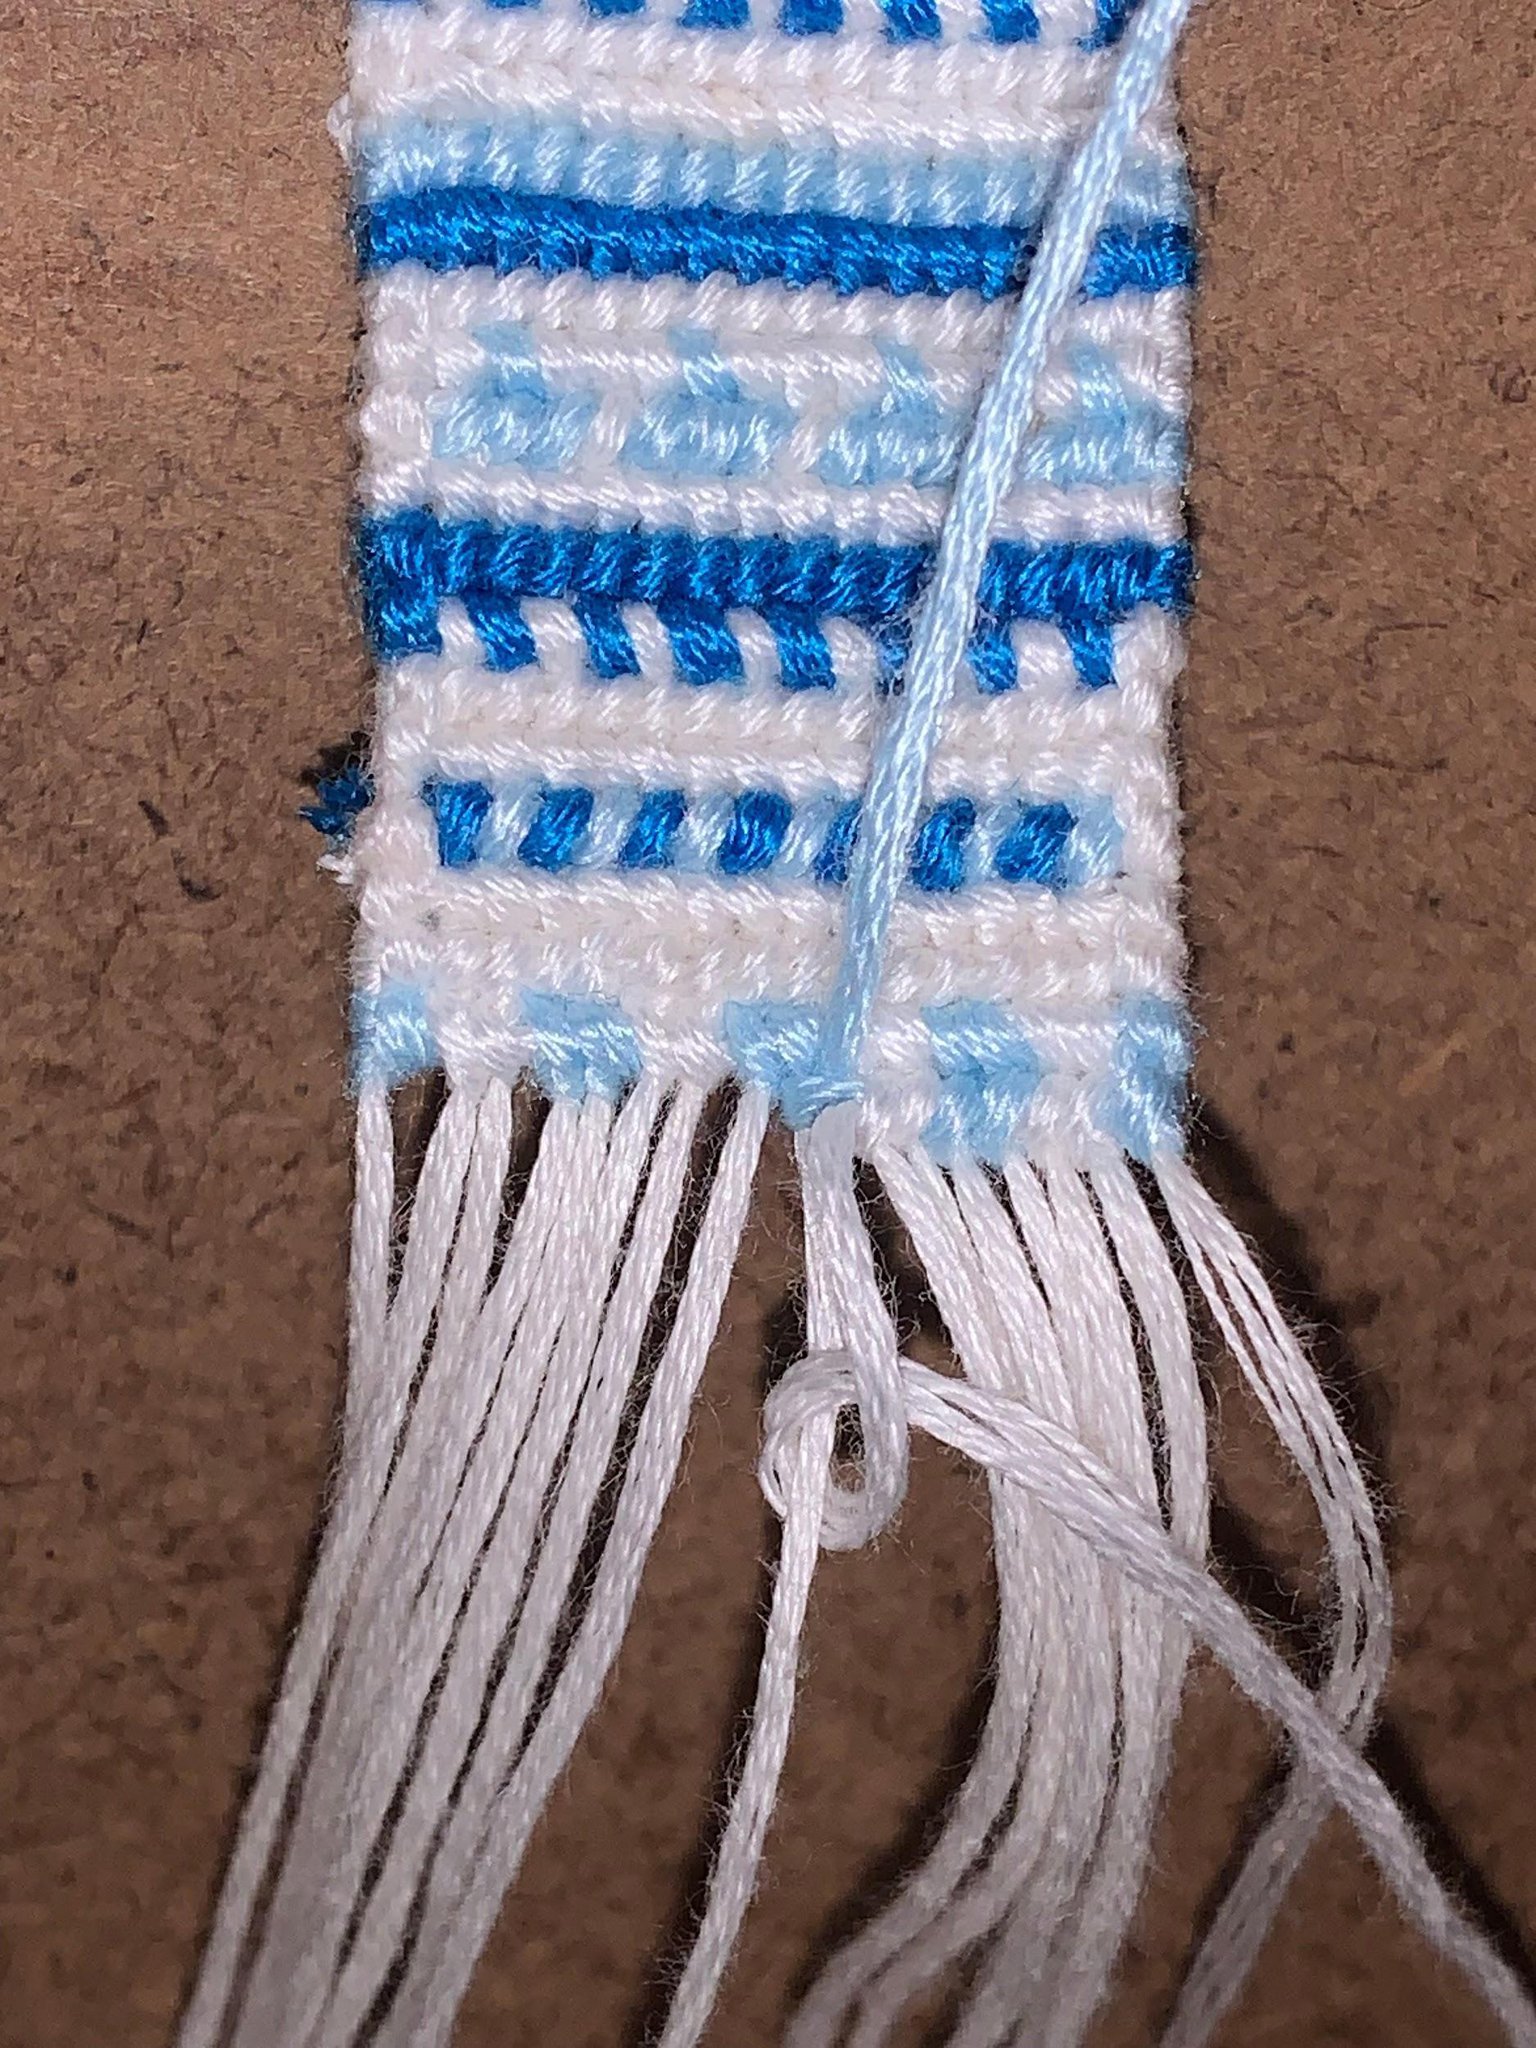
🔸 Step 2.
To start this technique, do the first half of a forward knot with the new leading string.
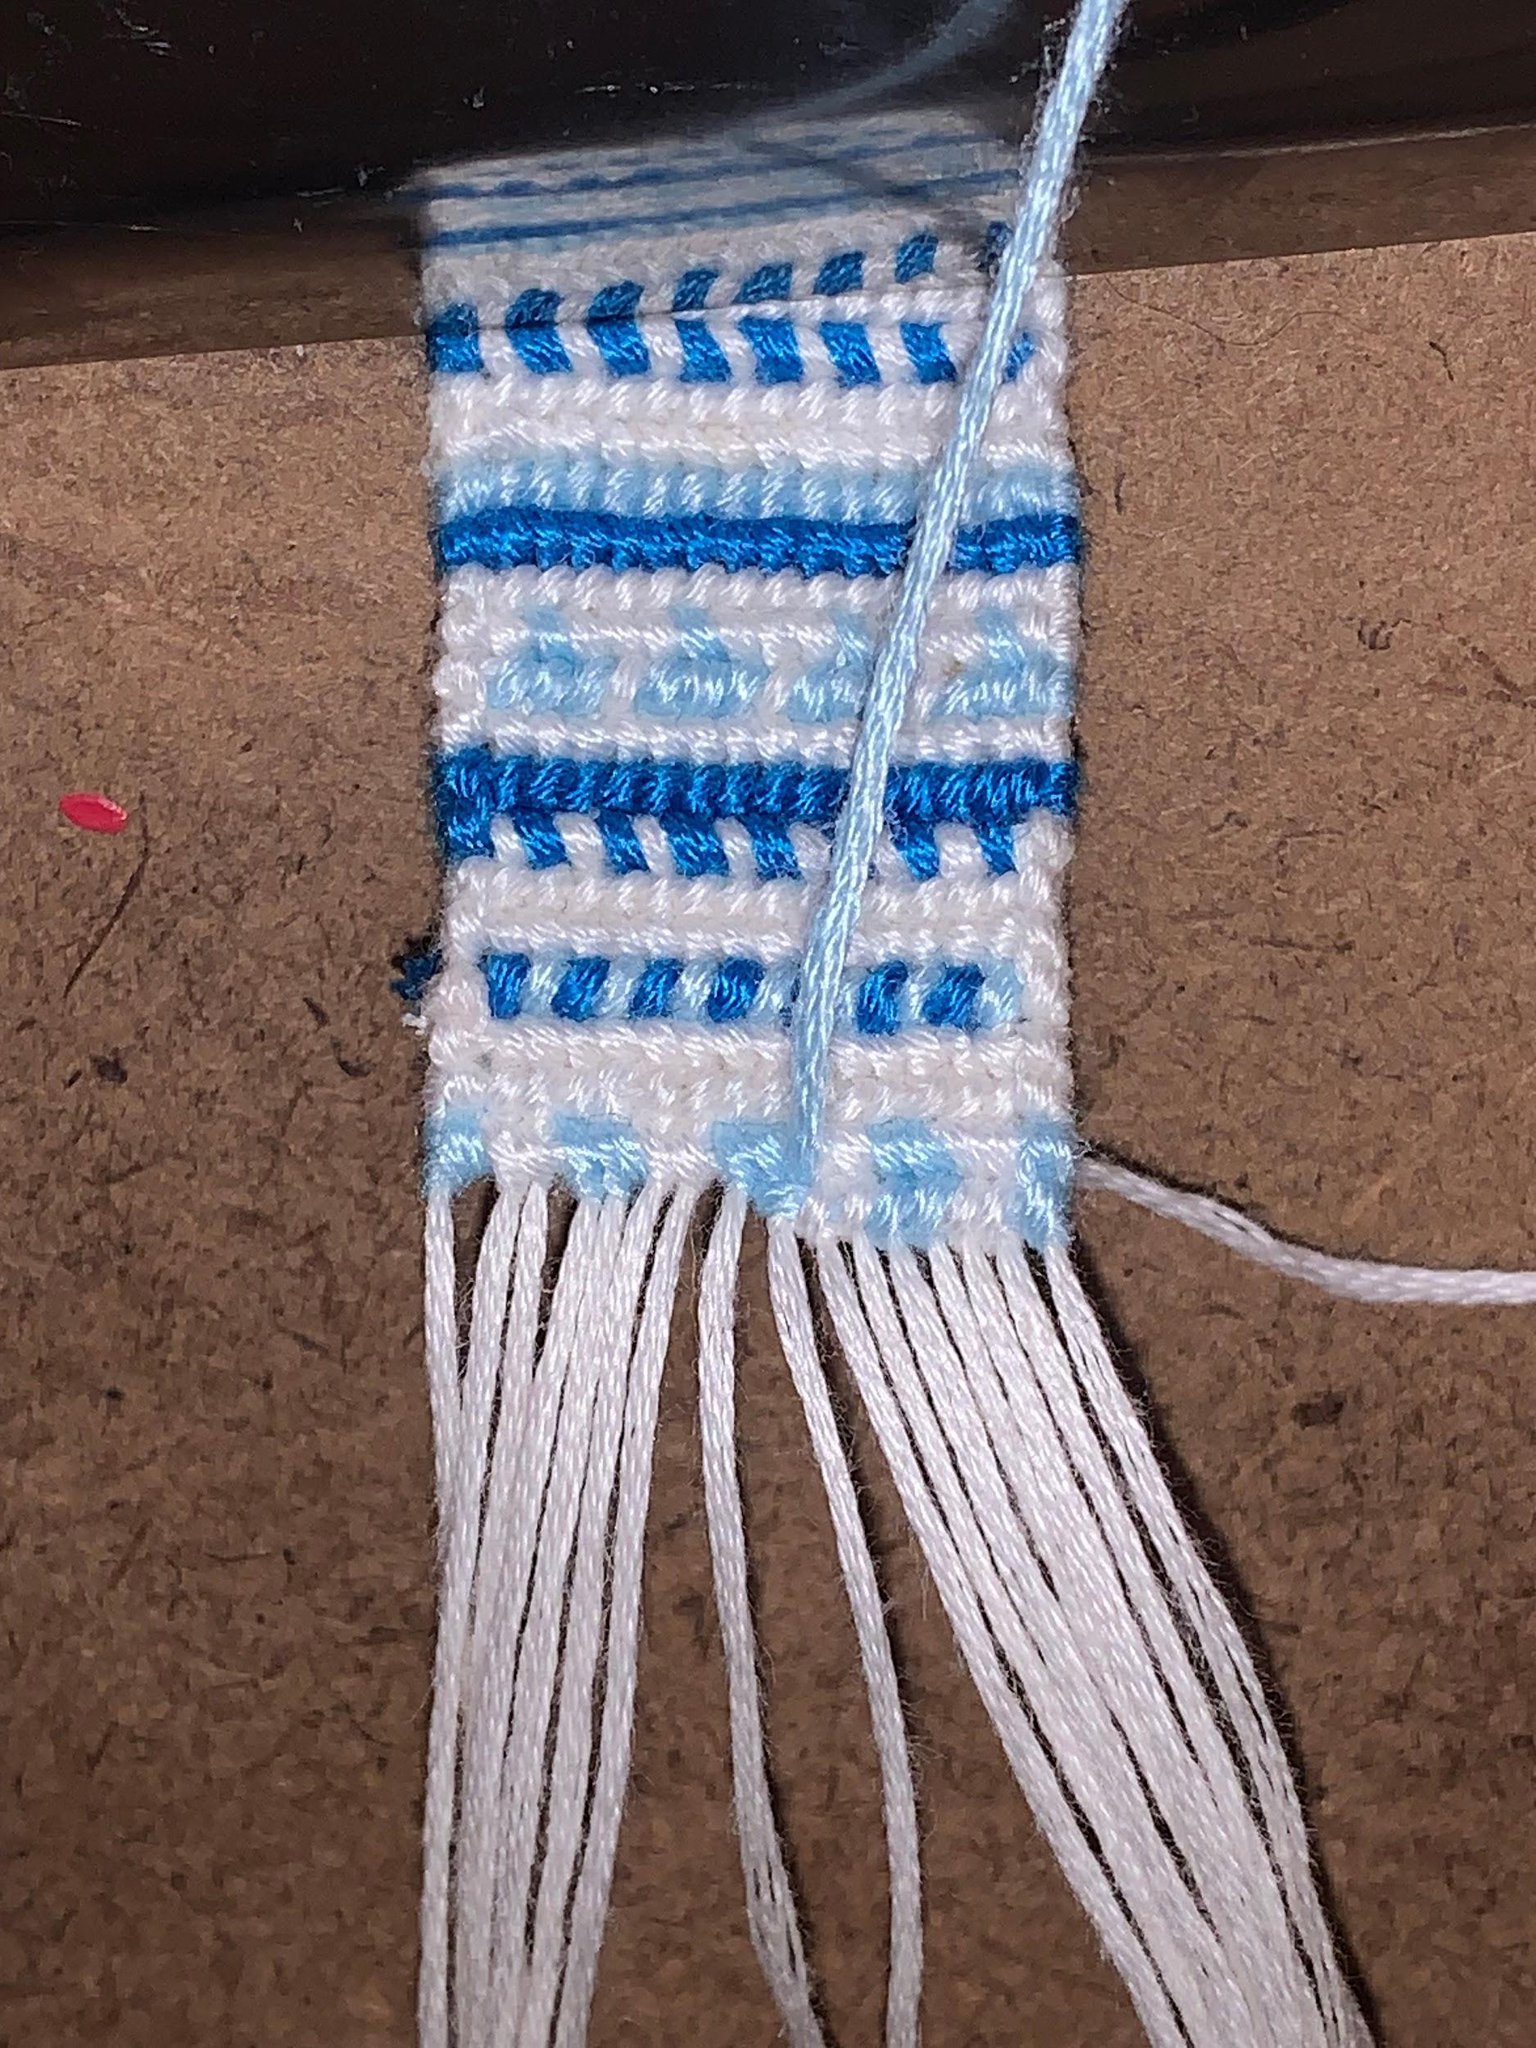
🔸 Step 3.
Do half of an upside down backward knot with the old colour onto the base string which you are doing the colour change. To do so instead of placing the string on top of the base string for a forward knot place it under the base string.
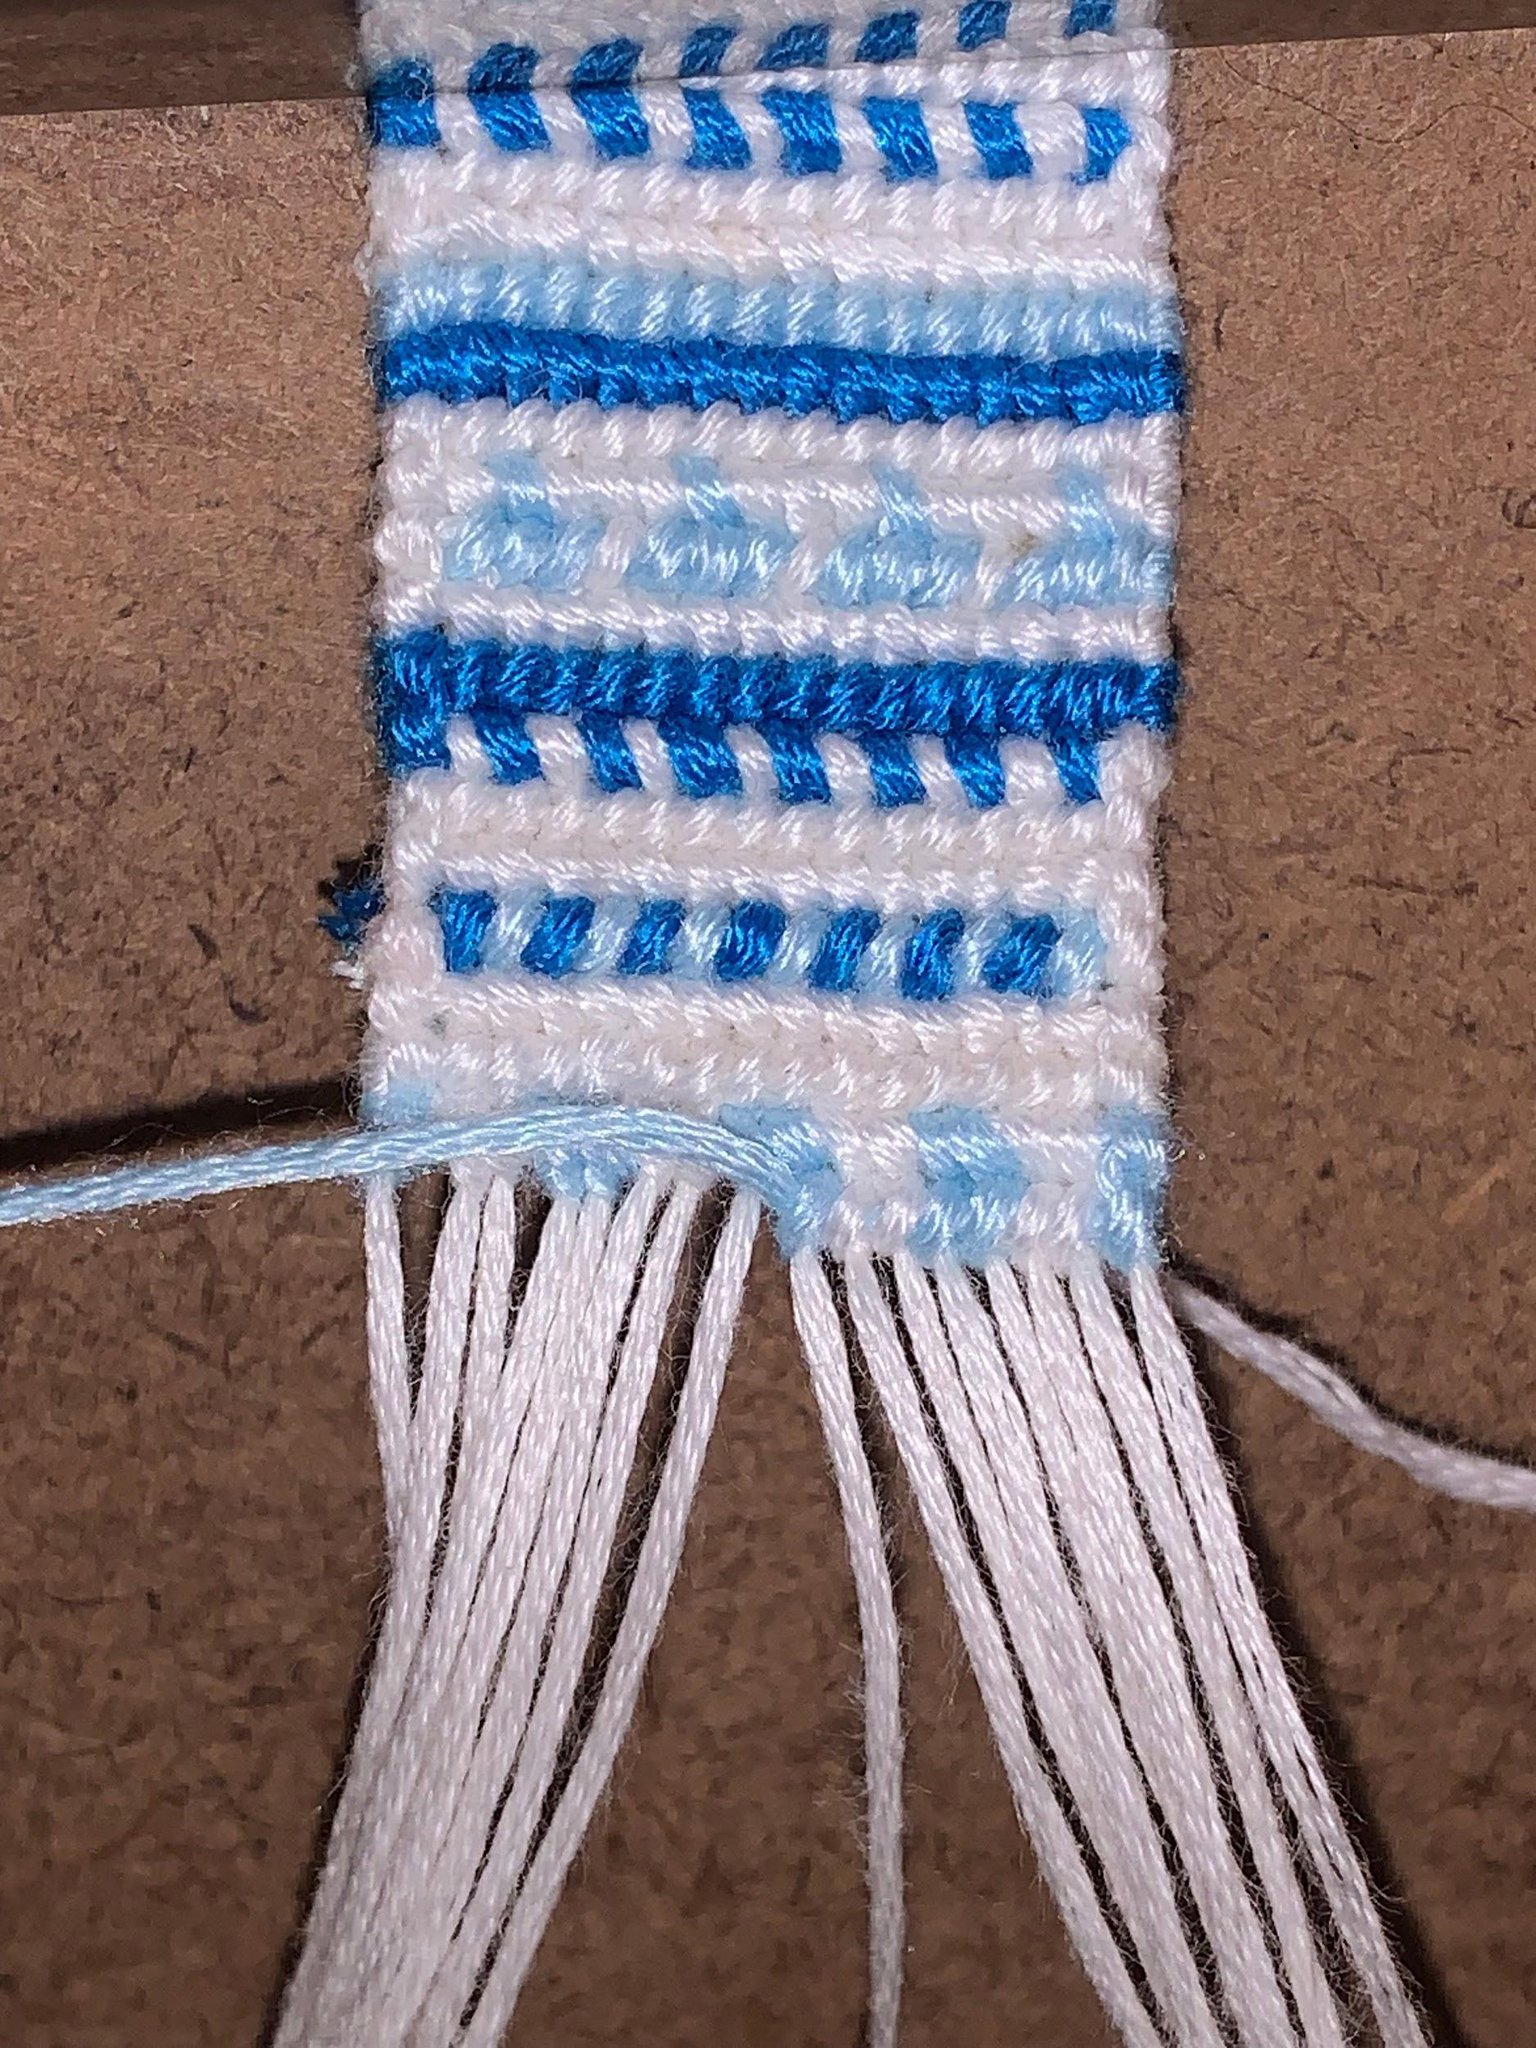
🔸 Step 4.
Put the string over the base string and through the loop (it will go to the left and look like a backward knot).
🔸 Step 5.
Pull the old leading string as tight as possible and put it behind the bracelet (you won’t be needing it anymore).
🔸 Step 6.
Finish the second half of the forward knot with the new leading string. Once done you have completed the flat alpha 2.0 colour change!
Backward knot alpha colour change 2.0
Now that you know how to use my technique for a forward knot I’ll show you how to do the same technique in a backward knot.
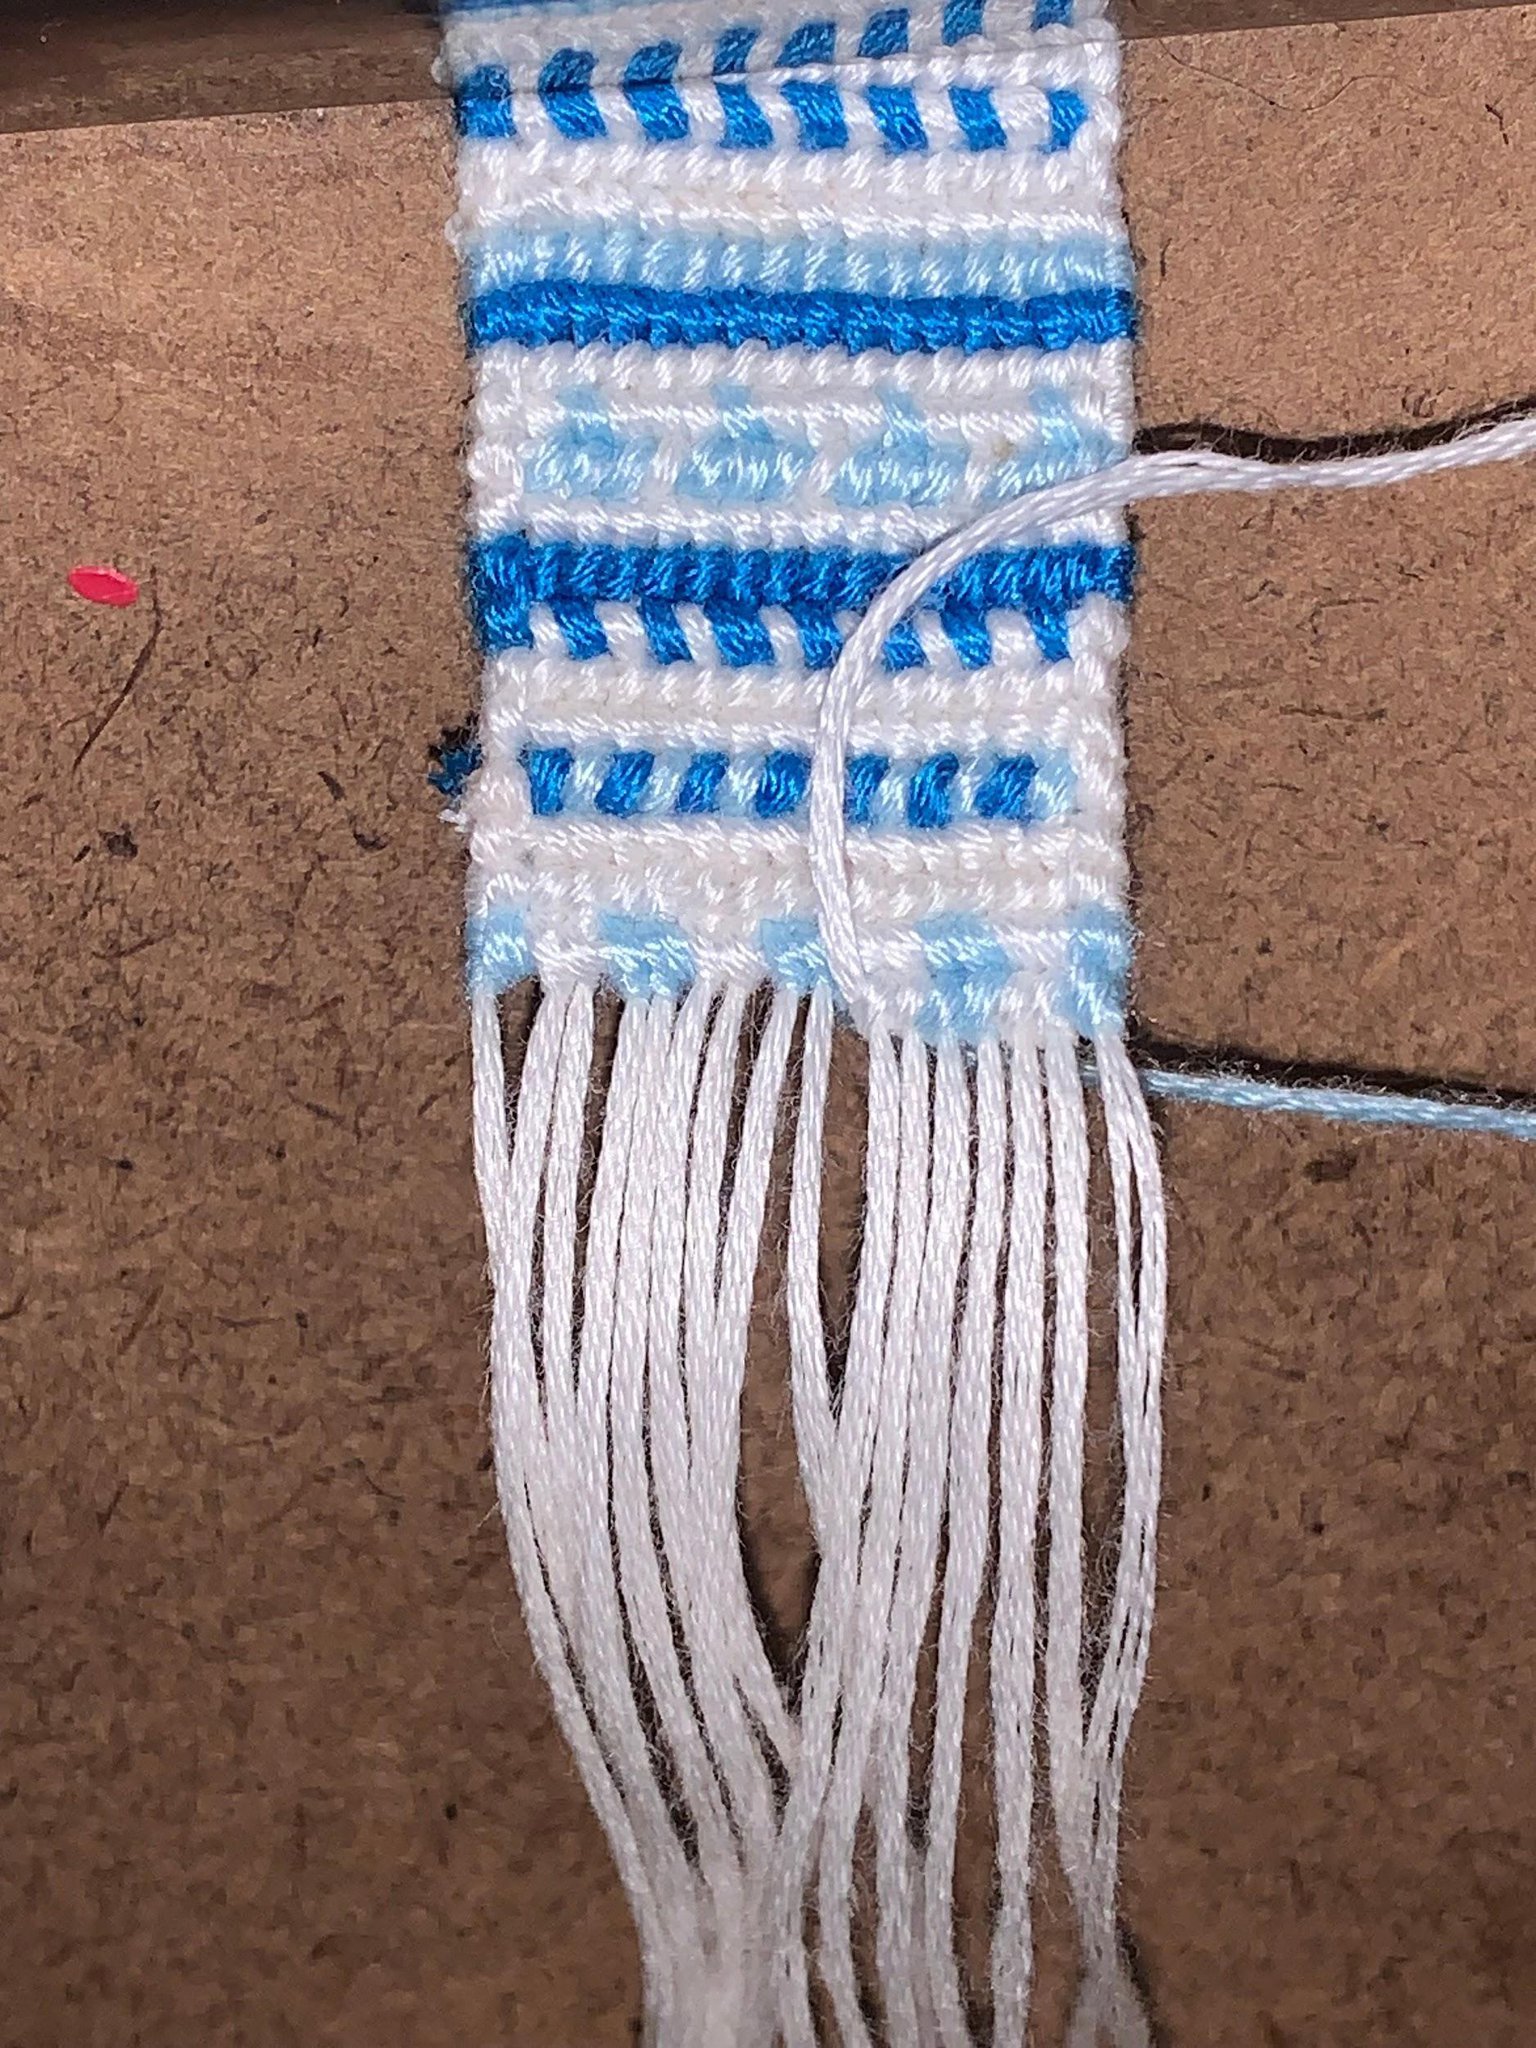
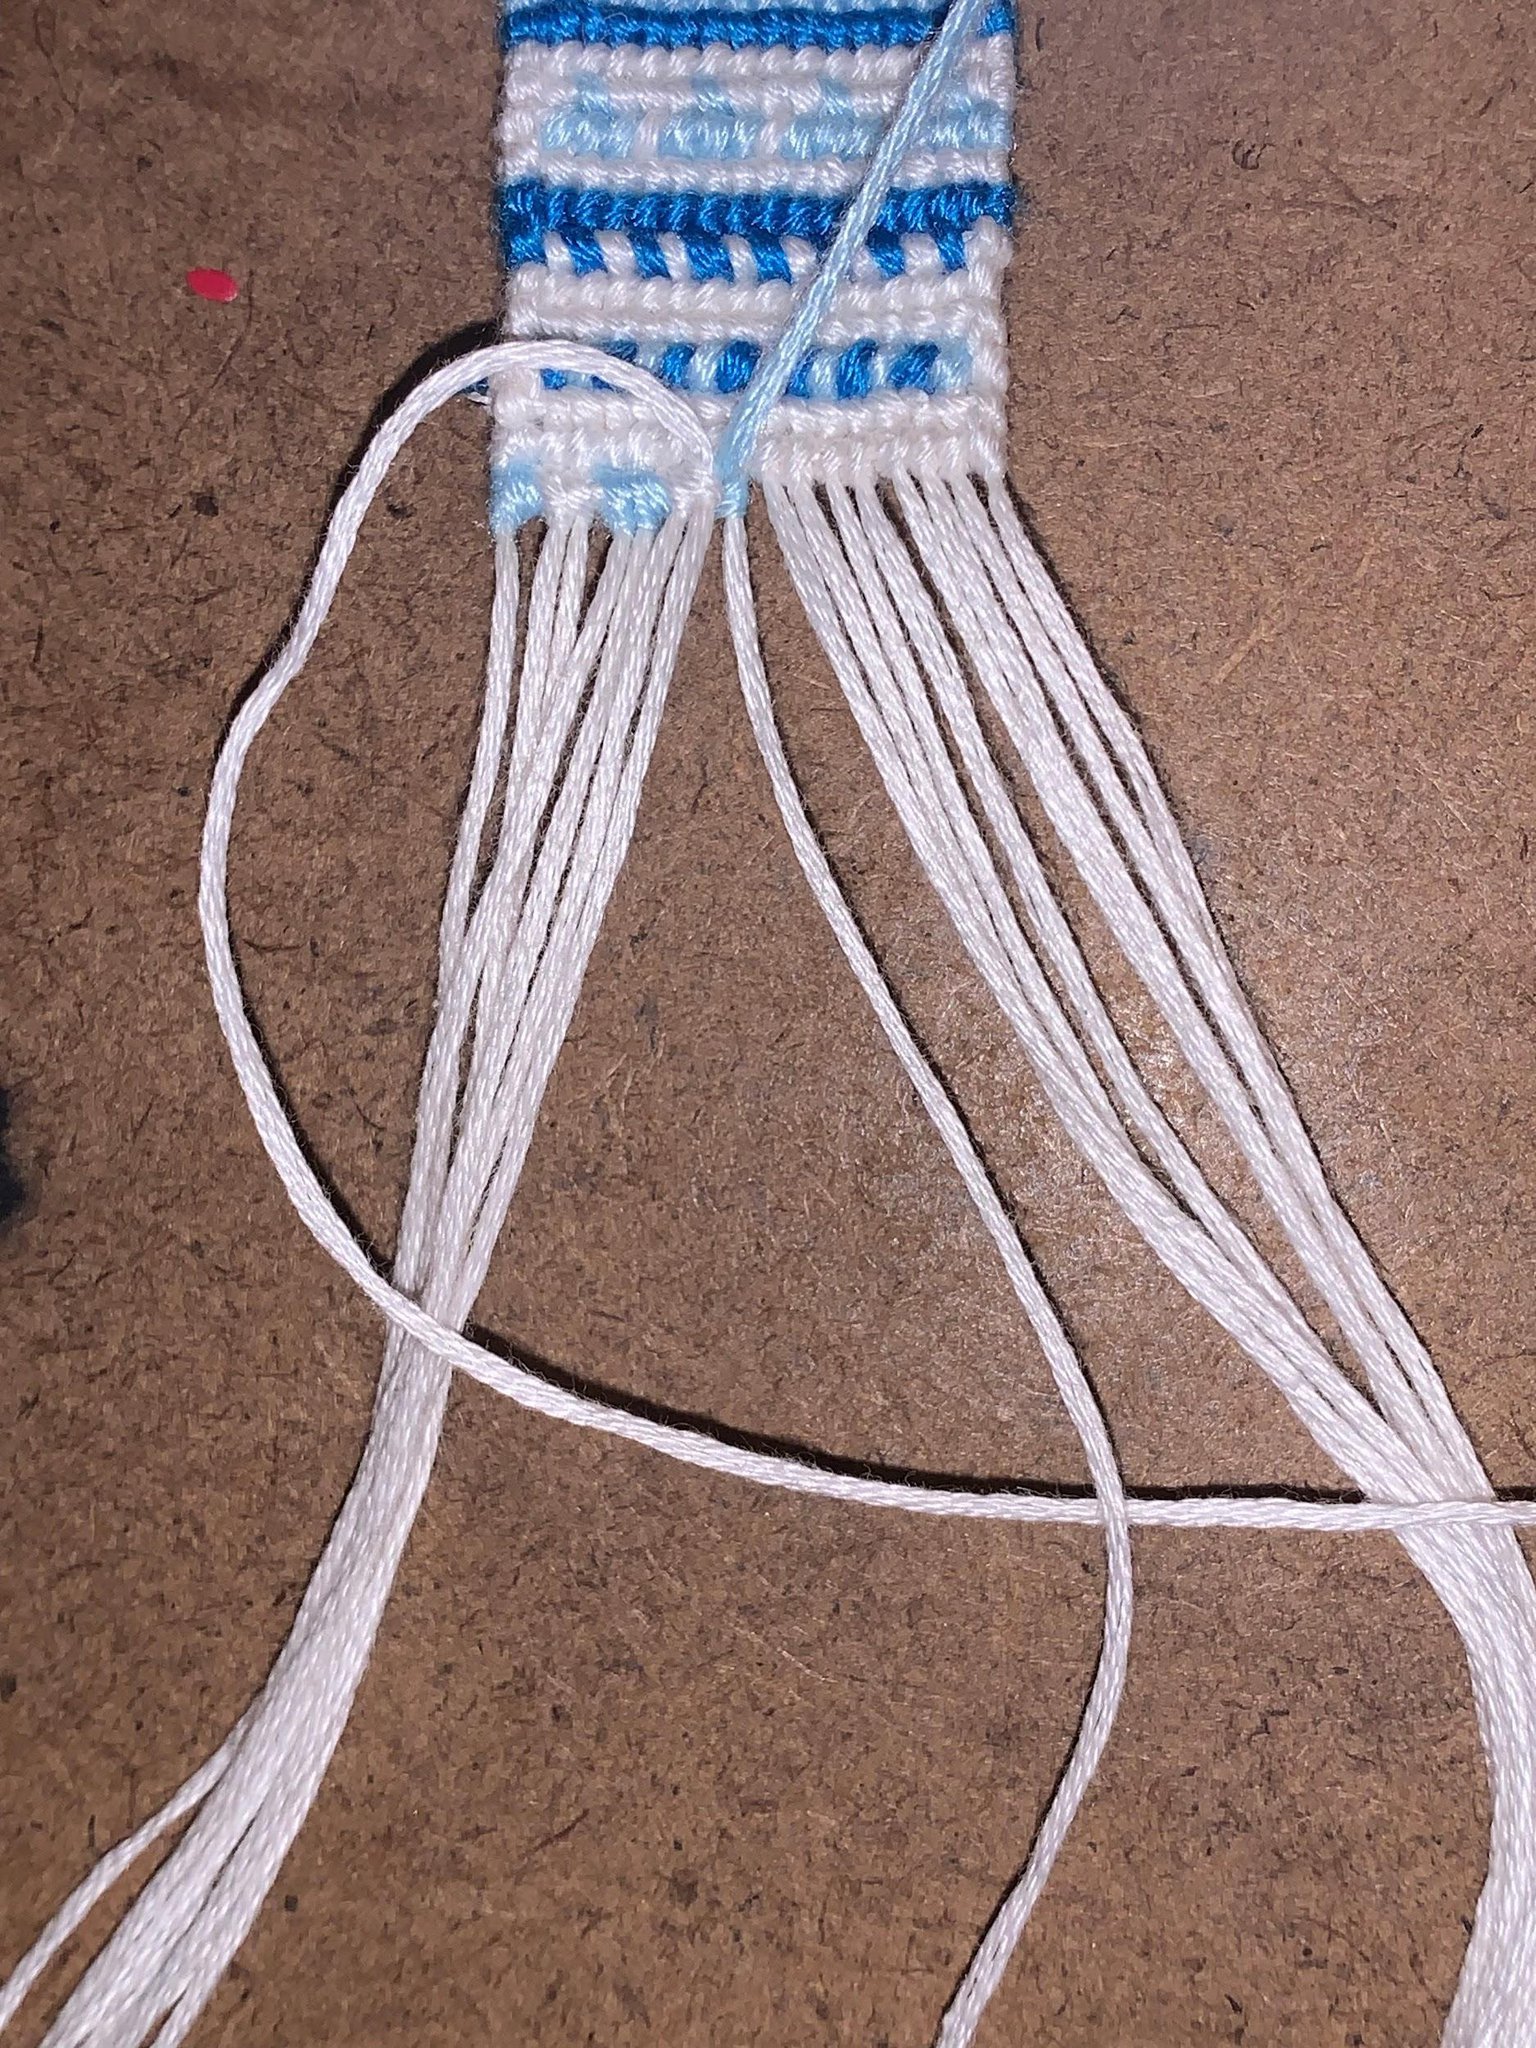
🔸 Step 1.
This is right before I am going to do my colour switch for a backward knot.
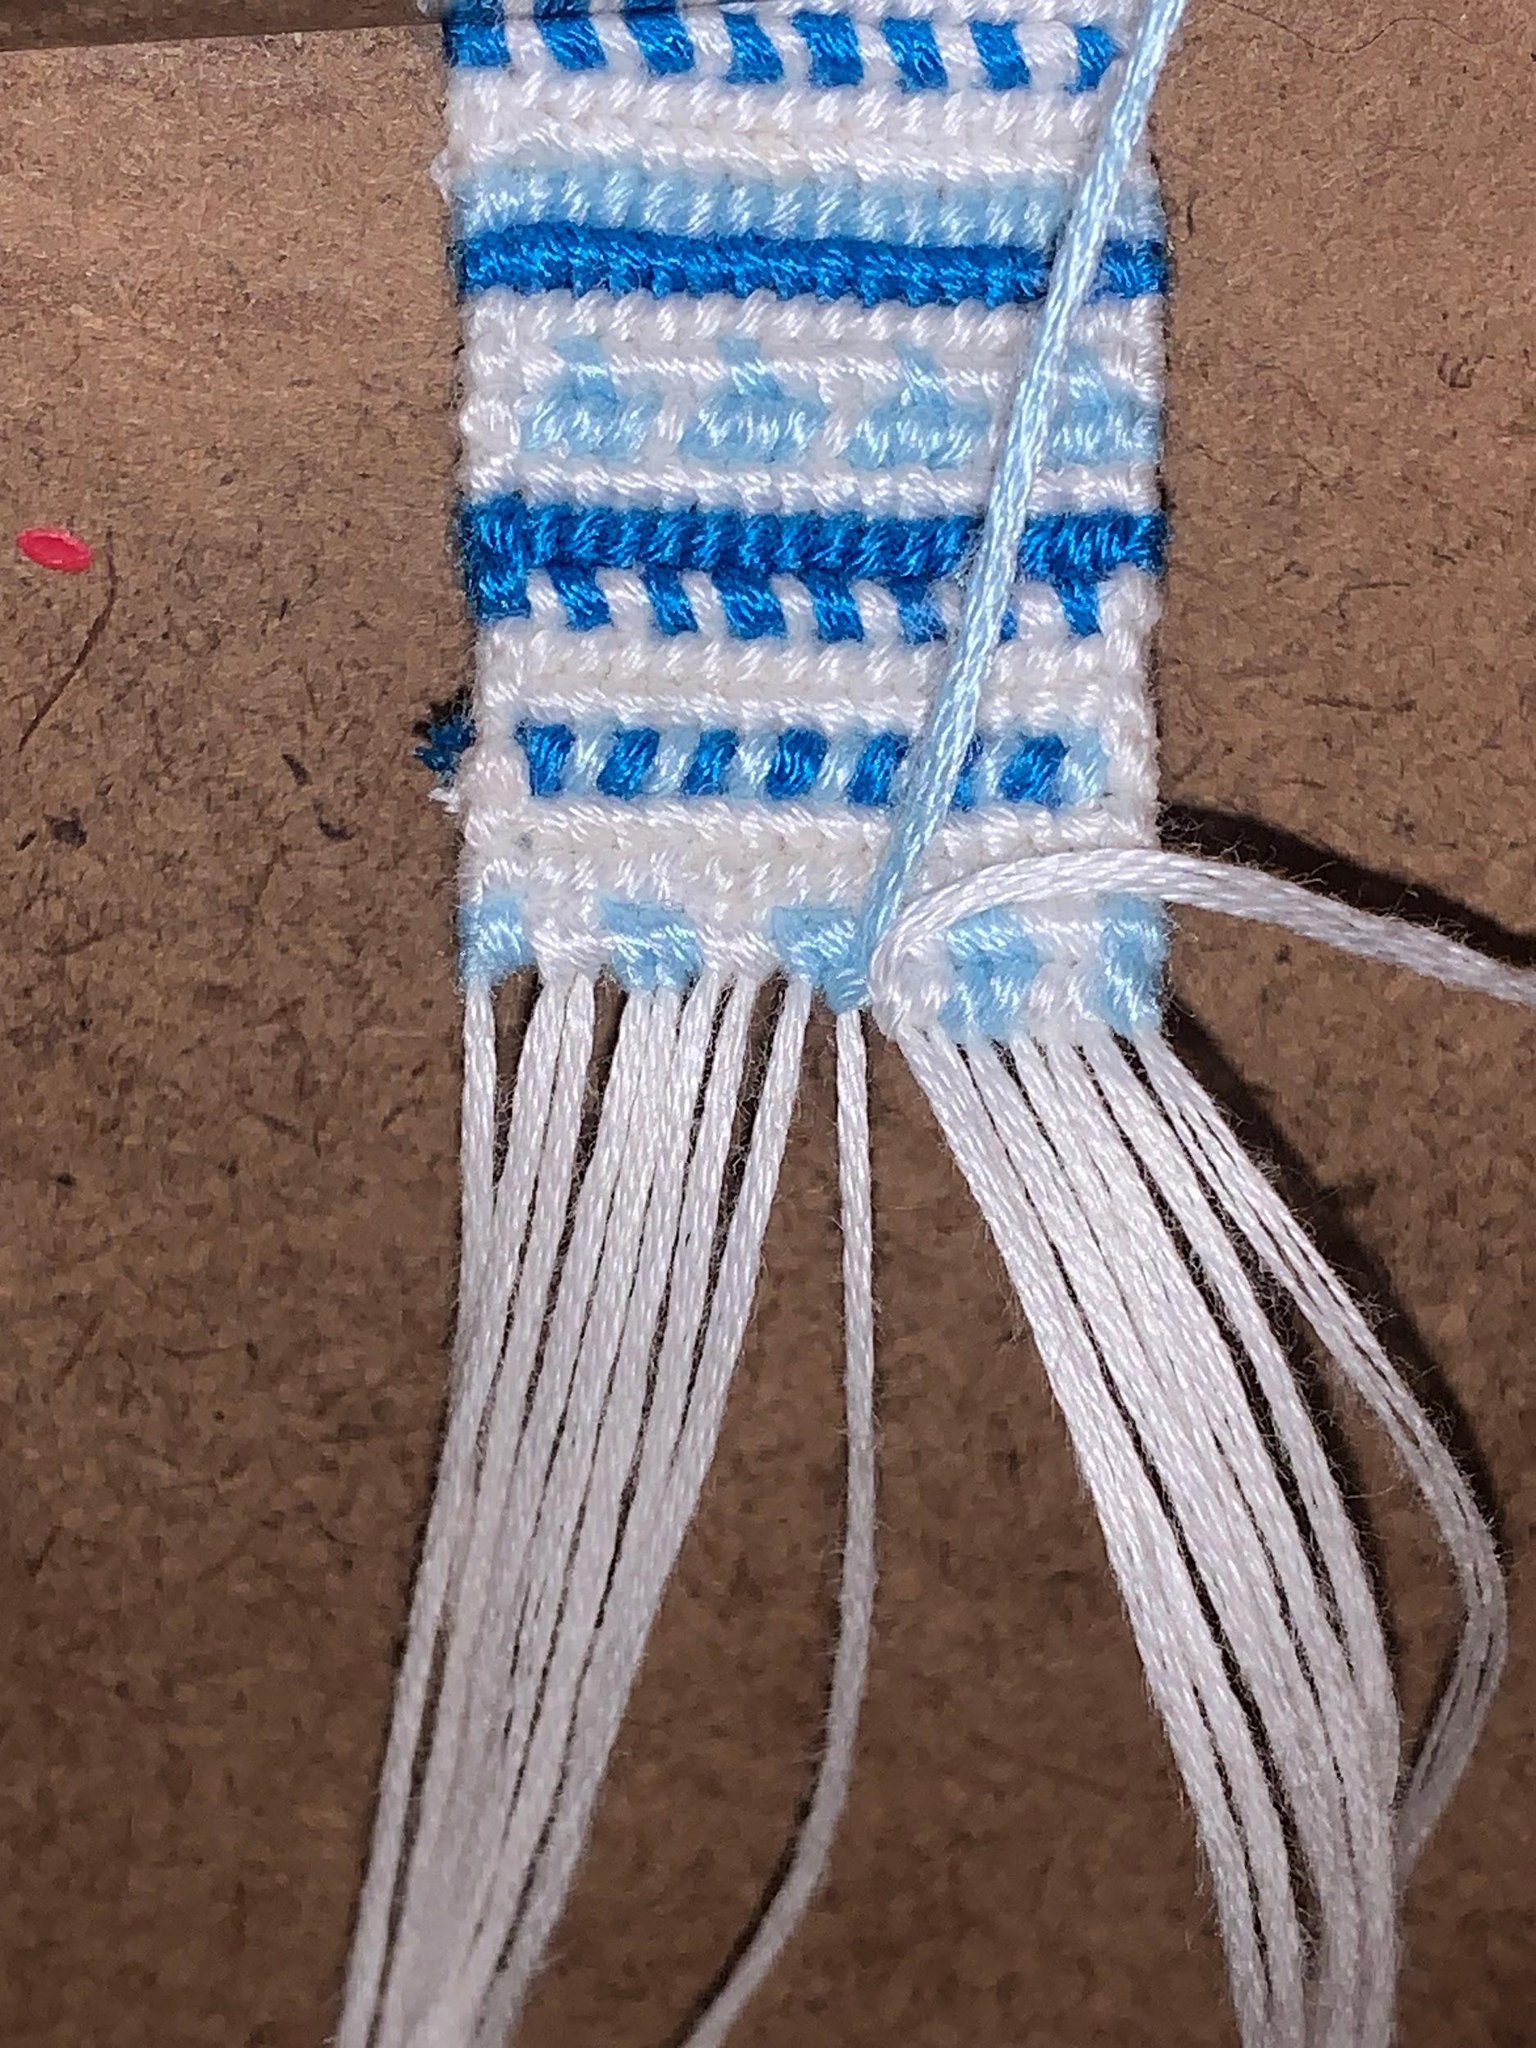
🔸 Step 2.
To start this technique, do the first half of a backward knot with the new leading string.
🔸 Step 3.
Do of half an upside down forward knot with the old leading string onto the base string which you are doing the colour change. To do so instead of placing the string on top of the base string for a backward knot place it under the base string.
🔸 Step 4.
Put the string over the base string and through the loop (it will go to the right and look like a forward knot).
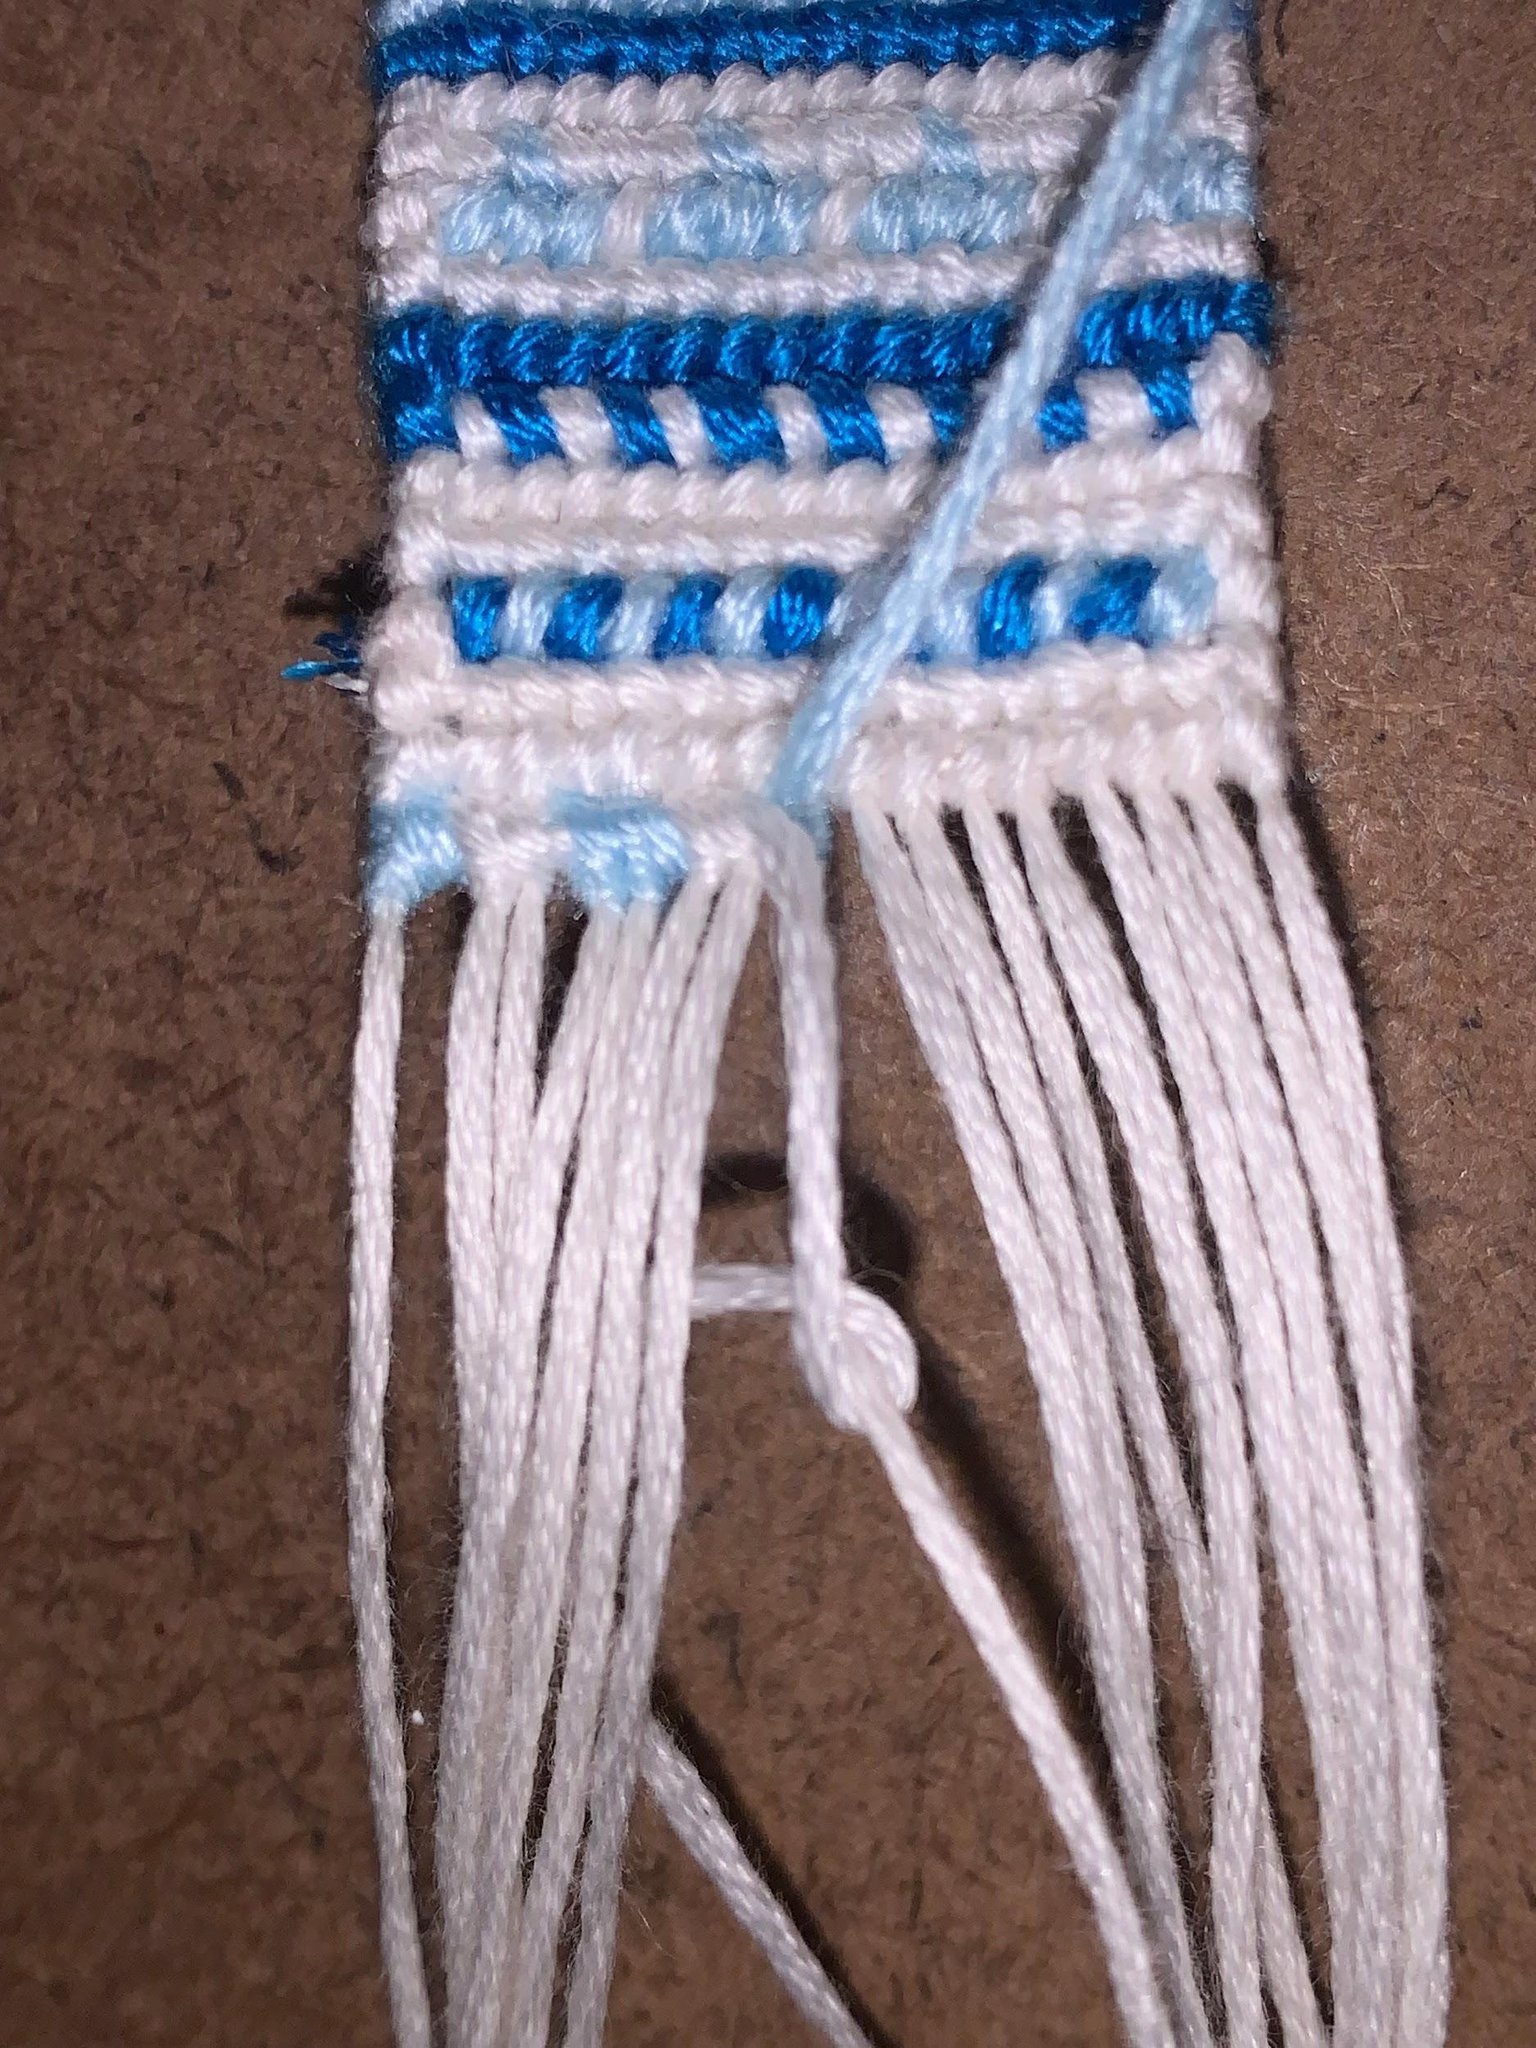
🔸 Step 5.
Pull the old leading string as tight as possible and put behind the bracelet (you won’t be needing it anymore).
🔸 Step 6.
Finish the second half of the backward knot with the new leading string. Once done you have completed the flat alpha 2.0 colour change!
If you’re wondering whether the extra half knot makes a difference in thickness, it does not. Your bracelet should not be bumpy (unless you’re using embroidery floss with different thicknesses). In my personal experience using this technique recently, I haven’t had any issues and overall I think using this technique improves my creations. 🙂