Rate Tutorial
Materials:
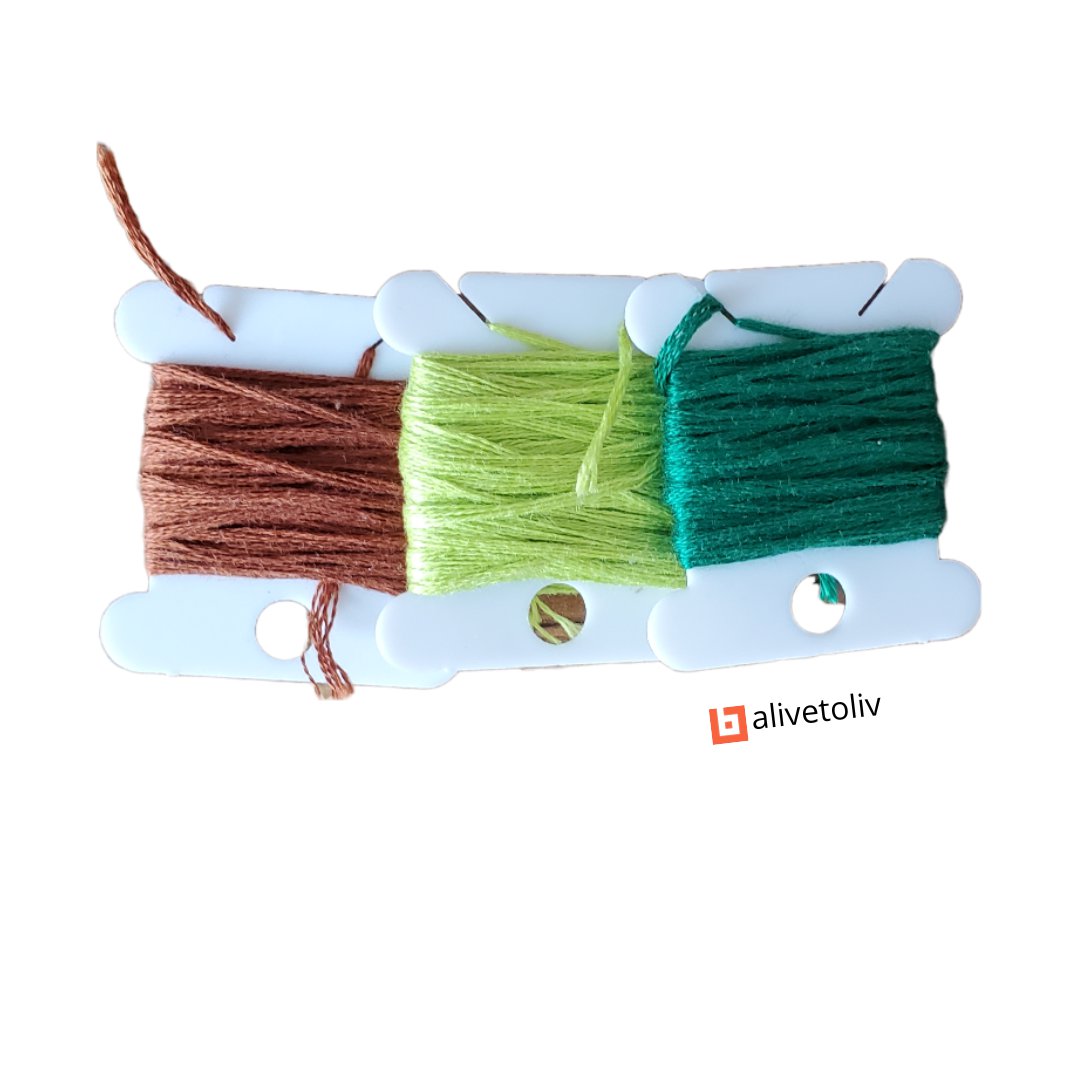
- 3 colors of your choice
- Scissors
- Ruler
- Mega paper clip [Size: Length:4 in (10 cm); Width:1 in (2.6 cm)]
- Tape
- Scissors
- Ruler
- Mega paper clip [Size: Length:4 in (10 cm); Width:1 in (2.6 cm)]
- Tape
1.
This tutorial requires you to be familiar with the flat alpha technique and shaped starts/ends. Here are 2 videos for reference if this is new to you:
“Flat Alpha Technique” by @innovate
“Flat Alpha Technique” by @innovate
“Basic Triangle Shaped Start For Alphas - beginner friendly tutorial” by @Clairaland
4.
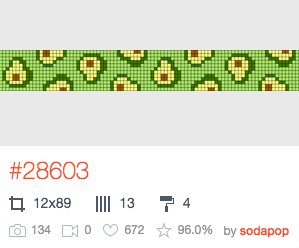
For pattern #28603 the pattern section I will use is 11x11. However, I will be adding 1 additional string to each side making it 13x11. These strings will only be used to add volume to the shaped edge of the avocado as you will see.
5.
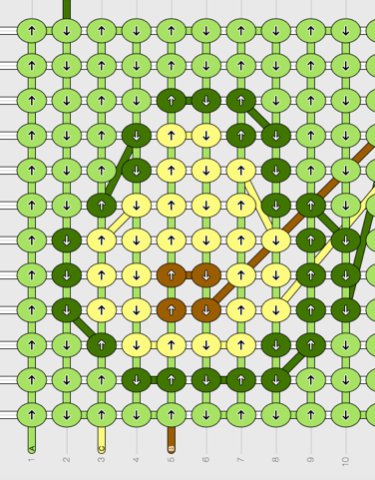
You will need to take a screenshot of the pattern and rotate it upside down. We need to make the pattern upside down so that it will appear right side up when the bookmark is placed inside a book.
6.
Next, cut 6 pieces of brown string that are 6 in (15.24 cm) each. Also, cut 30 in (76.2 cm) of dark green to be your leading string.
7.
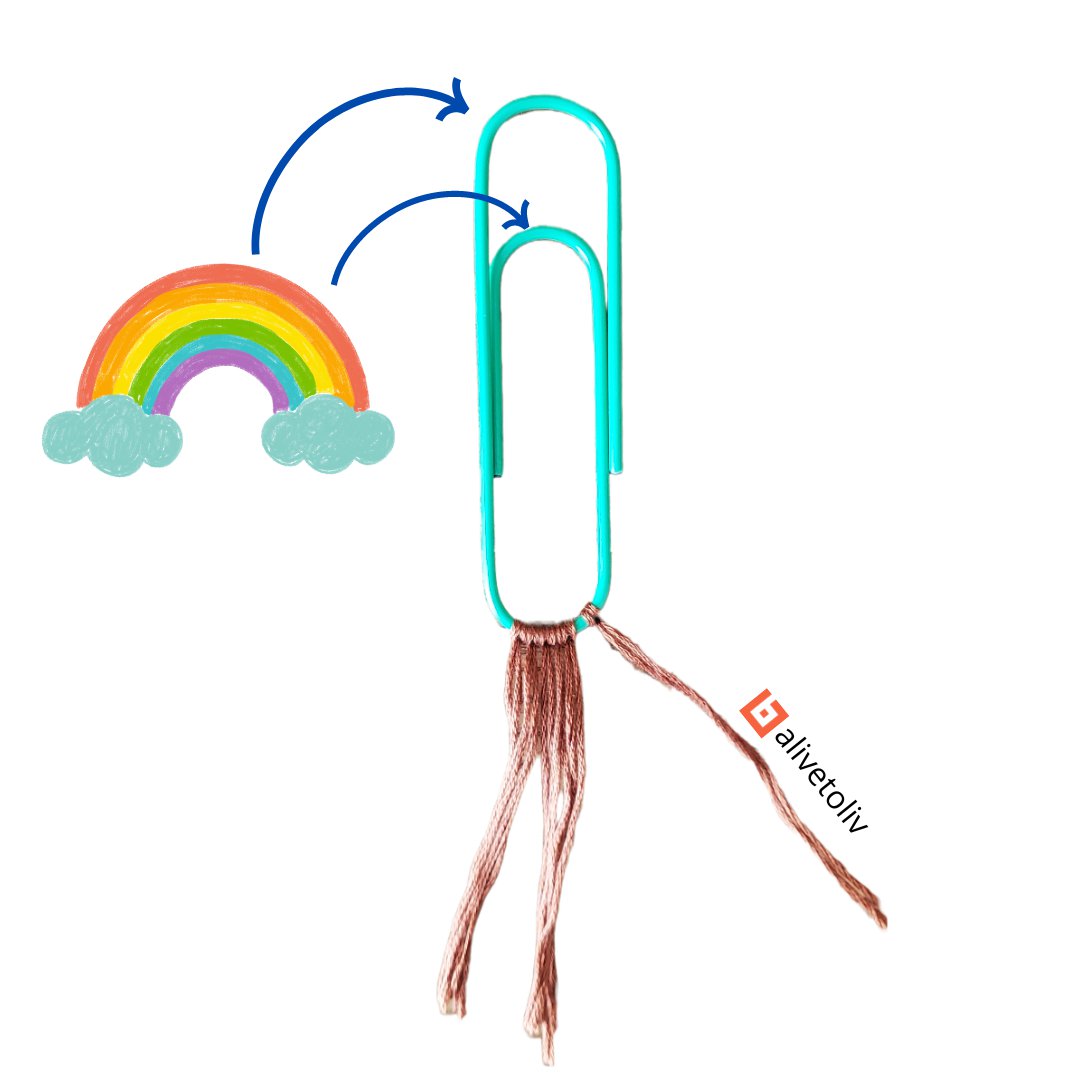
Face your paperclip with the large and small arch facing away from you. Imagine 2 rainbows to verify that your paperclip is facing the correct way. Attach each brown thread to the bottom of the paperclip using lark’s head knot.
8.
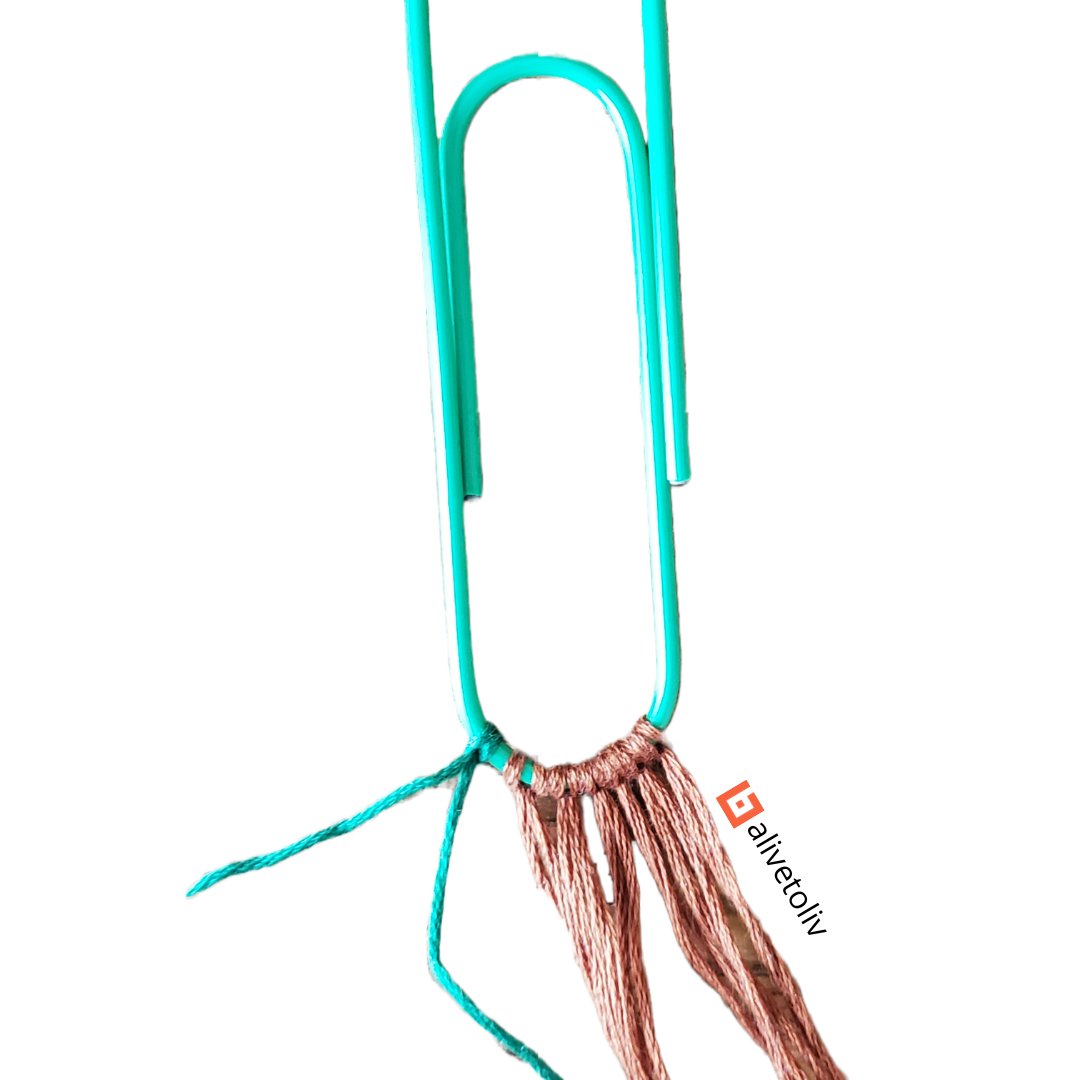
We have an odd number of strings so, I will use part of the leading string as a base string. Attach the leading string using a lark’s head knot.
9.
For additional information on this, check out the YouTube video: how to make alpha patterns on a keychain!” by @_kinseyb
10.
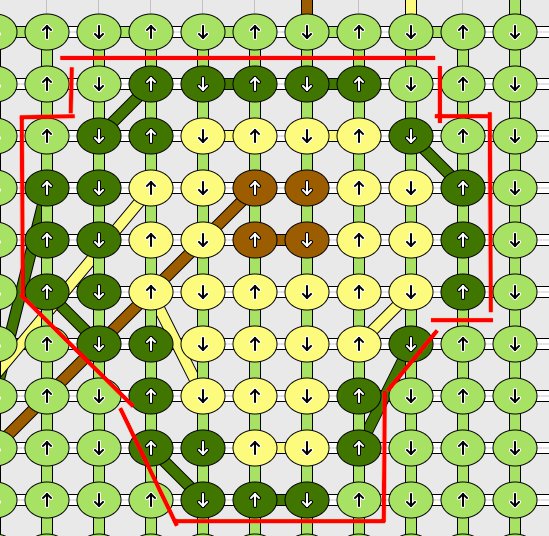
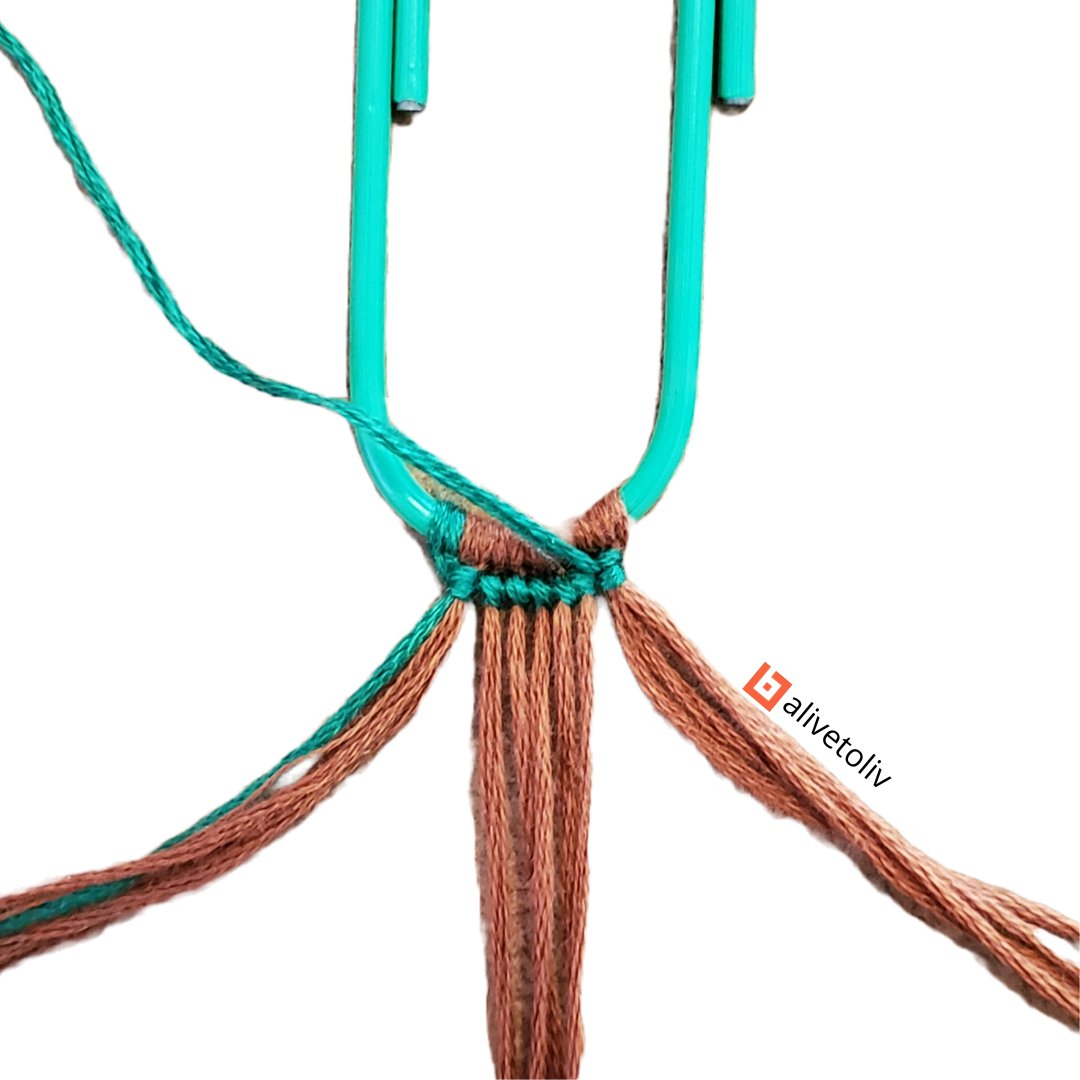
Group the first 4 stings and make a upside down b-f knot over the bundle using with the leading string. Then, do a f-knot on each of the next 5 brown strings. Last, do a upside down f-b knot on the last group of 4 strings. Note: using upside down knots on the edges is optional. However, this is what creates the smooth outlined appearance.
11.
For help with upside down knots, see this tutorial from 3:20 to 4:00 minutes by @Margaron “Upside-down Style Mountain Alpha Tutorial”
12.
Complete the pattern and taper 1 string away from or into each row based on the shape of the avocado pattern. You will have a minimum of 2 strings on each side at all times to give shape to your outline.
13.
To taper in using upside down knots on the edges, first move the leading string behind the previous bundle. Then, add the next base string to the bundle. Last, complete your upside down f-b or b-f knot.
14.
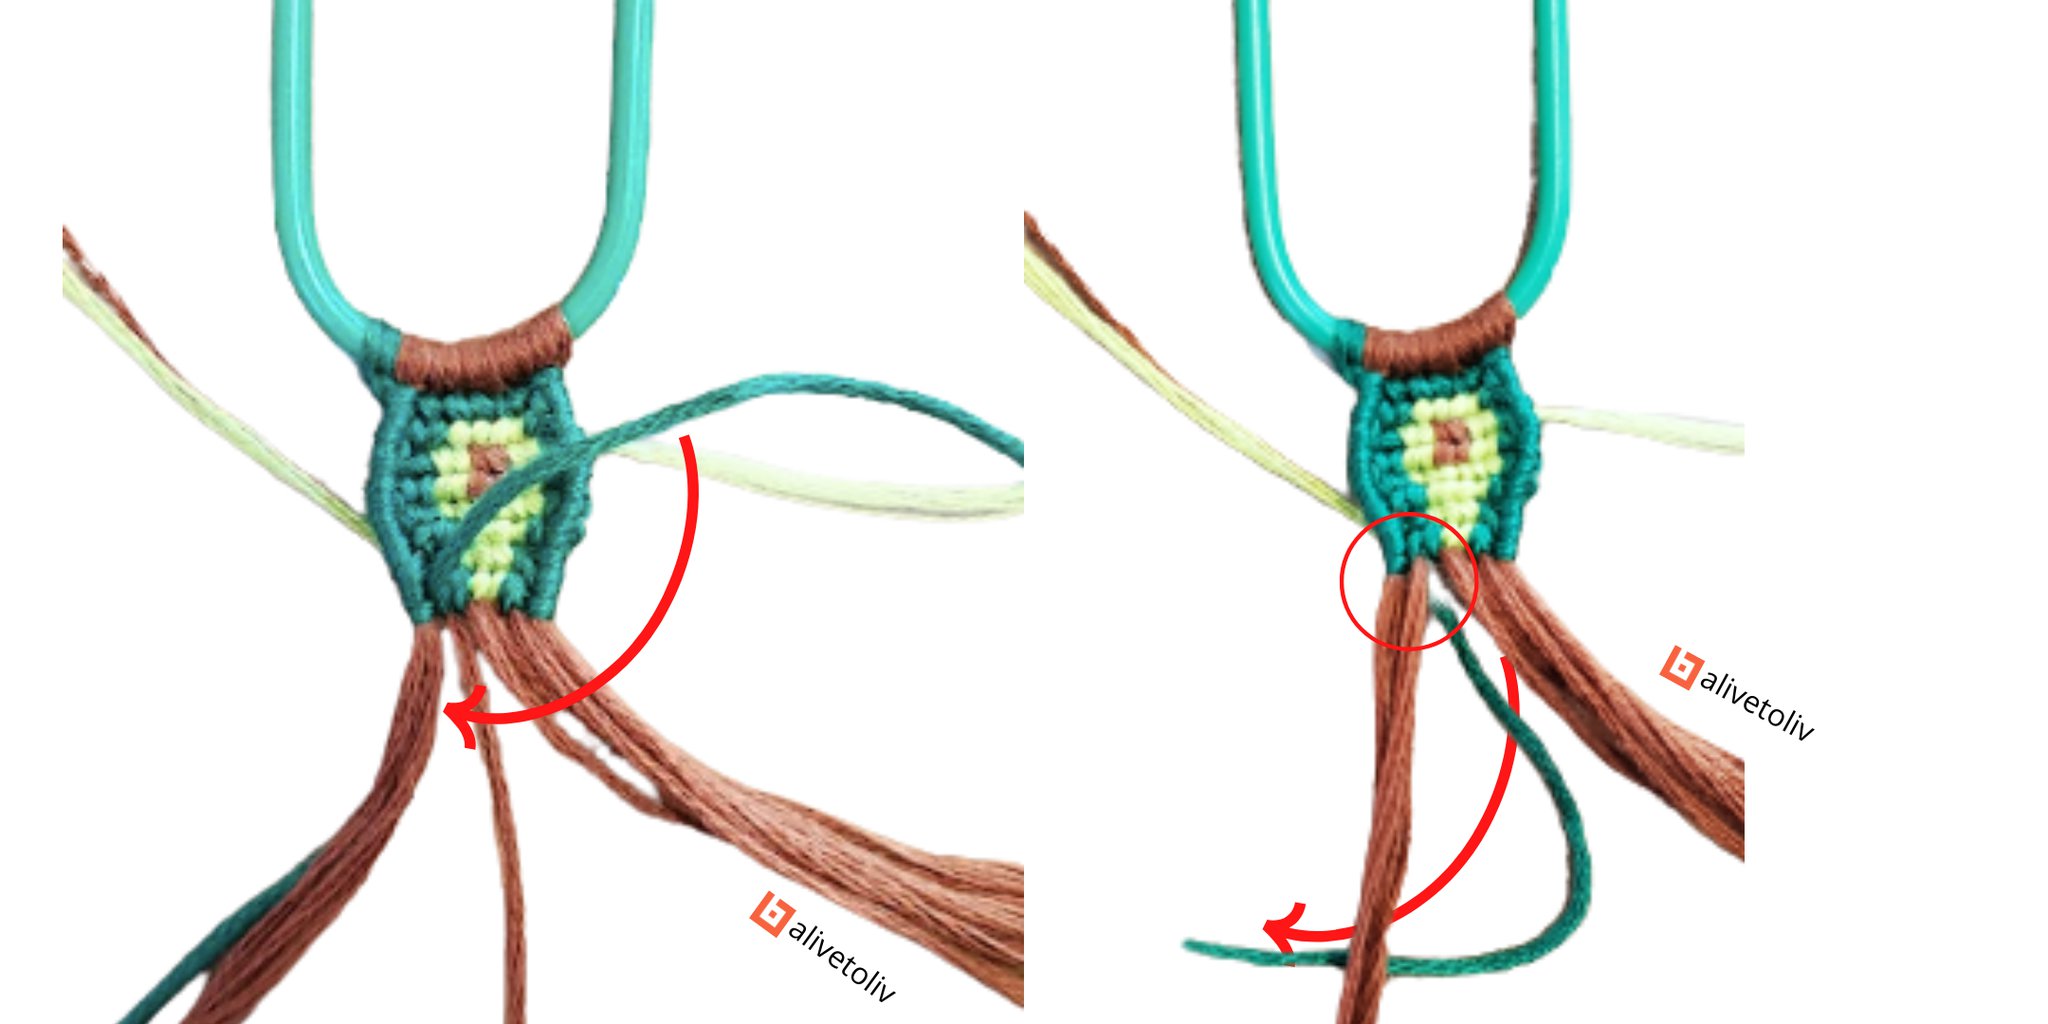
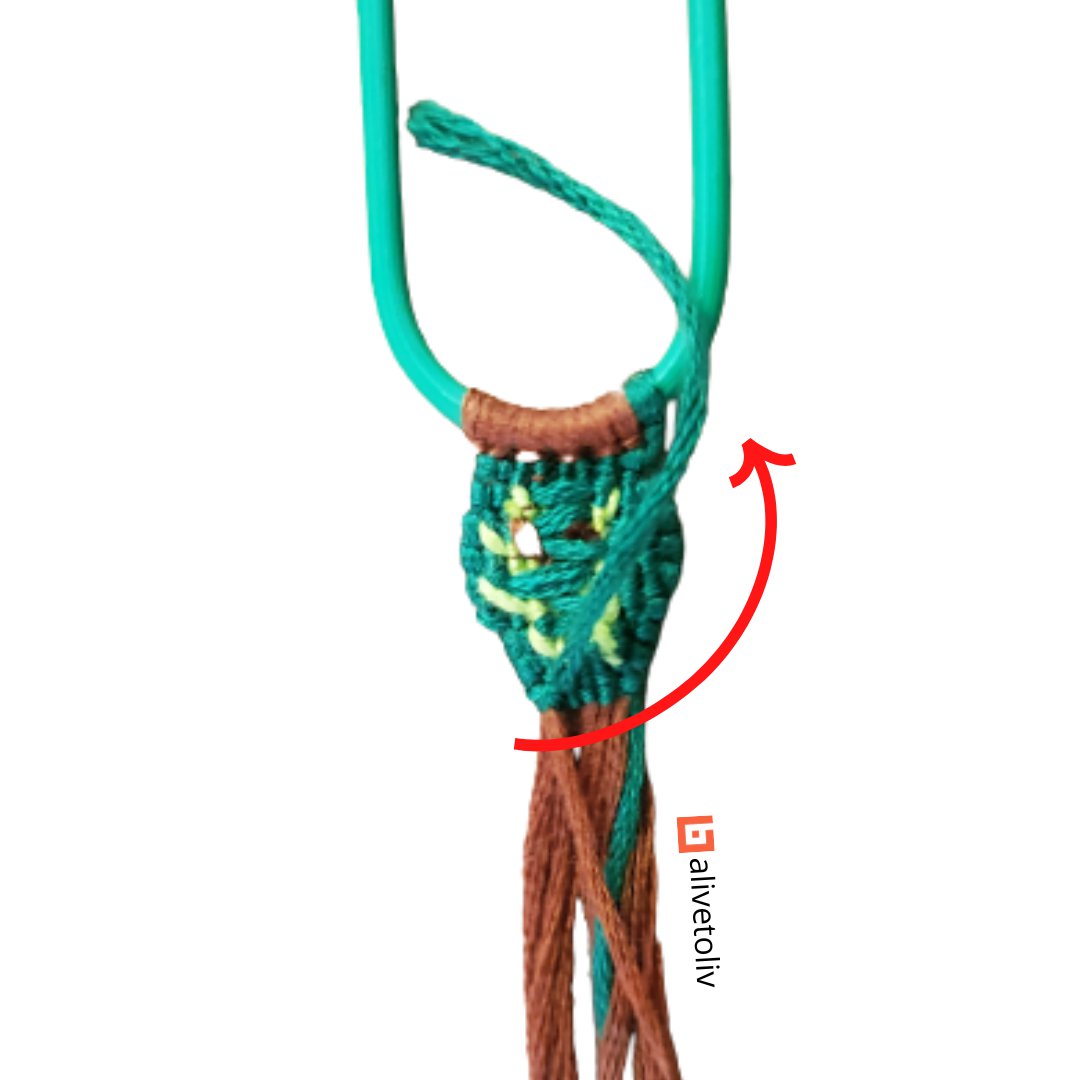
After your last knot with the leading string, place this string on the back of your alpha and give it a little tug to keep it there. Leave your leading string hanging in the same direction as the base strings.
15.
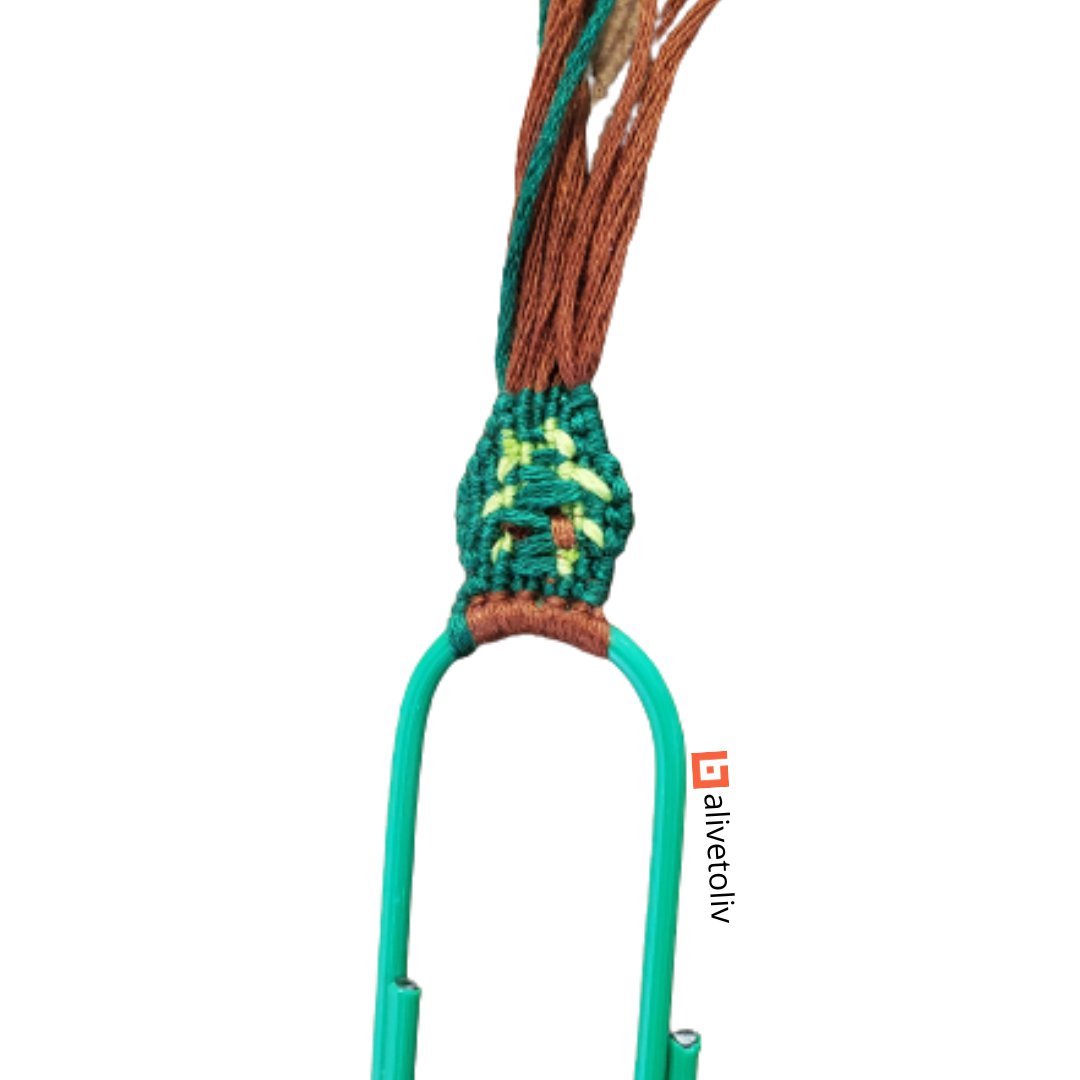
Cut excess string from back.
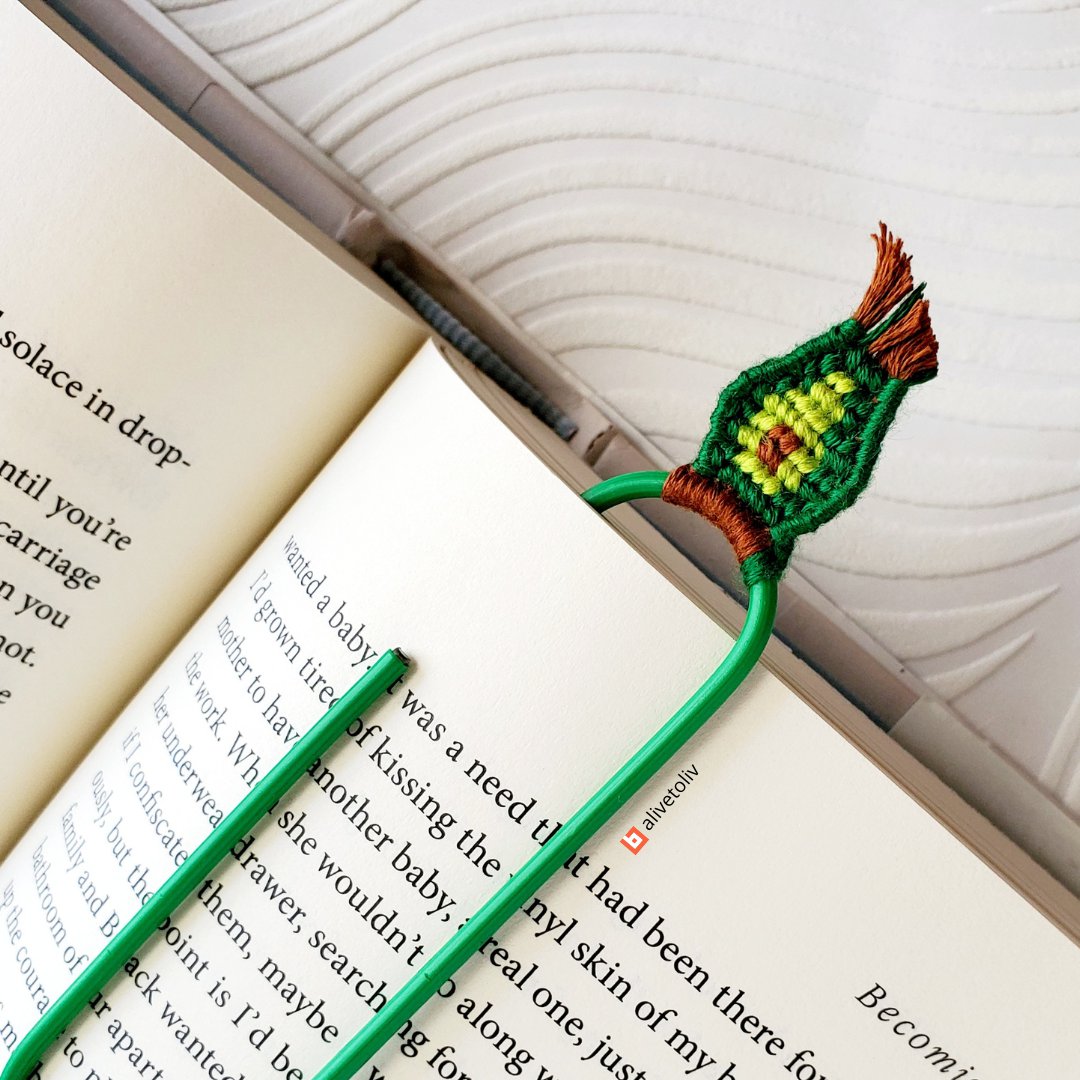
16.
Finally, Gather all strings and cut at an angle as pictured. I hope you have fun giving this a try! Please tag me if you make a bookmark based on this tutorial!