Rate Tutorial
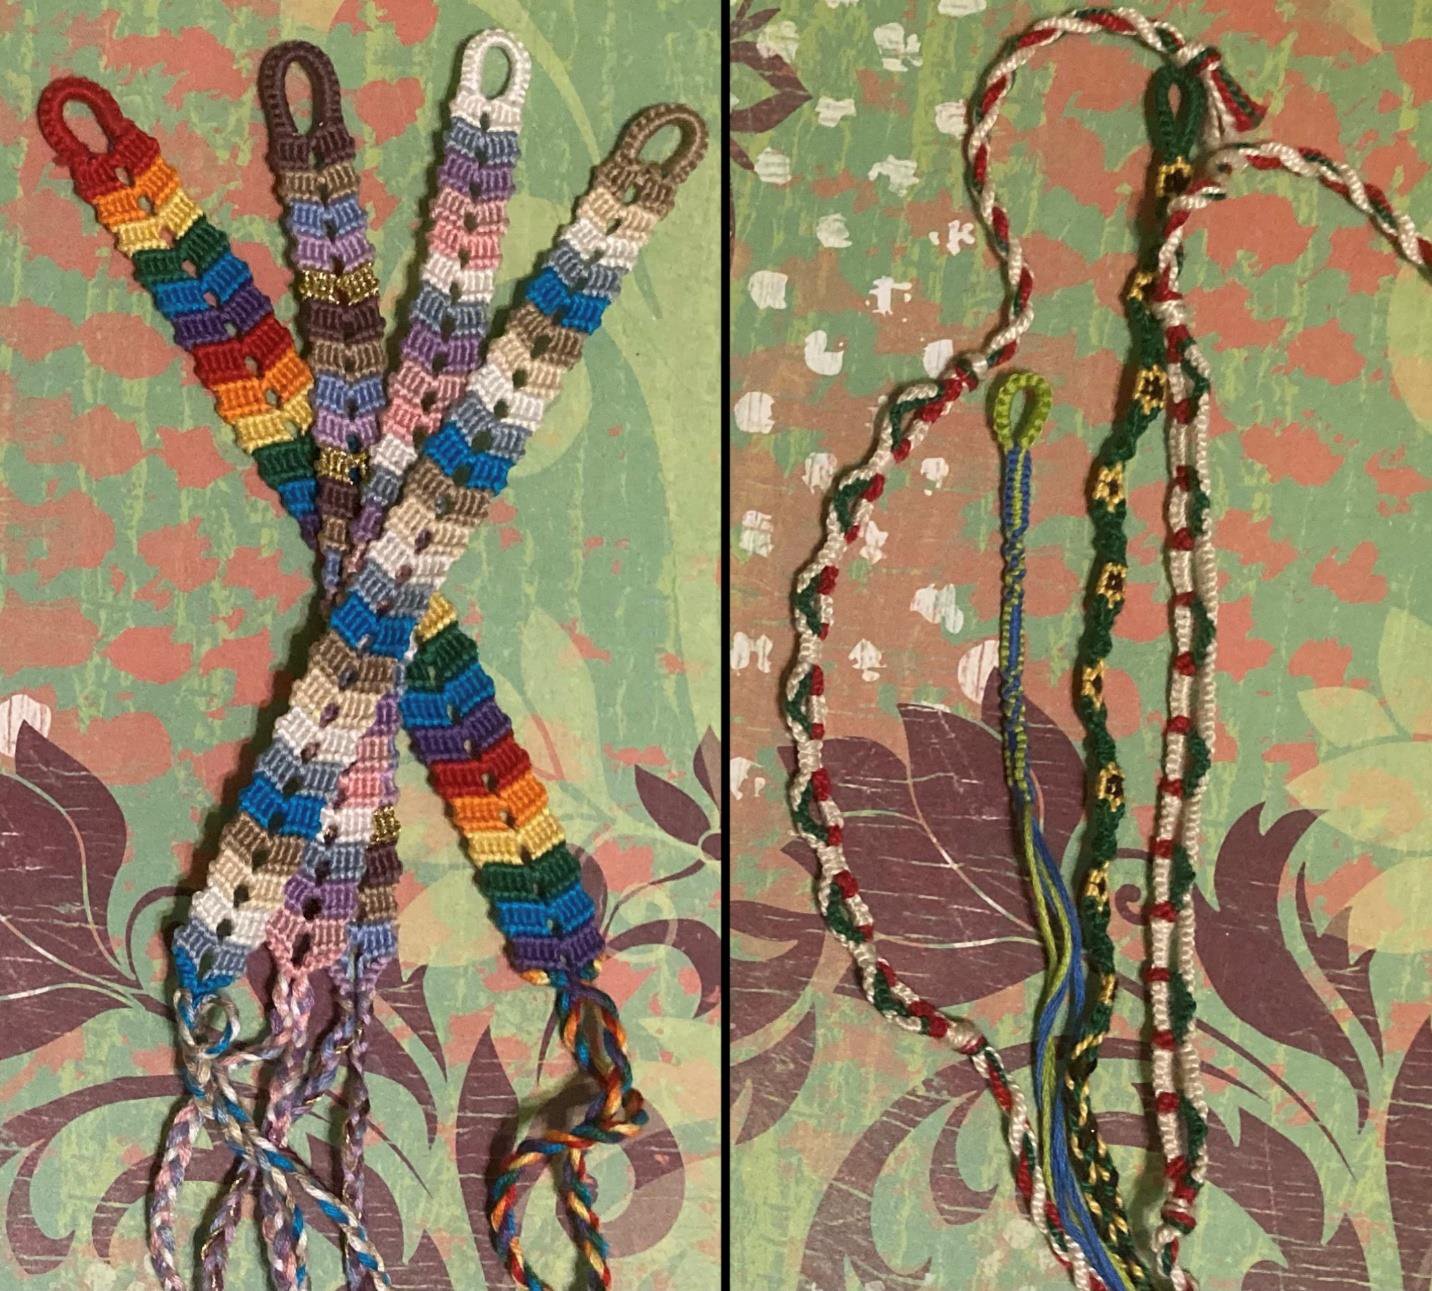
There are the four knots I’m going to walk you through today:
Basic Square Knot
Twisted Square Knot
Upside-Down Knot
Flipped Knot
Some of these may go by different names depending on who you talk to, but these are how I think of them. Let me know in the comments if you call them something different!
Basic Square Knot
Twisted Square Knot
Upside-Down Knot
Flipped Knot
Some of these may go by different names depending on who you talk to, but these are how I think of them. Let me know in the comments if you call them something different!
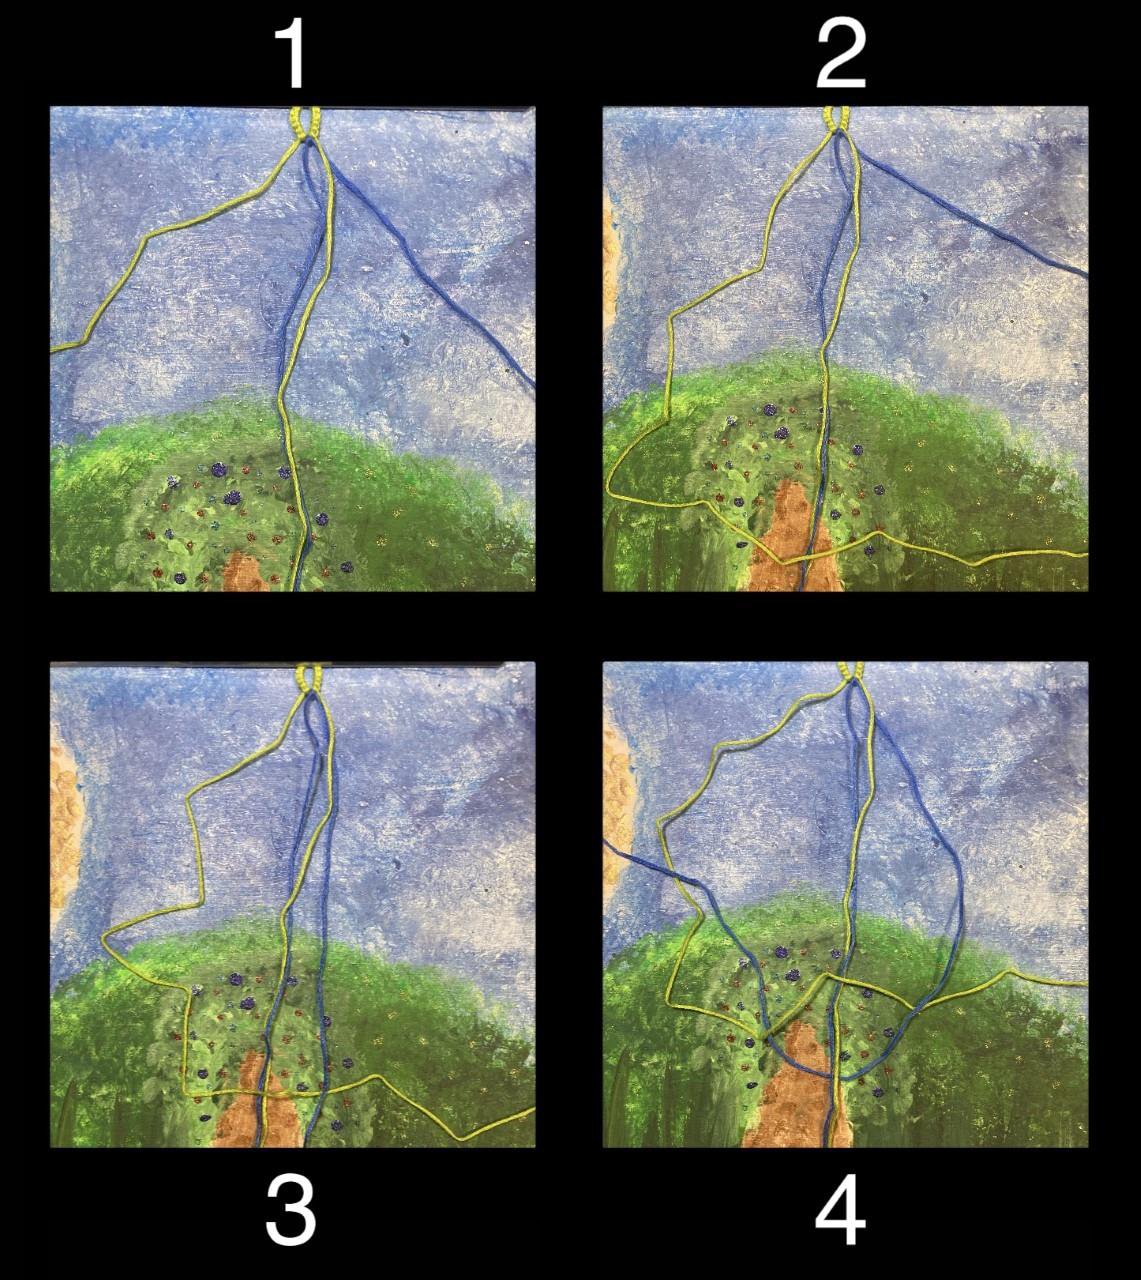
Basic Square Knot
This knot is often used in patterns such as #86661 and looks great in one or two colours. It is done with three or more strings.
To start, lay out your strings with colour A on the left, colour B on the right, and any leftover strings in the centre. The centre strings will not be visible in the bracelet.
Take the string on the left (string A) and fold it over the centre strings. Next, take the string on the right (string B) and lay it over string A. Fold string B under the middle string(s) (string C) and up through the loop created by string A. Pull evenly on strings A and B to tighten the knot.
Now repeat the same thing, but mirrored: A over C; B over A, under C, and through A; tighten. This is one square knot. Repeat as many times as desired to make your bracelet.
Fun fact—this knot is reversable!
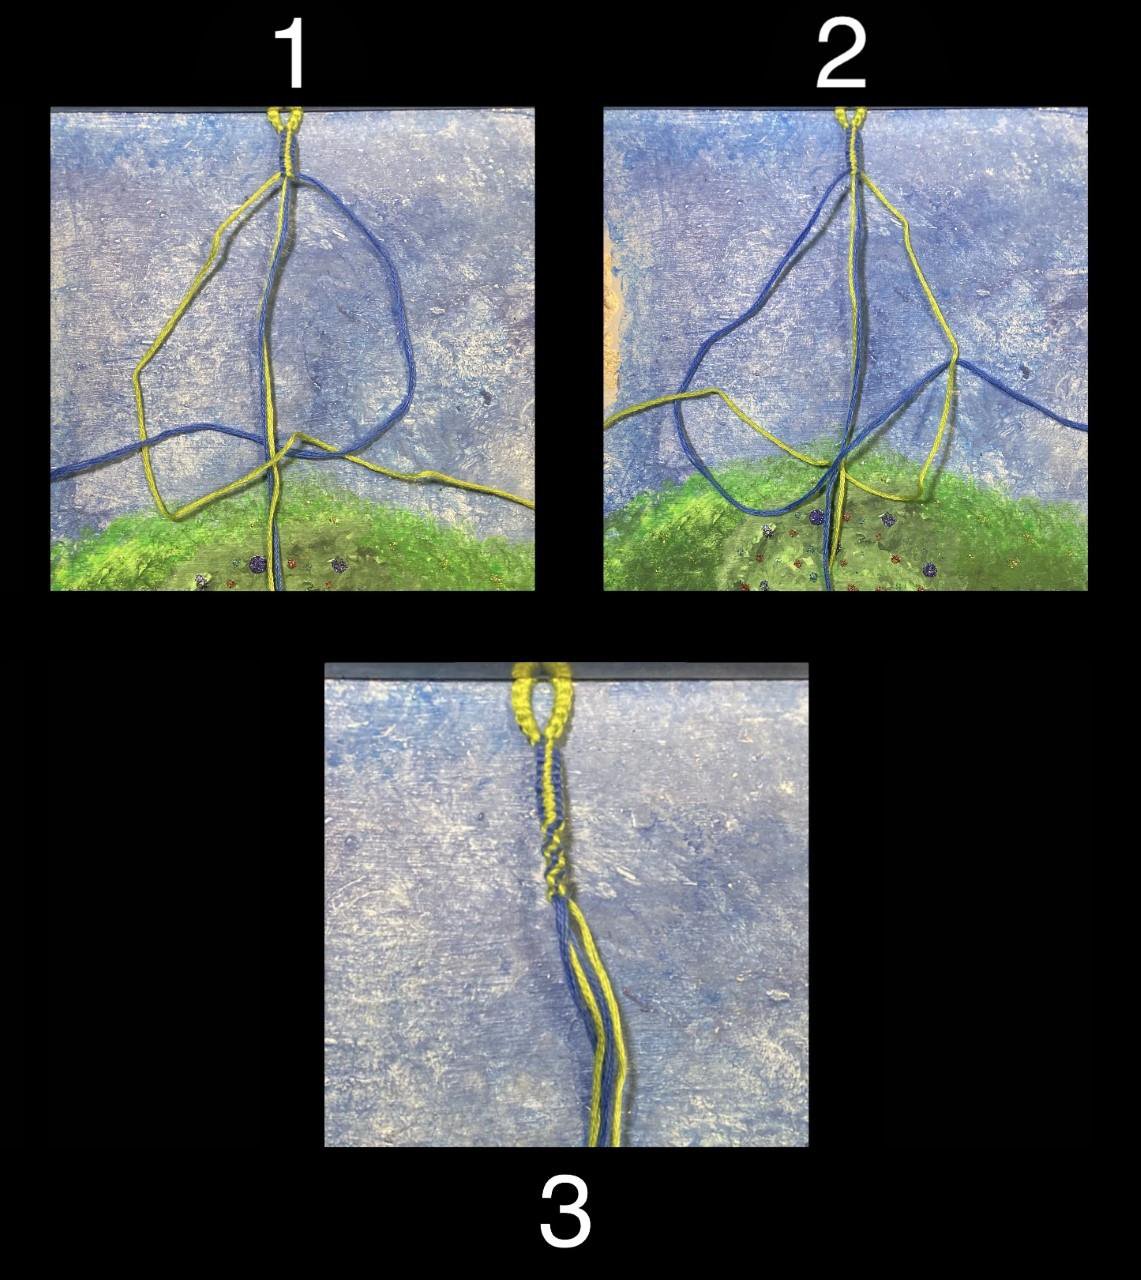
Twisted Square Knot
This knot is basically the first half of the square knot, repeated over and over again.
Just like the last one, the twisted square knot starts with A over C; B over A, under C, and through A; then tightened. After that, you’re going to start on the same side, but the colours will be switched: B over A; A over B, under C, through B; and tightened.
This knot makes a cool striped pattern if you use two different colours.
Upside-Down Knot
This knot is used primarily in flip-flop and upside-down alpha bracelets. It is exactly what it sounds like—a regular knot, but upside-down.
Take string A and lay it under string B. Loop string A around string B and under itself. Tighten. Repeat. As you’re tightening the second half of the knot, flip it under string B so string A is facing the opposite direction it started.
Repeat as many times as necessary.
To make a backwards-forwards or forwards-backwards knot, make the first half of the knot following the instructions, then mirror the second half.
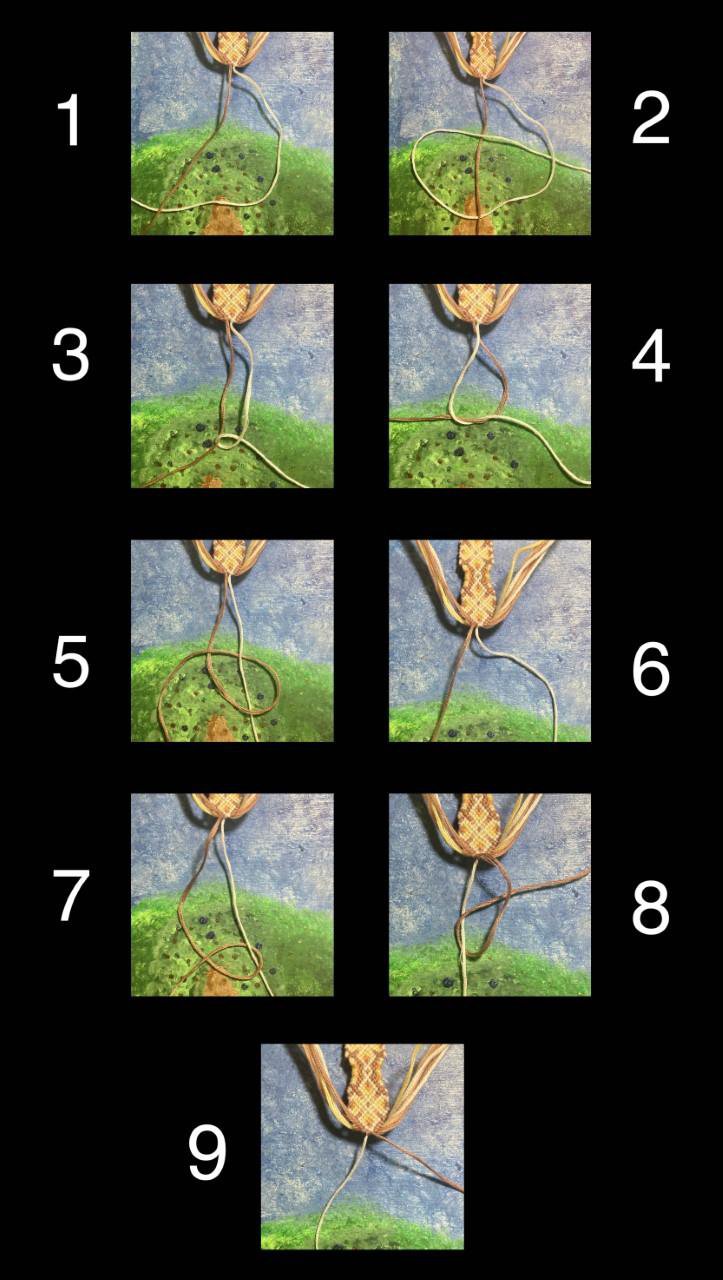
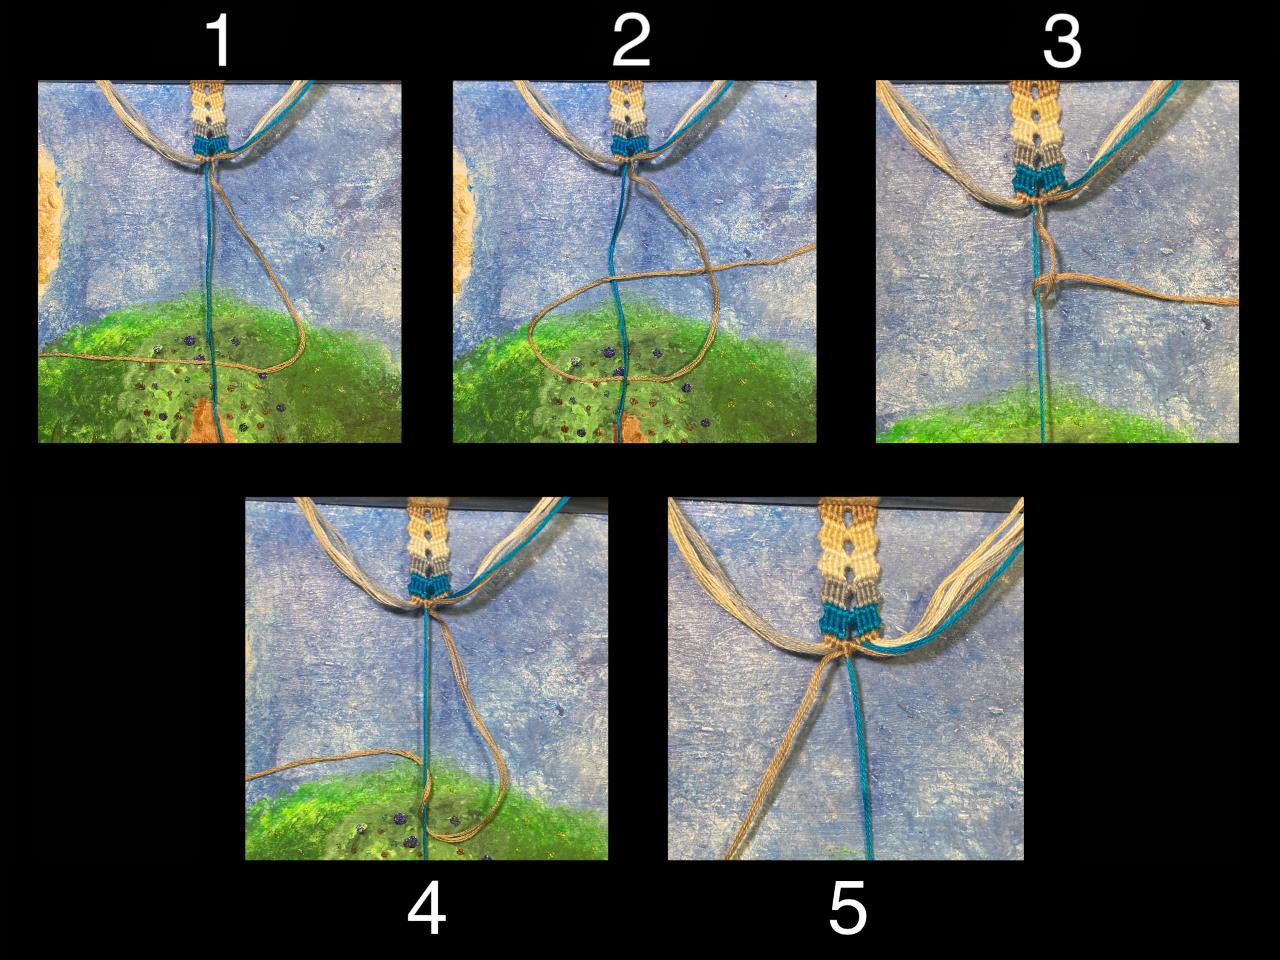
Flipped Knot
The flipped knot looks like a regular knot when completed, but is much easier to make for certain projects such as multicolour alphas with strings on bobbins. This is much faster as you don’t have to flip the bobbin over the base strings.
To start, lay your base string under your leading string. Loop your base string over your leading string and through itself. Tighten slightly. As you’re tightening, pull hard on your base string to flip the knot over itself. Tighten fully. Repeat. Just before you tighten the second half of the knot, fold your leading string over your base string so it’s facing in the right direction.
To start, lay your base string under your leading string. Loop your base string over your leading string and through itself. Tighten slightly. As you’re tightening, pull hard on your base string to flip the knot over itself. Tighten fully. Repeat. Just before you tighten the second half of the knot, fold your leading string over your base string so it’s facing in the right direction.
Please leave a comment or message if you have any questions. Have a great day!