Rate Tutorial
How to Make Multicolored Thread
This tutorial will show you how to make your own mutlicolored thread, and include tips on how to combine colors!
If you are new to tie-dyeing, I recommend getting a tie-dye kit because it will generally have the supplies you need like gloves, dye, rubber bands, soda ash, and basic tie-dyeing instructions.
If you are new to tie-dyeing, I recommend getting a tie-dye kit because it will generally have the supplies you need like gloves, dye, rubber bands, soda ash, and basic tie-dyeing instructions.
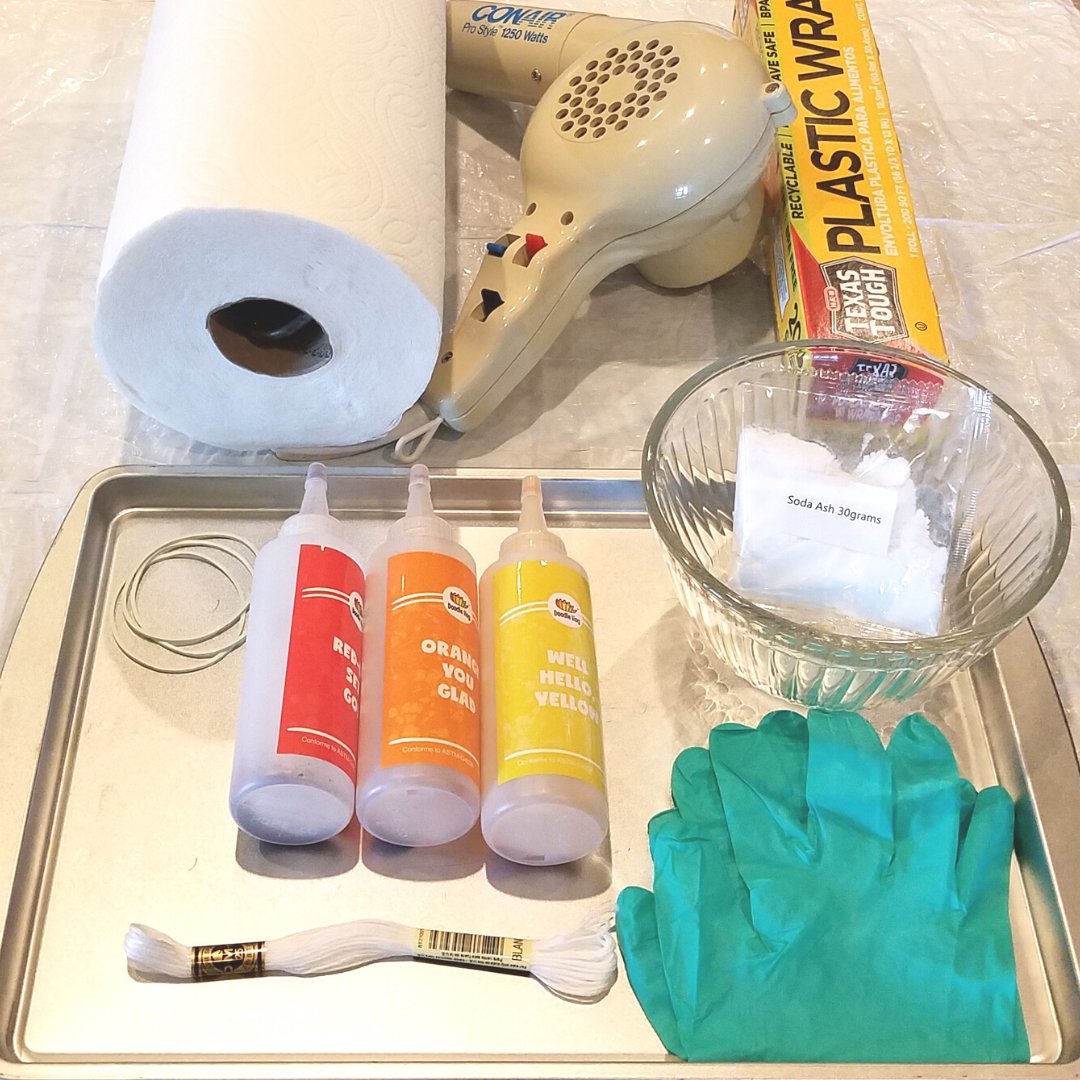
Supplies
- white cotton embroidery floss (I like to use DMC) -fabric dye (prepare according to its directions, often it is a powder that you just add water to)
- container with flat/wide base to do your dying in
- water
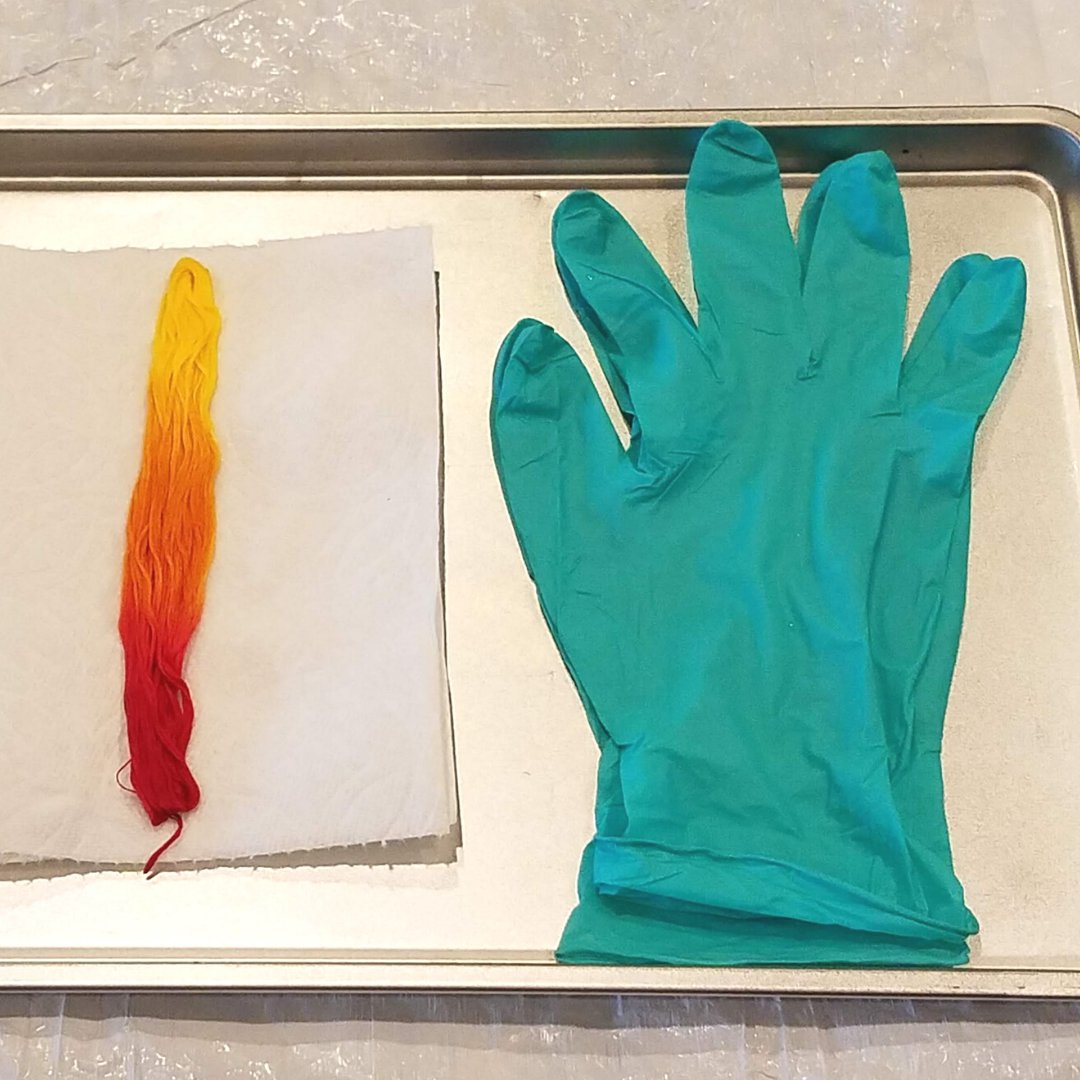
- plastic gloves
- paper towels
- blow dryer
- plastic cover for work area (I use a cut up plastic trash bag)
- plastic wrap or sealable bag
- small bowl/container
- soda ash
- rubber bands (optional)
- container with flat/wide base to do your dying in
- water
- plastic gloves
- paper towels
- blow dryer
- plastic cover for work area (I use a cut up plastic trash bag)
- plastic wrap or sealable bag
- small bowl/container
- soda ash
- rubber bands (optional)
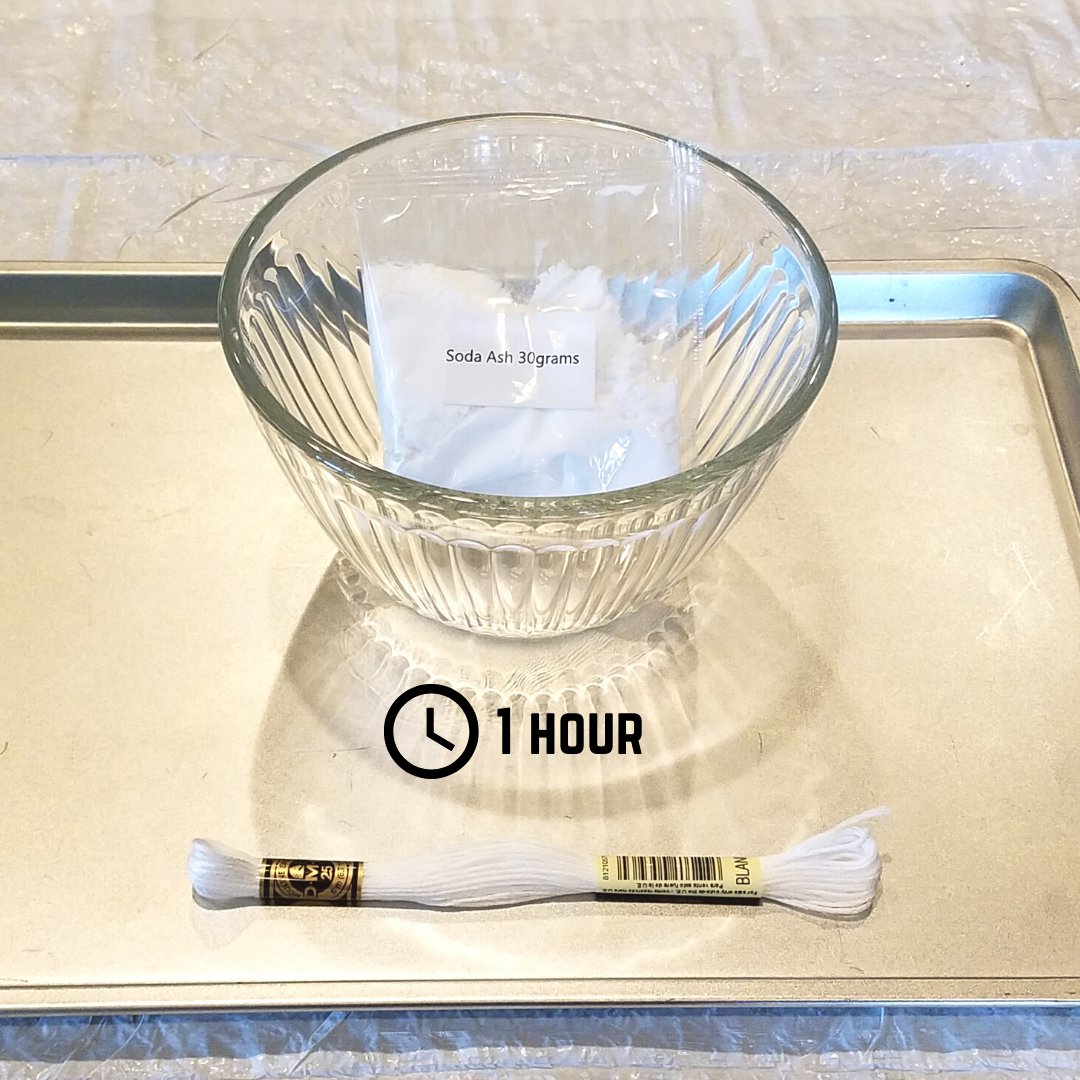
Step 1
Soak your white thread in a small bowl/container for 1 hour with a mixture of warm water and soda ash. Use 1 tablespoon of soda ash per 1 cup of warm water. Soaking your thread in soda ash will help the thread absorb the dye and ‘lock in’ the color.
After 1 hour, squeeze your thread very well to remove excess liquid. I also find it helpful to pat dry with paper towels. Your thread should be damp, but not dripping wet. Having slightly wet thread will help spread the dye easier.
After 1 hour, squeeze your thread very well to remove excess liquid. I also find it helpful to pat dry with paper towels. Your thread should be damp, but not dripping wet. Having slightly wet thread will help spread the dye easier.
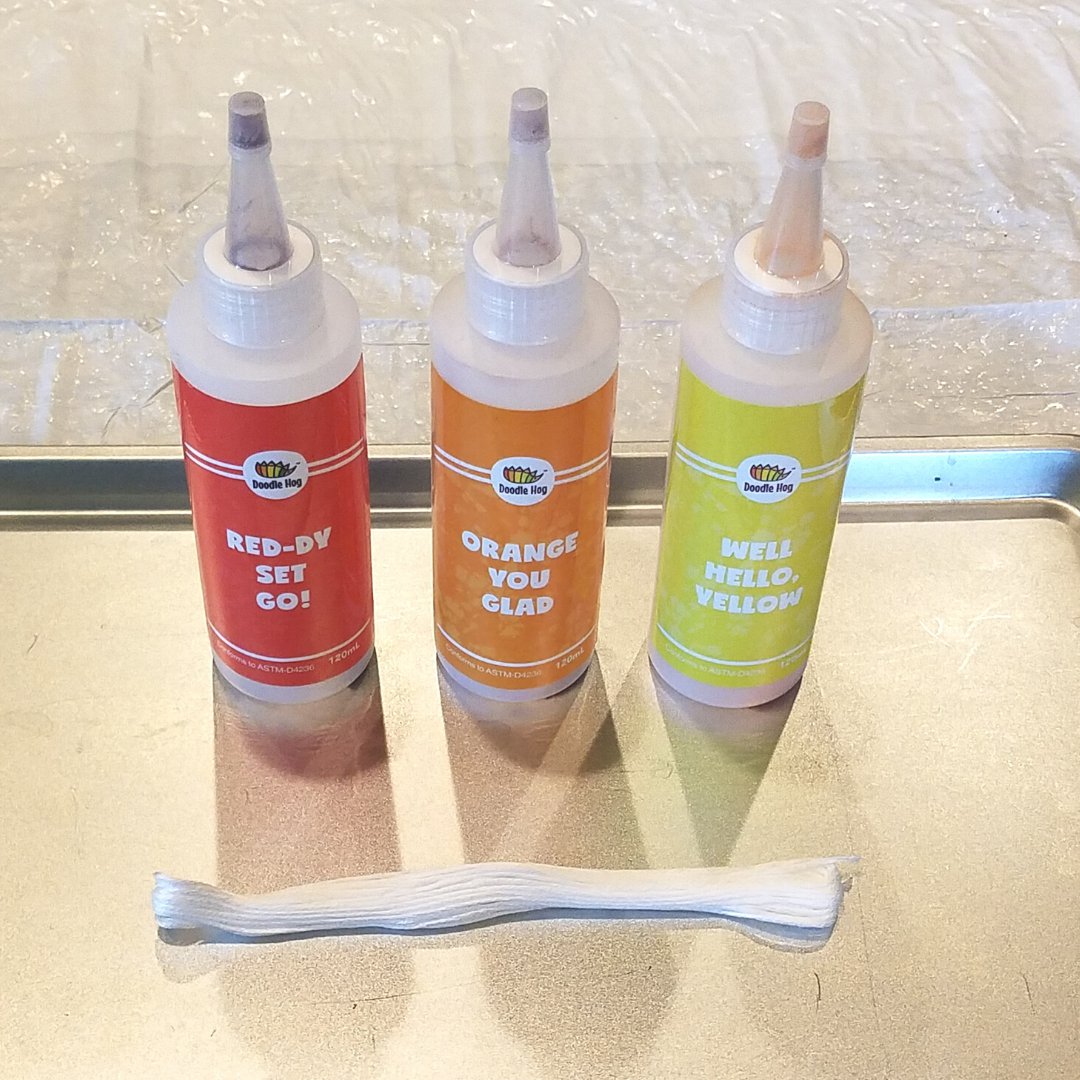
Step 2
Put on plastic gloves and lay out your thread in the container you are going to dye in... now comes the messy part.
*Note: You can wrap rubber bands around your thread to separate the different sections you want to dye *Note: The easiest way to lay out your thread is to keep it in the original skein shape
*Note: I recommend using a container with a wide flat base. The container I use is actually a really cheap baking sheet, which is easy to wipe clean as I’m dyeing.
Step 3
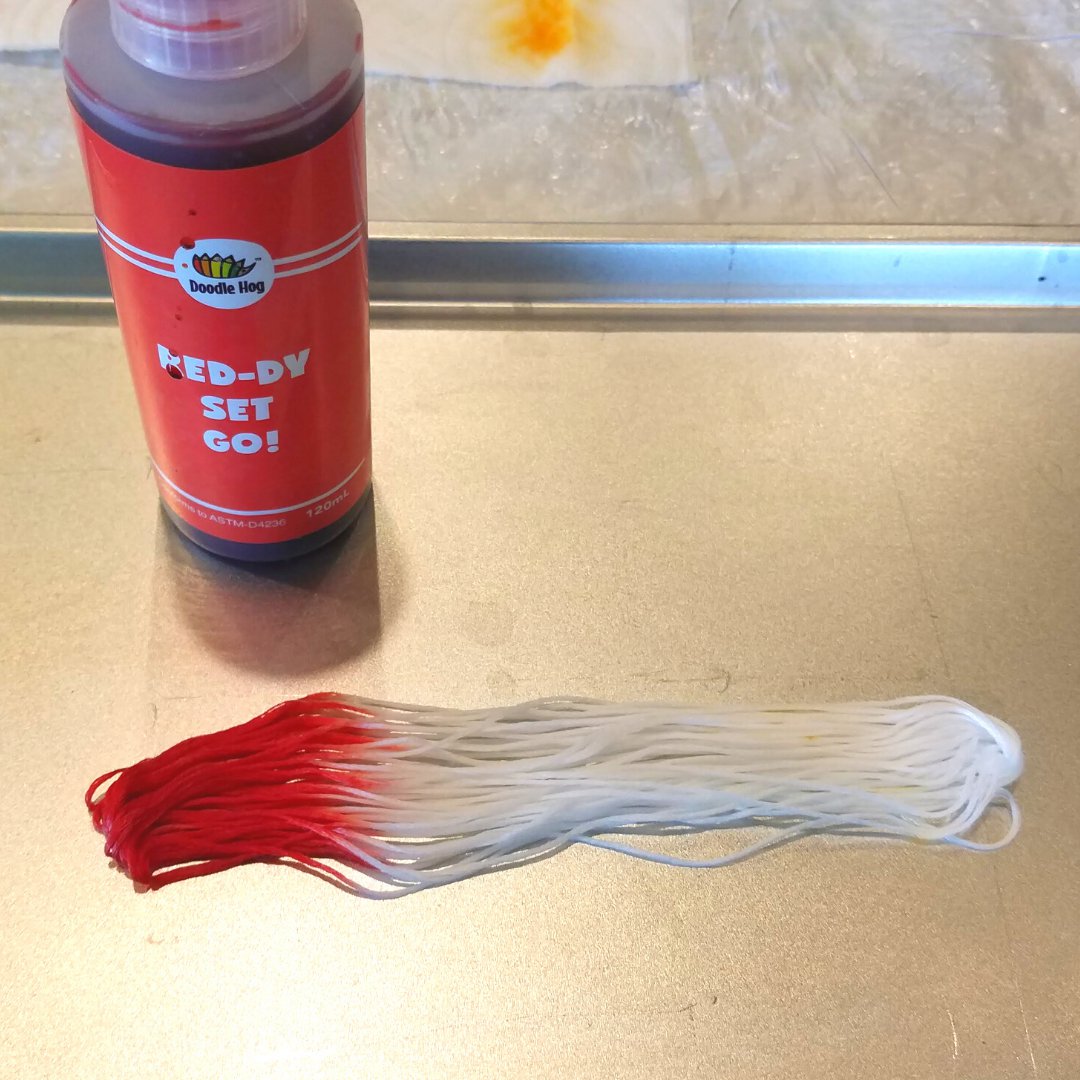
Choose your first color. Drop little droplets in the area you want to dye. Then use your fingers to press the dye into the thread. Spread the dye evenly so it is covering all of the white thread in your first section. You will need to add more drops of dye as you do this to make the color fully saturated.
The two most important factors for a successful dyeing are color choice and color saturation. In order to avoid a large amount of white on your finished product, the trick is to squirt enough dye onto each section of your thread, and using your finger to press in the dye so no white is showing. When choosing colors to place adjacent to each other, remember the color wheel. Do not place “opposite” colors next to each other, such as red near green, blue near orange, or yellow near purple: the results would be a brown, muddy mess.
The two most important factors for a successful dyeing are color choice and color saturation. In order to avoid a large amount of white on your finished product, the trick is to squirt enough dye onto each section of your thread, and using your finger to press in the dye so no white is showing. When choosing colors to place adjacent to each other, remember the color wheel. Do not place “opposite” colors next to each other, such as red near green, blue near orange, or yellow near purple: the results would be a brown, muddy mess.
Step 4
Turn over your thread and repeat Step 3 so both sides are fully saturated with your first color in your designated section (but not too much dye that it is dripping). If it is dripping, just use your fingers to press down on it to squeeze out excess dye and/or gently pat with a dry paper towel. Then, gently lift your thread and wipe your work surface clean before laying it back down. This will prevent unwanted color getting on your thread. Also make sure to clean your gloves by wiping them on a paper towel to prevent unwanted color transfer onto your thread.
Step 5
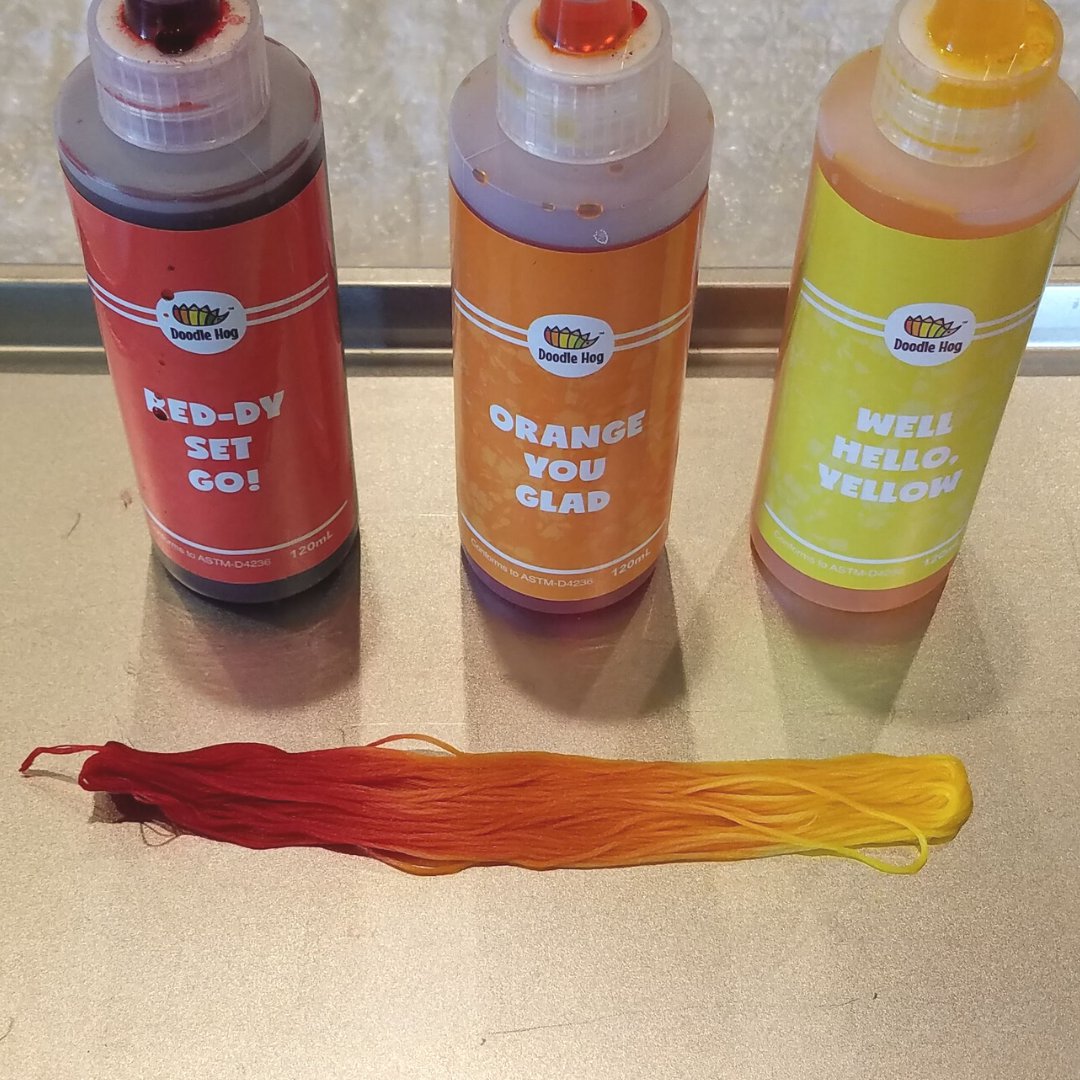
Repeat Step 3 and Step 4, but now with your second color. Be careful not to put your colors too close together because they will become muddy. I would try not to overlap colors when dropping the dye. The colors will naturally merge together. Continue to repeat Step 3 and Step 4 with each color you want to use on your thread.
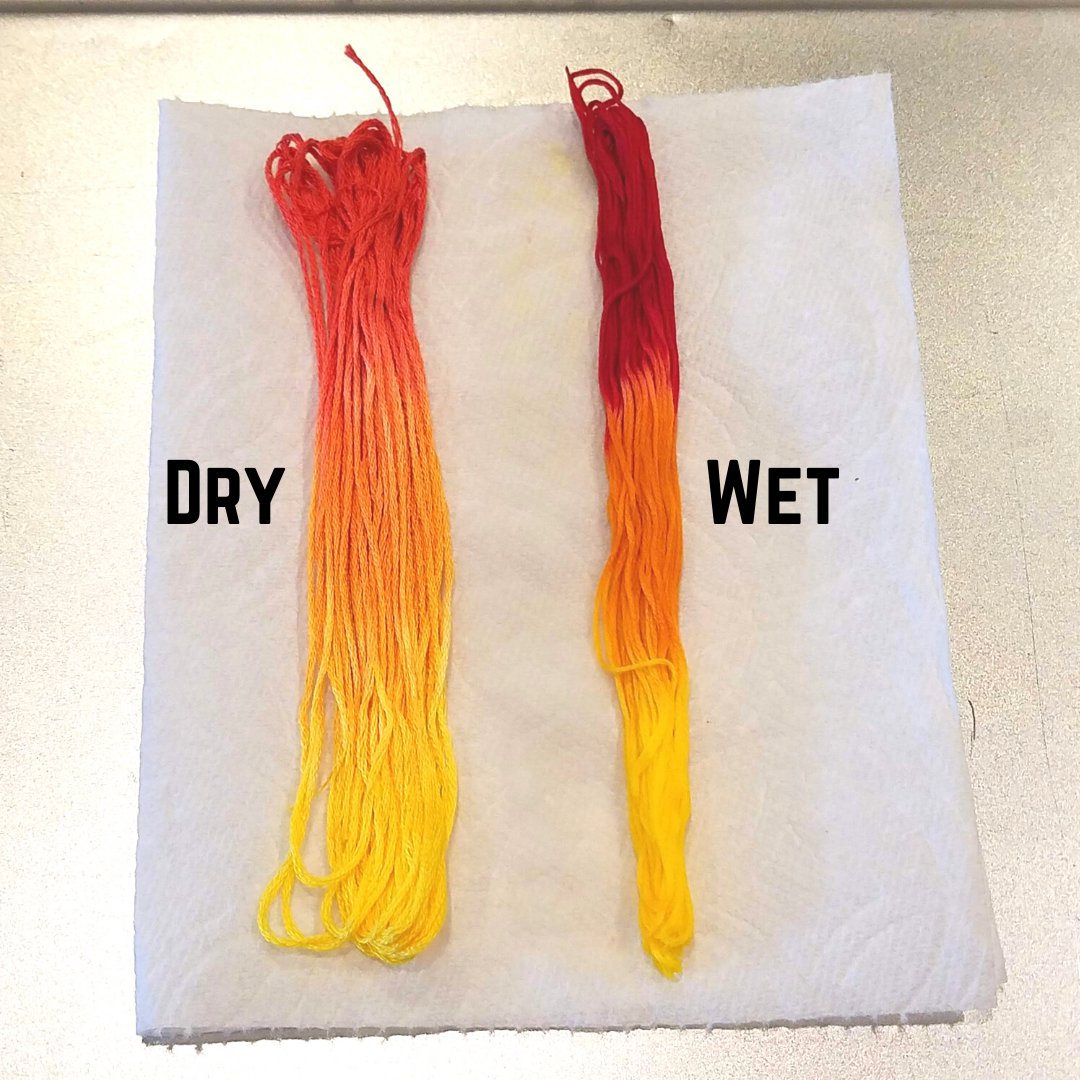
*Note: The colors will seem dark when the dye is wet, but the colors will lighten up after you rinse and dry your thread
Step 6
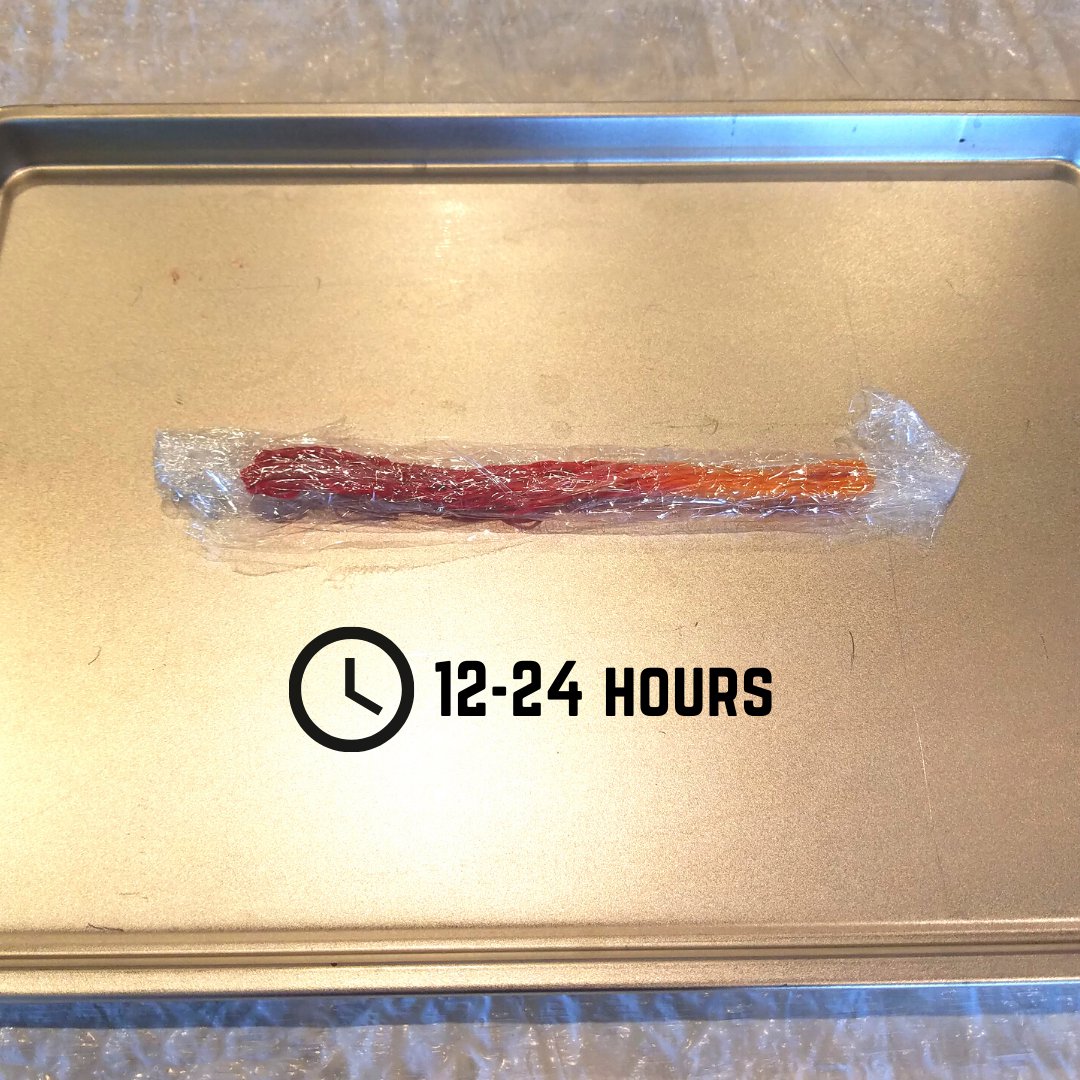
Now your thread is finished being dyed! Seal your dyed thread in a plastic bag or wrap in plastic wrap to keep wet.
It should be kept in the plastic bag/plastic wrap for 12-24 hours. The more time you let your thread set, the bolder the colors will be. So let your thread set for less time if you want more pastel/lighter colors.
It should be kept in the plastic bag/plastic wrap for 12-24 hours. The more time you let your thread set, the bolder the colors will be. So let your thread set for less time if you want more pastel/lighter colors.
Step 7
Put on your plastic gloves, and unwrap the plastic wrap around your thread/take out of the sealable bag. You can now remove rubber bands if you have any.
Step 8
Gently rinse your thread under cold running water, squeezing out excess dye with your hand. Then again in the hottest water available to remove any trace of the un-reacted dye until the water runs clear.
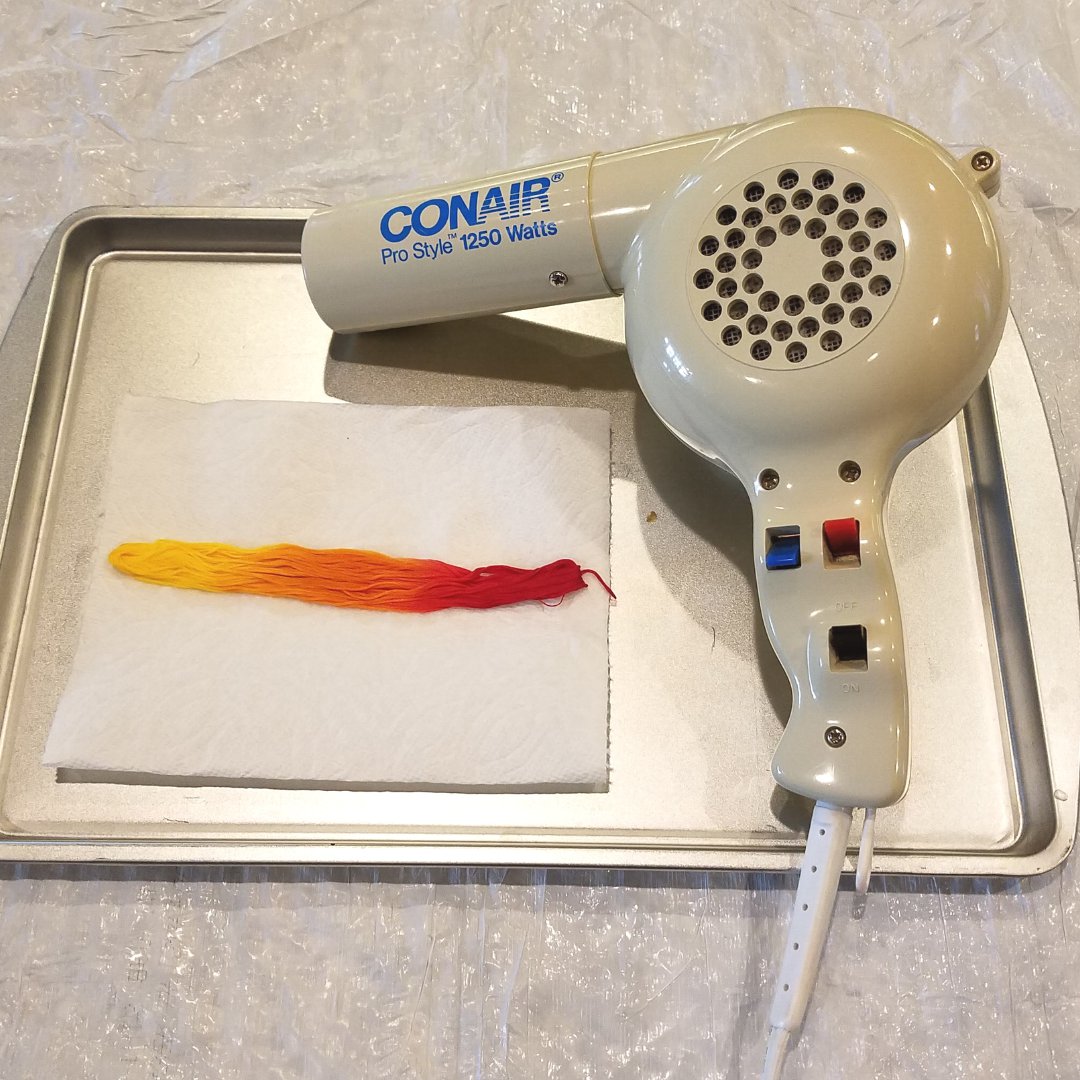
Step 9
Blow dry your thread until it is completely dry. Your thread is ready to use!
Color Combo Tips
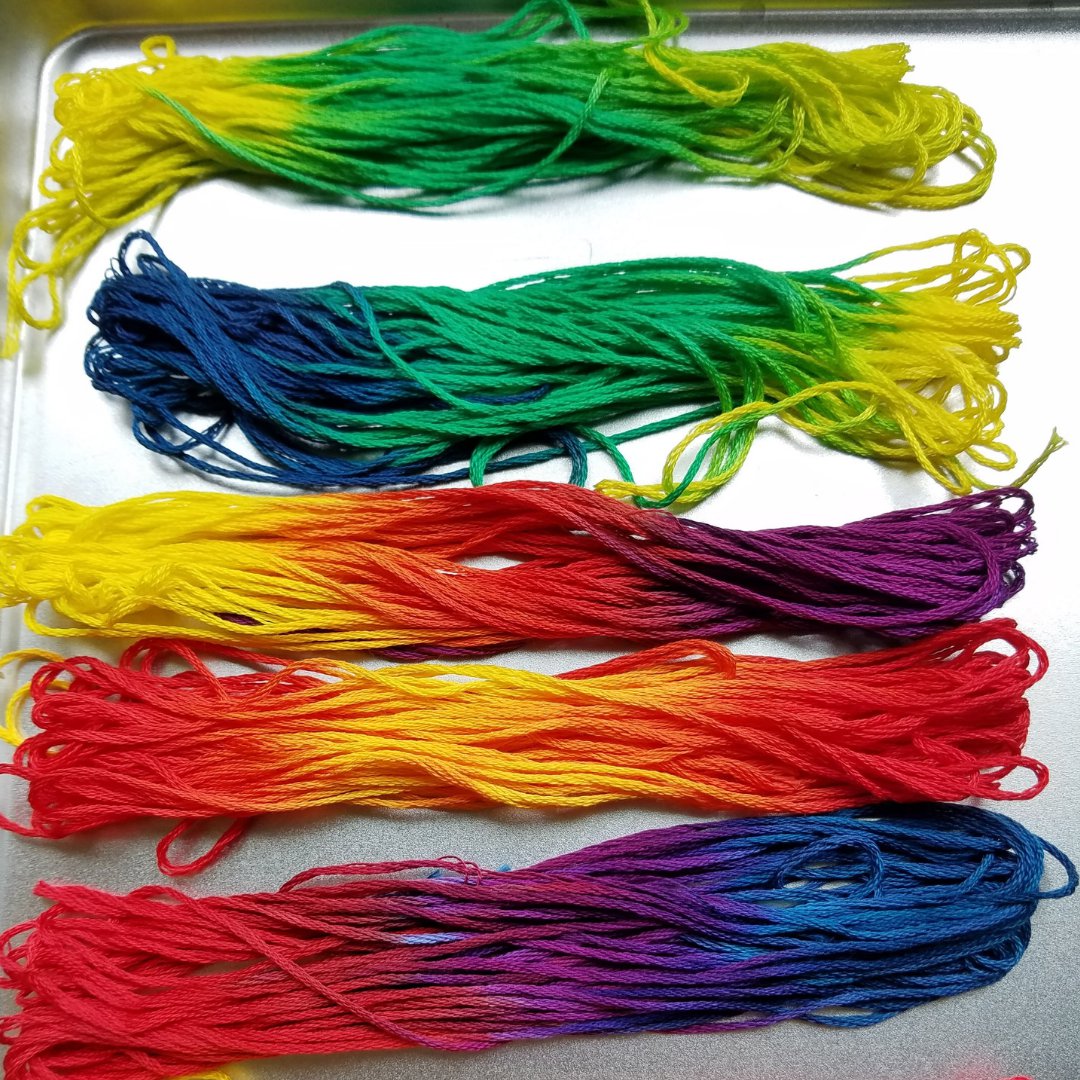
- Stick to the basics: combine colors that go traditionally go together/mix well creating other desired colors such as:
yellow-green-blue
yellow-orange-red
red-purple-blue
- Keep it simple: start off with fewer colors such as using 2 or 3 colors in unique/different proportions. You don’t have to just do half of the thread one color and the other half another color. Experiment with different ratios of the skein like thirds and fourths. (I find that thirds work best for me.)
For example:
yellow-green-yellow
blue-green
red-yellow-red-yellow
What if my thread is ugly or not quite right?
You can repurpose it! These methods hide the string so the color won’t be seen.
- Use for base strings for your alpha bracelets
- Use as your extra string/outermost string in your normal bracelets when you use the Straight Edge Technique
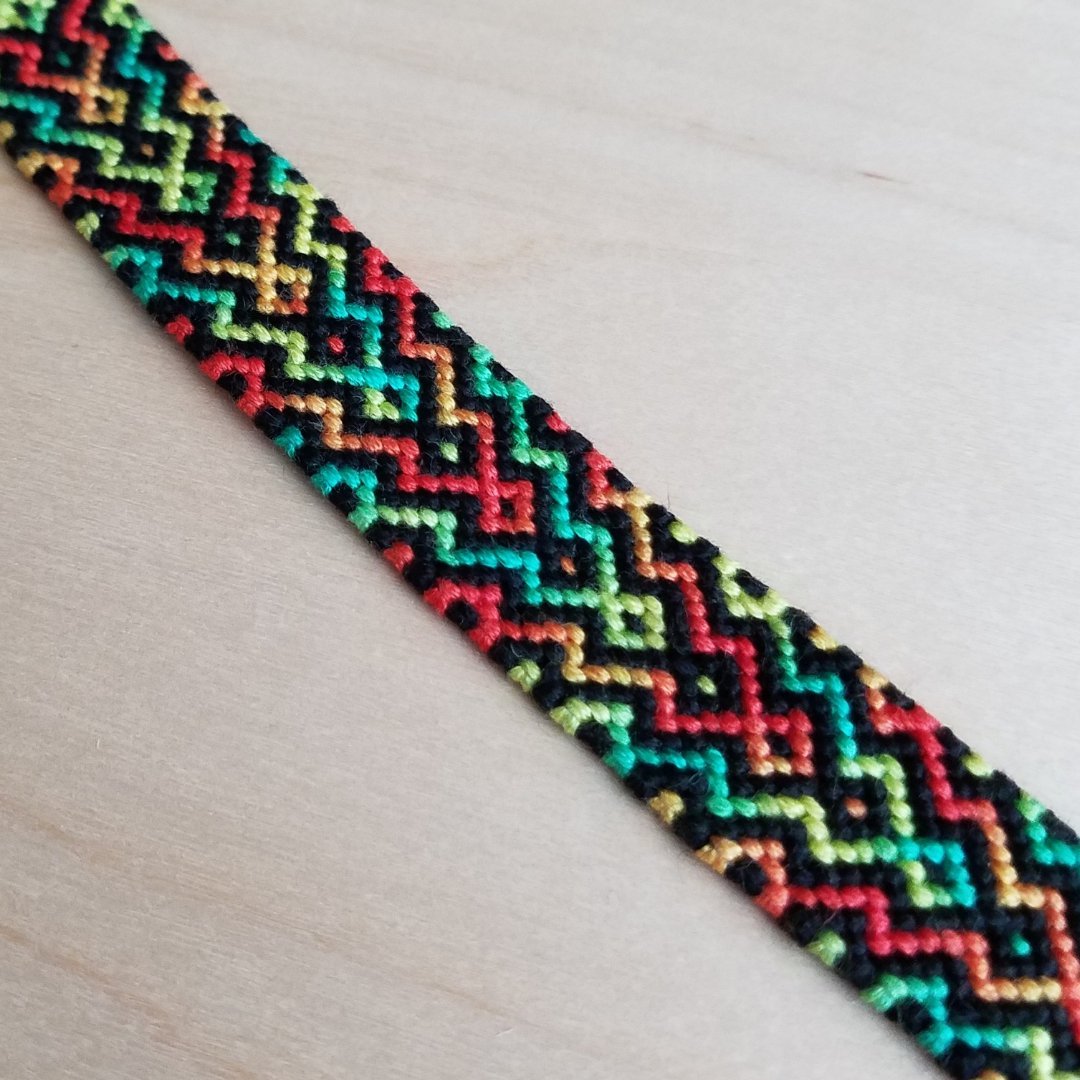
Straight Edge Technique for normal patterns - add a string on the outermost left side and outermost right side of your bracelet, then use backward-forward knots on the left side and forward-backward knots on the right side on the even numbered rows with the extra string and the string next to it to edge a straight edge
For this normal bracelet (Pattern #59179 which incorporates the Straight Edge Technique in the pattern) I used a weird brown colored string for the outermost threads, and you can’t see them!
- Use for base strings for your alpha bracelets
- Use as your extra string/outermost string in your normal bracelets when you use the Straight Edge Technique
Straight Edge Technique for normal patterns - add a string on the outermost left side and outermost right side of your bracelet, then use backward-forward knots on the left side and forward-backward knots on the right side on the even numbered rows with the extra string and the string next to it to edge a straight edge
For this normal bracelet (Pattern #59179 which incorporates the Straight Edge Technique in the pattern) I used a weird brown colored string for the outermost threads, and you can’t see them!