Rate Tutorial
This tutorial used pattern #3983 so when you are done your bracelet you can submit your photos to that pattern. Please check out adiks bracelet knot tutorial on braceletbook if you do not know how to make the 4 basic knots as I won’t be explaining them. If you are looking to make a fast and easy bracelet in bulk this is the perfect bracelet. Or if you are a beginner as well this pattern is easy too.
Step 1: Choose/Cutting the strings
This pattern consists of 2 strings and one “base” string. The reason why it's called I am calling it a base string is that it won't be knotted with but it is not an alpha. It isn't the best pattern for a loop however you could make one if you use 1 colour instead of 2.
Here are some guidelines for choosing your strings for this bracelet:
- for a bracelet with a loop choose 1 colour that will be folded in half and then 1 base string which will be folded in half as well
- for a bracelet with 2 ties choose 2 colours plus a base string.
- it is up to you how long to cut your threads.
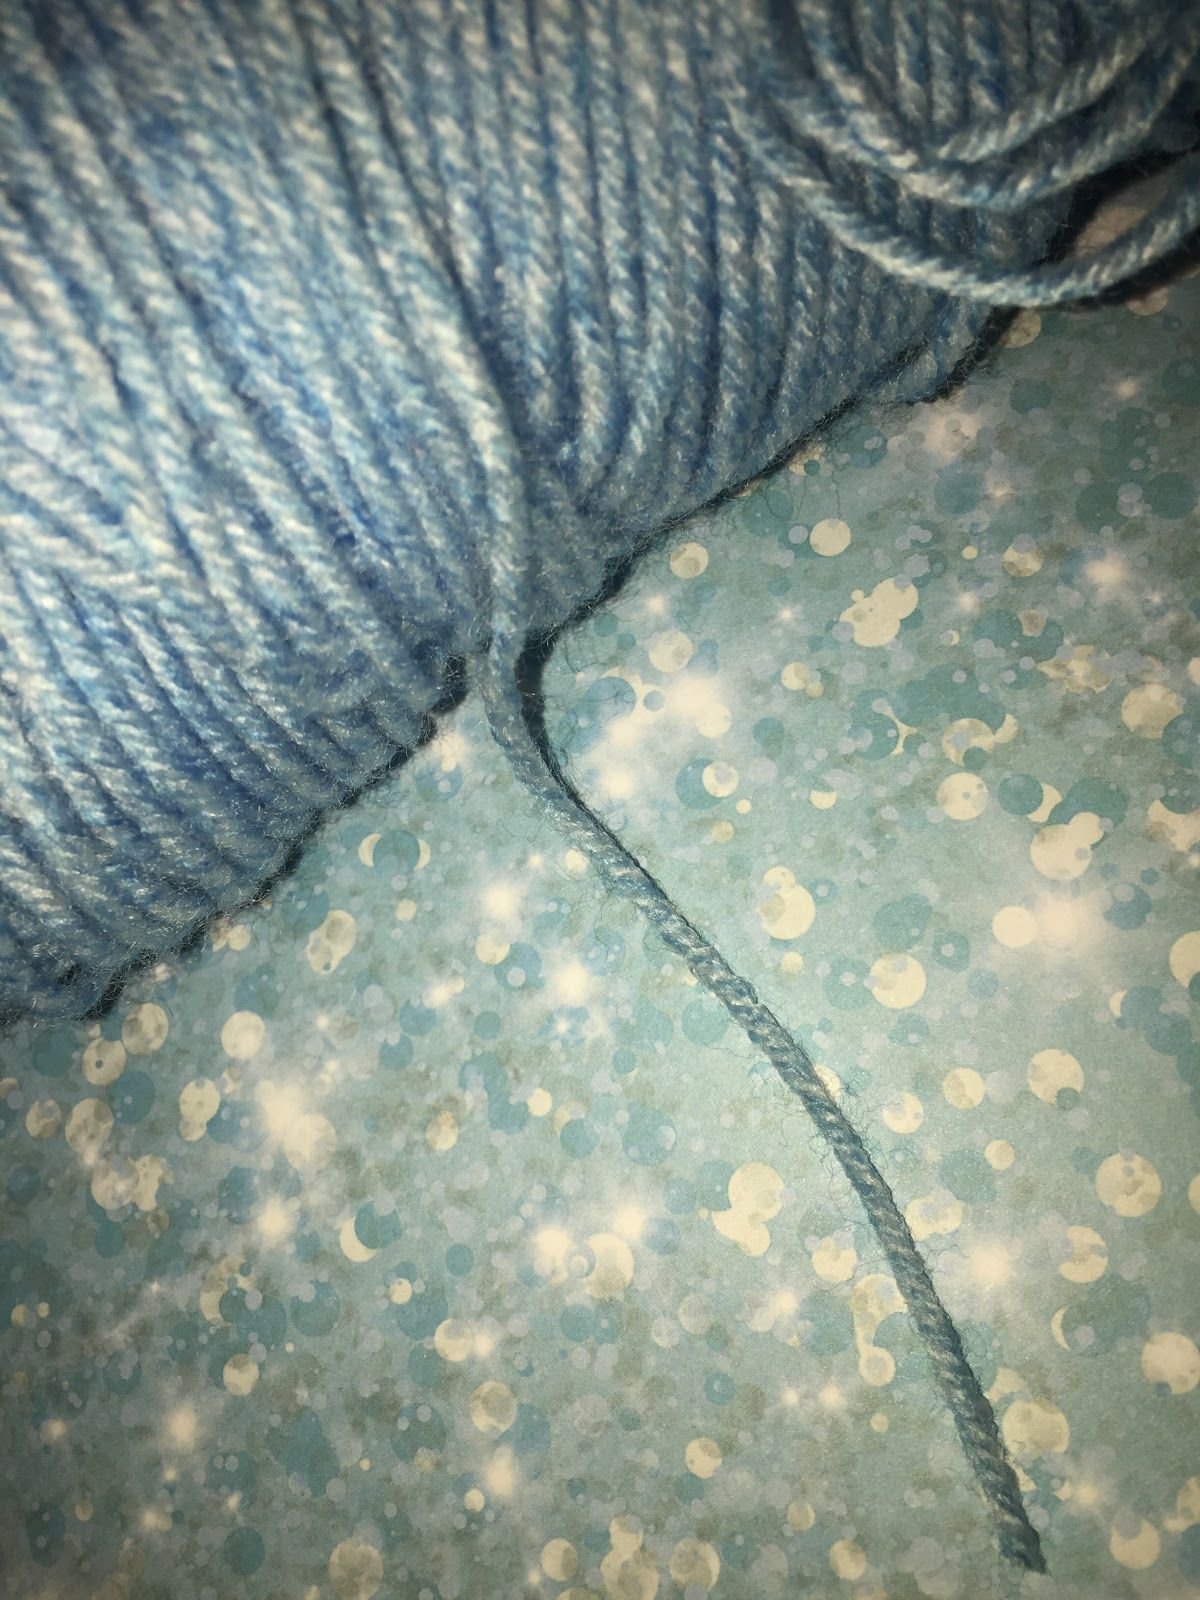
- for the base string you will need to have a thicker group of threads like you would in a chinese staircase. You can either cut 4-6 embroidery thread strands to group together as the base thread, or use shoelace as a base thread or use yarn that is around the thickness of the blue base string in the photo on the left. Once you have cut all of your strings as long as you need leave some thread for your tie and tie a knot (or if you are making a loop fold your strings in half and make a loop).
Here are some guidelines for choosing your strings for this bracelet:
- for a bracelet with a loop choose 1 colour that will be folded in half and then 1 base string which will be folded in half as well
- for a bracelet with 2 ties choose 2 colours plus a base string.
- it is up to you how long to cut your threads.
- for the base string you will need to have a thicker group of threads like you would in a chinese staircase. You can either cut 4-6 embroidery thread strands to group together as the base thread, or use shoelace as a base thread or use yarn that is around the thickness of the blue base string in the photo on the left. Once you have cut all of your strings as long as you need leave some thread for your tie and tie a knot (or if you are making a loop fold your strings in half and make a loop).
Step 2: Separate your strands
Clip your bracelet to whatever surface/in any manner you choose. Place the colour string you want on the left side of the zipper on the left of the base string and the string for the right side of the zipper on the right side.
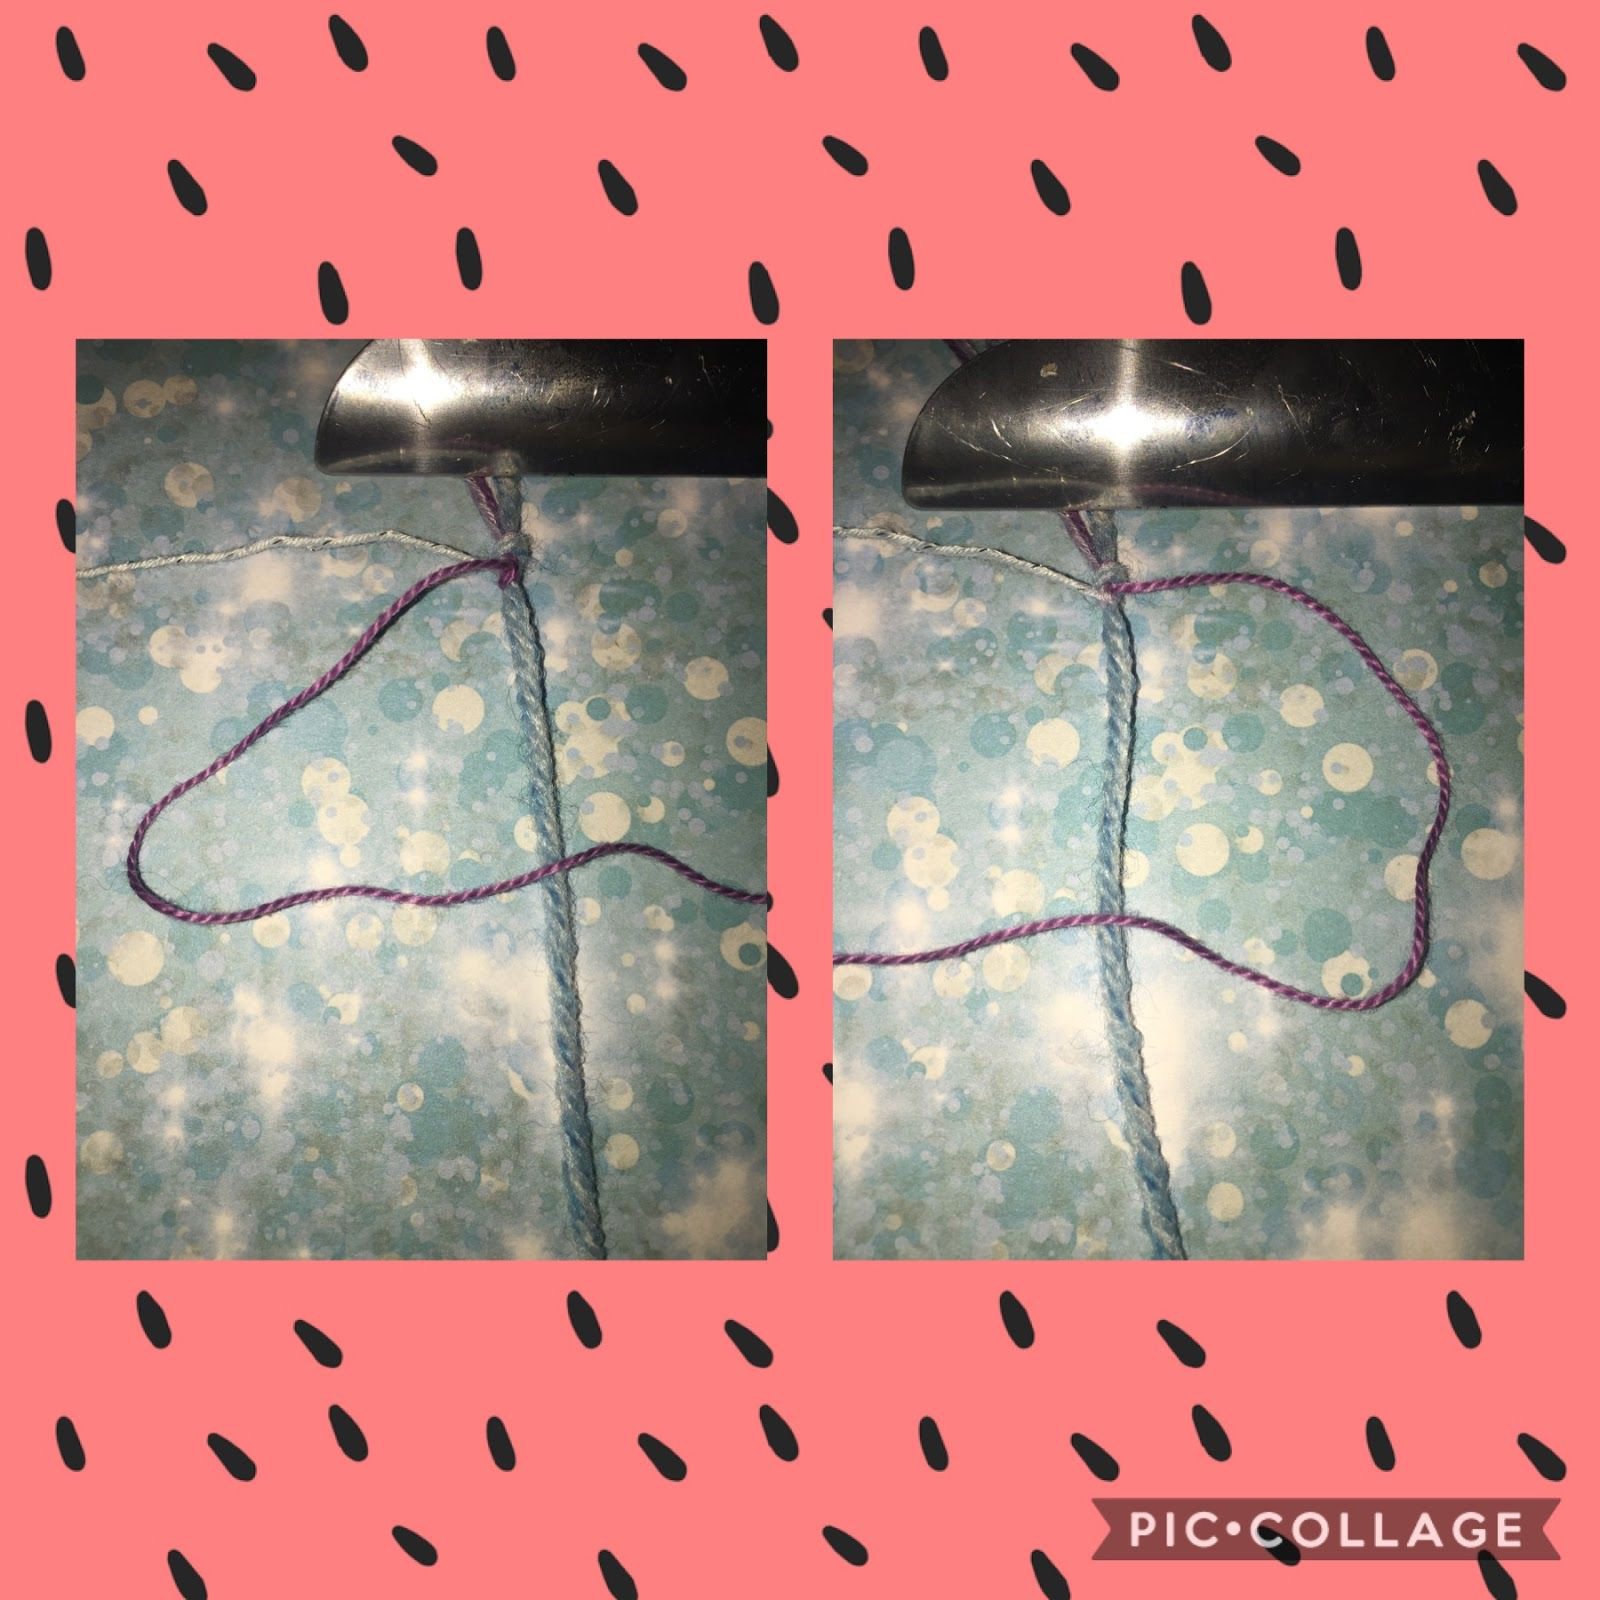
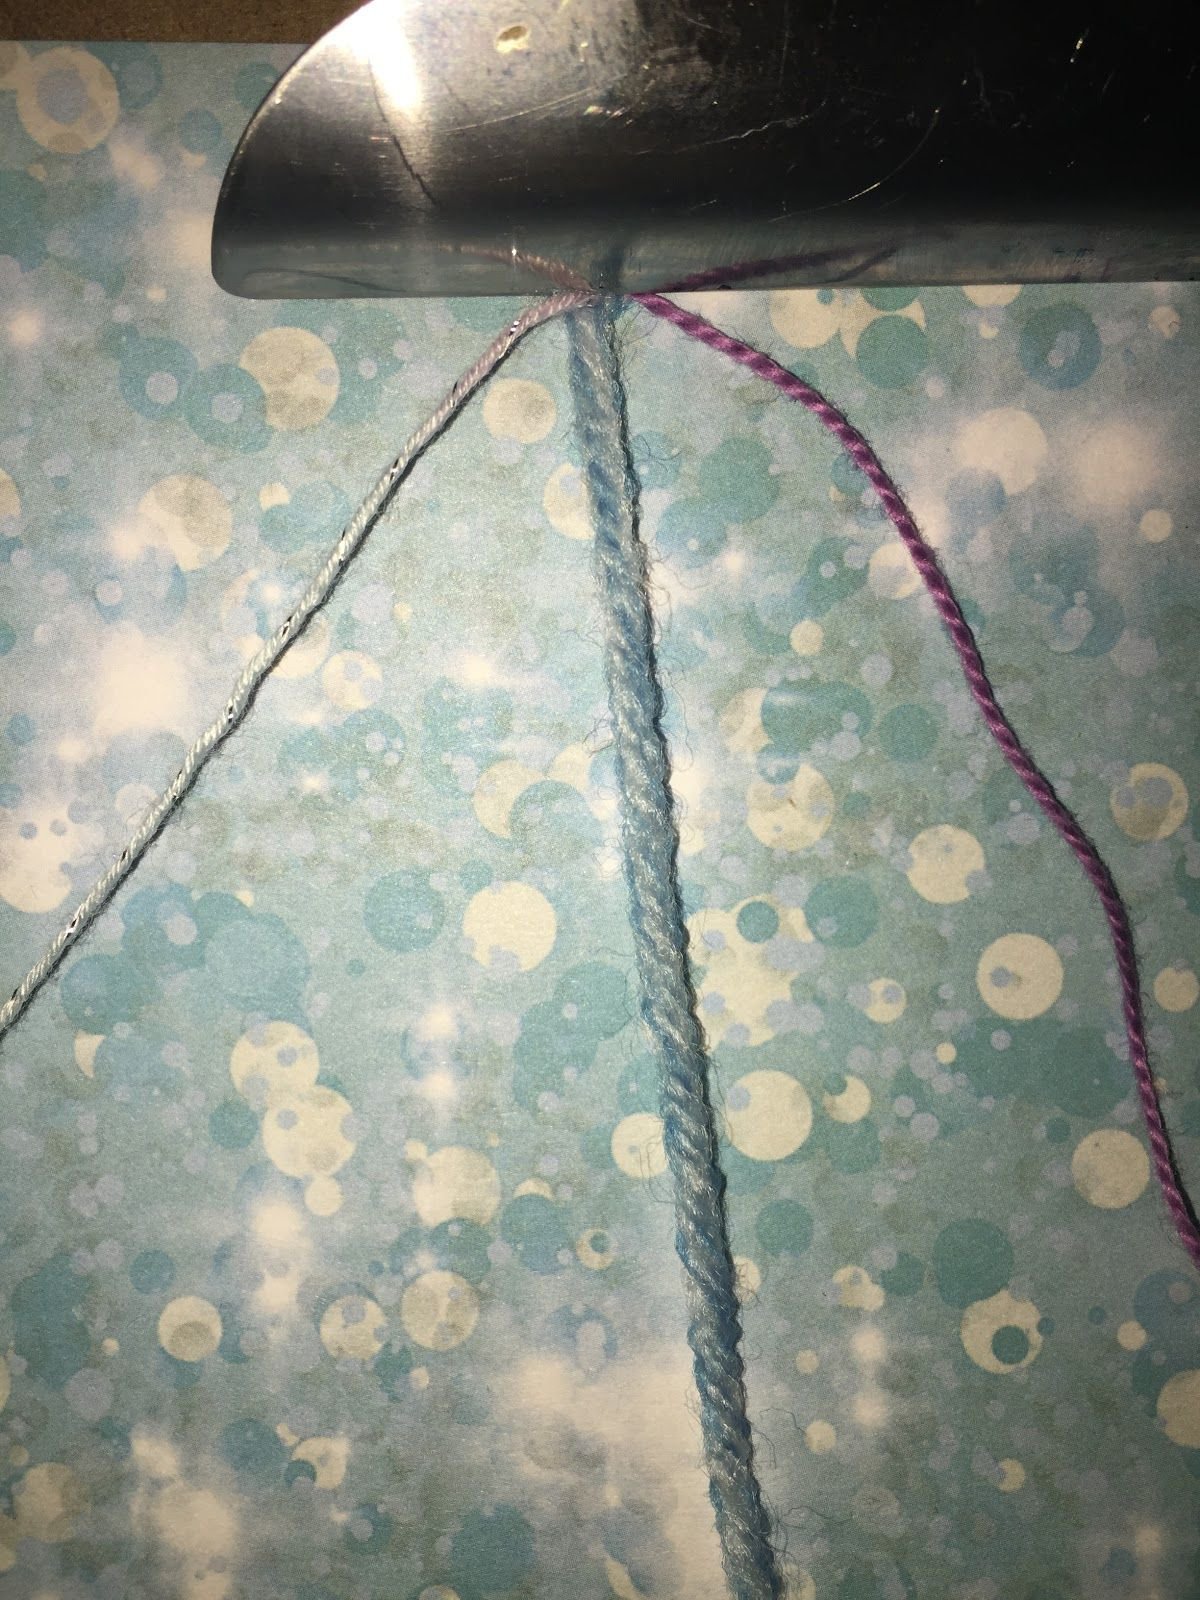
Step 3
Take your left string and make a forward backward knot onto the base string (remember if you cut several embroidery threads for the base string to knot onto them in a group). Once done the string goes back to the left of the base string.
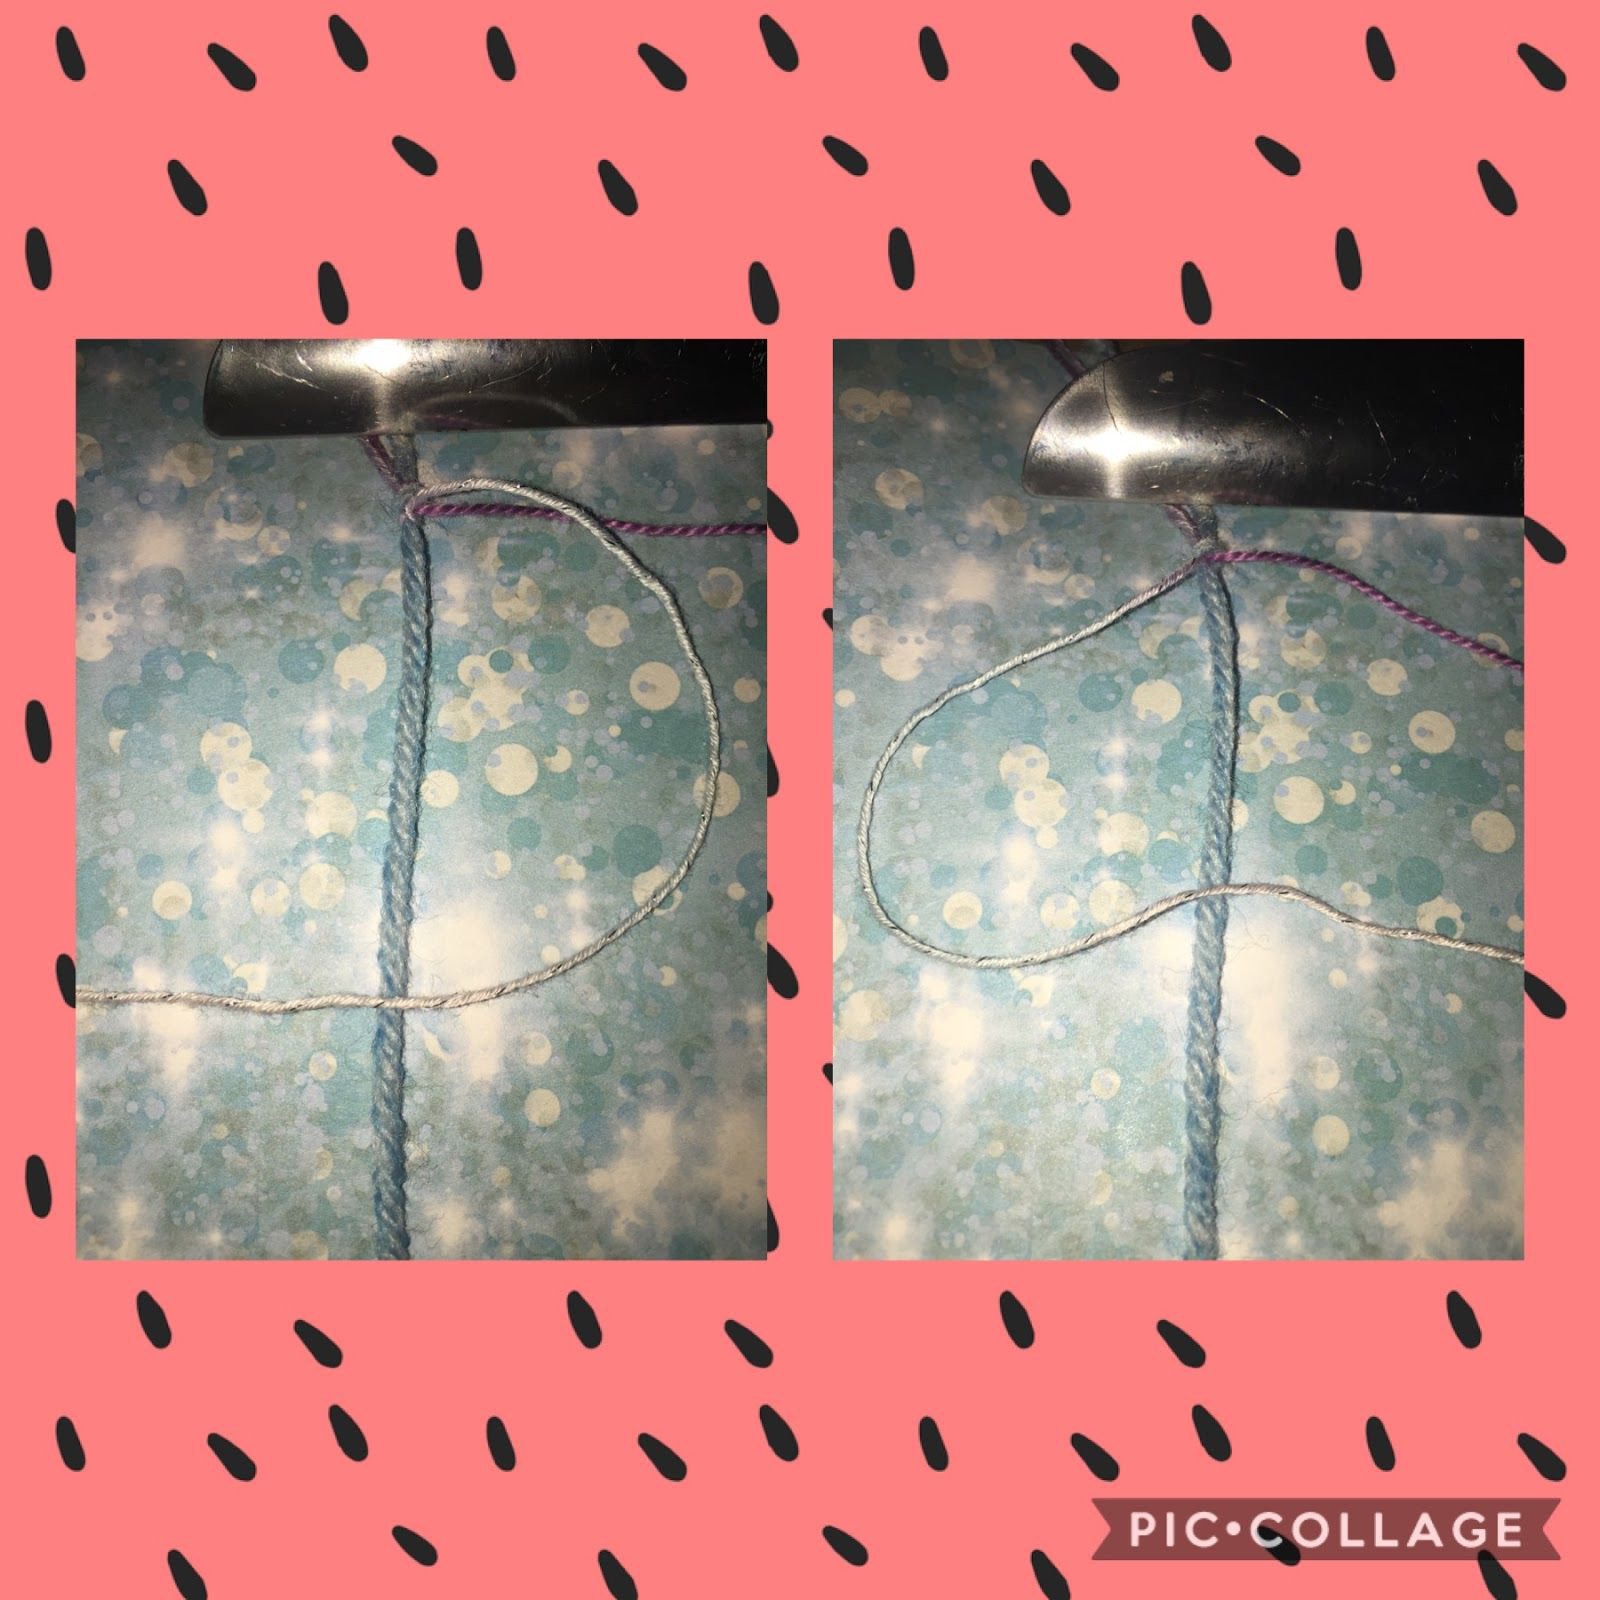
Step 4
Take your right string and make a backward forward knot onto the base string. Once done the string goes back on the right.
Step 5
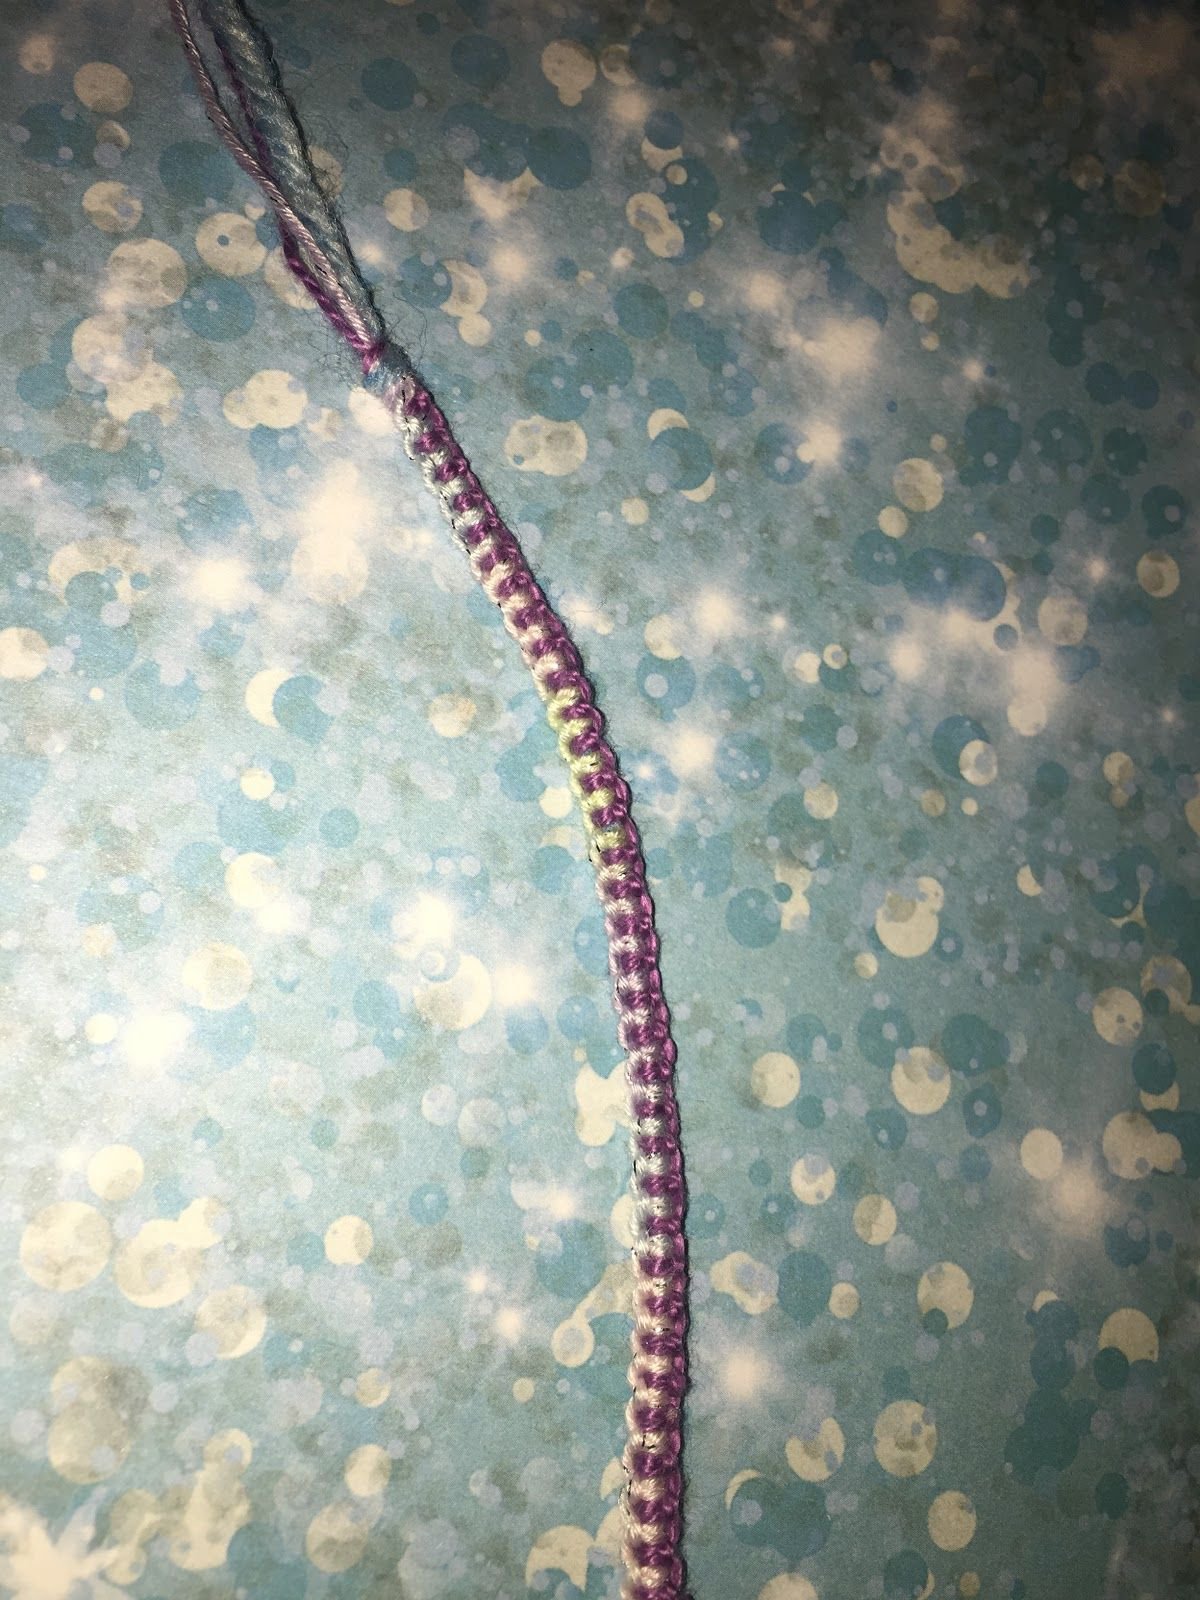
Repeat steps 3 and 4 until you have finished your bracelet. Tie a knot when you are done.
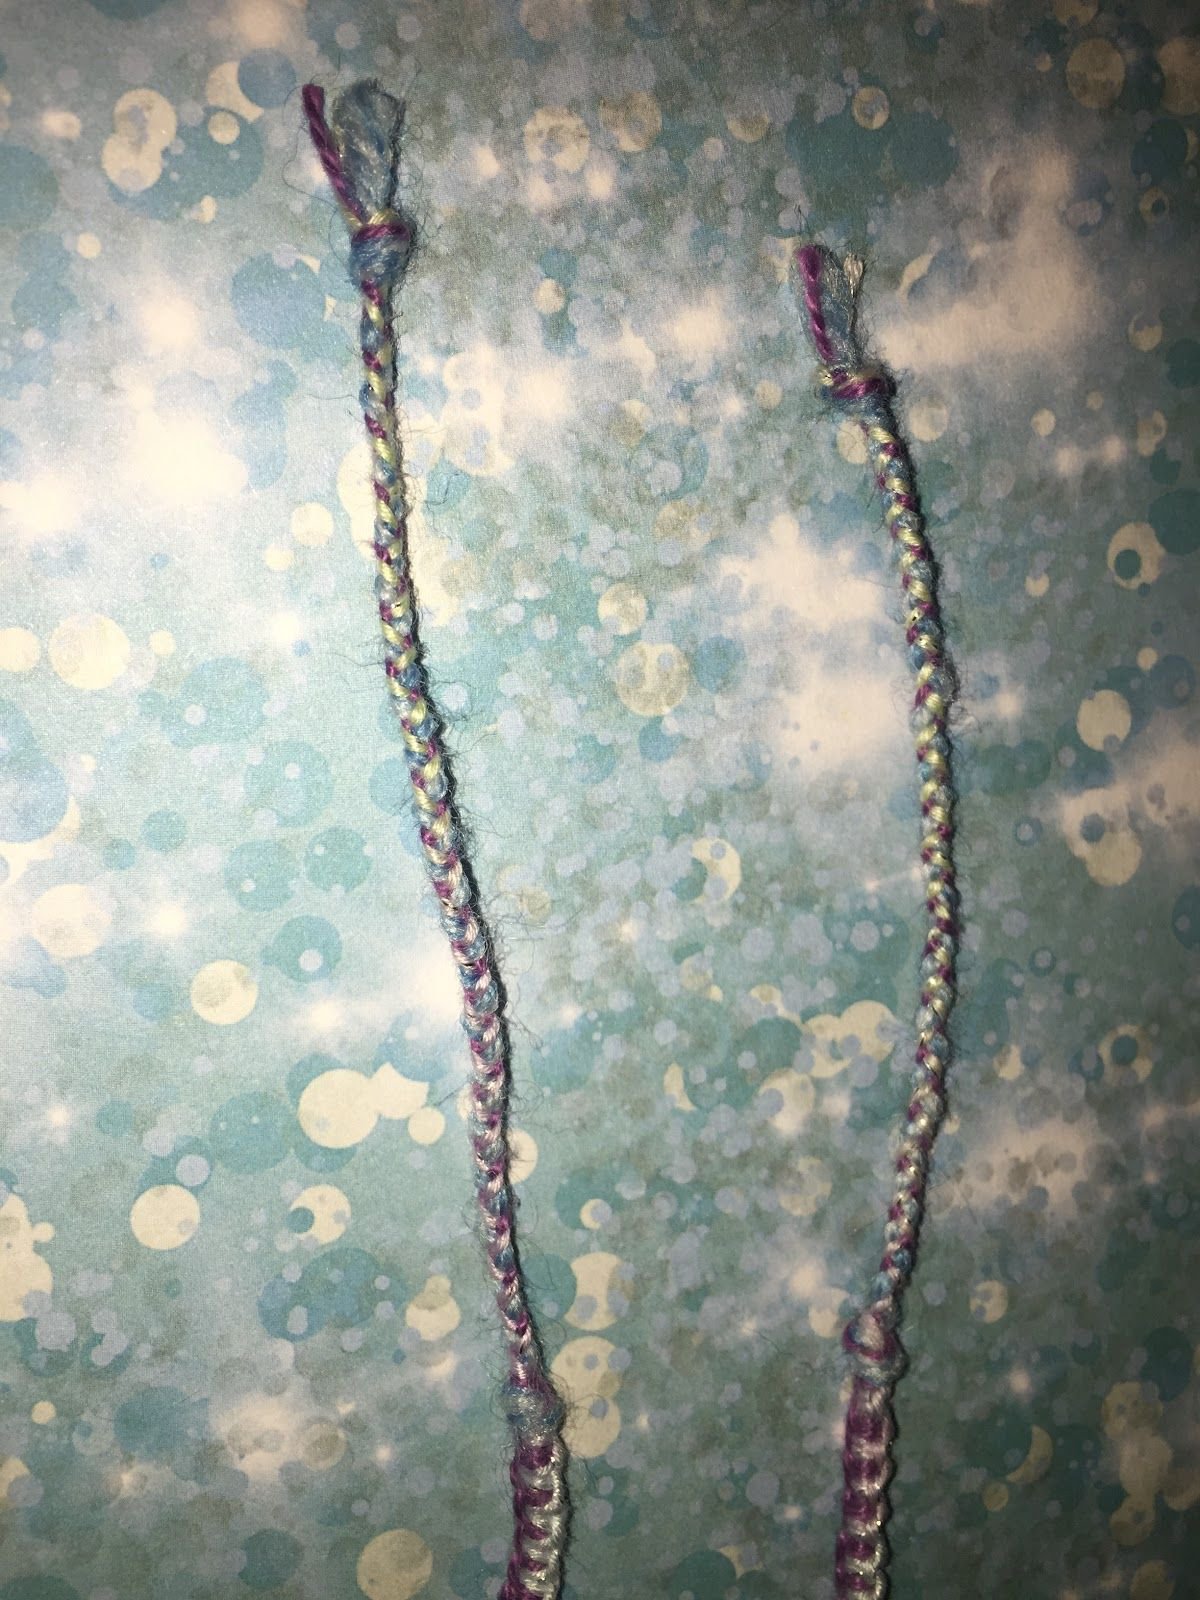
Step 6
Create your tie and then you are done!
Tips for this bracelet
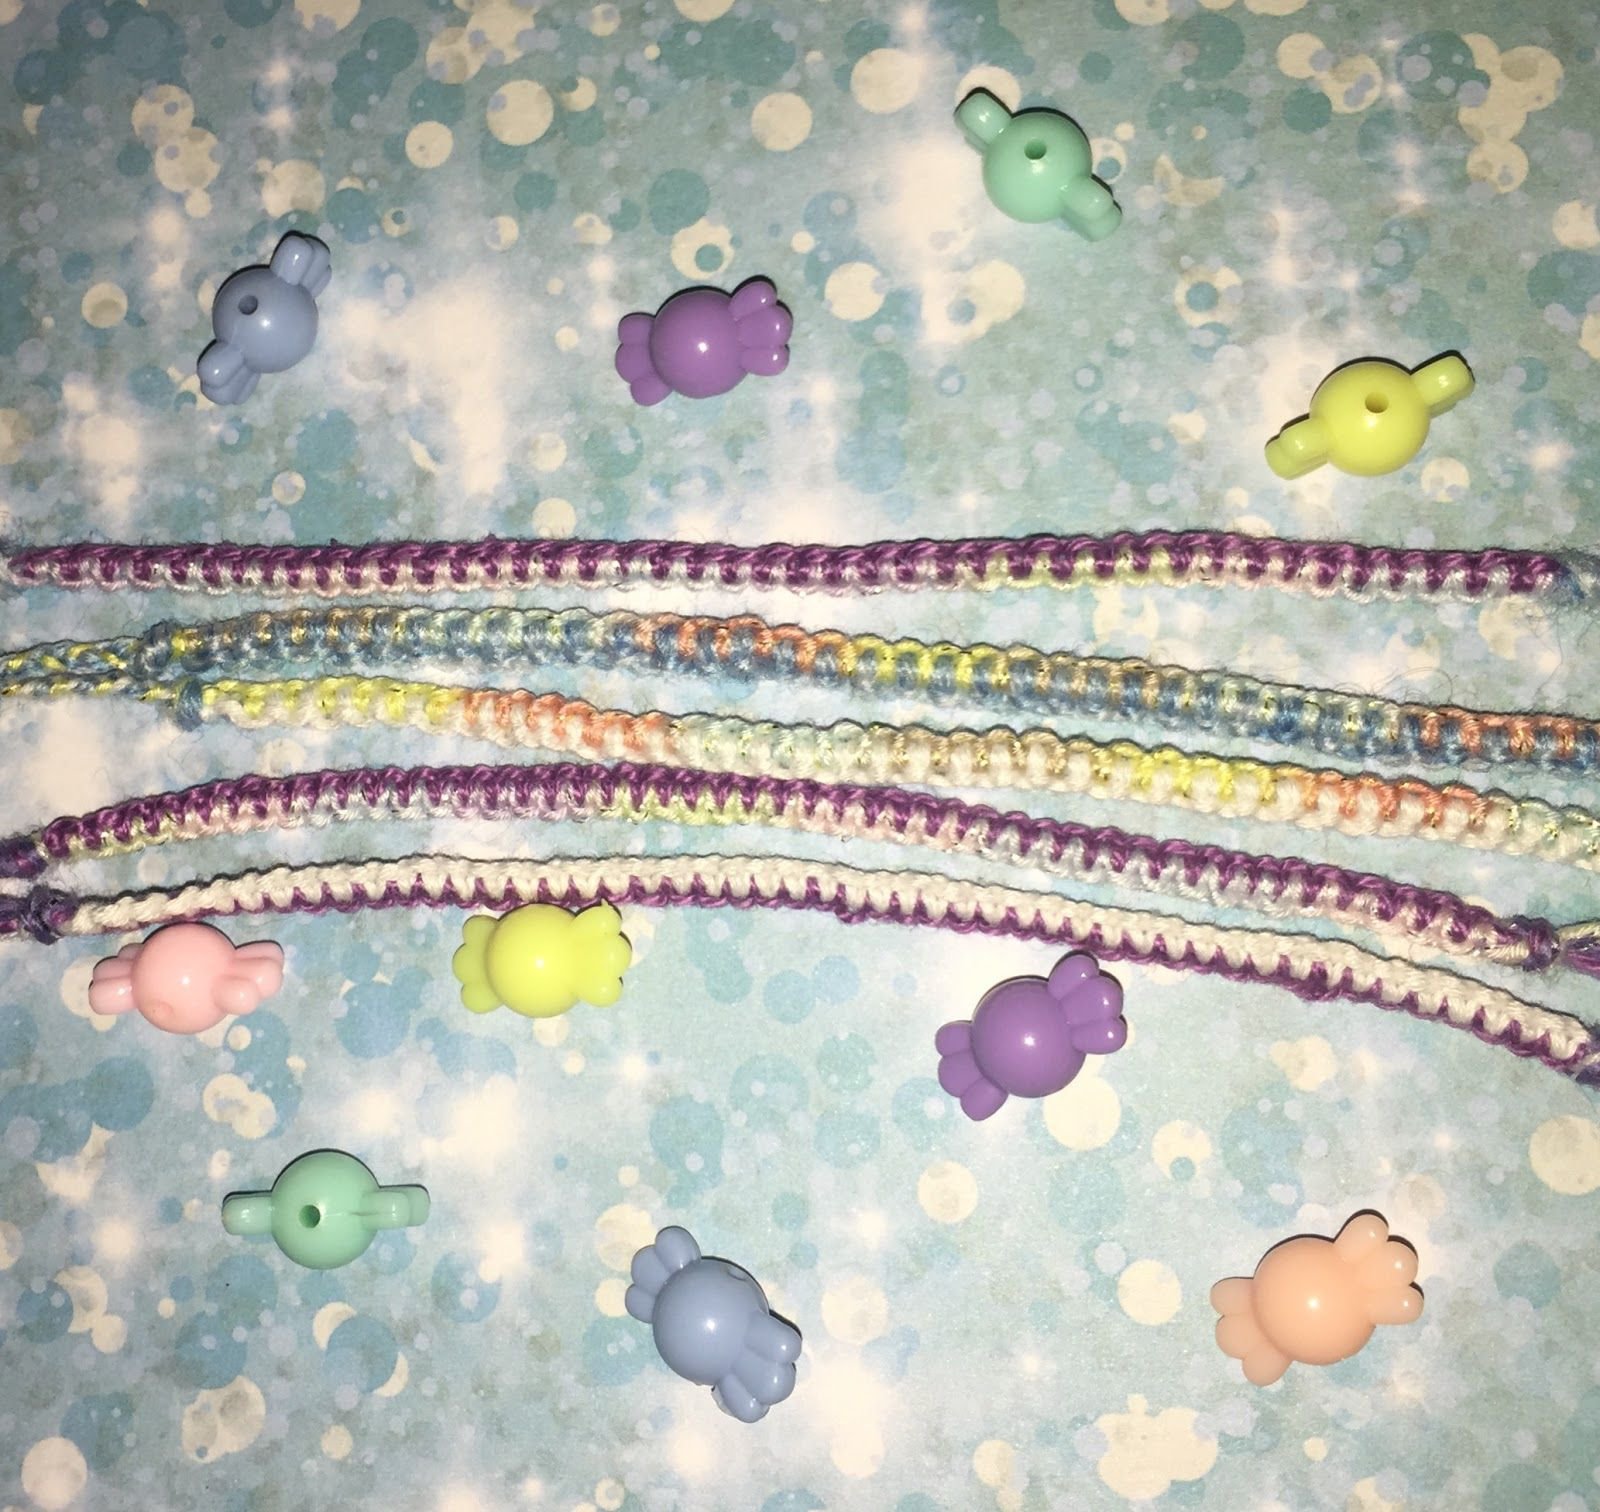
- You can also add beads at any point by adding them onto the middle base string and continuing to knot as you please.
- Twisted ties do not work for this most of the time (if you do a loop though it will work) as there are only 3 threads so either leaving a tie plain or braiding it is your best option.
- Twisted ties do not work for this most of the time (if you do a loop though it will work) as there are only 3 threads so either leaving a tie plain or braiding it is your best option.
BASIC KNOTS tutorial by Masha Knots.
Zipper Friendship Bracelet Tutorial by me.
Should you have any questions about this bracelet or anything feel free to comment or pm me. Don’t forget to post a picture of your bracelet to pattern #3983 if you make one. Have a nice day and enjoy knotting your bracelets!