Rate Tutorial
Before we start
If you have other wireless earbuds or have air pod pros, you can still do the same technique you just have to measure your case. For the width of the case its about 21 strings per inch (2.54 cm). For the length it's about 23 normal rows/18 alpha rows per inch.
Supplies you will need
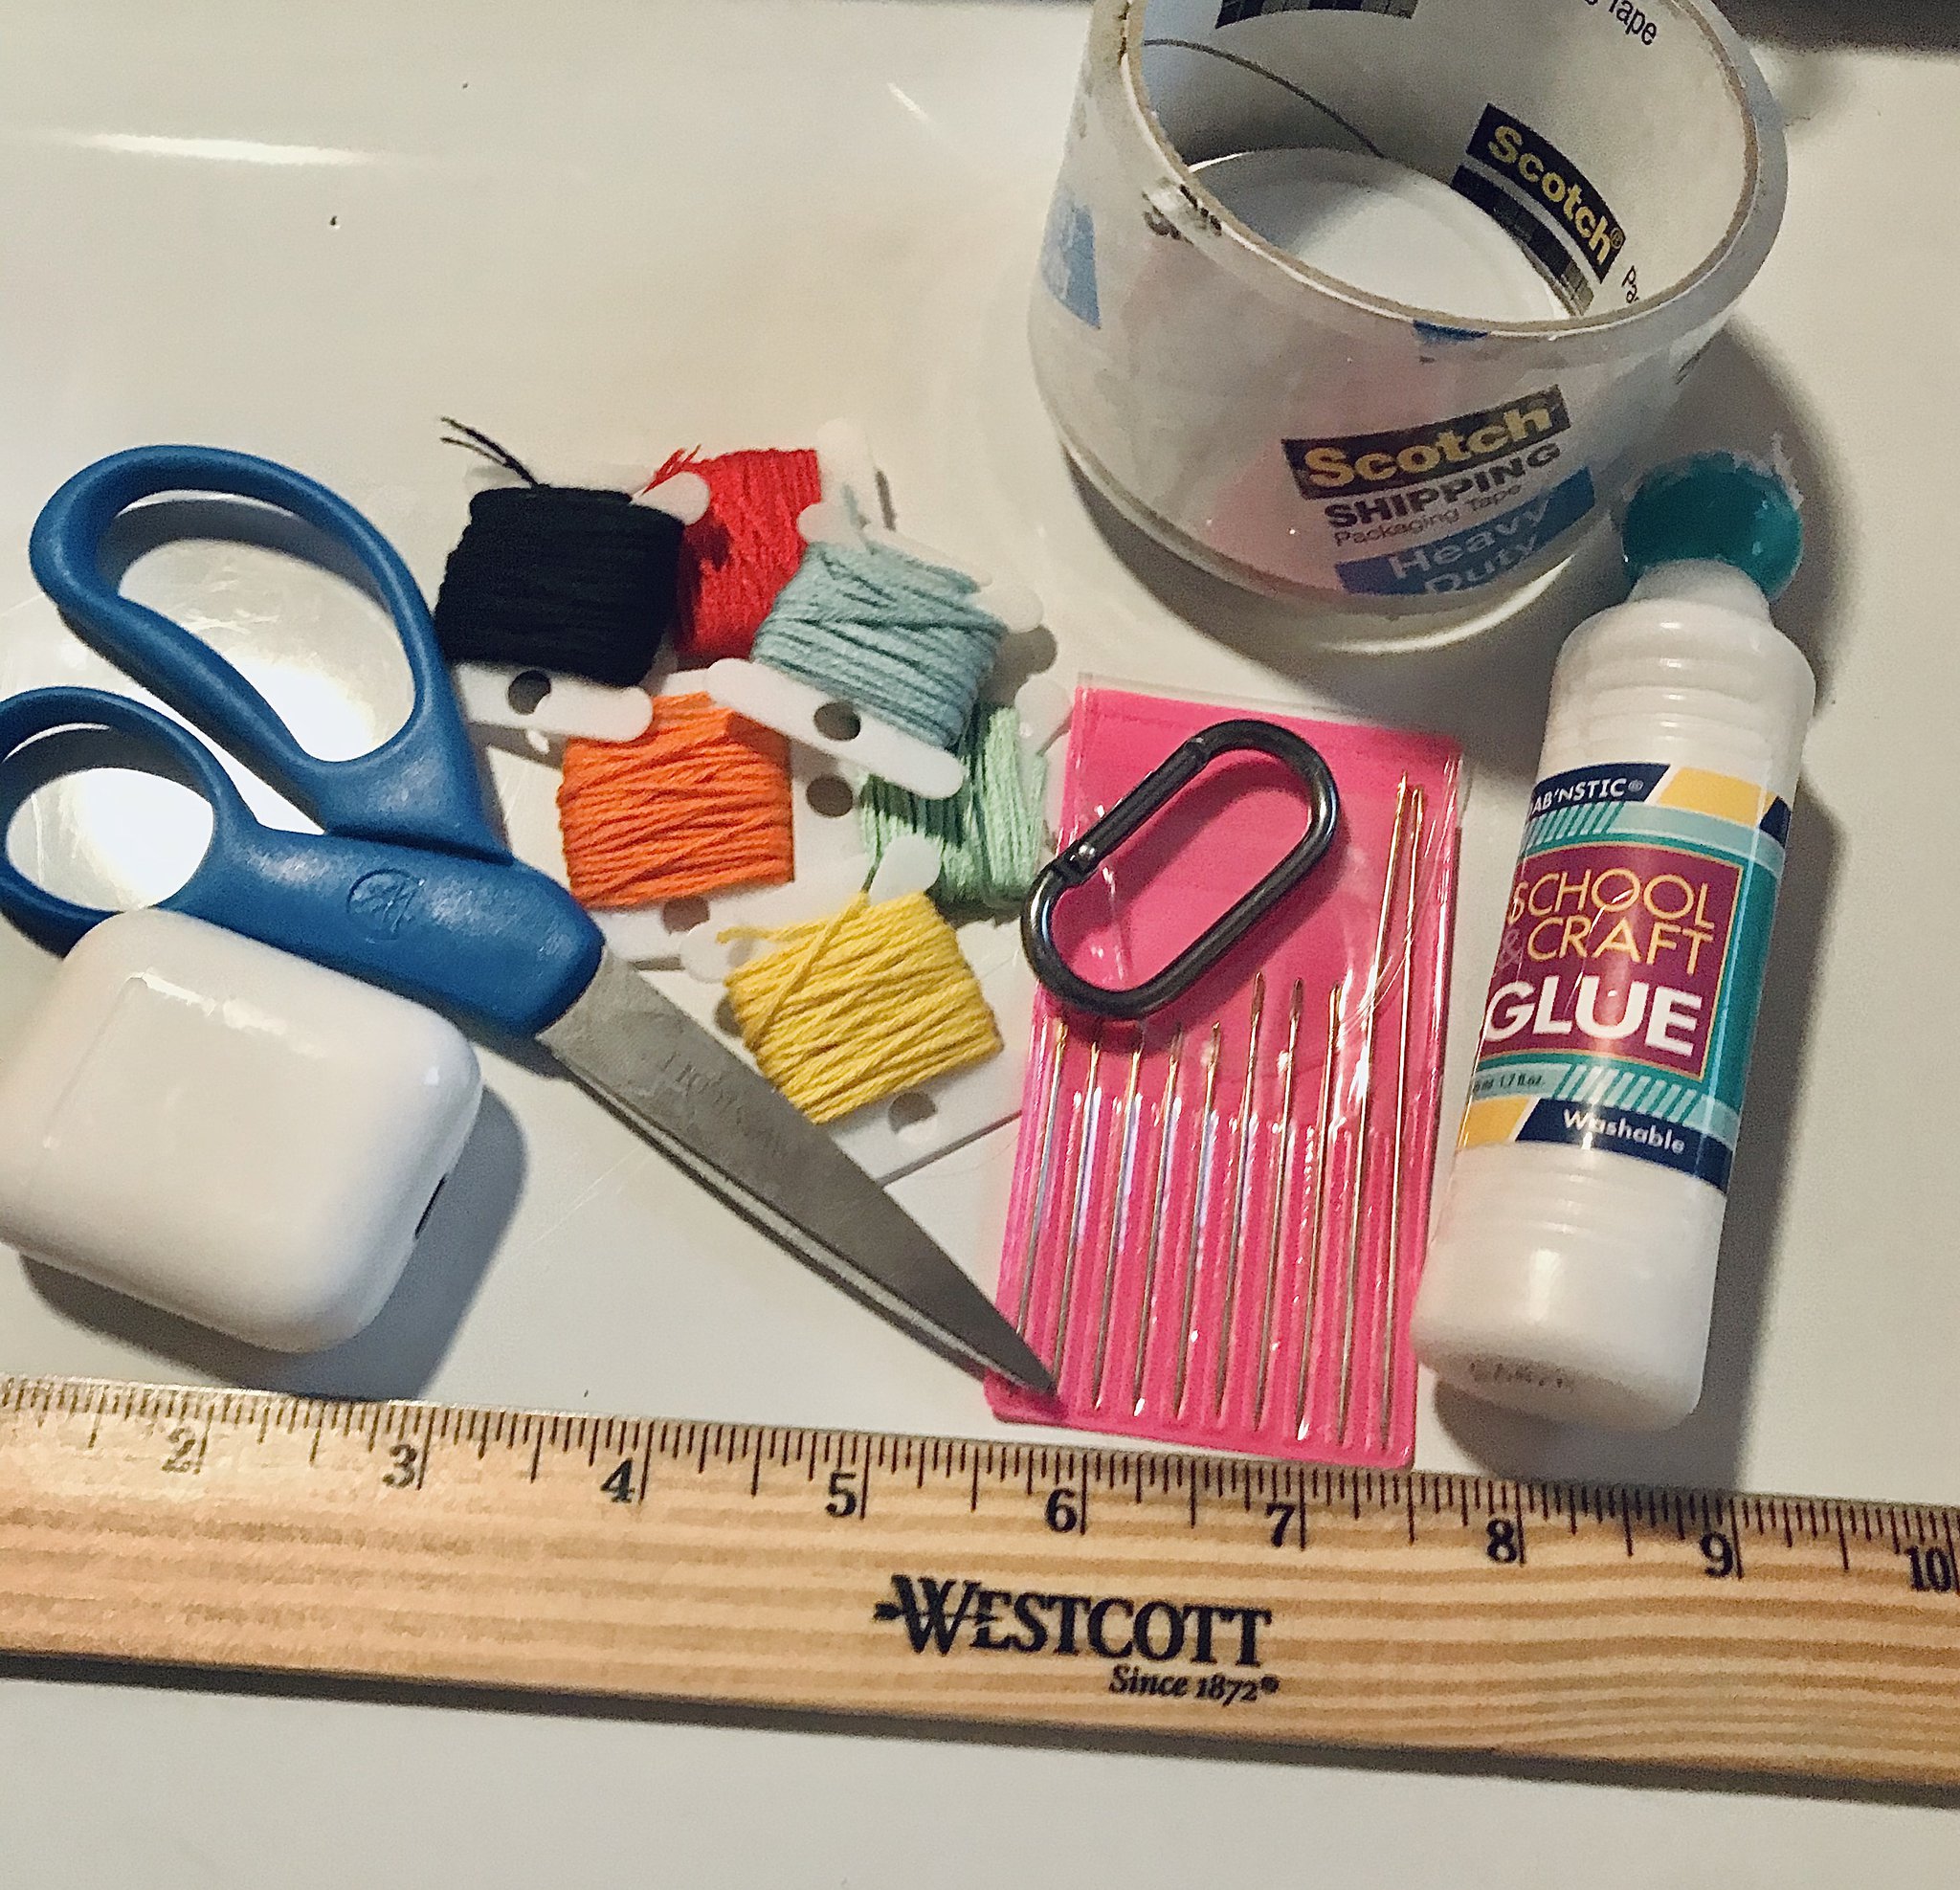
- Scissors
- Ruler
- Thread / Embroidery Floss
- Glue or Nail polish
- Hot glue
- Tape
- Needle
- Needle Threader (optional)
- Carabiner hook / Keyring (optional)
- AirPods or any wireless earbuds
- Ruler
- Thread / Embroidery Floss
- Glue or Nail polish
- Hot glue
- Tape
- Needle
- Needle Threader (optional)
- Carabiner hook / Keyring (optional)
- AirPods or any wireless earbuds
Step 1
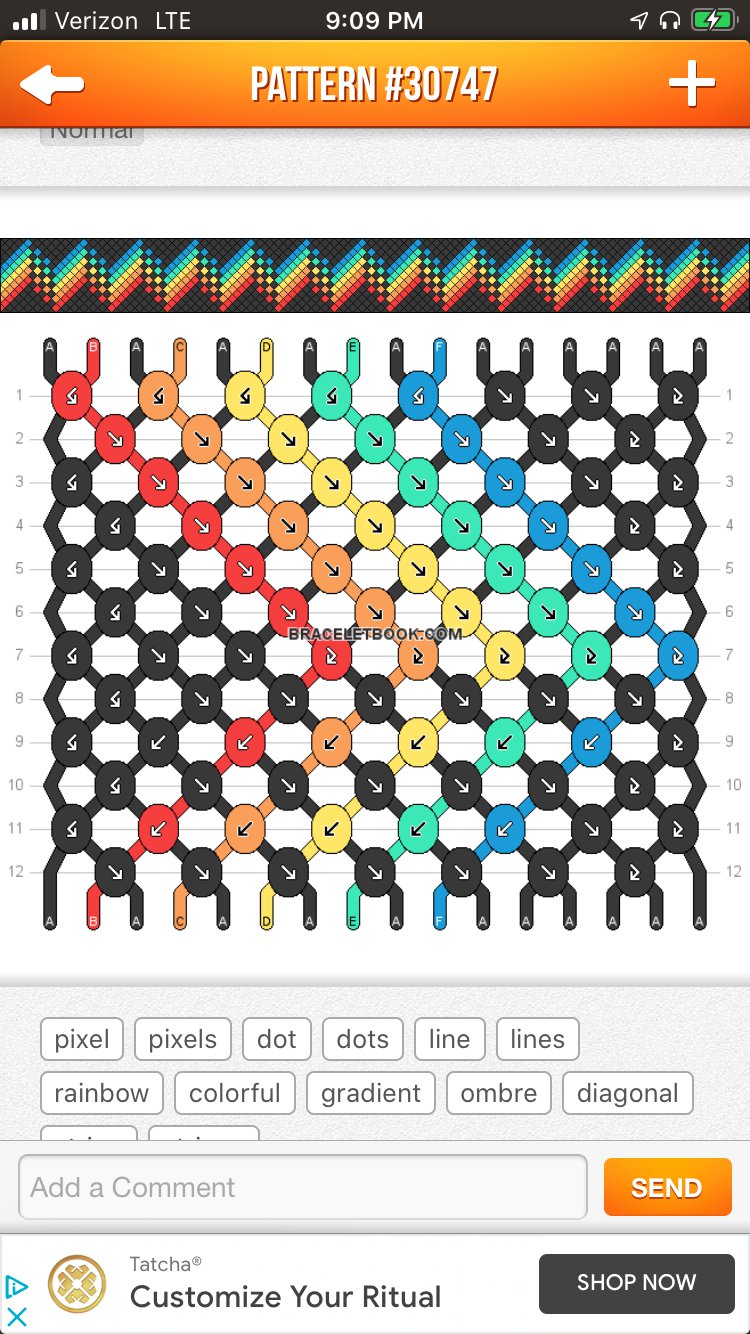
Pick a pattern. I chose pattern #30747. For the original AirPods you can choose a 16, 32, or 48 string normal pattern or a 24 string alpha pattern. For the 16/32 string normal patterns you’ll have to tweak the pattern and make it doubled/tripled so its 48 strings. If you are struggling to find a normal patten or don’t know how to double/triple a pattern @natbunny has a lot of 48 string normal patterns.
Step 2
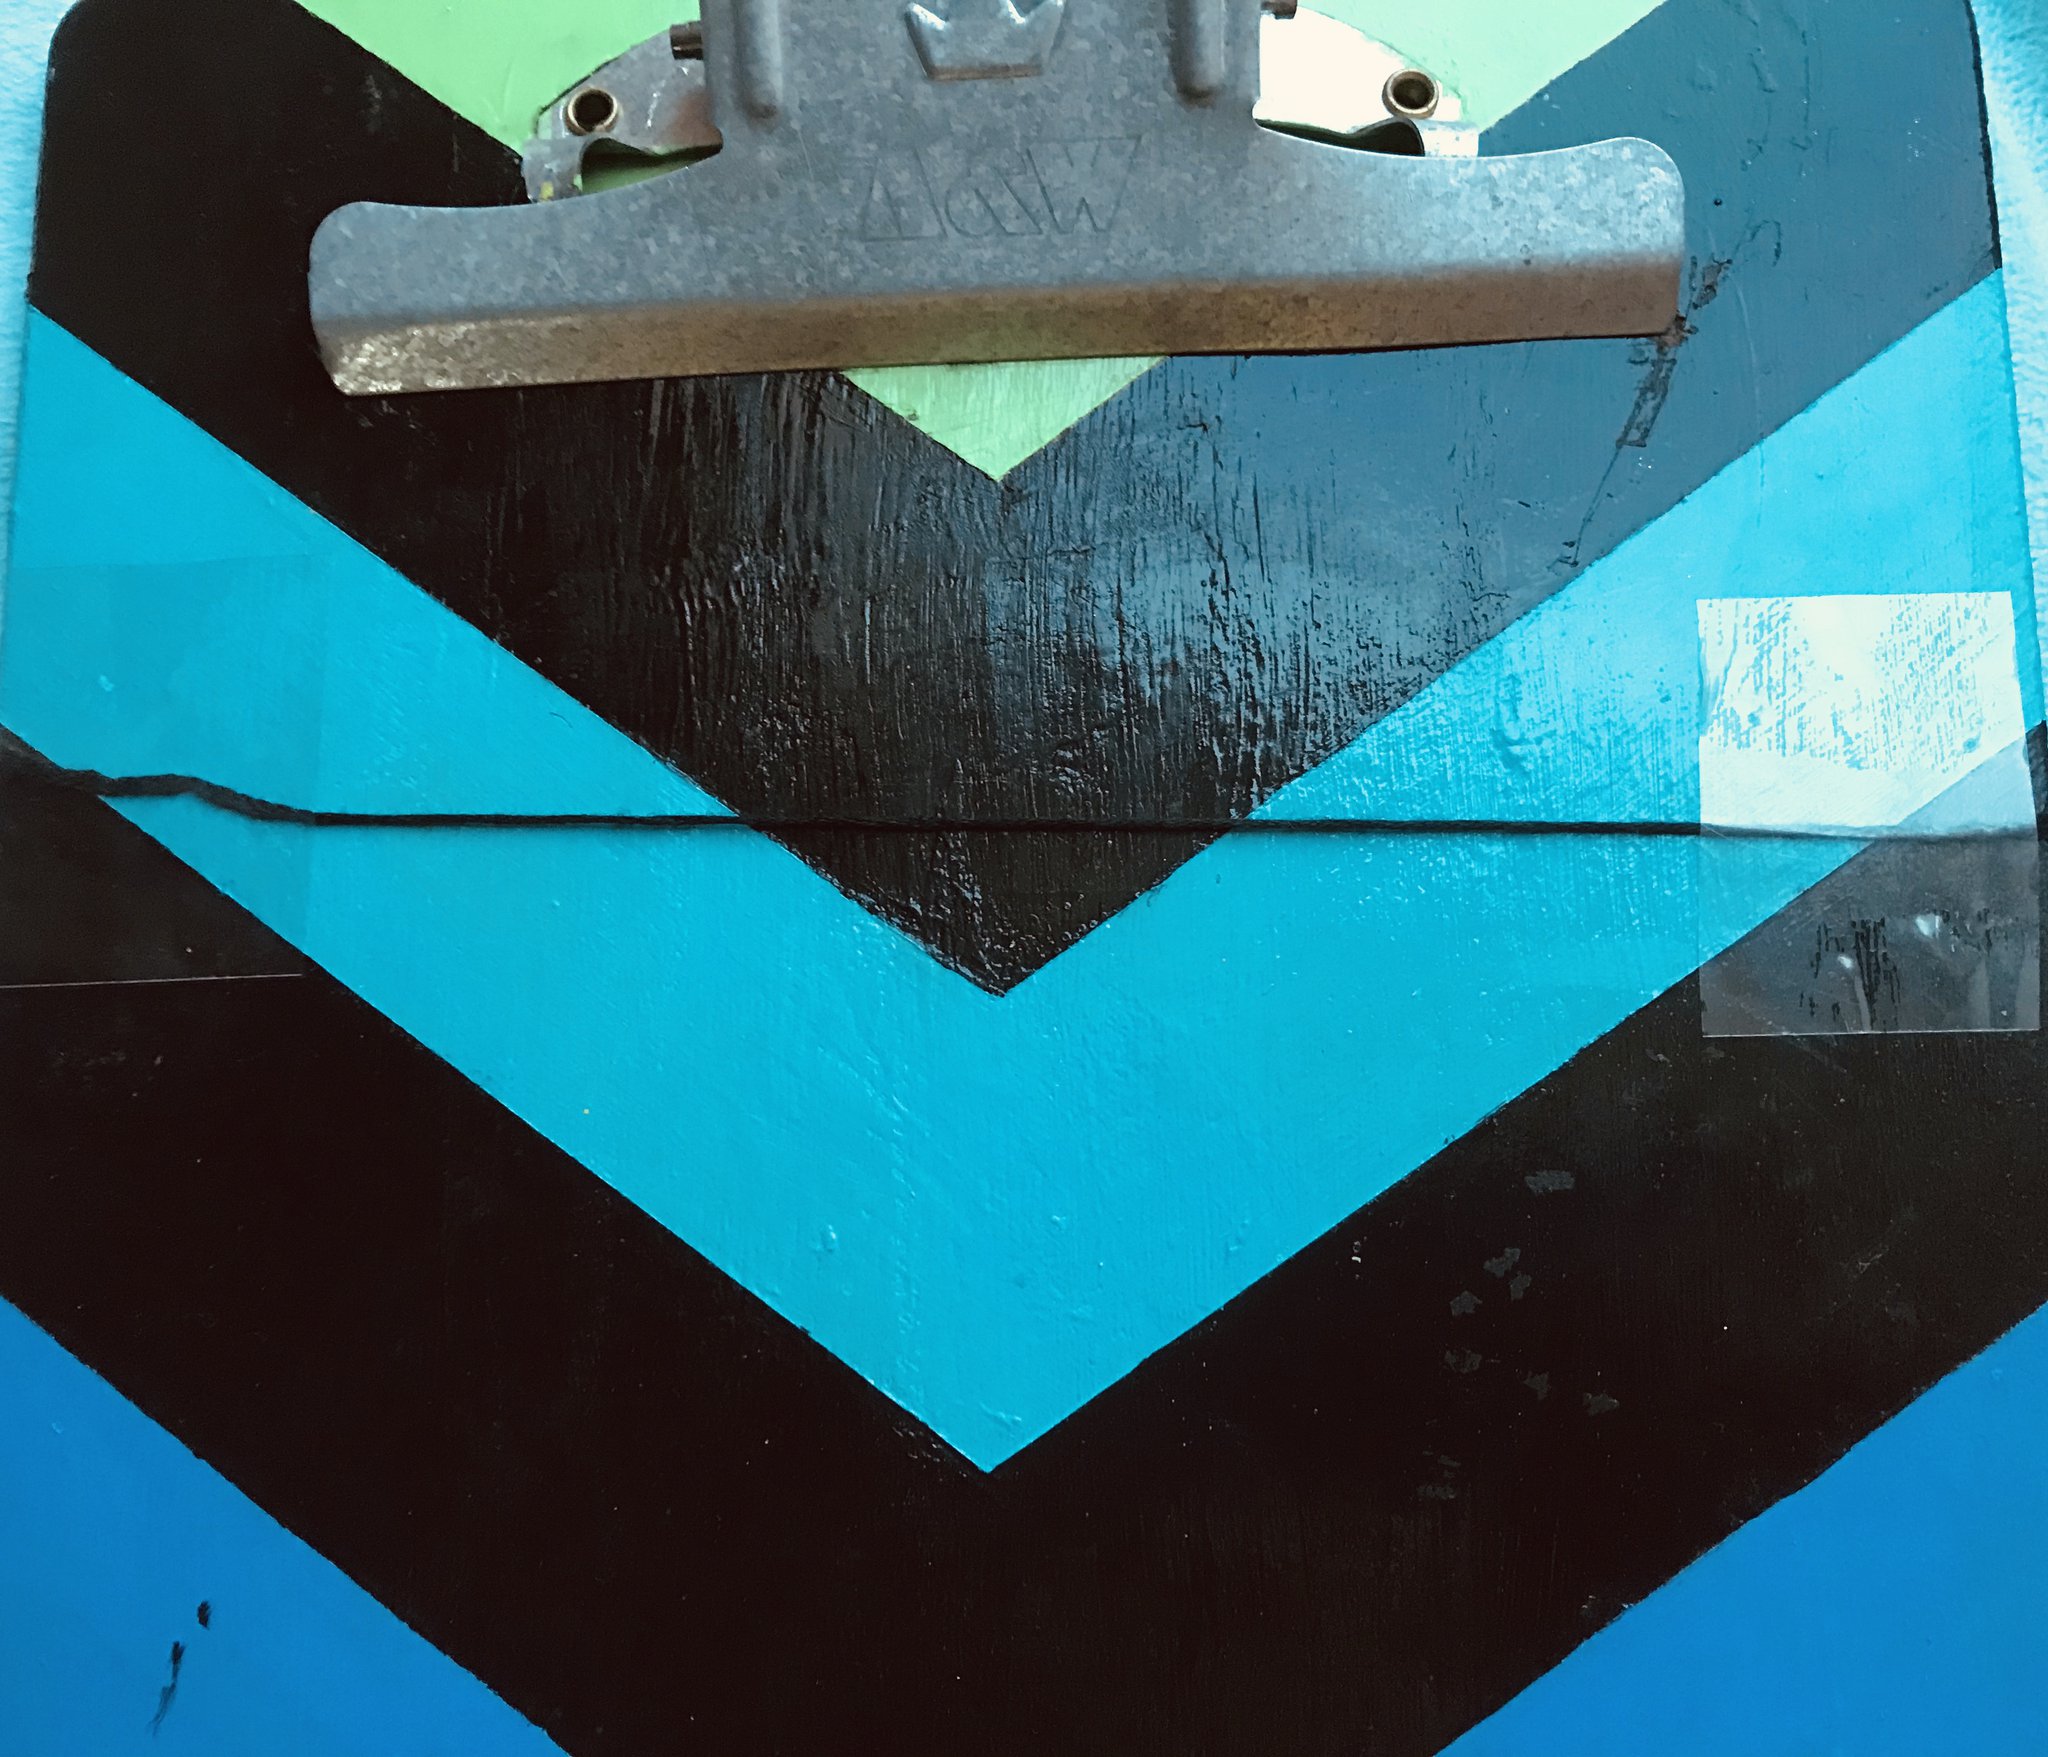
Cut a piece of string that is a foot long (31 cm). This string can be any color but I recommend making it the main color or background color. Tape it down to your surface like in picture shown.
Step 3
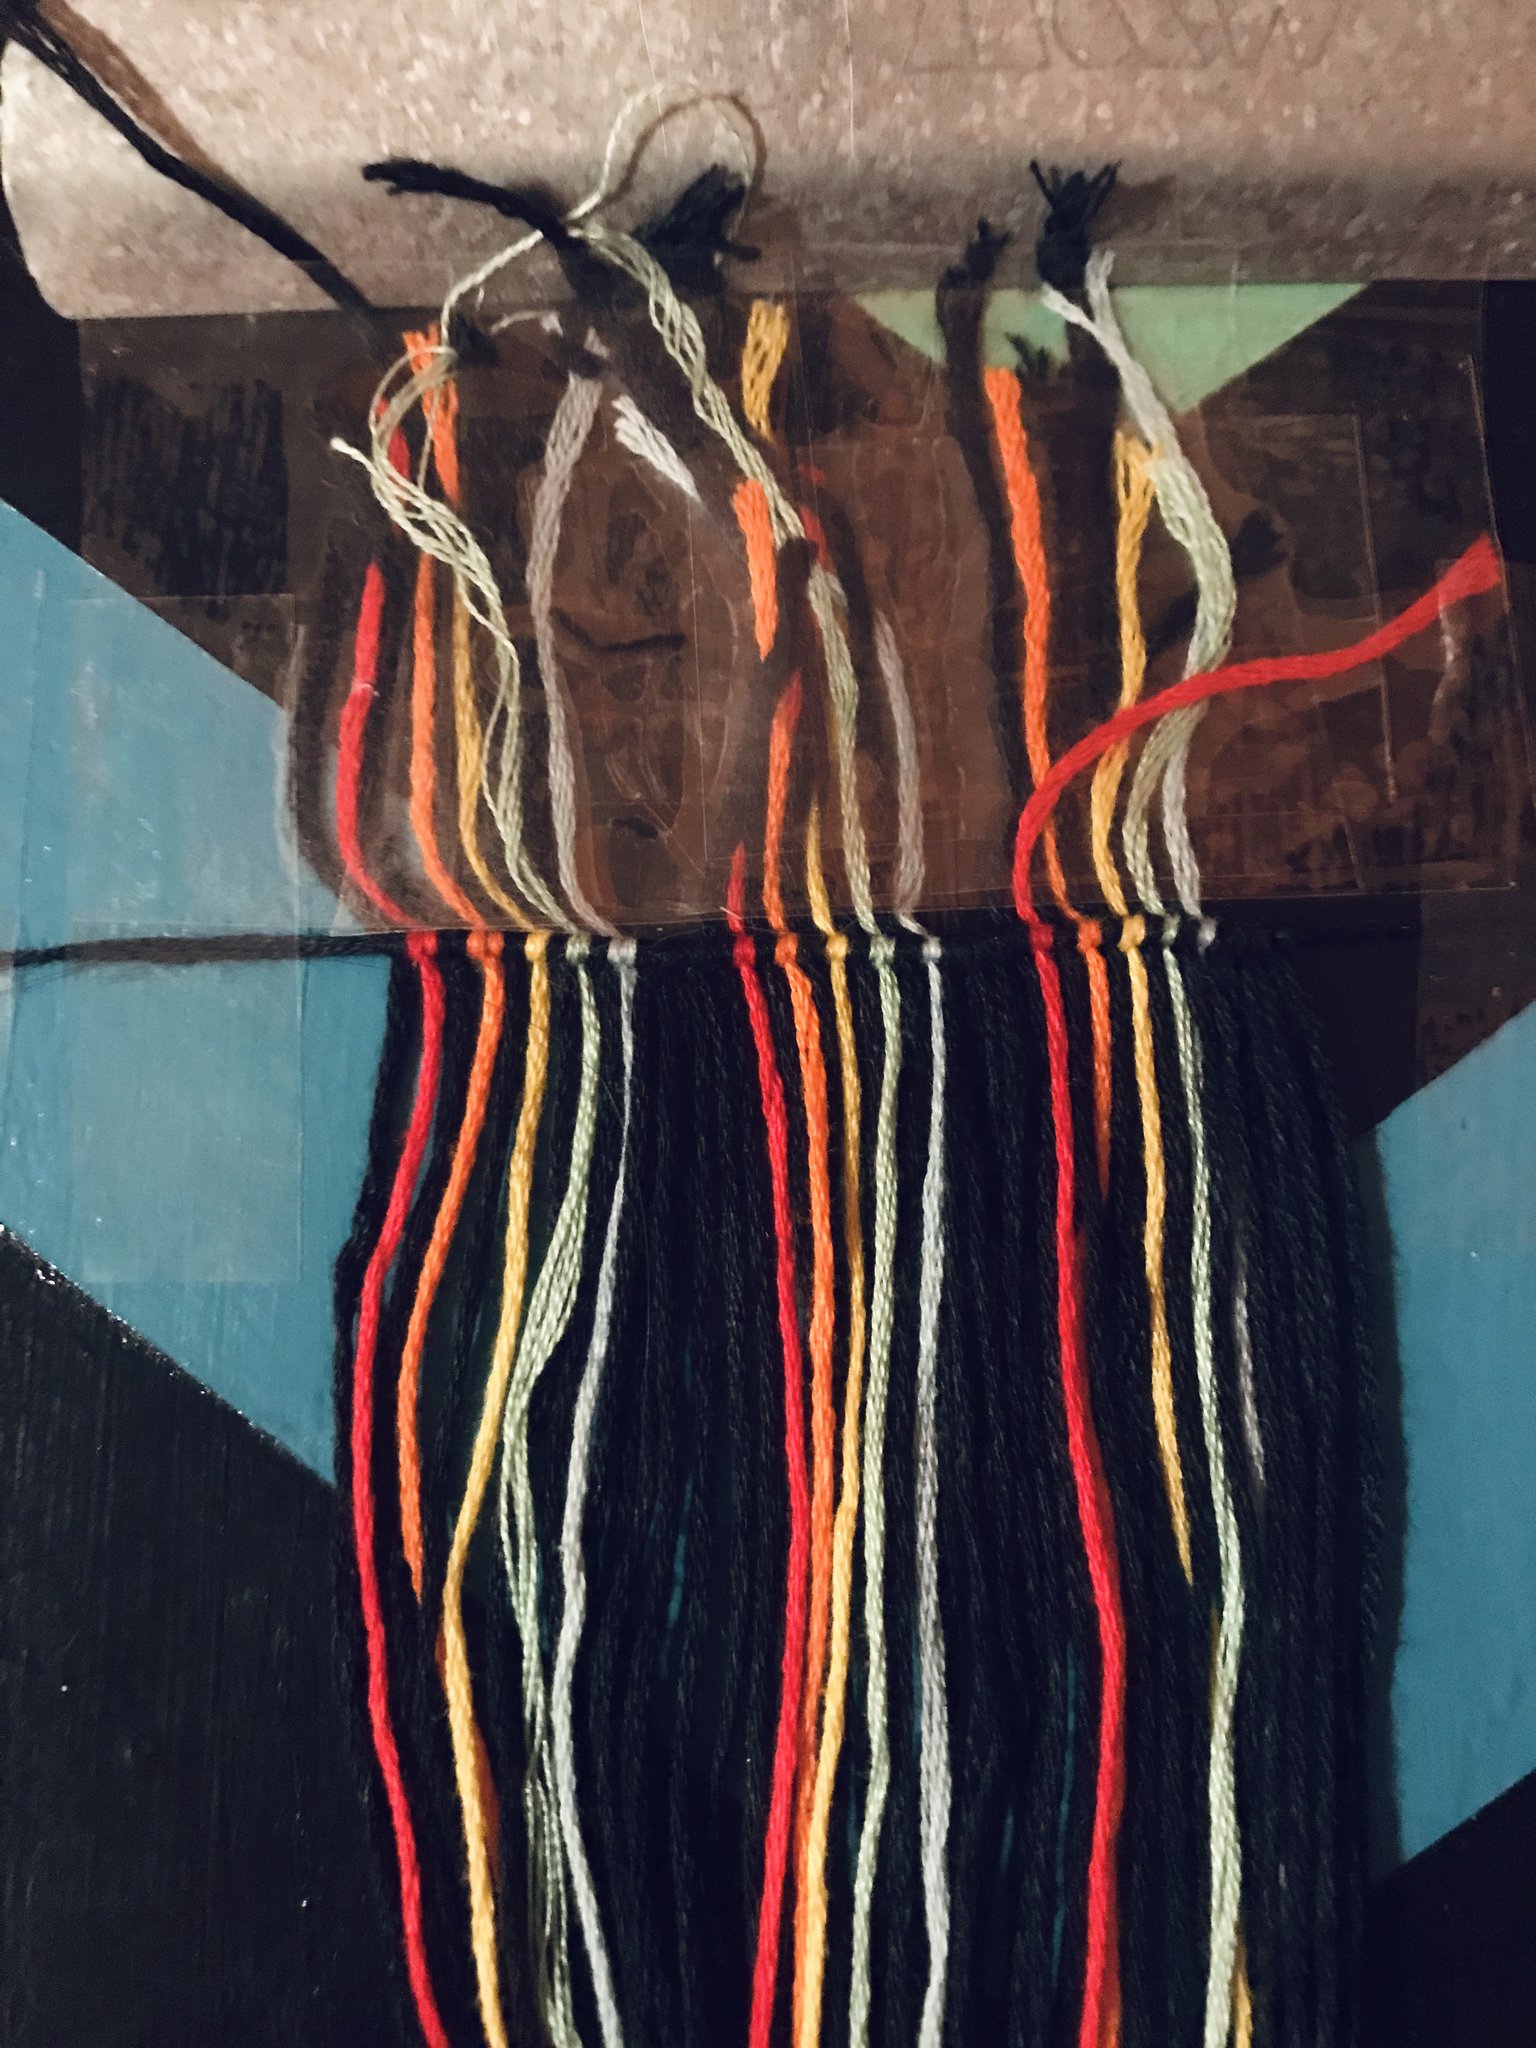
Cut all your main strings. I made all of my strings 2 ft long (61 cm). Once you’ve cut all your strings make half hitch knots on to the main black string. Tape the access string above.
Step 4
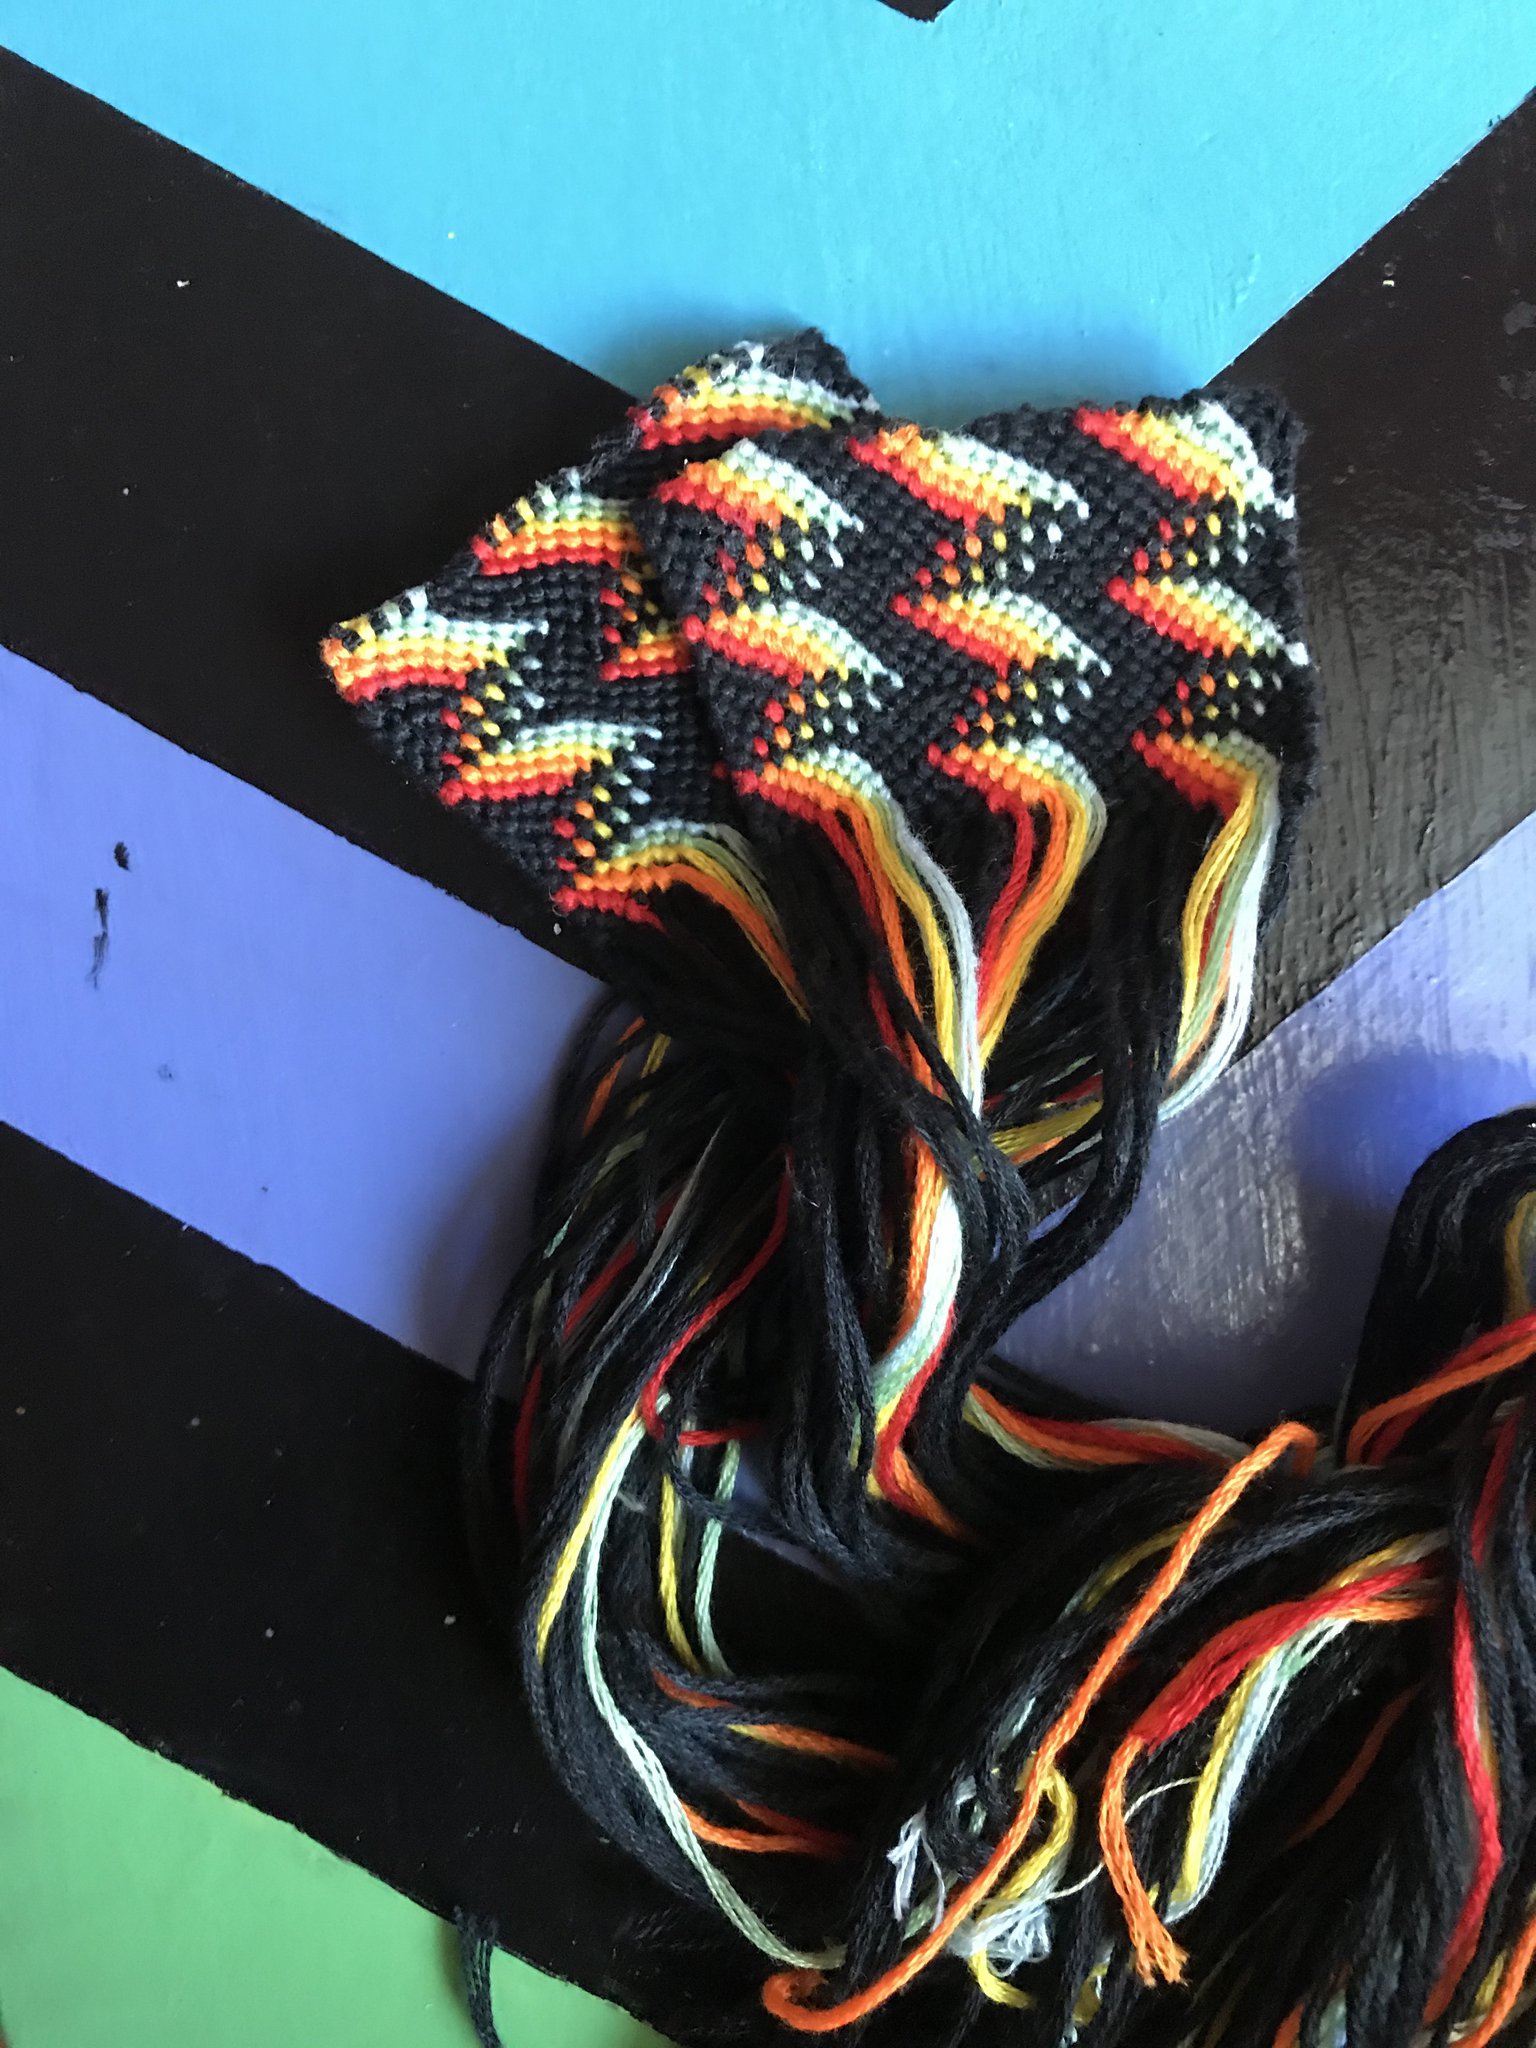
Knot your pattern until you have 29 normal rows or 23 alpha rows. Once you have finished one “bracelet” repeat step 2-3 so you have two “bracelets”.
Step 5
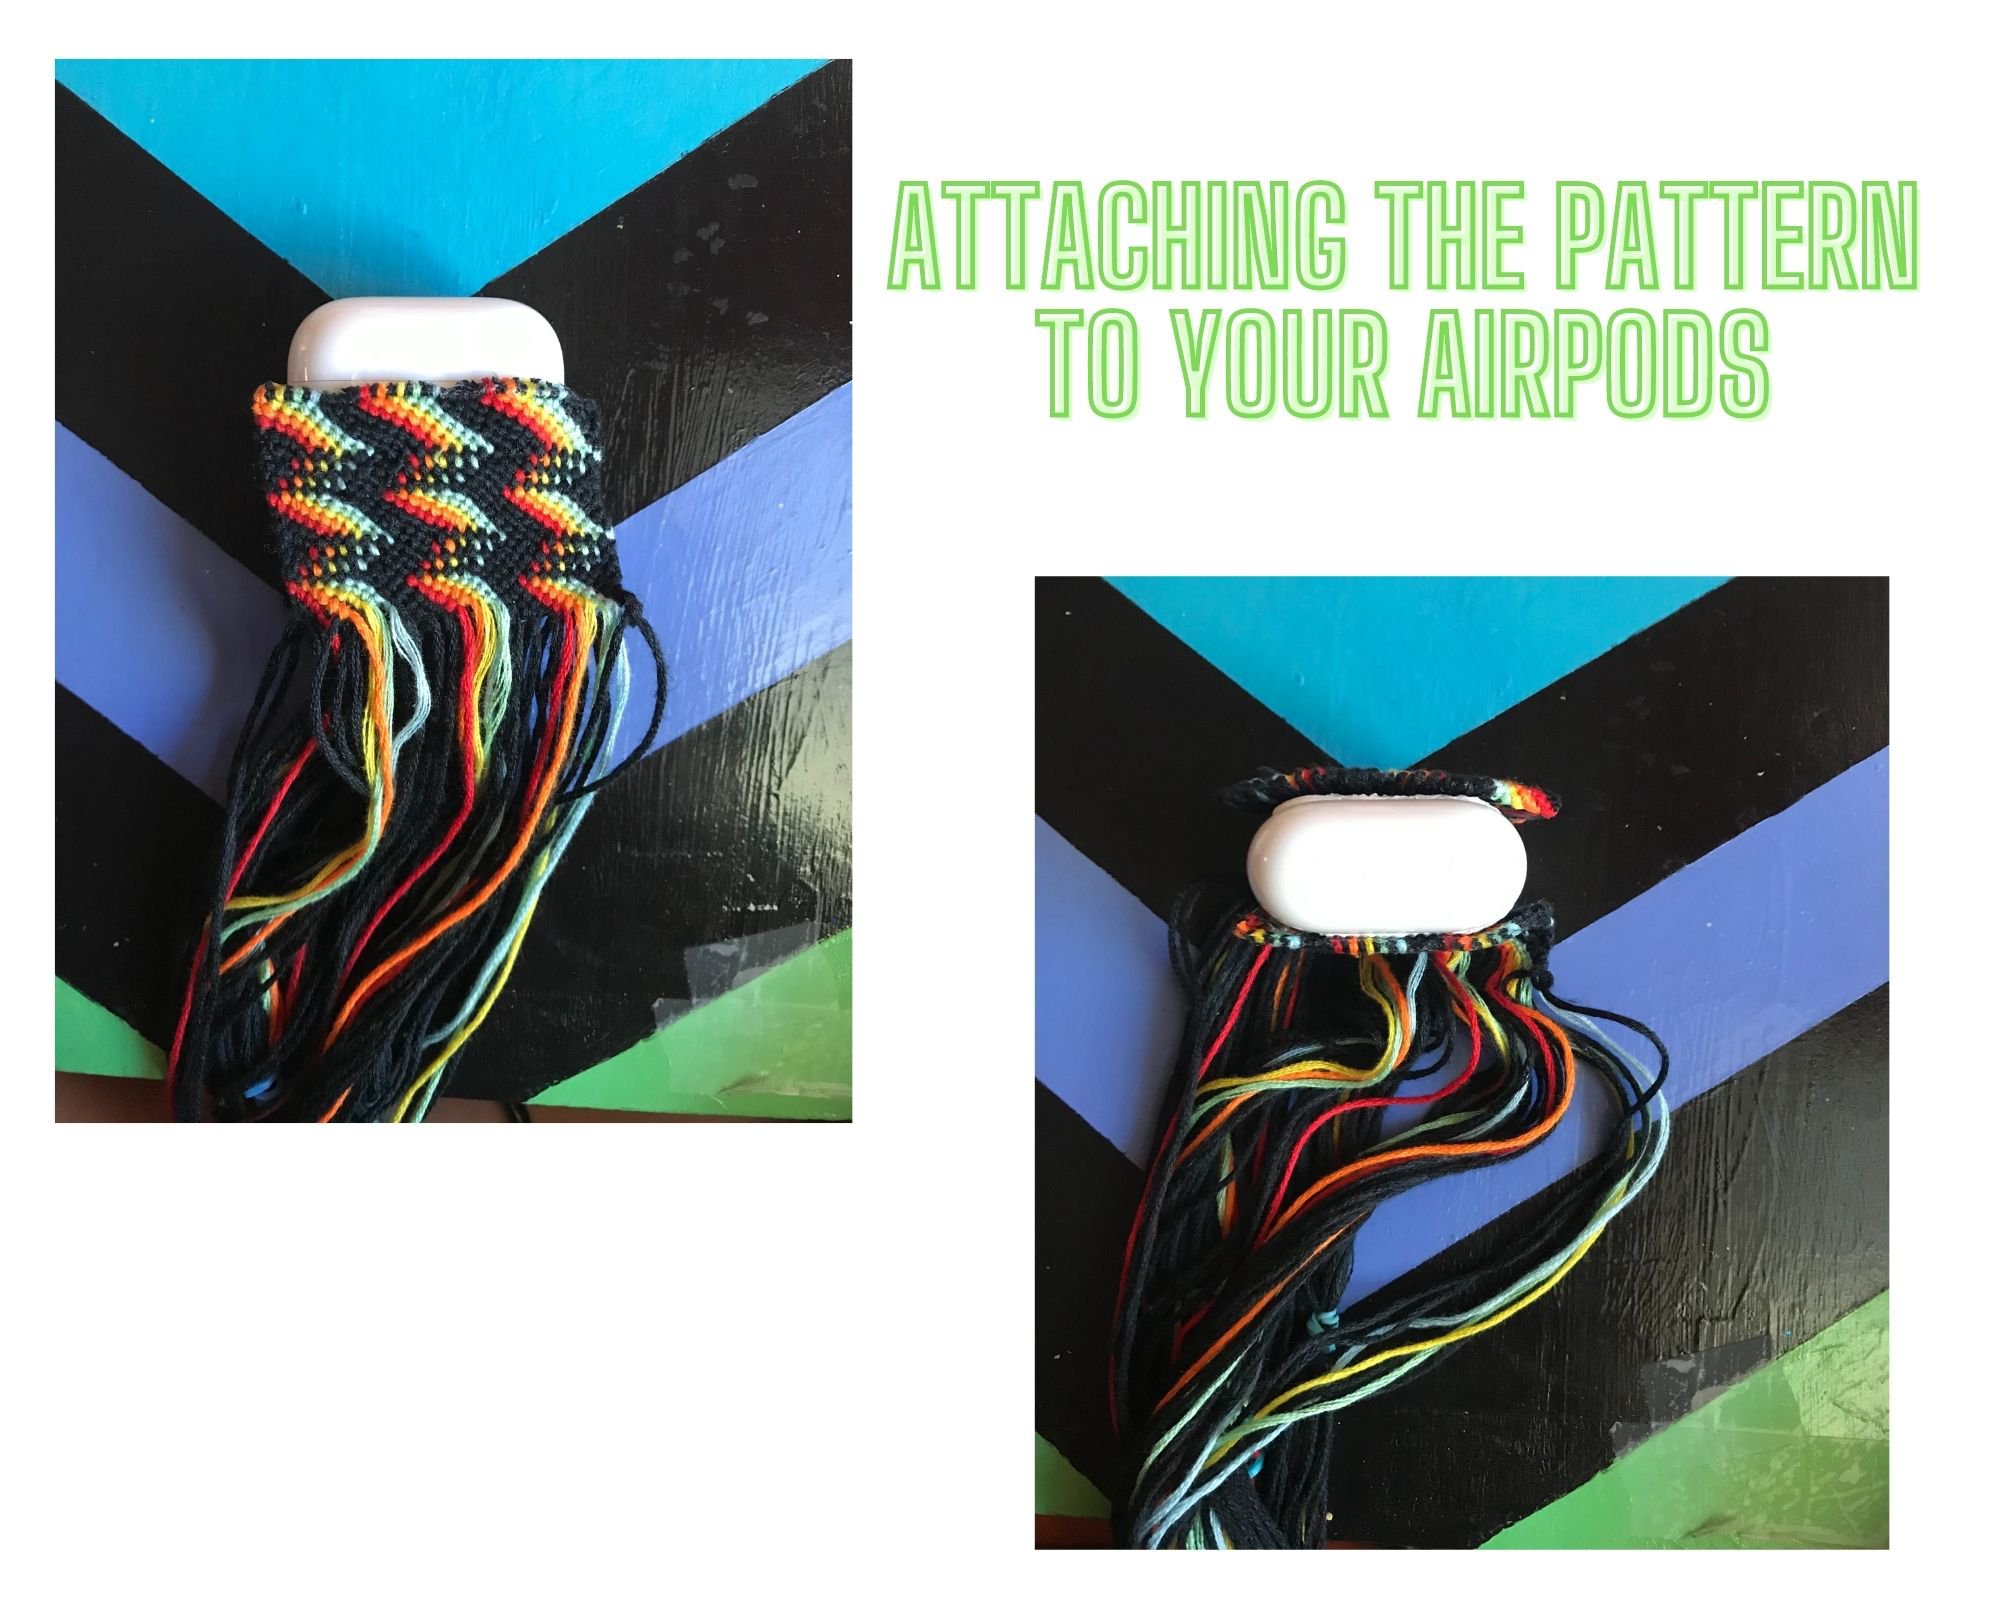
Attach the two parts to your AirPods using tape. Place them on your AirPods like in the pictures shown.
Step 6
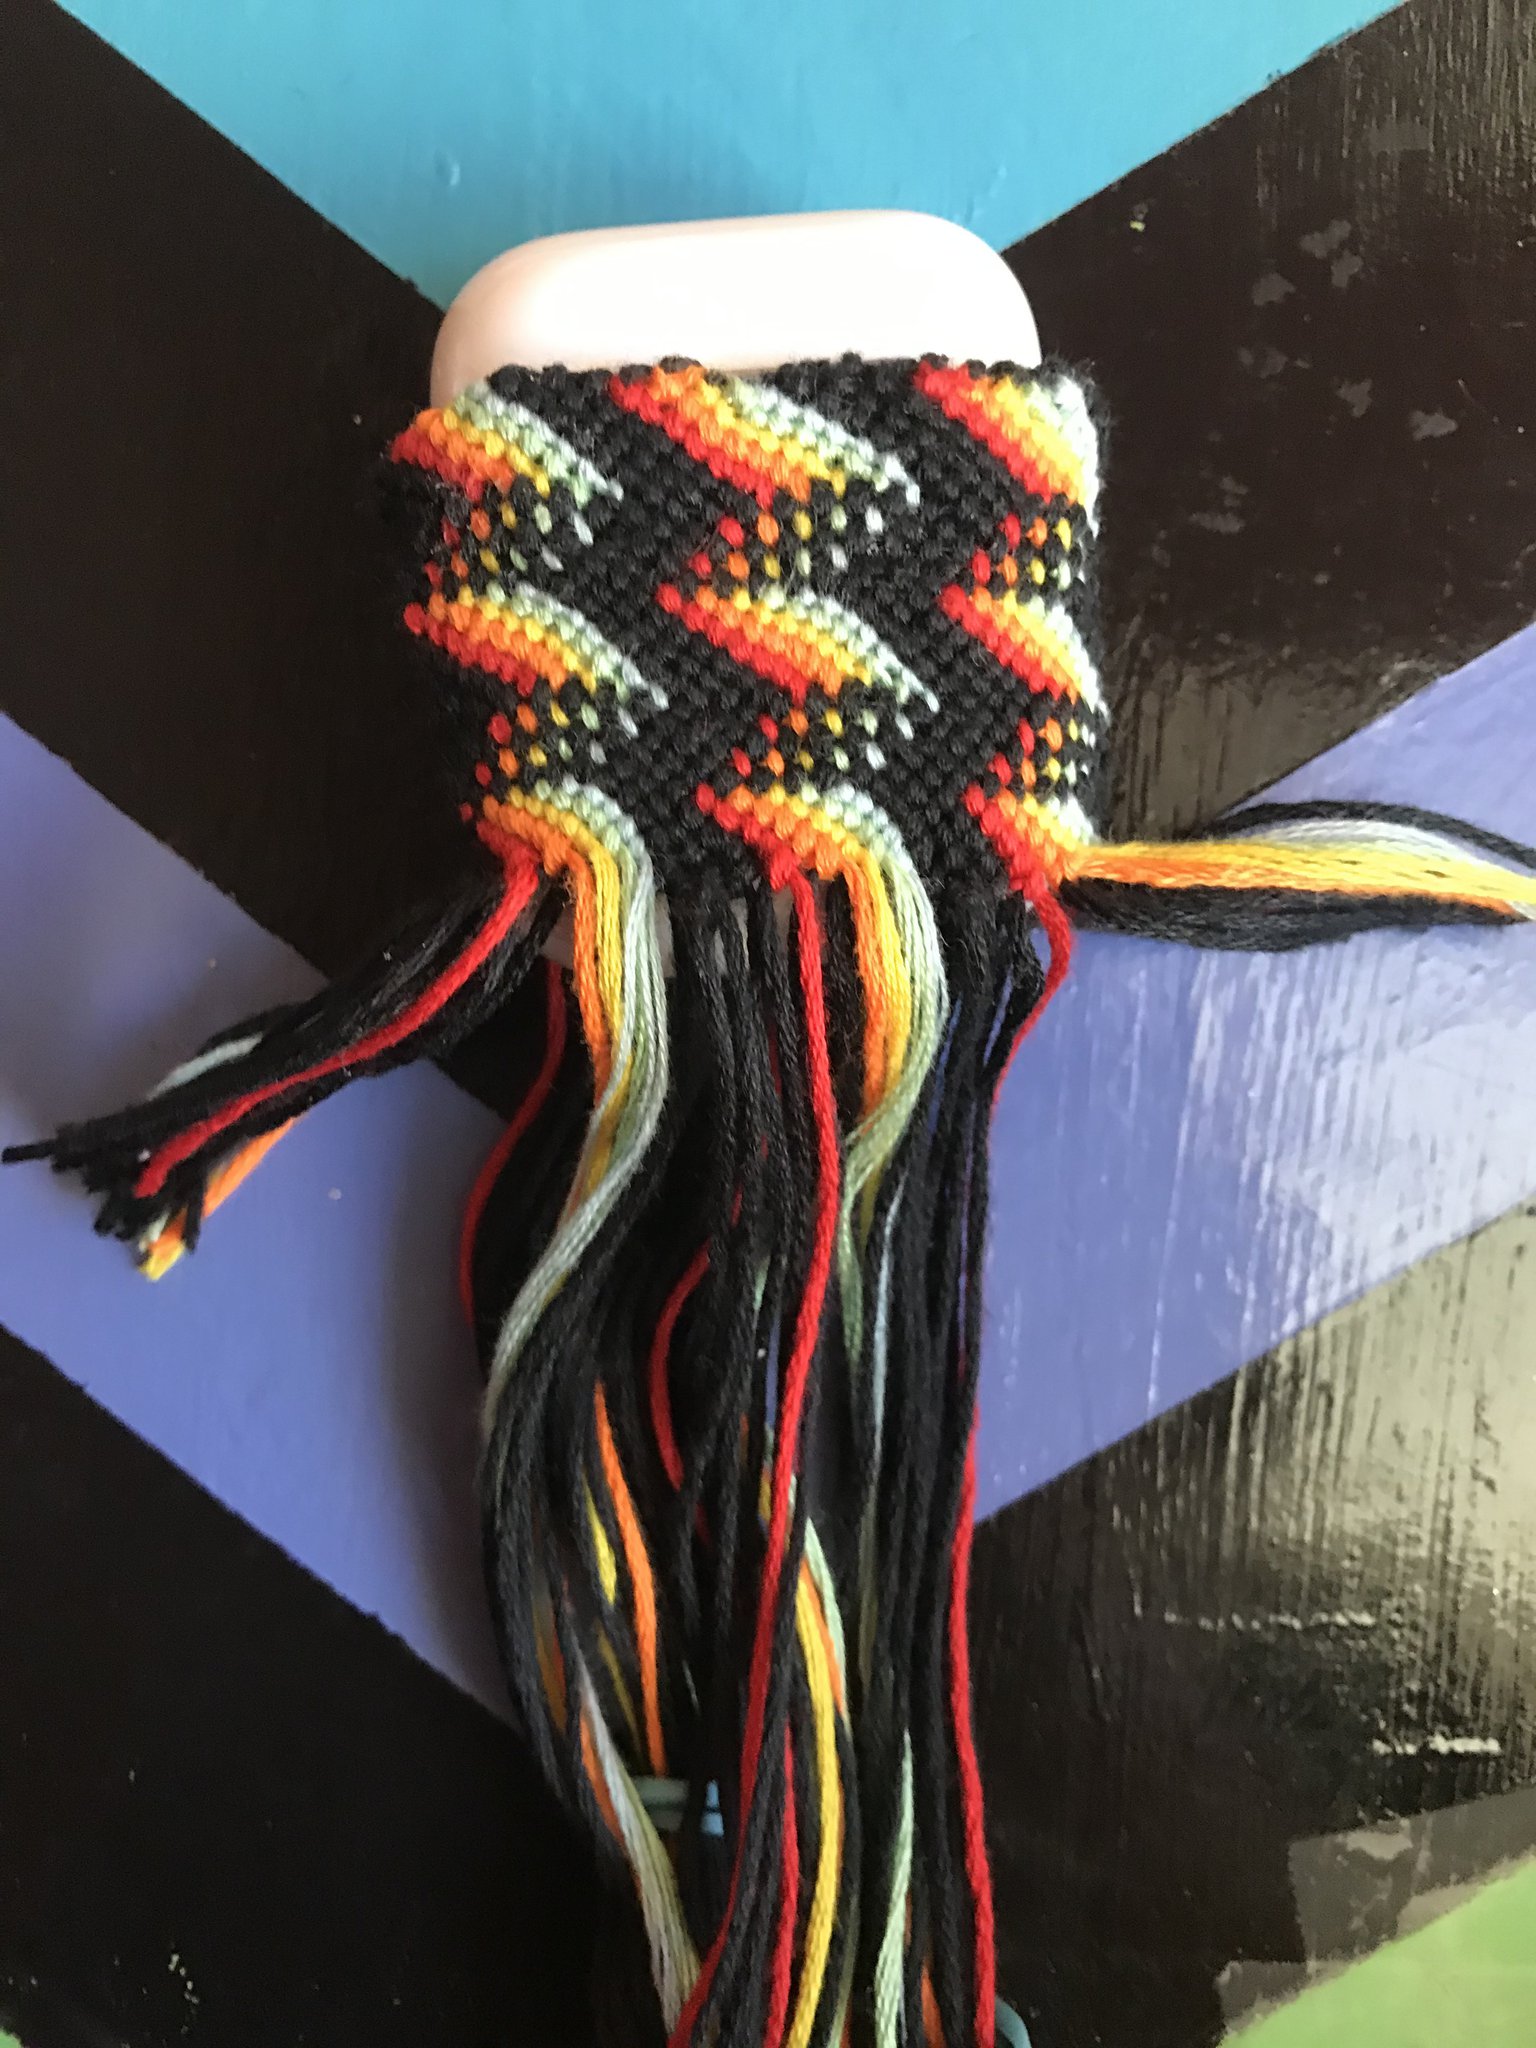
Separate your strings for the ties. Each tie I used 14 strings. So each side I kept 28 strings for the ties. On the sides where there was extra string I cut it to about half an inch (2.5 cm). Later after I sewed the sides together I hot glued it into the inside.

Step 7
Cut a string about a foot long (31 cm) or use scrap thread about that size. Then split the string in two, so that you now have two thinner strings. Take one of the strings and put a knot in the end. Then take the opposite end and put it through the needle.
Step 8
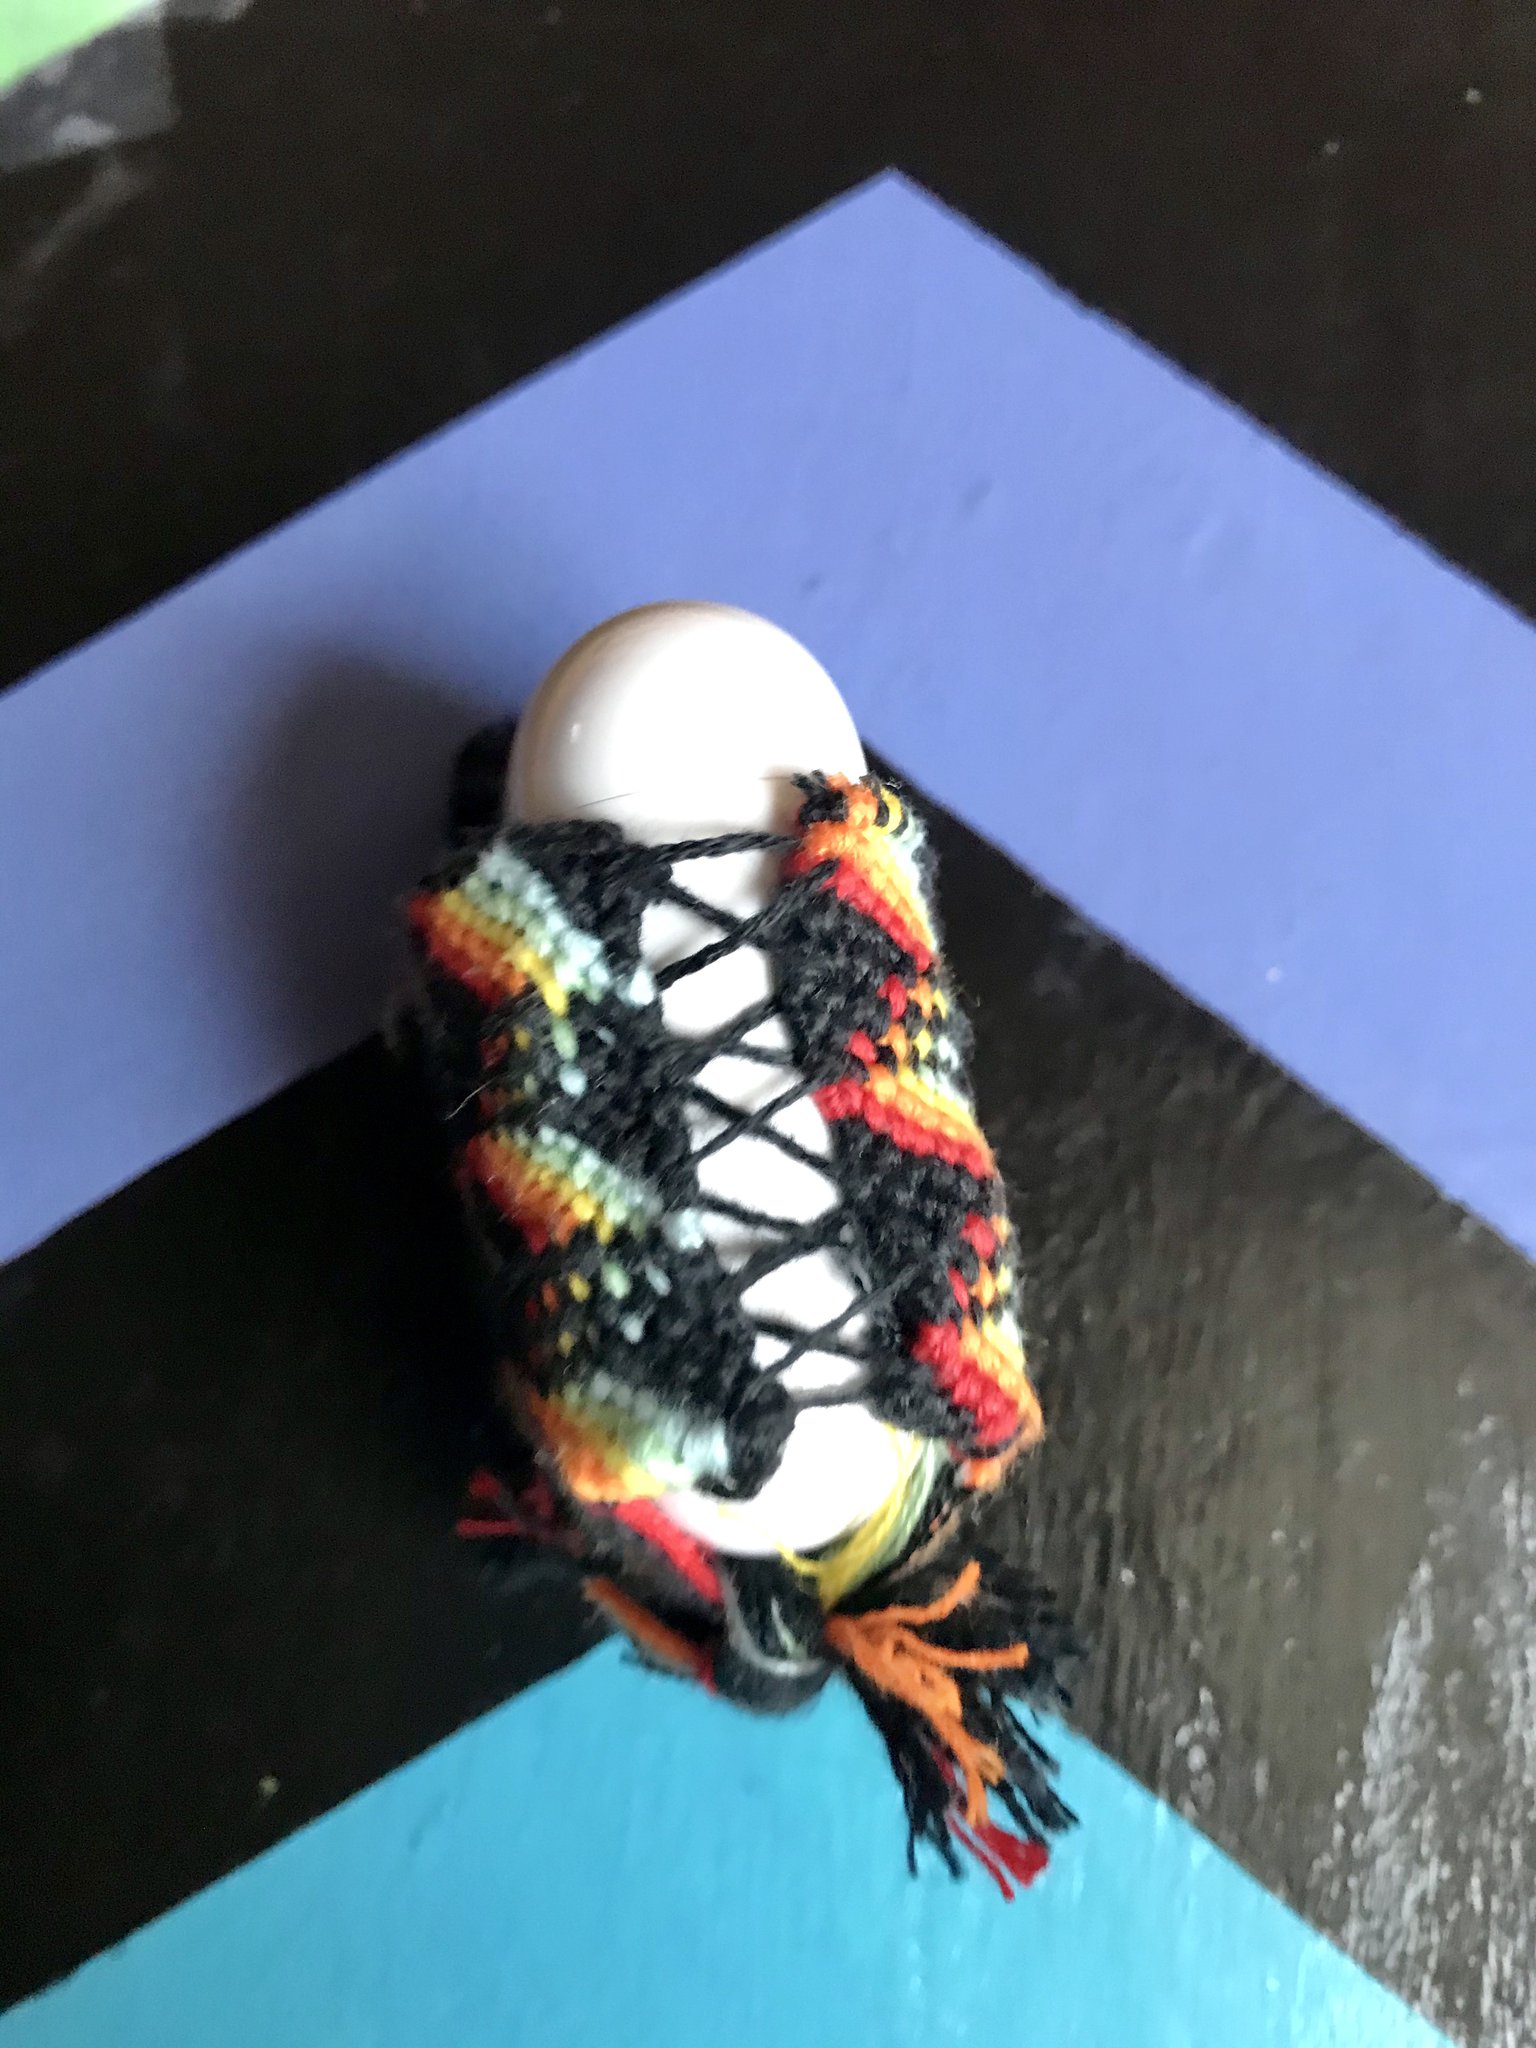
Sew the one side together like in the picture shown. You can do this however you would like. I used the crisscross technique.
Step 9
Repeat step 7-8 on the other side. Then remove the tape and take your case off. Hot glue in any extra string to the inside.
Step 10 (optional)
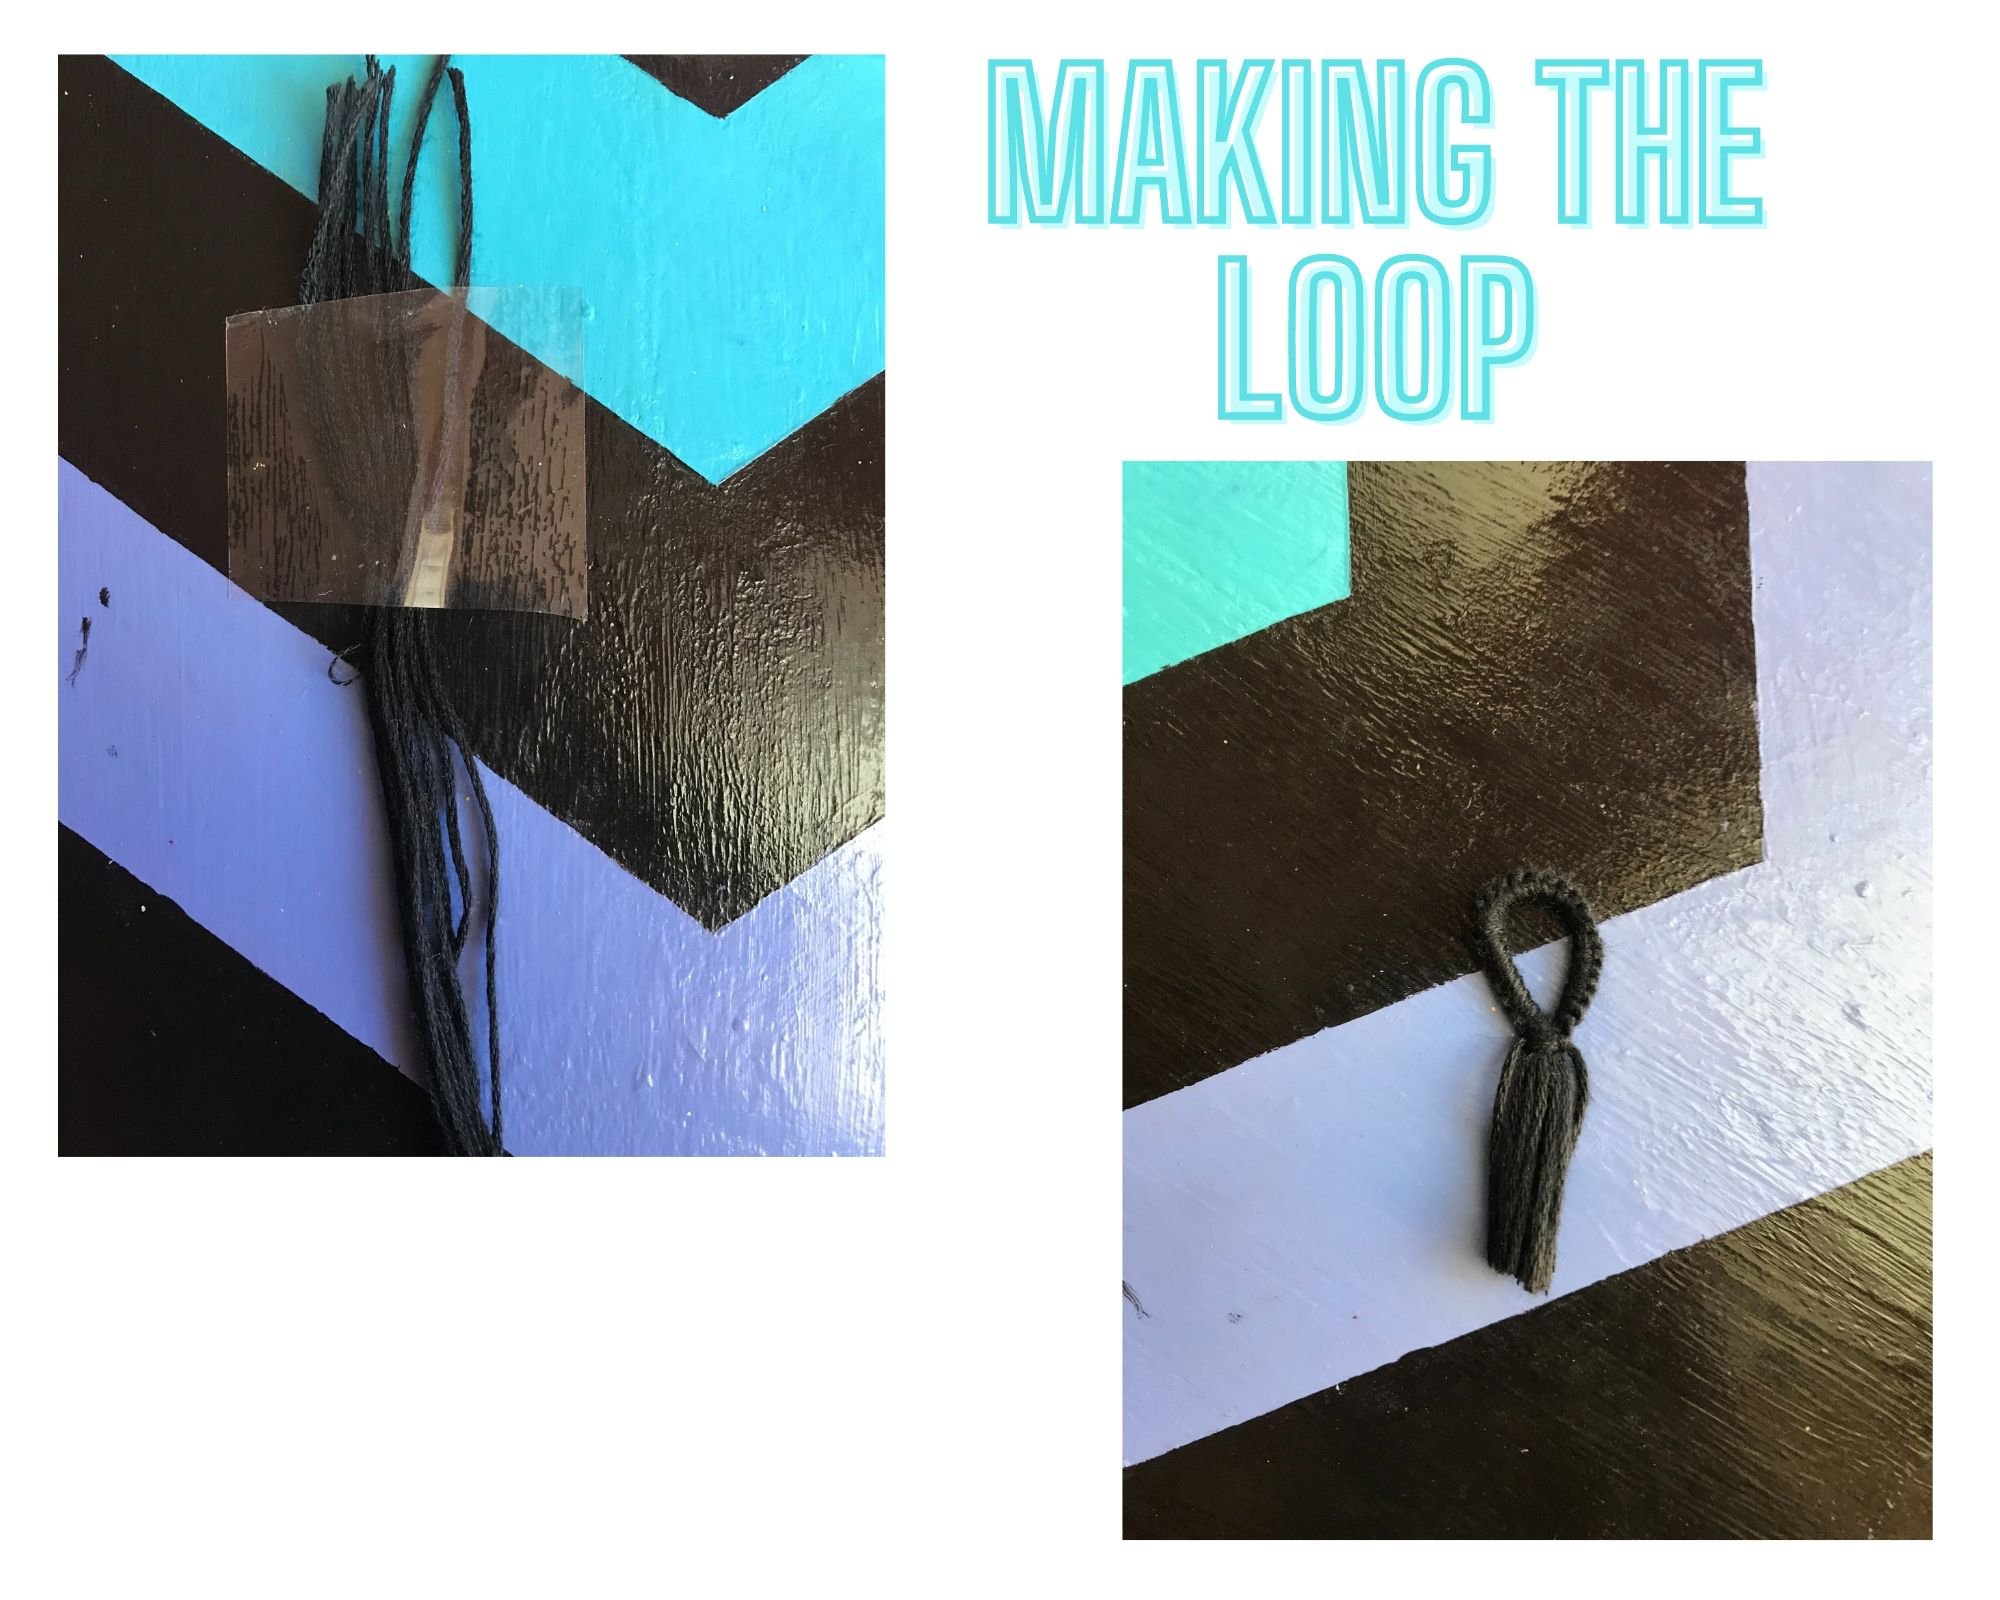
Create a loop. To do this take 7 access strings about 5 inches (13 cm) and tape them down. These will be your “base strings”. Then cut a string about 2 feet long (61 cm) and tape it down to the left of your other strings. Then take that longer string and make a forward-backward knot. Repeat this until your loop gets about an inch long. Fold your loop in half and connect the sides by knotting them together using some of the “base strings”. Cut the access leaving an inch long tail (2.5 cm). Then glue it to the inside of your case wherever you would like it.
Step 11
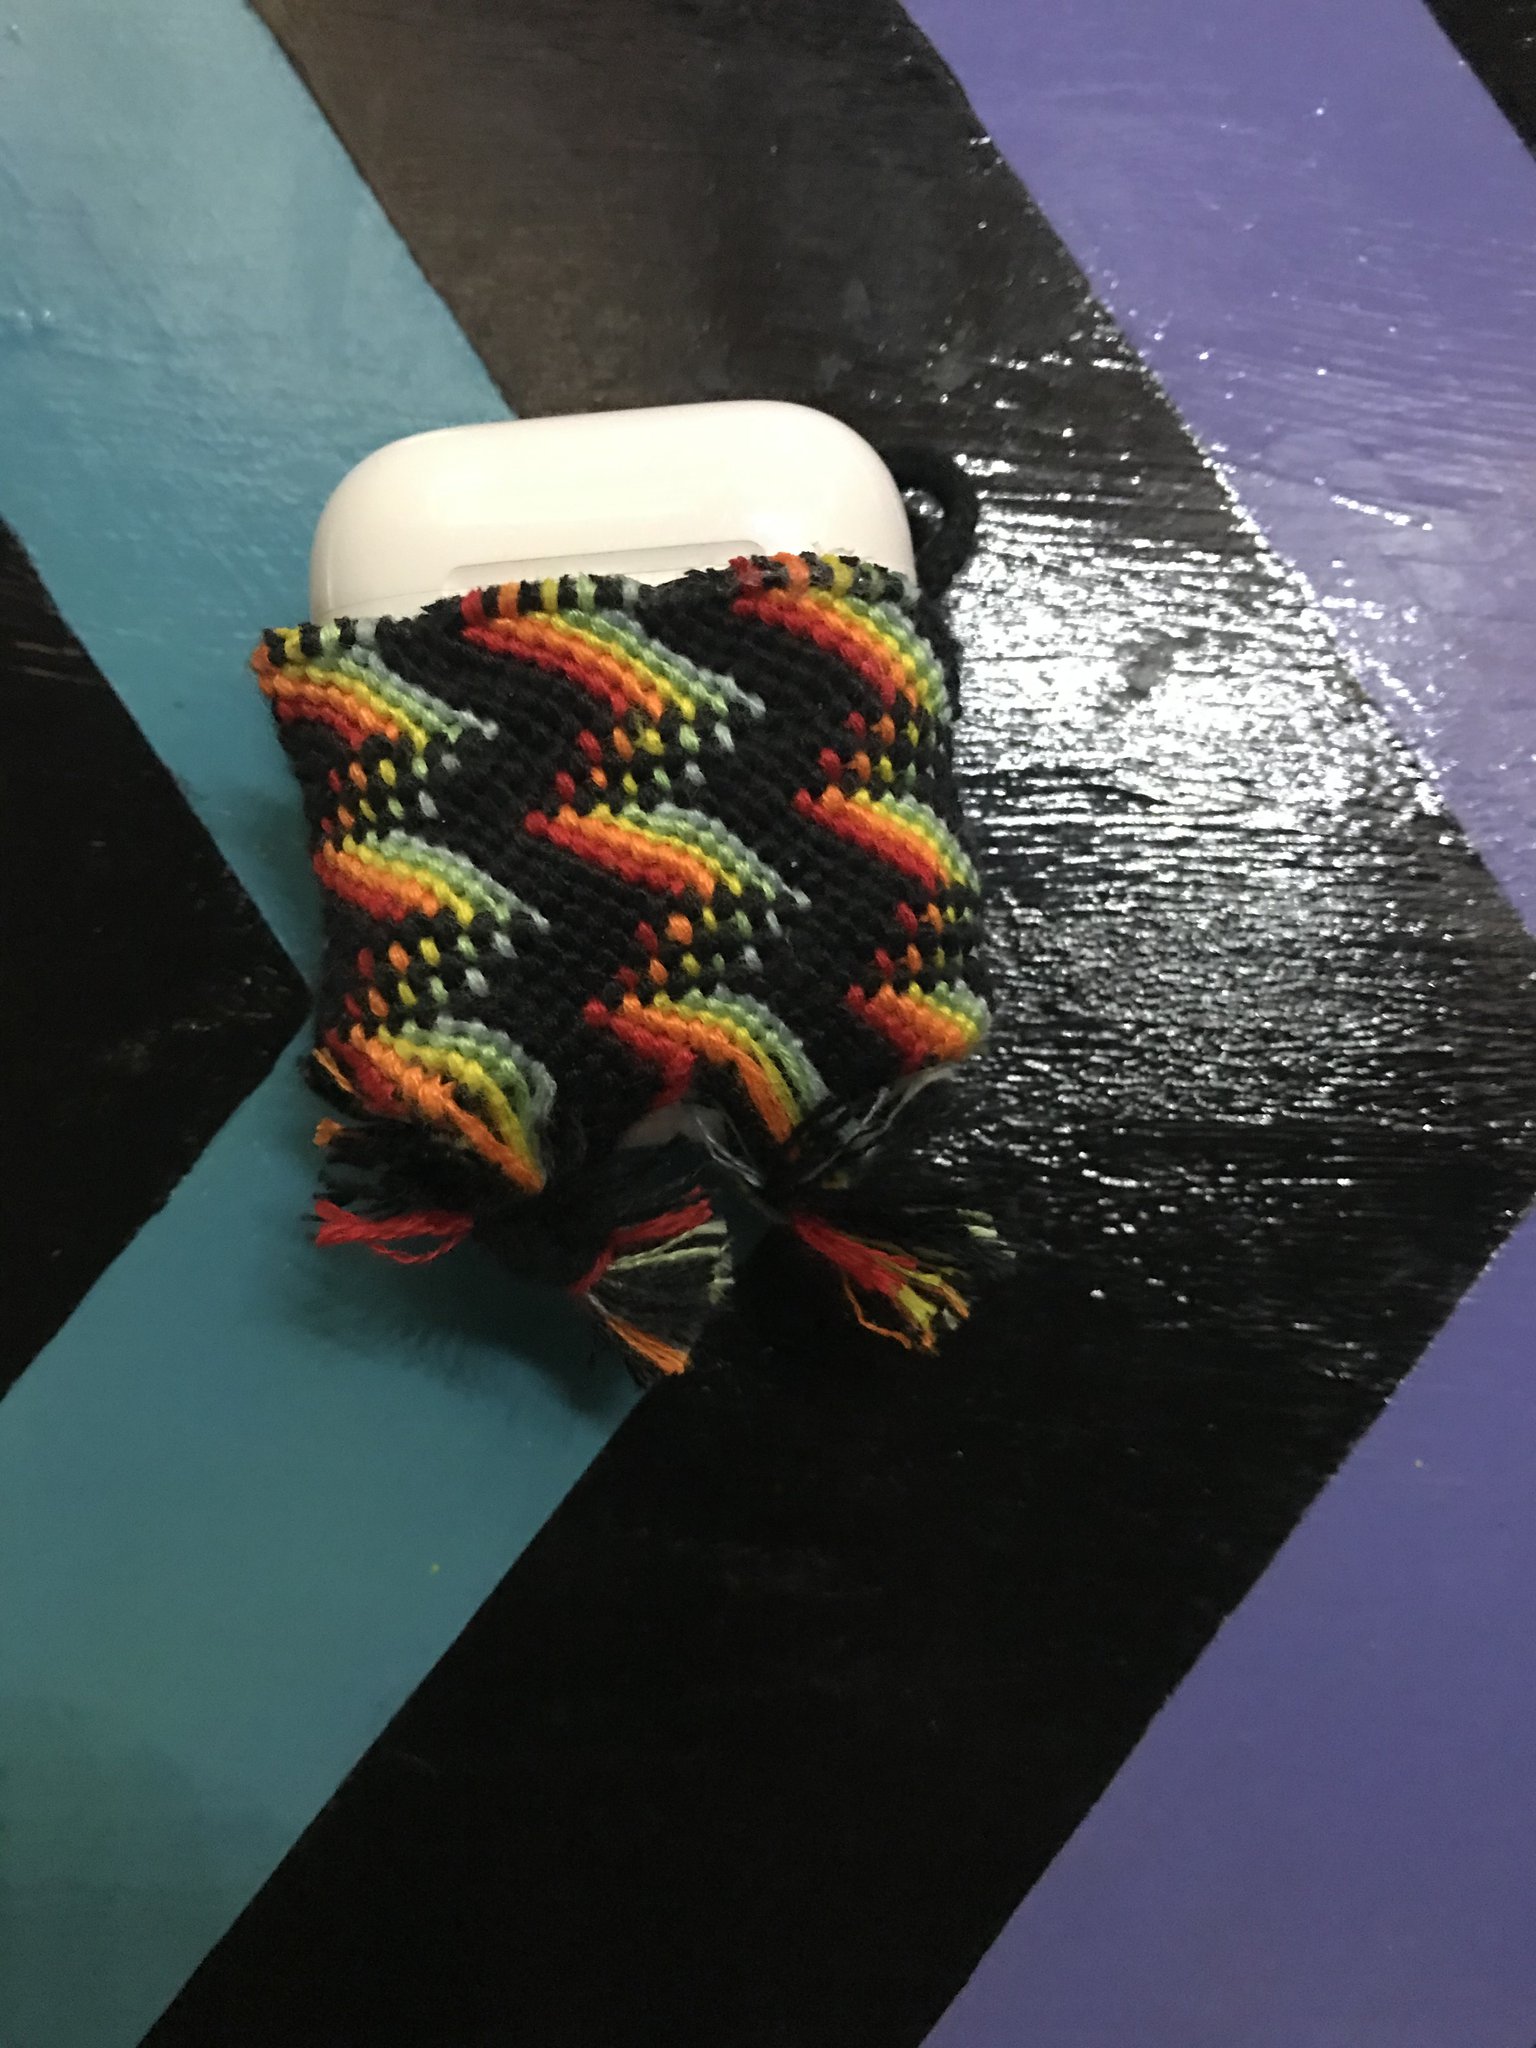
Create the ties. Take 14 strings from one side and 14 from the other side and tie them together. Do that again using the other strings. Cut the access string to whatever length you would like.
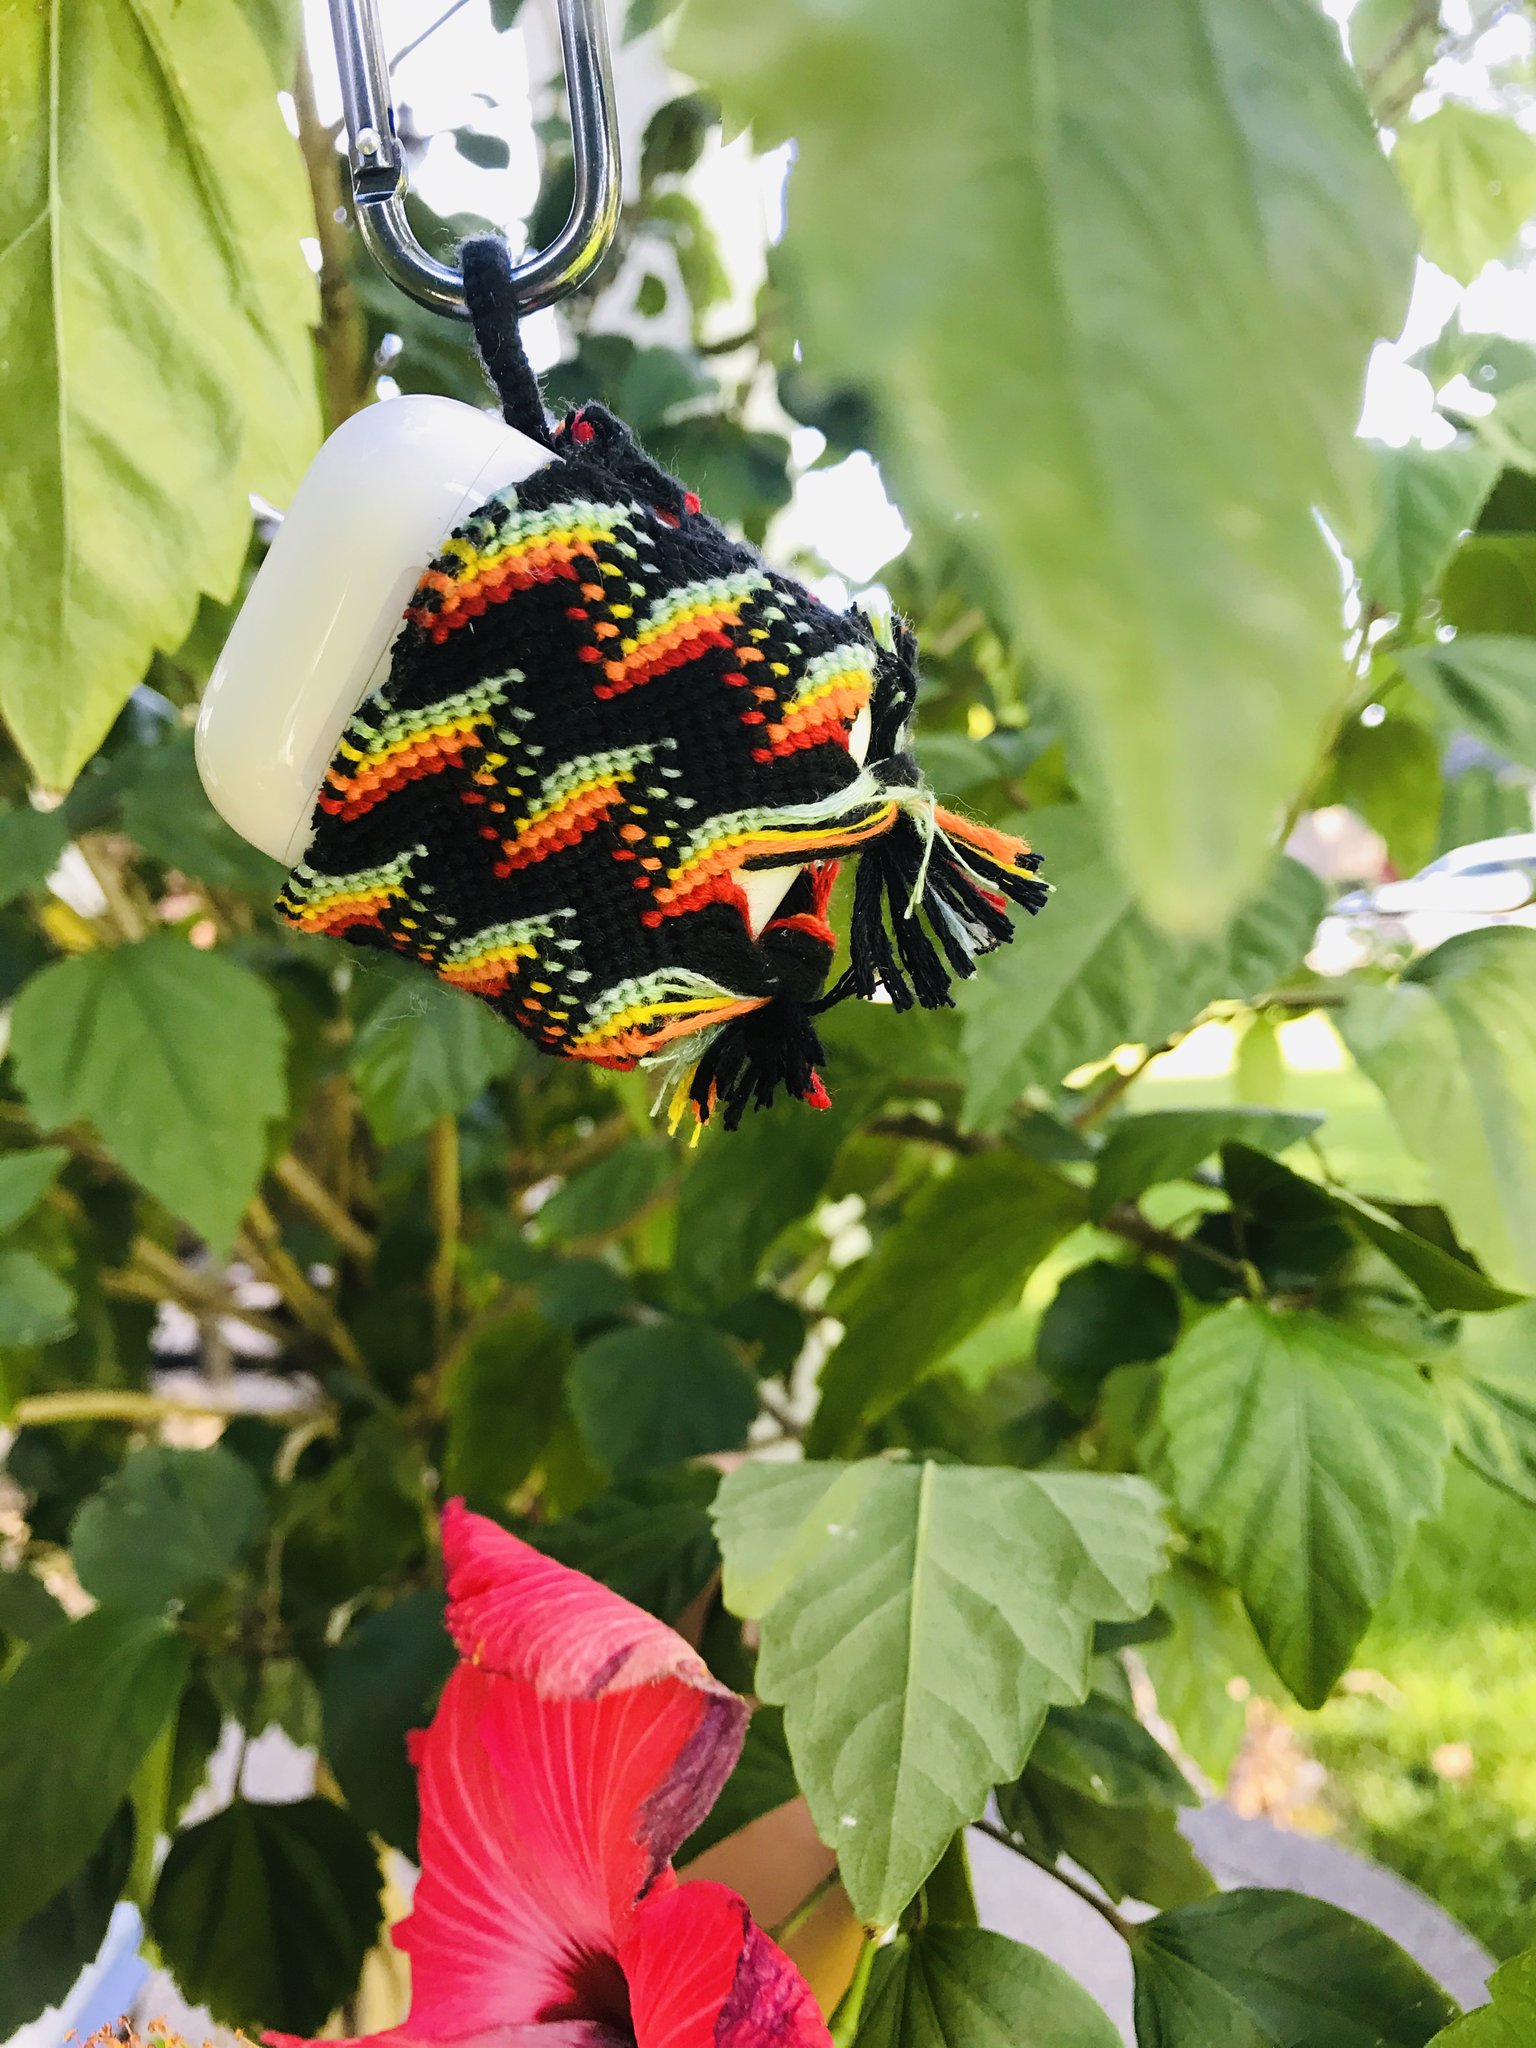
Congratulations!
You have finished your AirPods case! If you would like you can attach your clip to the loop. If you created a case please tag me in the pattern so I can see your beautiful creations! Thank you for using this tutorial and if you have any questions, you can message me or comment below. Have a wonderful day! ❤️
Video 1
If you didn’t understand how to make a loop, this video by Masha Knots will teach you how to make basic loops.
Video 2
If you don’t know how to double/triple a pattern, this video by Masha Knots will teach you.
Video 3
If you don’t know how to make a half hitch knot, this video will teach you how to.