Rate Tutorial
I was inspired to make this tutorial by Masha Knots, Alex’s Innovations, and Megan Morris. All of them created very helpful videos about tips to make better alpha bracelets. Some of these tips are from their videos as well as some that I’ve picked up along the way. If you don’t know how to make alpha bracelets, I would recommend watching Masha Knots’ “Flat Alpha Bracelets’ video. In that video, she teaches you how to read patterns, make the bracelet, and some tips and tricks.
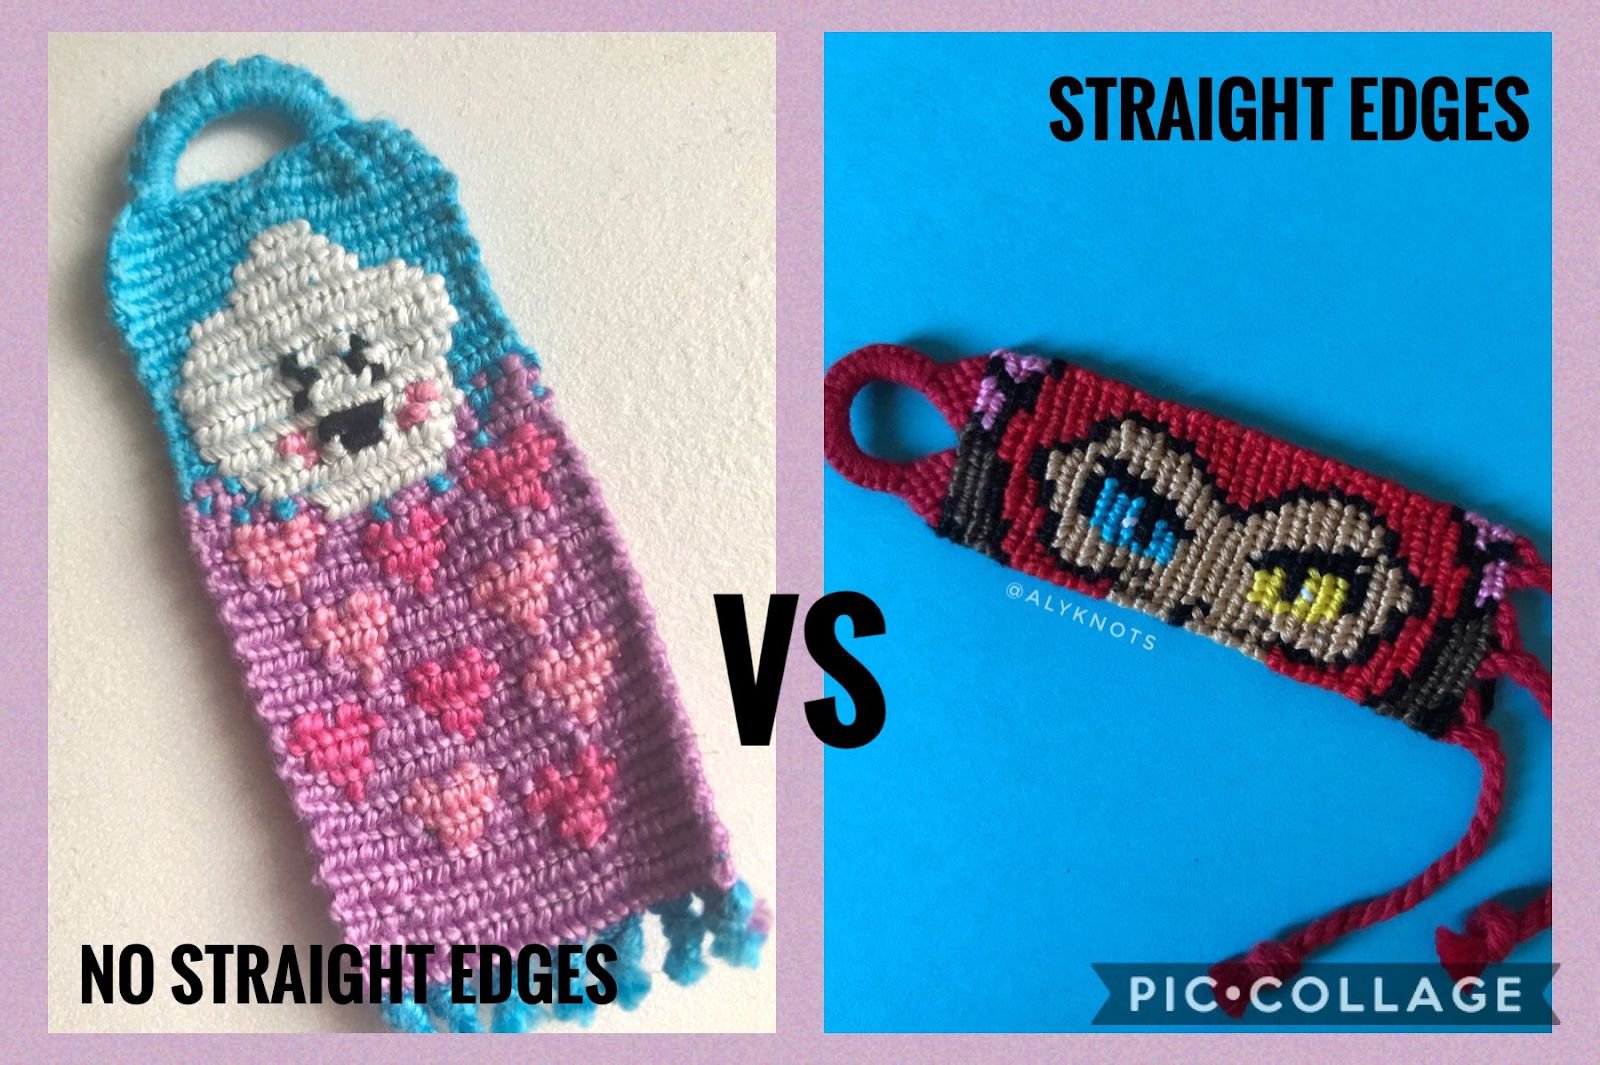
Tip 1: Use the straight edges technique
Using the straight edge technique will help keep the edges of your bracelet straight. When you use this technique on your bracelets your edges won’t have little bumps or ridges. To do the technique you need to make backward-forward knots on the left and forward-backward knots on the right. In Masha Knots’ “Flat Alpha Bracelets” tutorial she teaches you how to do the straight edges in depth.

Tip 2: Use strings that produce the same size knot
When making alphas you want all the knots to be the same size so your bracelet is consistent and doesn’t look wonky. The best way is to use strings from the same brand. But if you’re like me and you have a bunch of different types of string you can cut a little piece of each string and test it out. When I tested out my thread DMC’s embroidery floss and Loops & Threads’ craft cord produced the same size knots but the crochet yarn produces slightly bigger knots, so instead I use it for base strings.
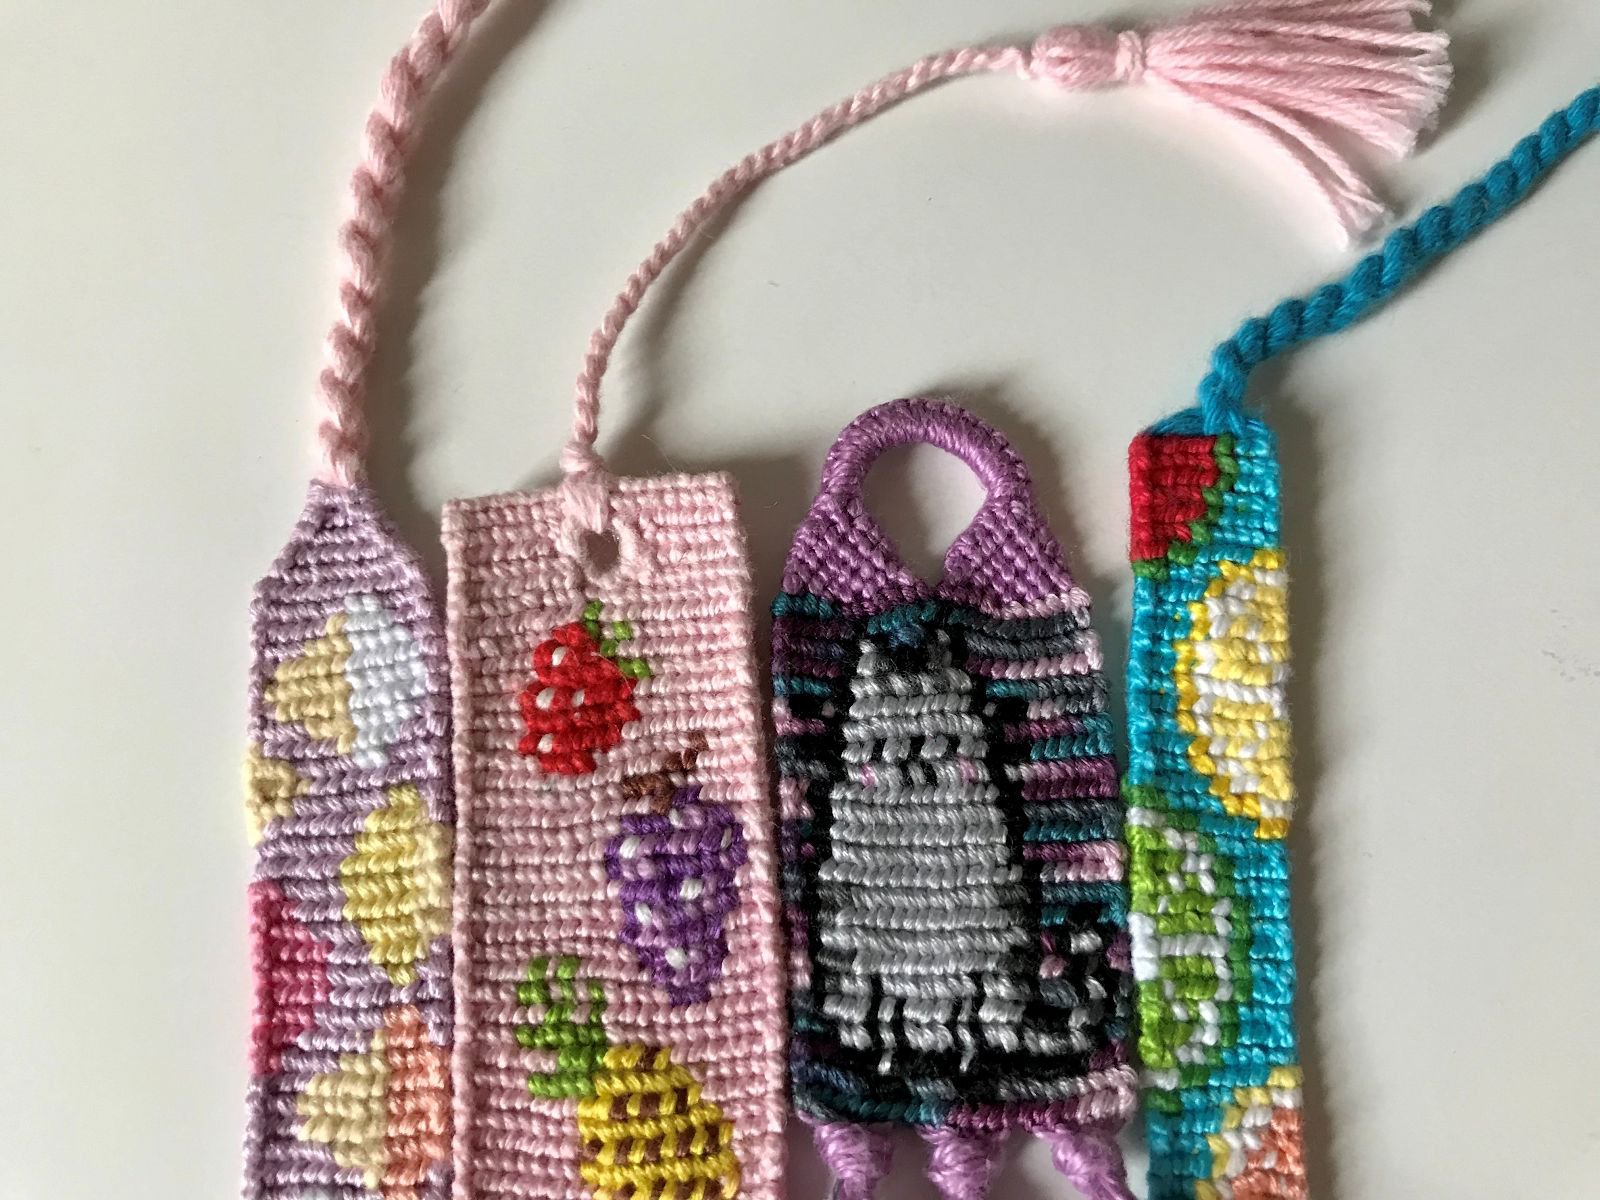
Tip 3: Start your bracelets in different ways
There are many interesting ways to start your bracelets and all of them can look super pretty and step up your bracelet game! Some of them are triangle ends, a teardrop loop, triangle ends coming off of a loop, crimp ends, and many more! But sometimes you just want to start your bracelet, what I find works best for me is to tape them down to my clipboard or on my desk against something straight, like a ruler. Remember to use a lot of tape, leave around 10-15 cm of string at the top for ties but also to keep your string secure, and be sure to spread them out a bit to make sure all the strings are secure. You can also attach your strings to a wooden stick and make your bracelet on that and make a wall hanging!
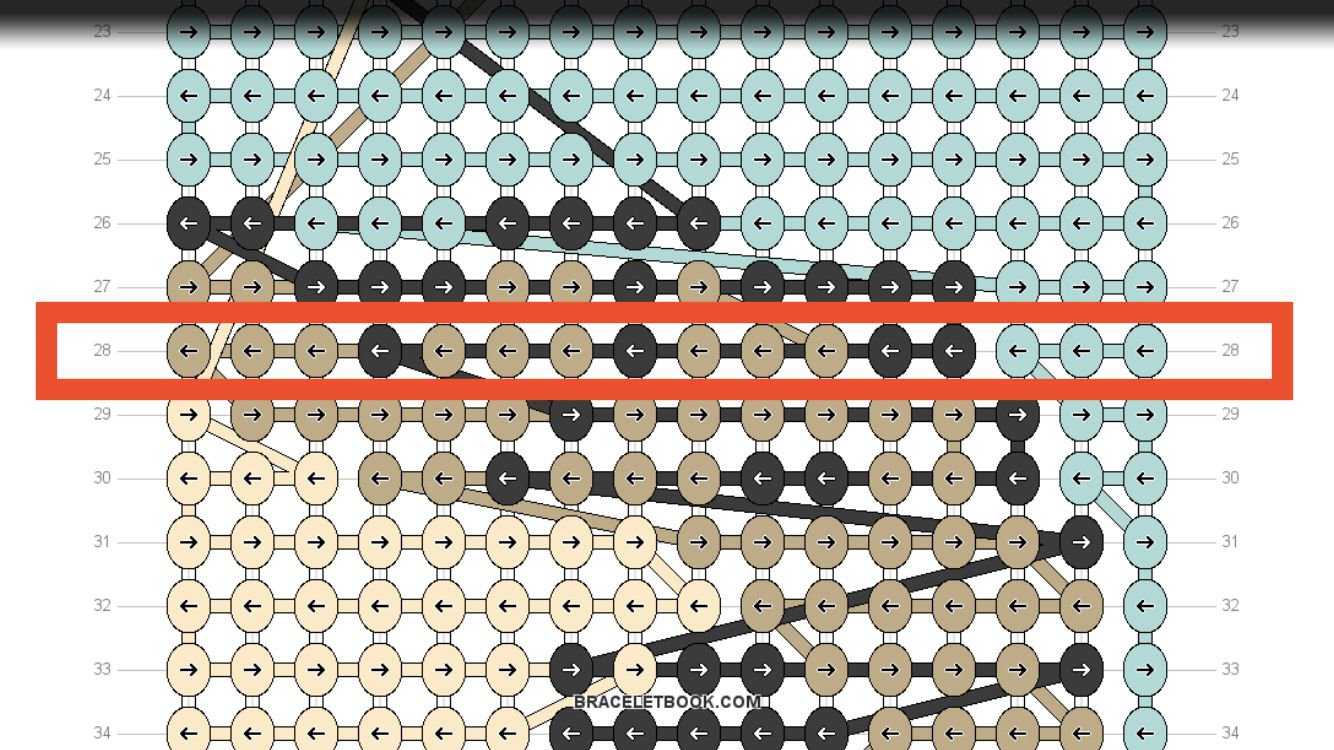
Tip 4: Count how many knots you need to make
Once you’ve figured out what row you are on you can count how many knots of each colour you need to make in that row so you don’t get lost. If you do get lost in the pattern easily I recommend printing out the pattern and marking off each row once you are done knotting it. In my bracelet, I am on row 28. I have to do 3 knots of the background colour, 2 knots of black, 3 knots of brown, 1 knot of black, 3 knots of brown, 1 knot of black, then 3 knots of brown. I will then spread out my strings into groups accordingly.
Tip 5: Use the flat alpha technique
Using it can help your bracelets look a lot neater and not have your alphas have bumps. This technique sandwiches your old string between your knot when you are switching colours in your alpha instead of tucking your old string behind your bracelet. Masha Knots explains this technique in her “Flat Alpha Bracelets” video.
Tip 6: Adjust your knots as much as you need
Sometimes when you make a knot it can look a bit wonky. You might think that it will fix itself when you make a few more knots but that isn’t always the case. As soon as you notice it untie it or adjust it until you think it looks okay.
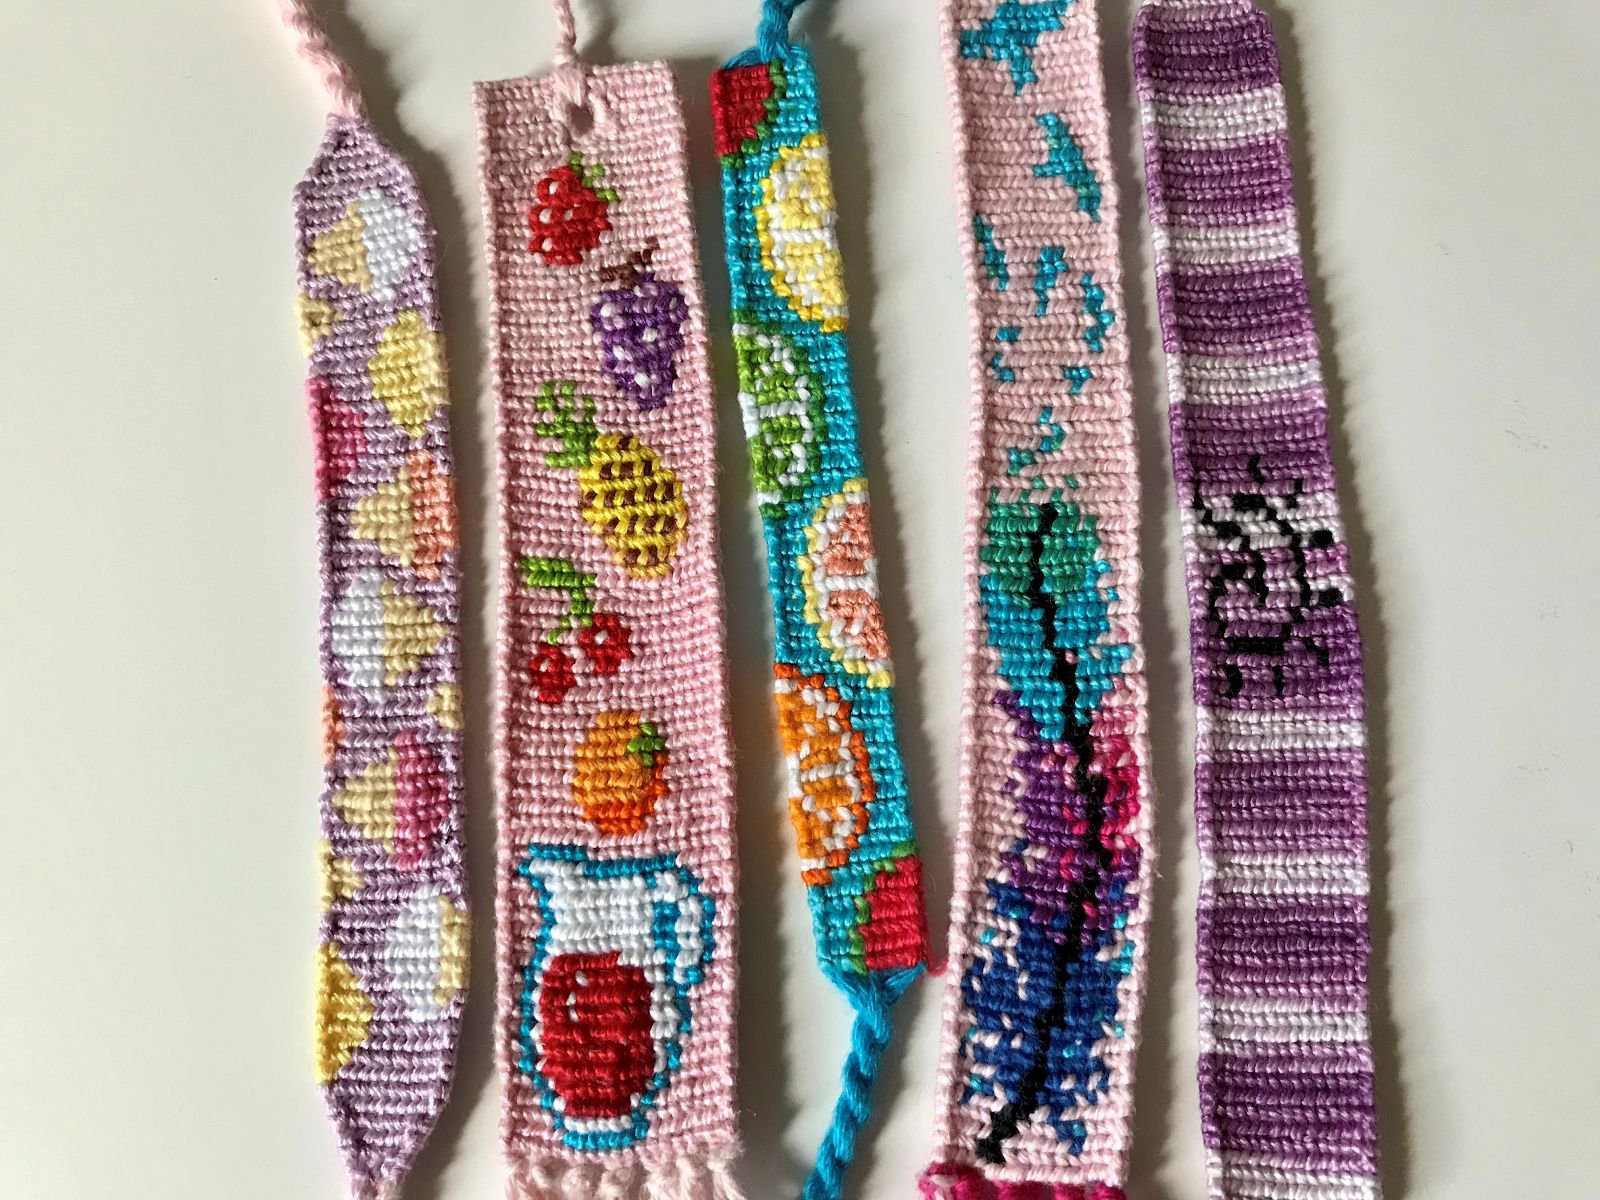
Tip 7: Practice
One of the best ways to improve your bracelets is to just practice. If you keep making bracelets you might start to notice that your edges will start looking neater or your knots will be more consistent! Just keep going!
I hope you found these tips helpful! If you have any questions or any more tips that you think people will find helpful leave a comment. Happy knotting!
5 ALPHA BRACELET HACKS by Masha Knots.
6 ALPHA TIPS AND TRICKS by Alex's Innovations.
10 Tips for Better Alpha Bracelets by Megan Morris.
41 Comments