Rate Tutorial
Overview
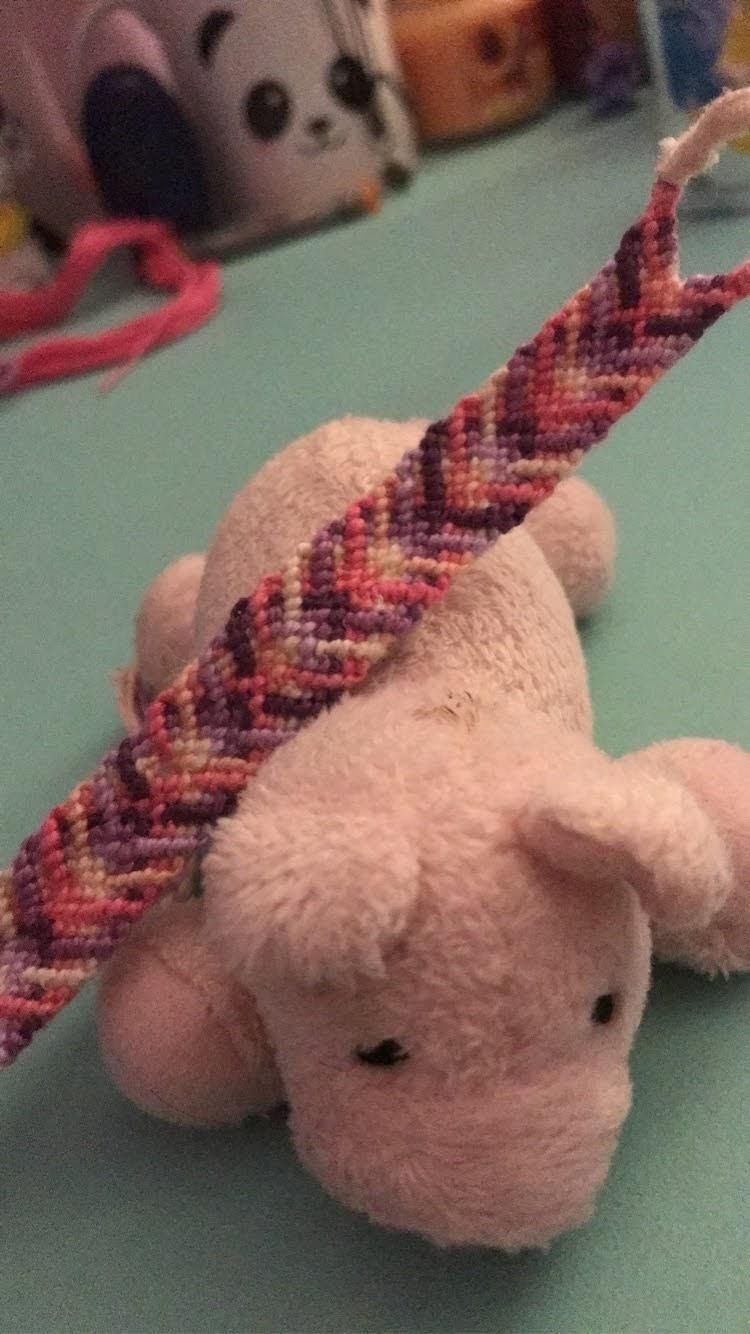
This tutorial will teach you how to make a woven square chevron bracelet by @isofrazier on braceletbook! This is a beginner chevron type bracelet that uses forward and backwards knots. There are only two rows to this pattern to repeat so I would consider this a nice bracelet to start after your very first chevron.
Materials needed
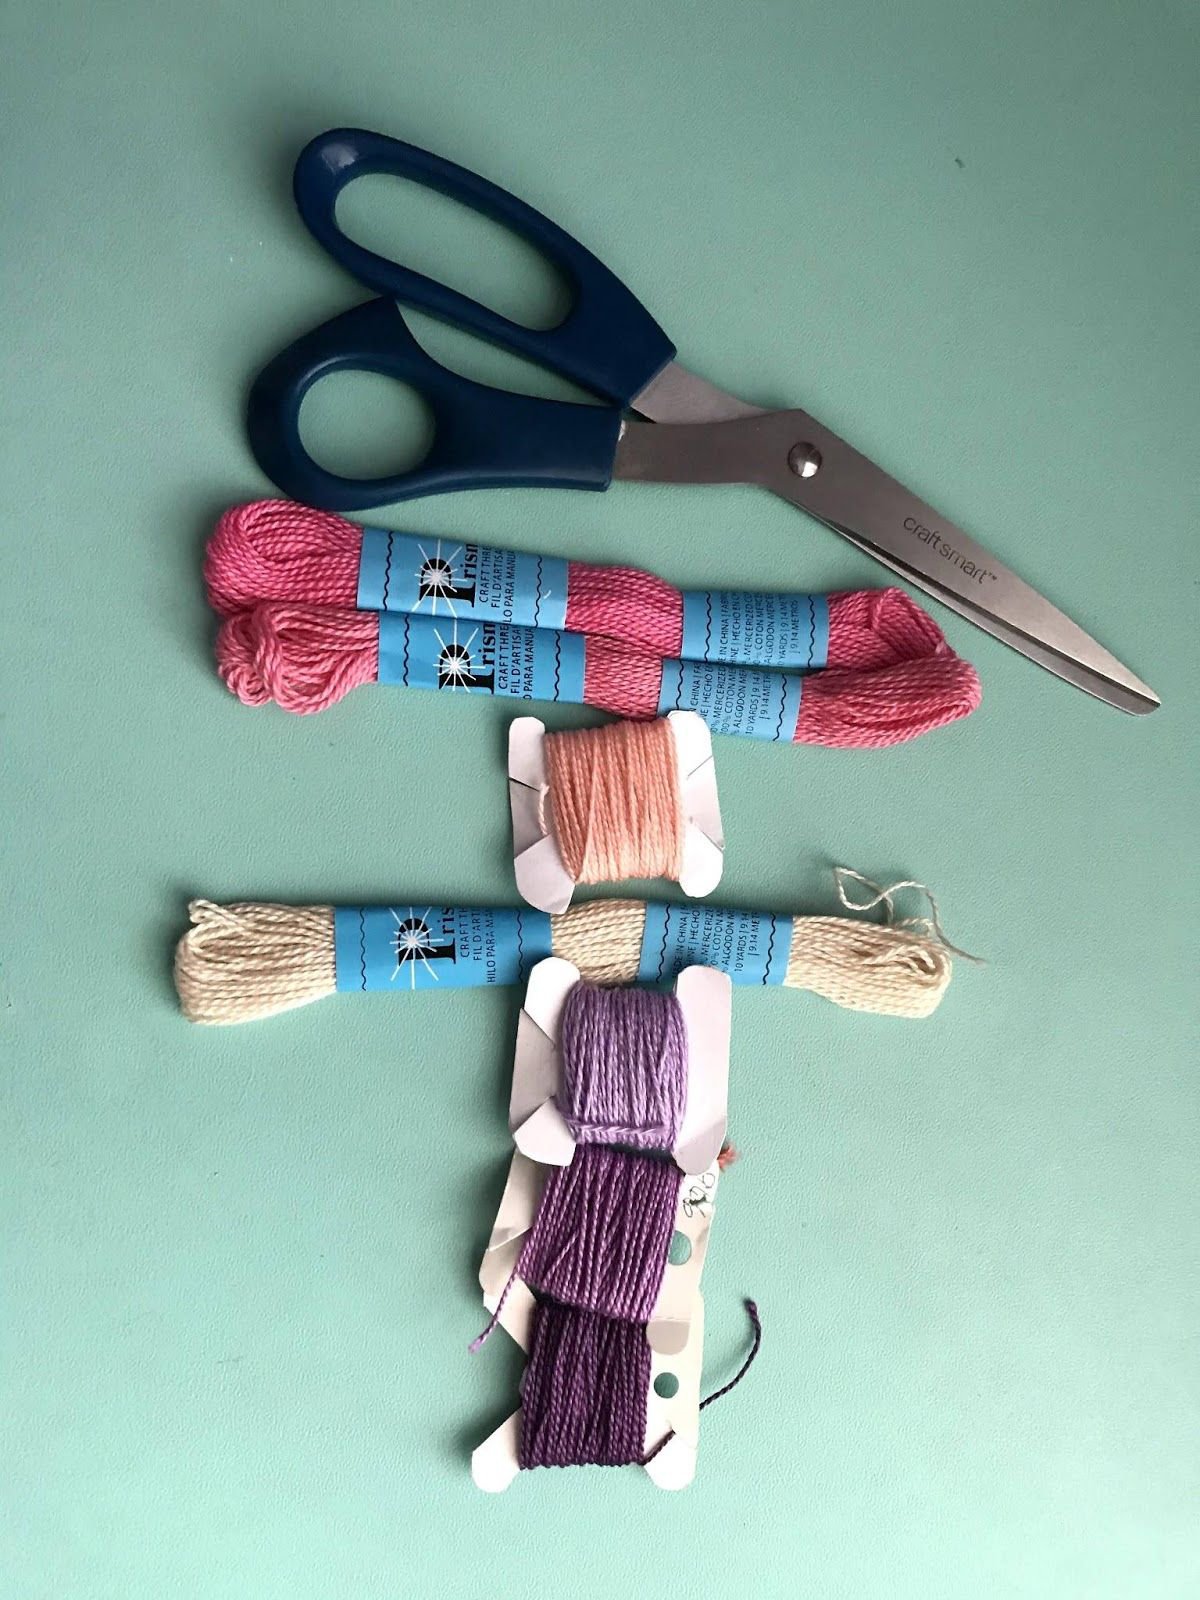
- Scissors
- 7 colors of string
- A way to hold down your bracelet (ex. Tape or clipboard)
I also suggest you learn how to start and finish a bracelet before this since it will not be taught in this tutorial.
- 7 colors of string
- A way to hold down your bracelet (ex. Tape or clipboard)
I also suggest you learn how to start and finish a bracelet before this since it will not be taught in this tutorial.
Step 1
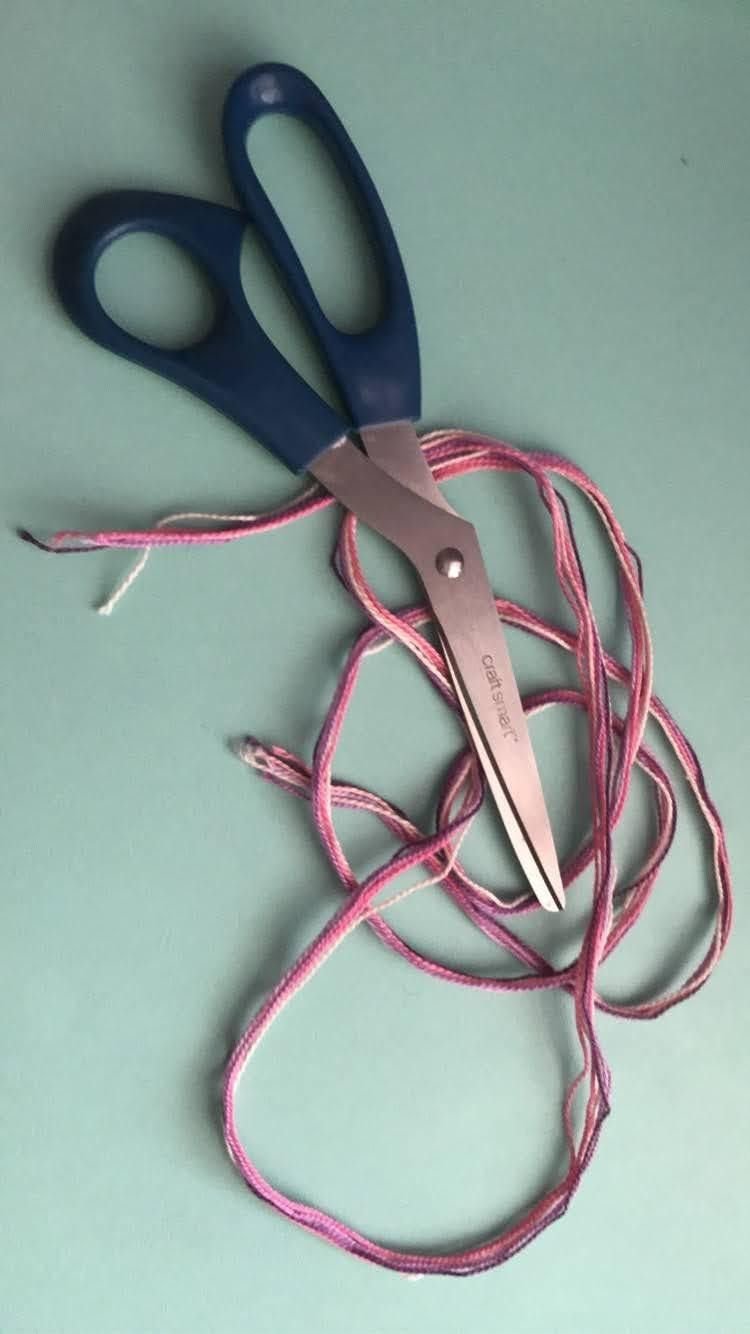
I created a loop and folded my string in half in this tutorial.
Cut one 60 inch piece of each color with one being 10 inches longer for the loop. Fold the strings in half and knot a loop. Masha Knots on youtube has a great tutorial for loops.
Cut one 60 inch piece of each color with one being 10 inches longer for the loop. Fold the strings in half and knot a loop. Masha Knots on youtube has a great tutorial for loops.
Step 2
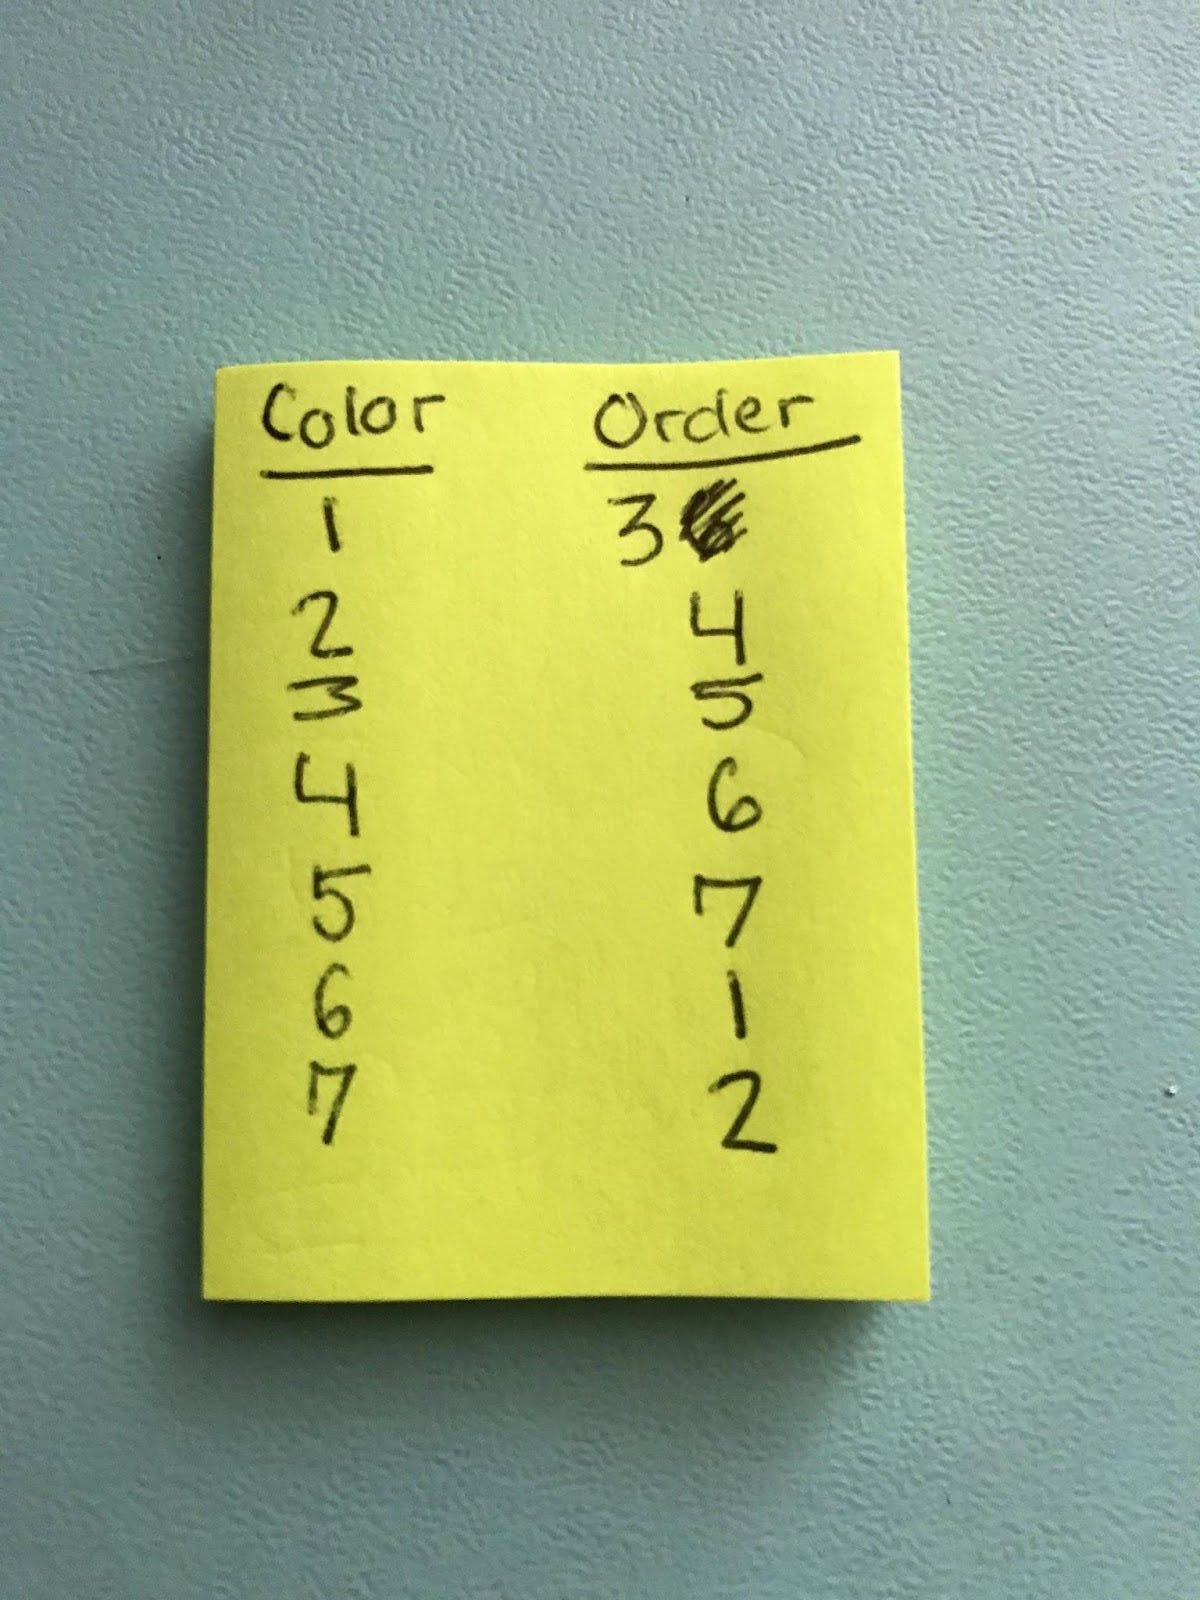
The sticky note guide to the left shows you what order your strings should go.
Figure out the order you want your colors to appear in the pattern. Label them with a number 1-7 with 1 being the first color to appear and 7 being the last. Those numbers are in the “Color” column. The numbers in the “Order” column shows you where the string should be placed at the bottom of the loop.
Figure out the order you want your colors to appear in the pattern. Label them with a number 1-7 with 1 being the first color to appear and 7 being the last. Those numbers are in the “Color” column. The numbers in the “Order” column shows you where the string should be placed at the bottom of the loop.
Step 3
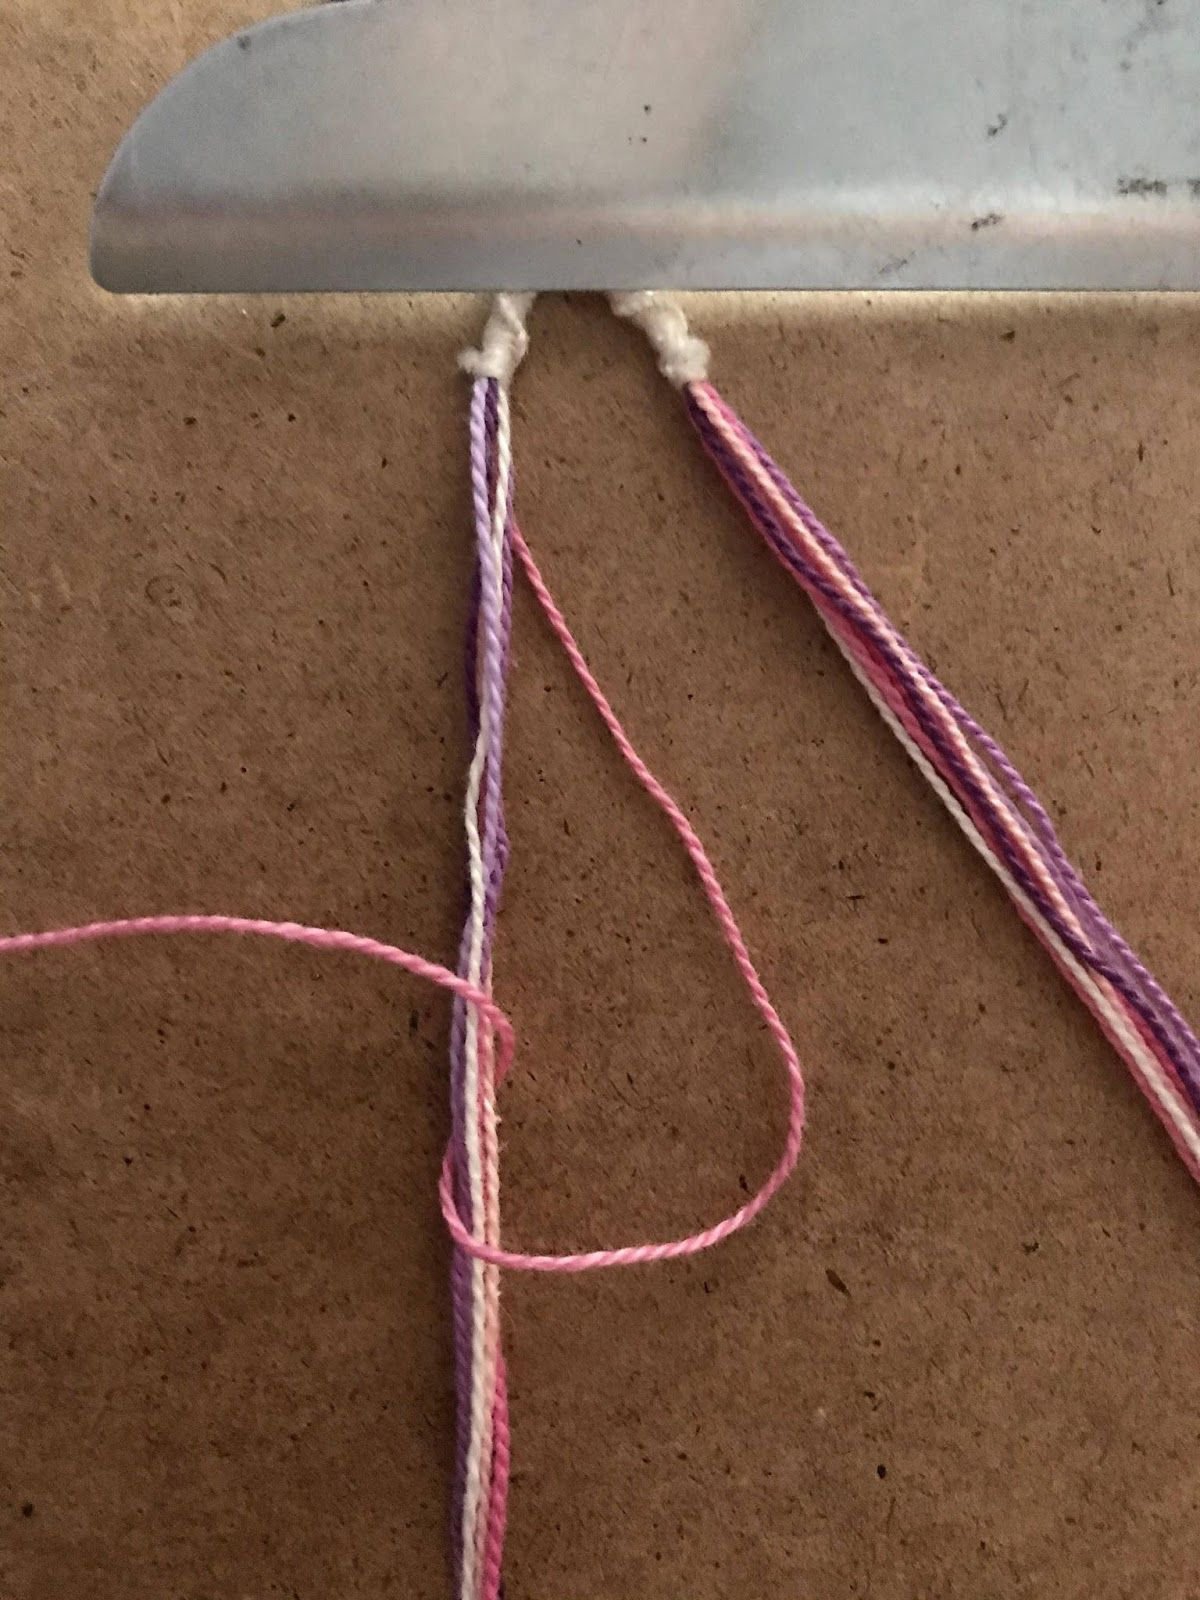
On the left side of the loop use backward knots to bring out your string. The first one should be your sixth string in your color order, then your seventh then your first and so on. Do the same thing on the right side using forward knots.
Step 4
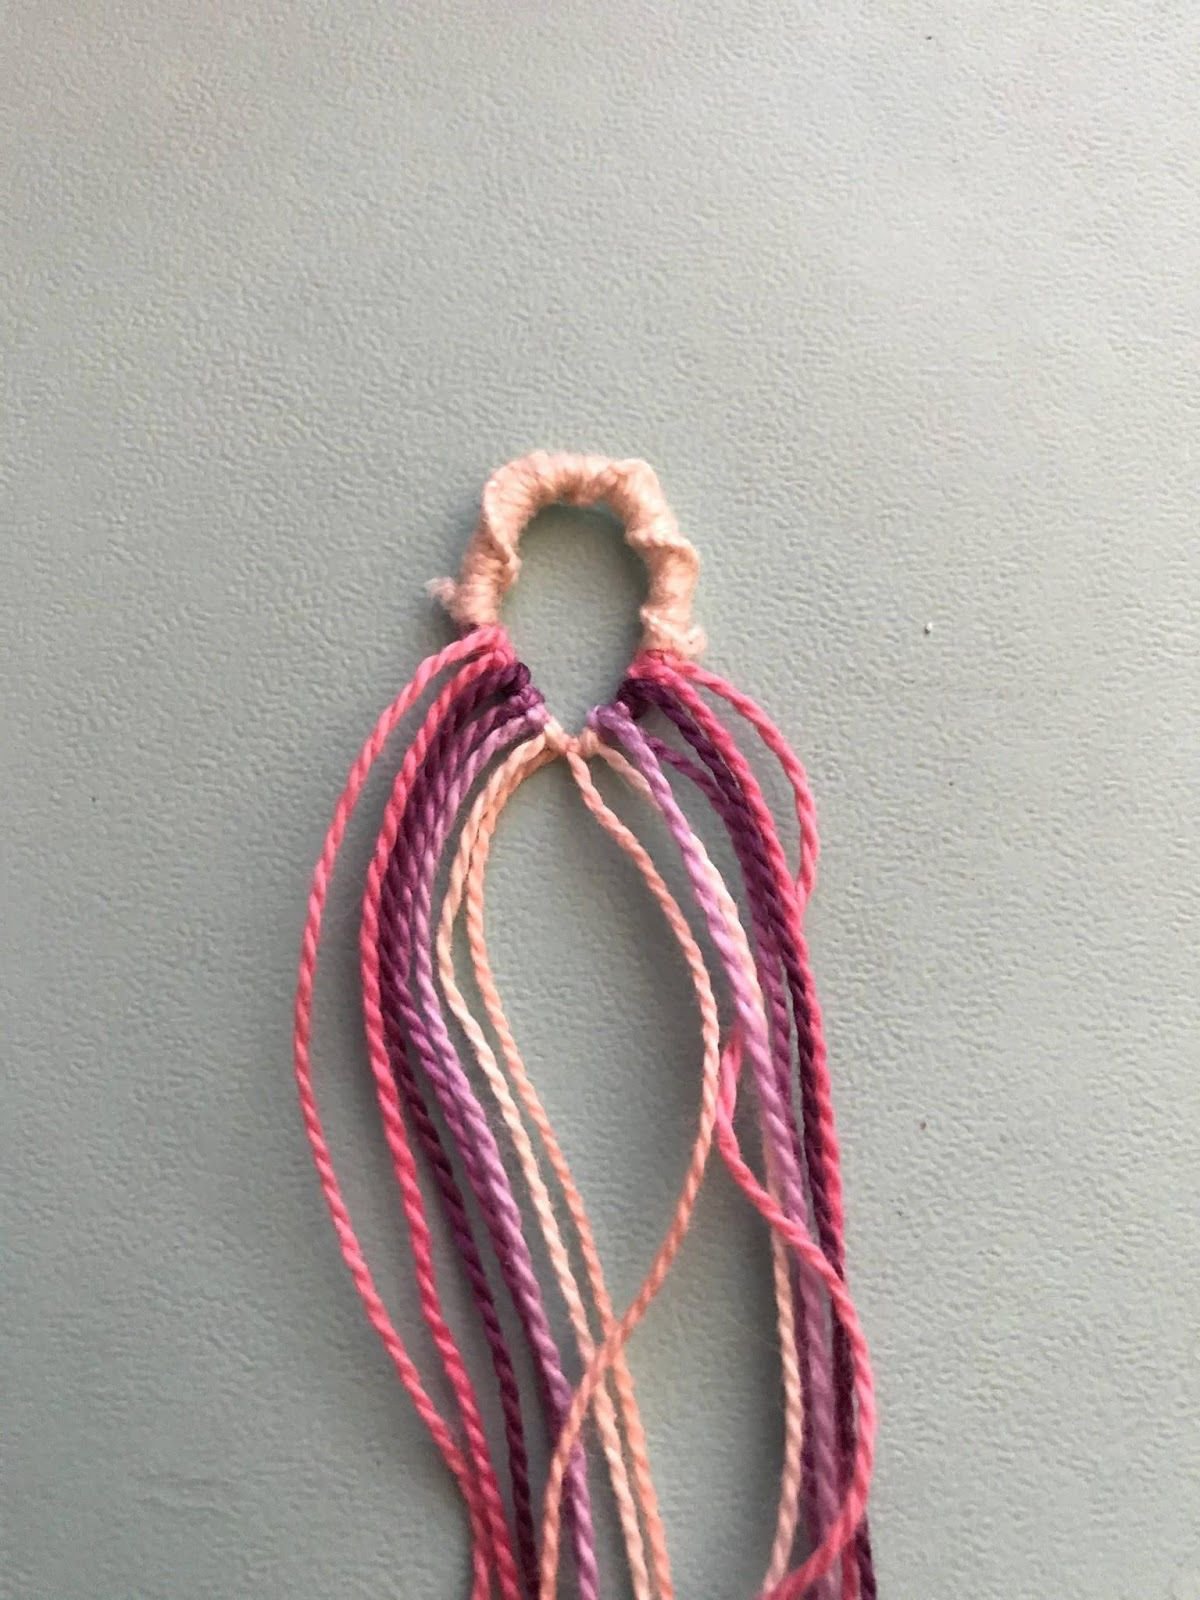
Combine the last two strings from each side with a knot of any kind. By this point your bracelet should look like this.
Step 5
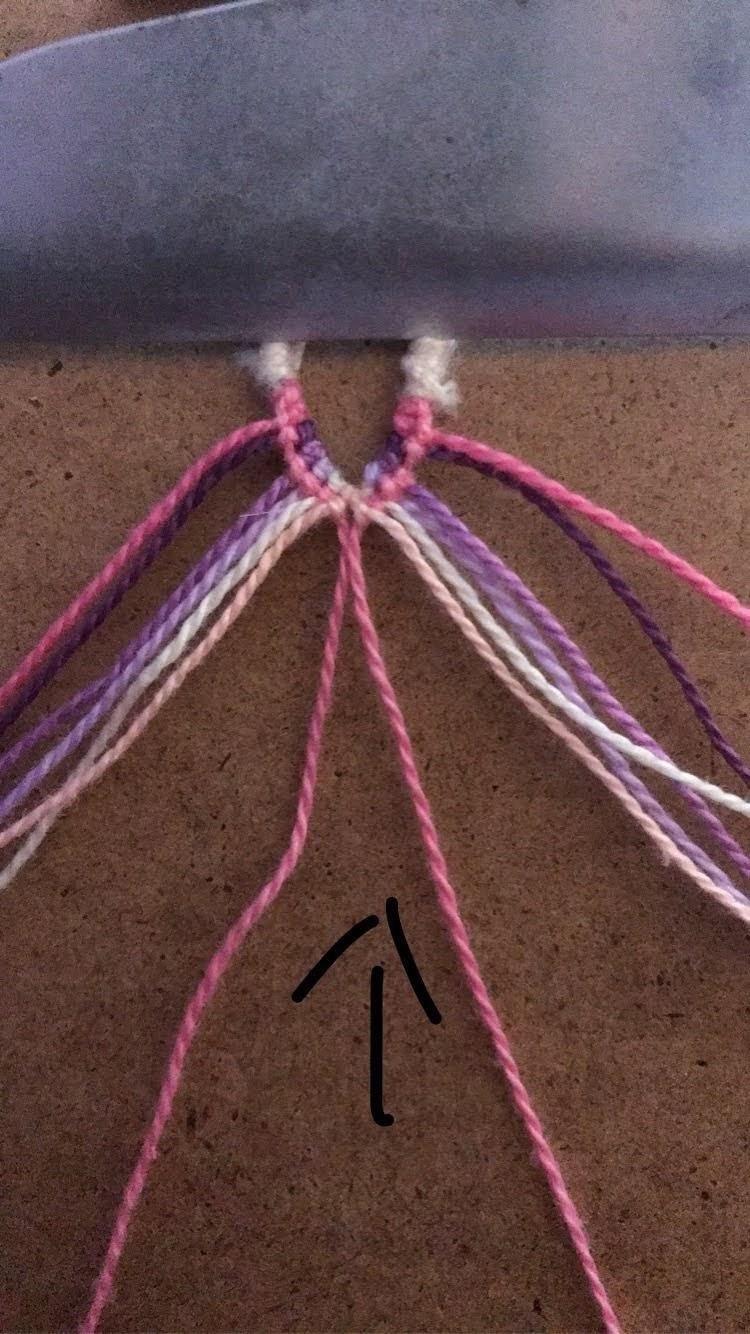
This bracelet only has two rows in this pattern. This step will teach you the first row.
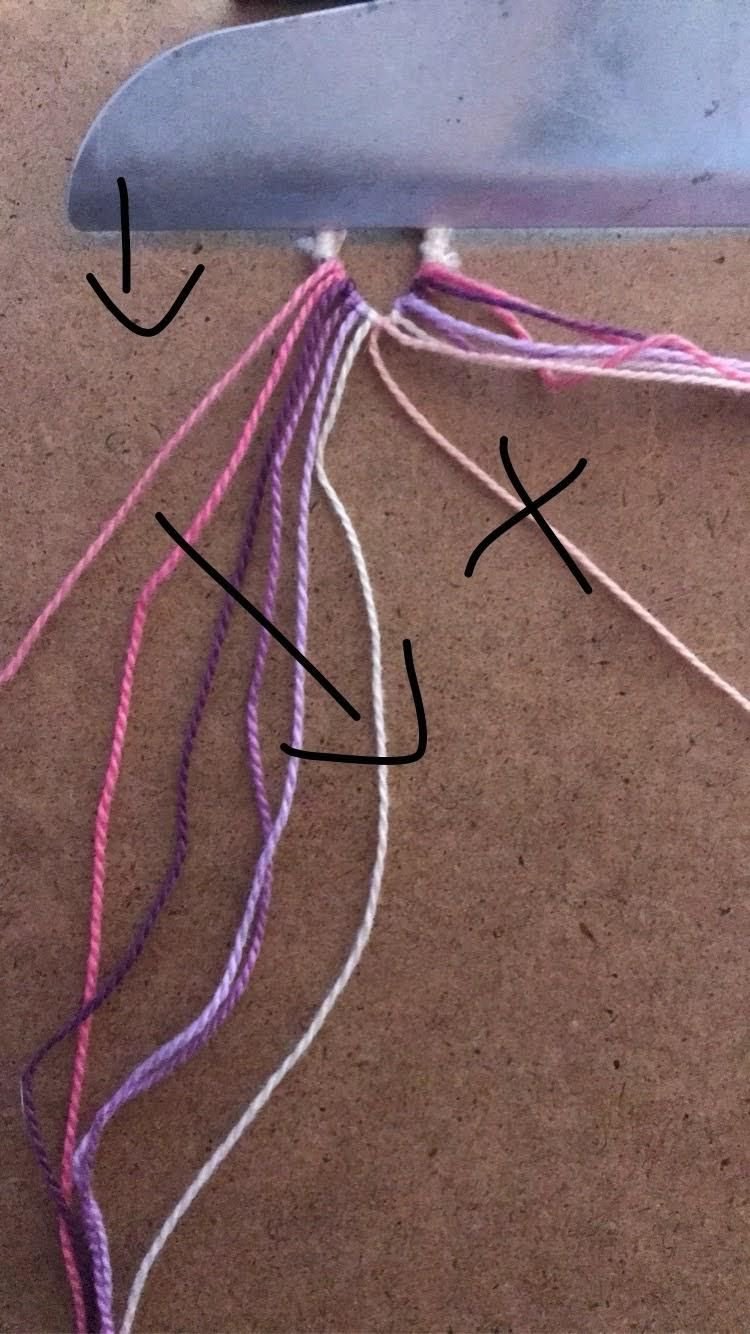
We will work on the left side first so take your right side strings and put them to the side. Take your leading string which is your very left string and do 5 forward knots. This means you will do knots on every single string except the last on that side.
We will work on the left side first so take your right side strings and put them to the side. Take your leading string which is your very left string and do 5 forward knots. This means you will do knots on every single string except the last on that side.
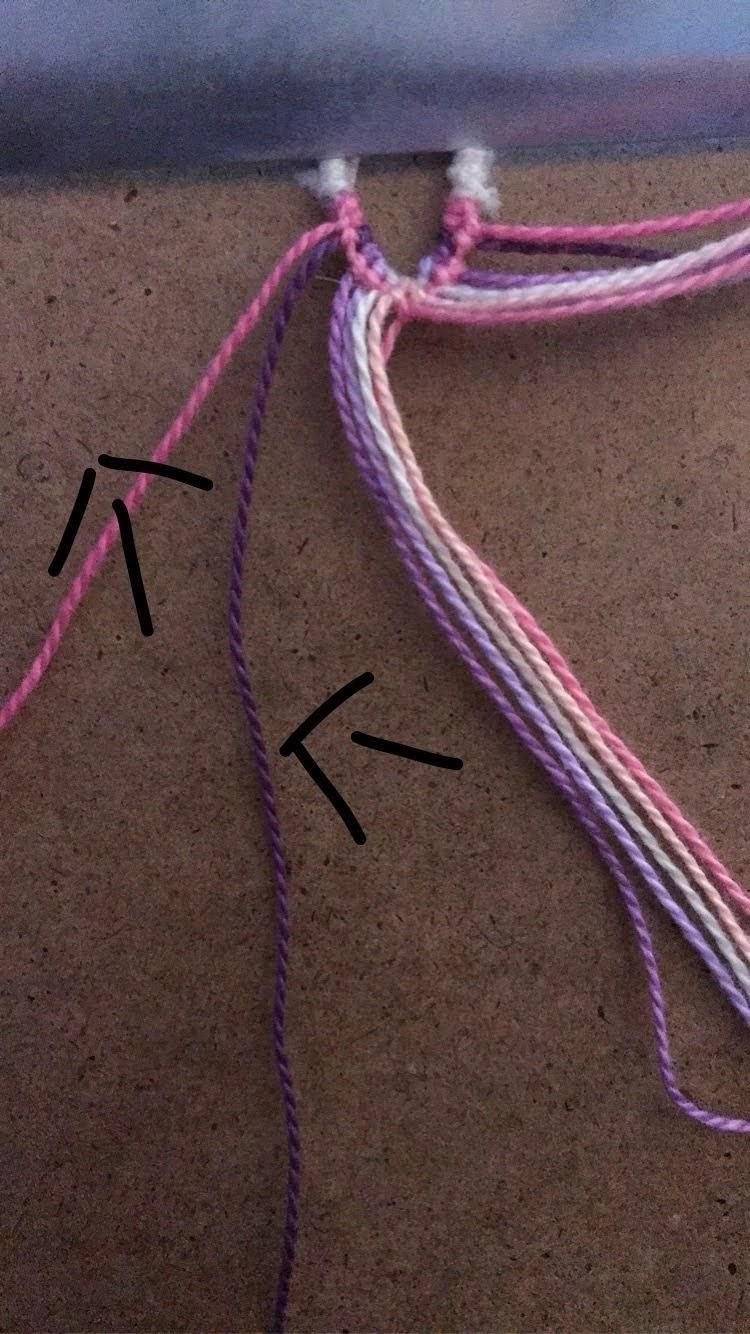
Step 6
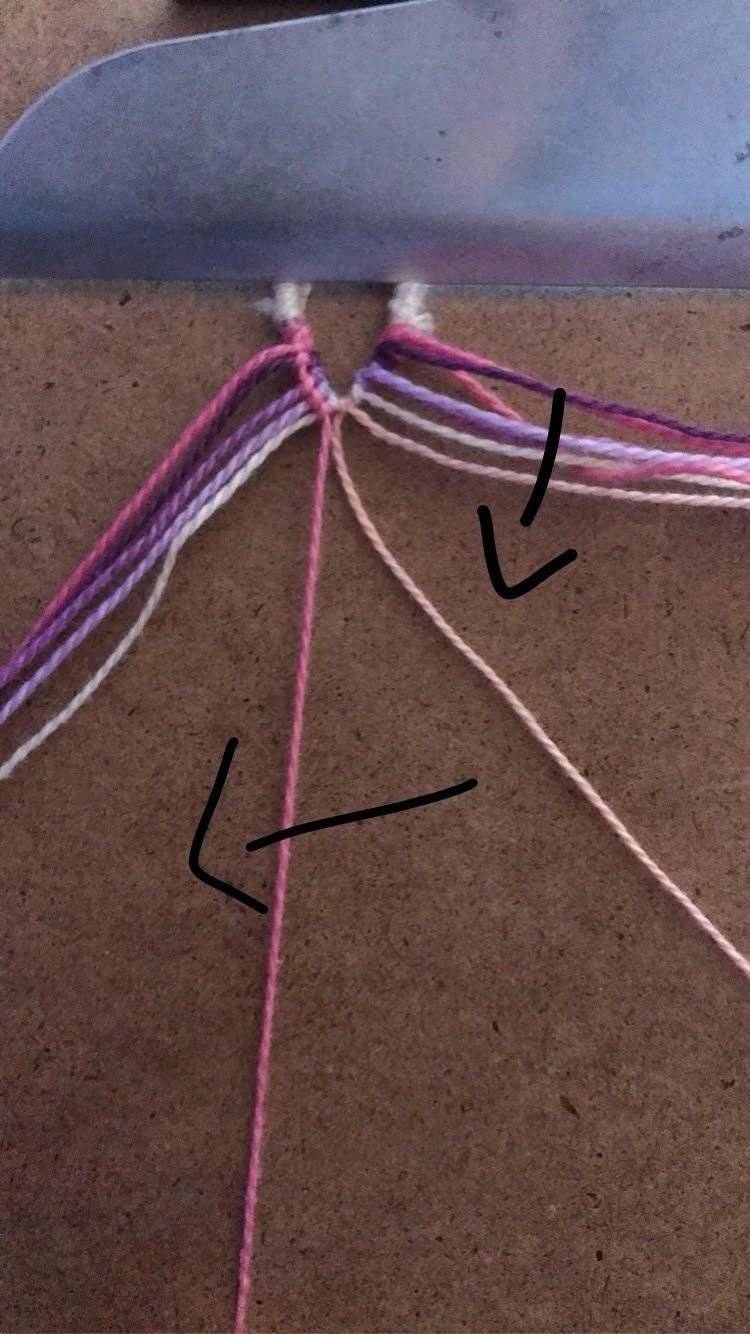
To finish up this side take the string on your right and do one backward knot on the previous leading string. Repeat steps 5 and 6 with opposite knots on the right side.
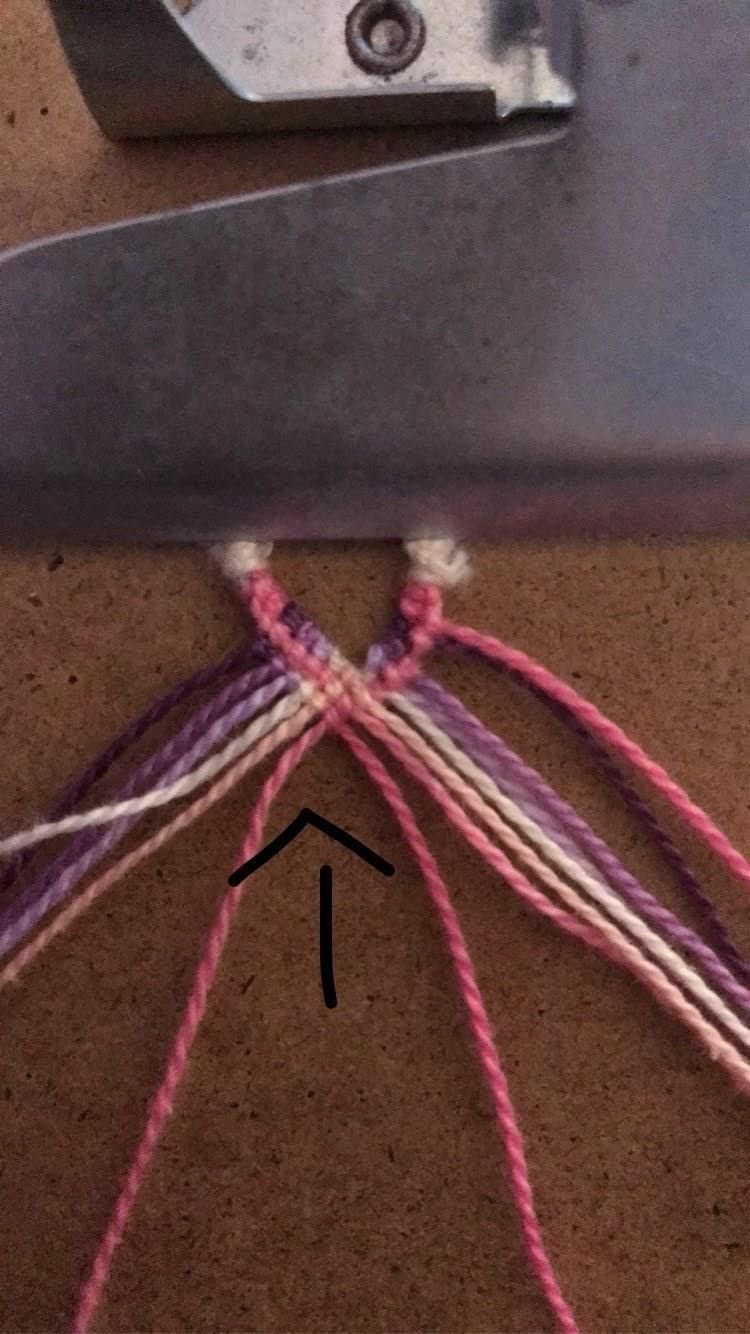
Step 7
Take the two middle strings and combine them with any knot. This is what your first row should look like.
Step 8
This will be your second and last row to learn. Woohoo your almost done!!
To make this row we will start on the left side. Take the first two strings. Then make a backward knot using your right string onto the left. This means the string that was on your left has moved over one. Next, take the string to the right of the one that just moved and make a backward knot with that one onto the string on your left. Essentially, you're making a backward knot onto the string that moves after every knot. Therefore, the first string that was on your left should now be in the middle when you're done. Repeat with forward knots on the right side.
To make this row we will start on the left side. Take the first two strings. Then make a backward knot using your right string onto the left. This means the string that was on your left has moved over one. Next, take the string to the right of the one that just moved and make a backward knot with that one onto the string on your left. Essentially, you're making a backward knot onto the string that moves after every knot. Therefore, the first string that was on your left should now be in the middle when you're done. Repeat with forward knots on the right side.
Step 9
Connect the middle with any knot and your row should look like this. In my picture the right side is hard to make out but the left side of my bracelet is a great example of what this row should look like.
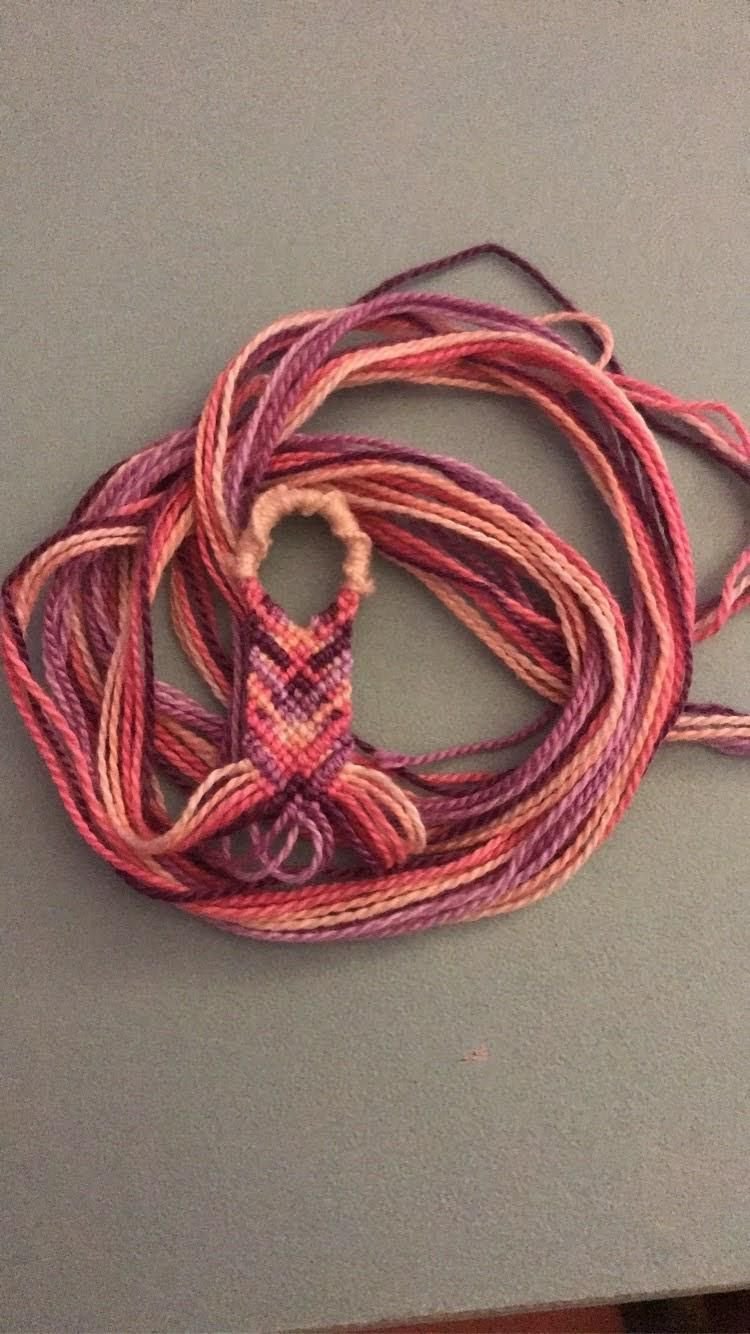
Step 10
Repeat steps 5-9 which are the two rows you just learned. After a while your bracelet should look like this.
Step 11
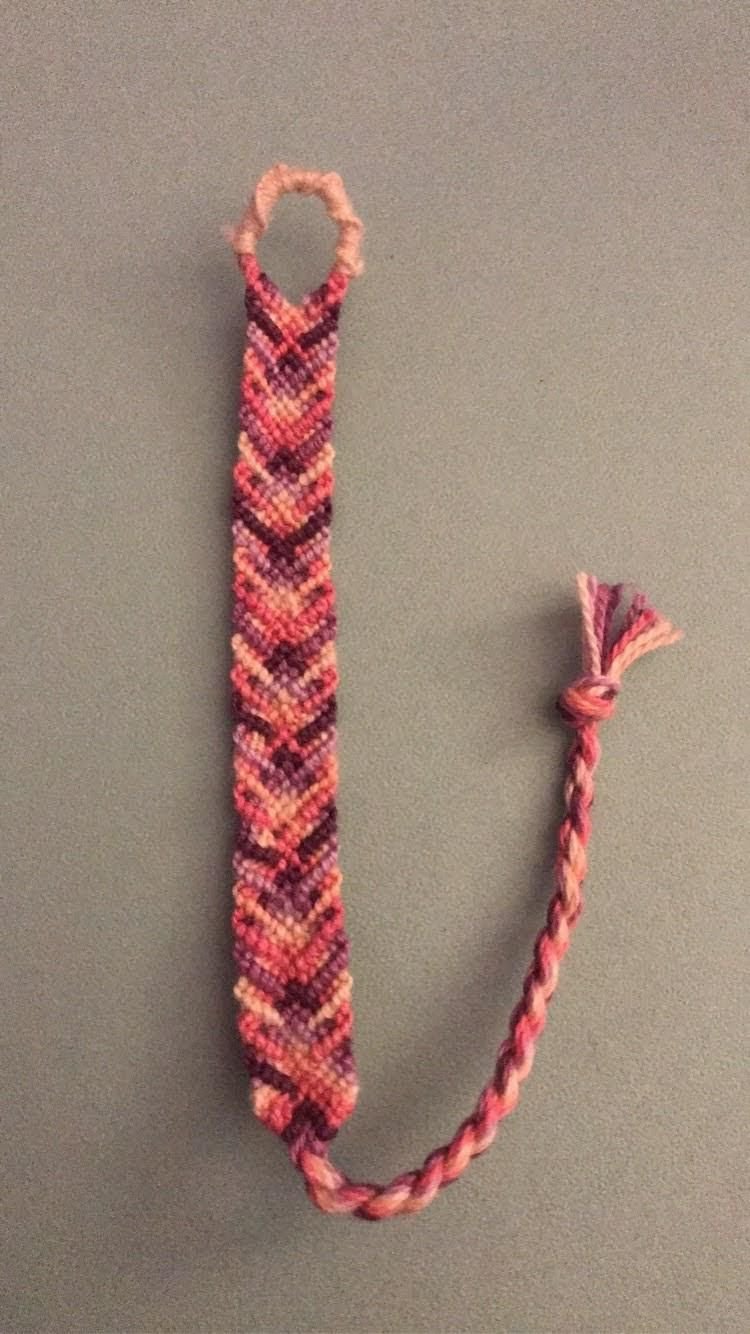
End your bracelet however you would like. I personally recommend you use one triangle end at the bottom which looks most flattering on chevron bracelets. I ended mine with a triangle end and a twisted tie. Congratulations you finished your Woven Square Bracelet! It would look like mine in the picture to the left.
Thank you @isofrazier for your beautiful pattern and permission to do this!