Rate Tutorial
Preparation
Start by cutting your strings and making your teardrop loop. Follow the first part of your pattern before you start with the hole. After this, you should be ready to start!
Step 1
Start by separating the strings you are using for your hole (In my pattern the black strings in the middle are the ones I am using for the hole) as shown in the photo. Knot the 2 black strings together in the middle using any knot you want.

Step 2
Starting on the right side you are going to do a backward knot with the second string in line and the middle string (as shown in photo).
Step 3
Next take the third string in line and do a backward knot over both of the strings you just used. (the middle one and the second one).

Step 4
Now take the third spring in line and do a backward knot over all 3 strings. (middle second and third) as shown in the photo.
Continue doing this until you are at the end of all your strings. The process is kind of like triangle ends. Each pattern has a different amount of strings which means a different amount of knots 🙂.
Continue doing this until you are at the end of all your strings. The process is kind of like triangle ends. Each pattern has a different amount of strings which means a different amount of knots 🙂.
Step 5
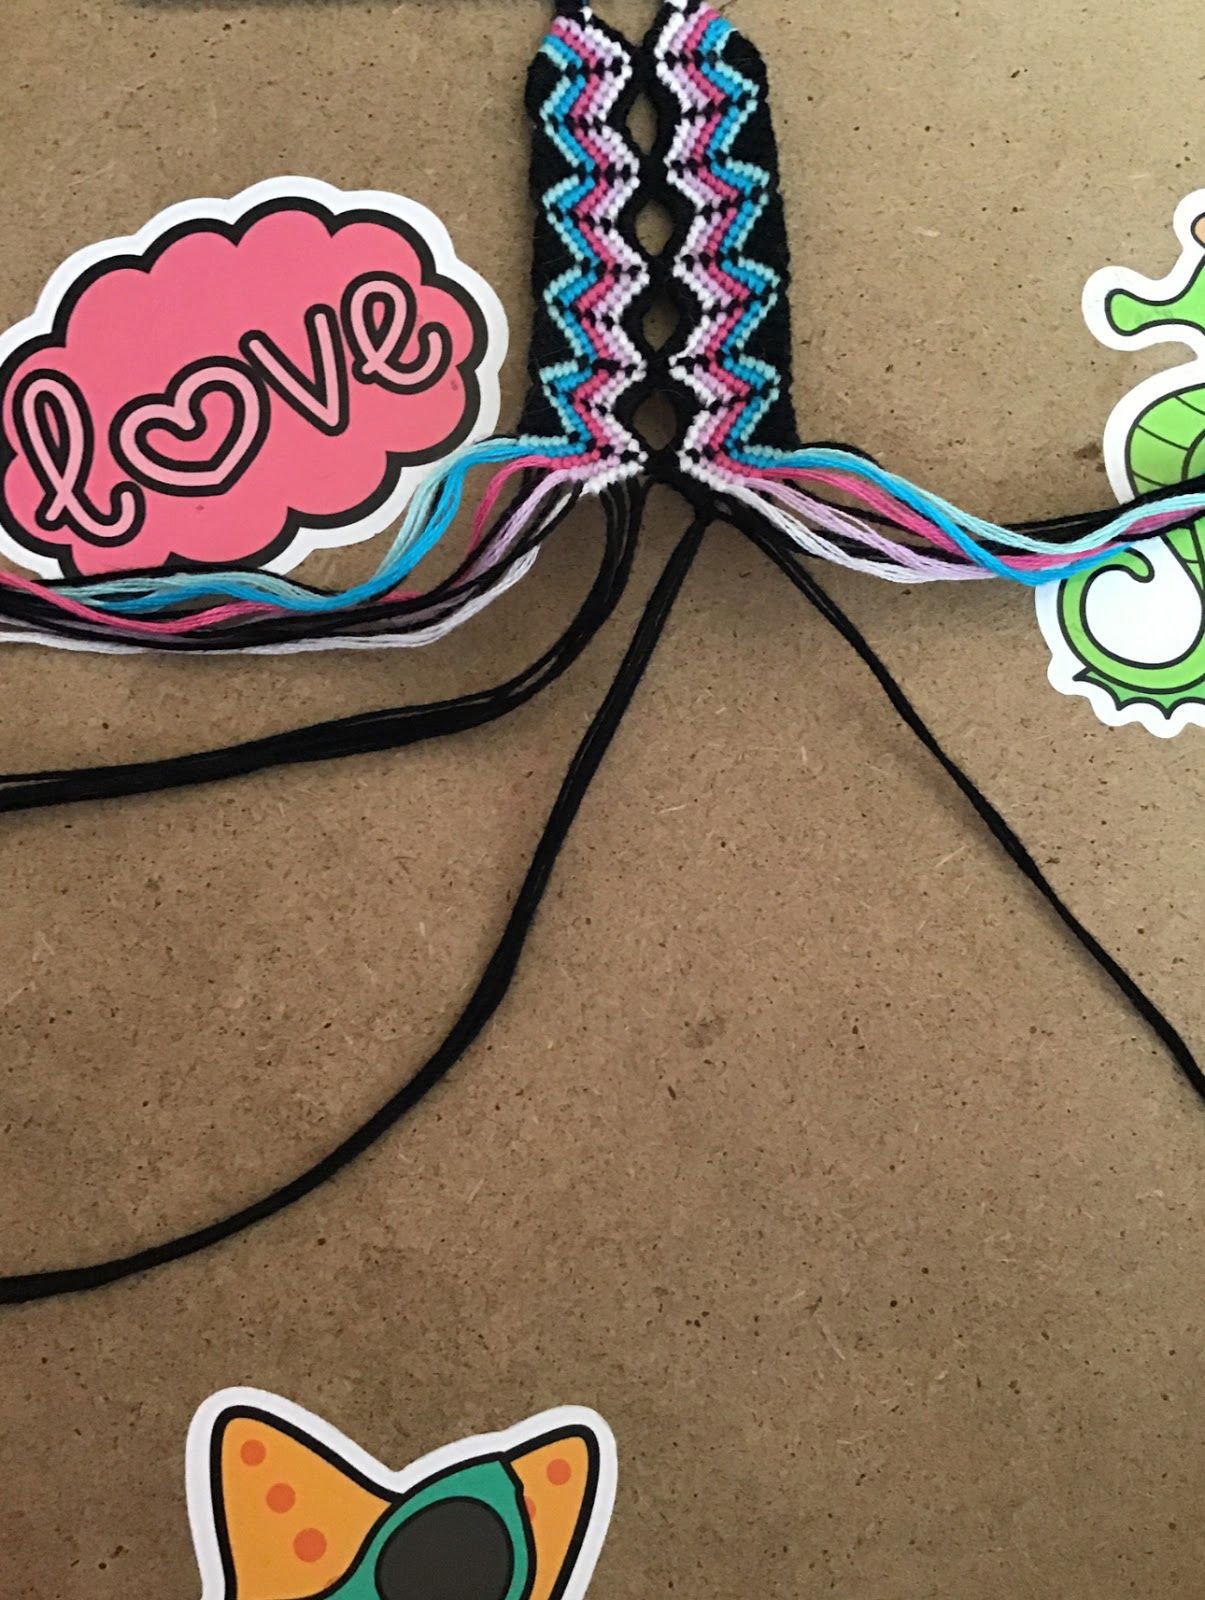
This is what it should look like when you are done. All of our strings should be bunched together on the right side. As shown in the photo.

Step 6
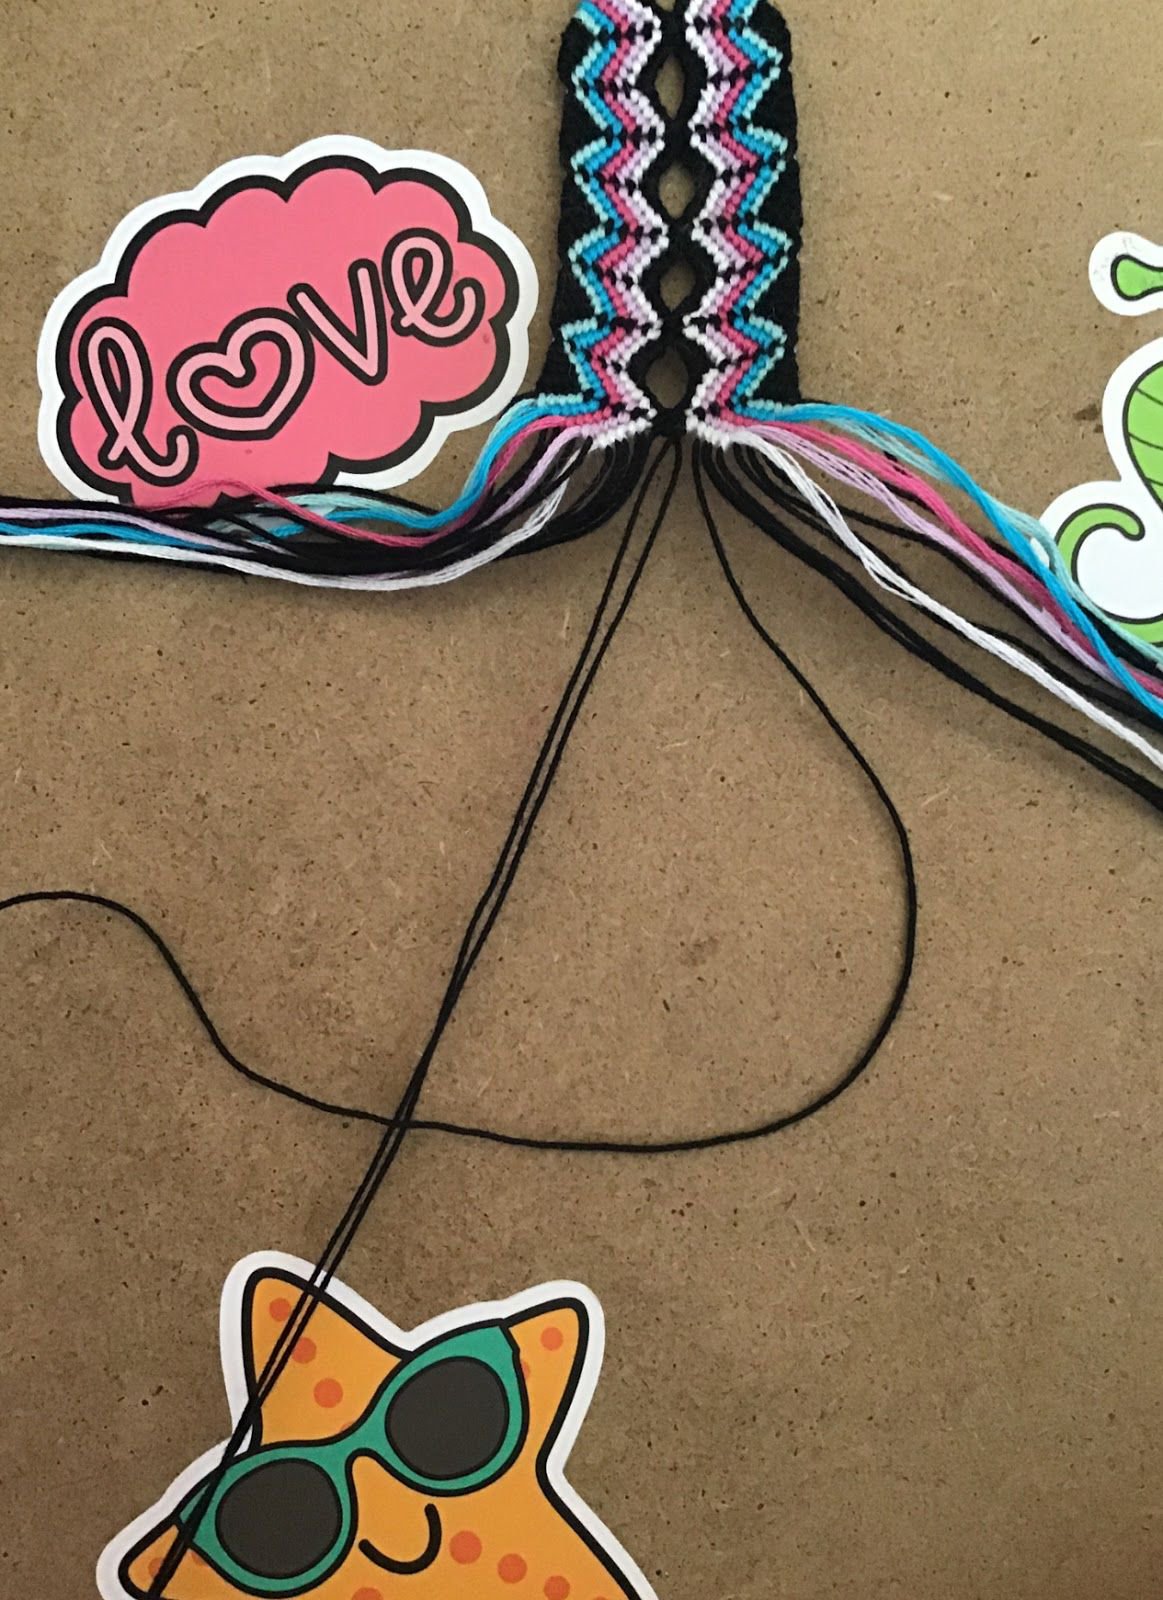
Next pick any string from your bundle and do a backward knot over all of them. When you are done put the string you knotted with to the side.
Step 7
Now pick up another string from your bundle and knot over your strings making sure not to knot over the string you already put to the side. Now you should have two strings off to the side. Keep repeating this until all of your strings are off to the side. This is the same process as a teardrop loop.
Step 8
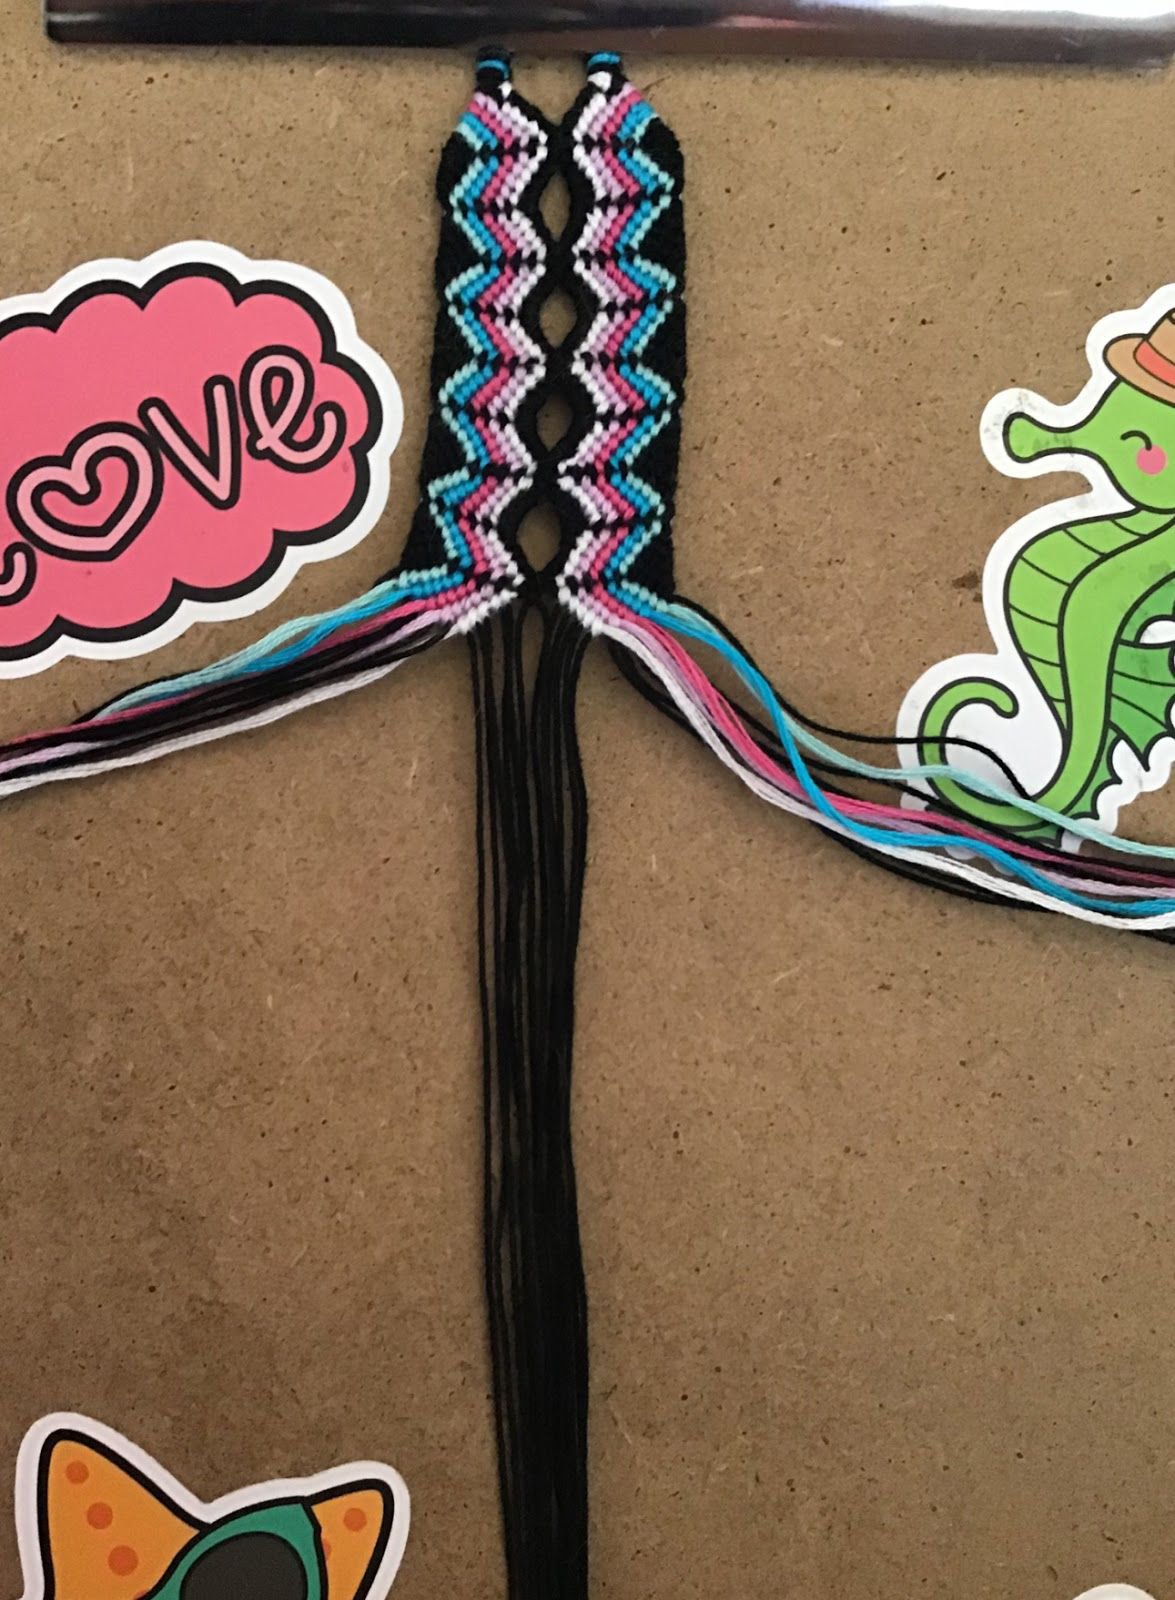
This is what it should look like when it's done. Repeat ALL of these steps on the left side but with forward knots instead of backward knots.

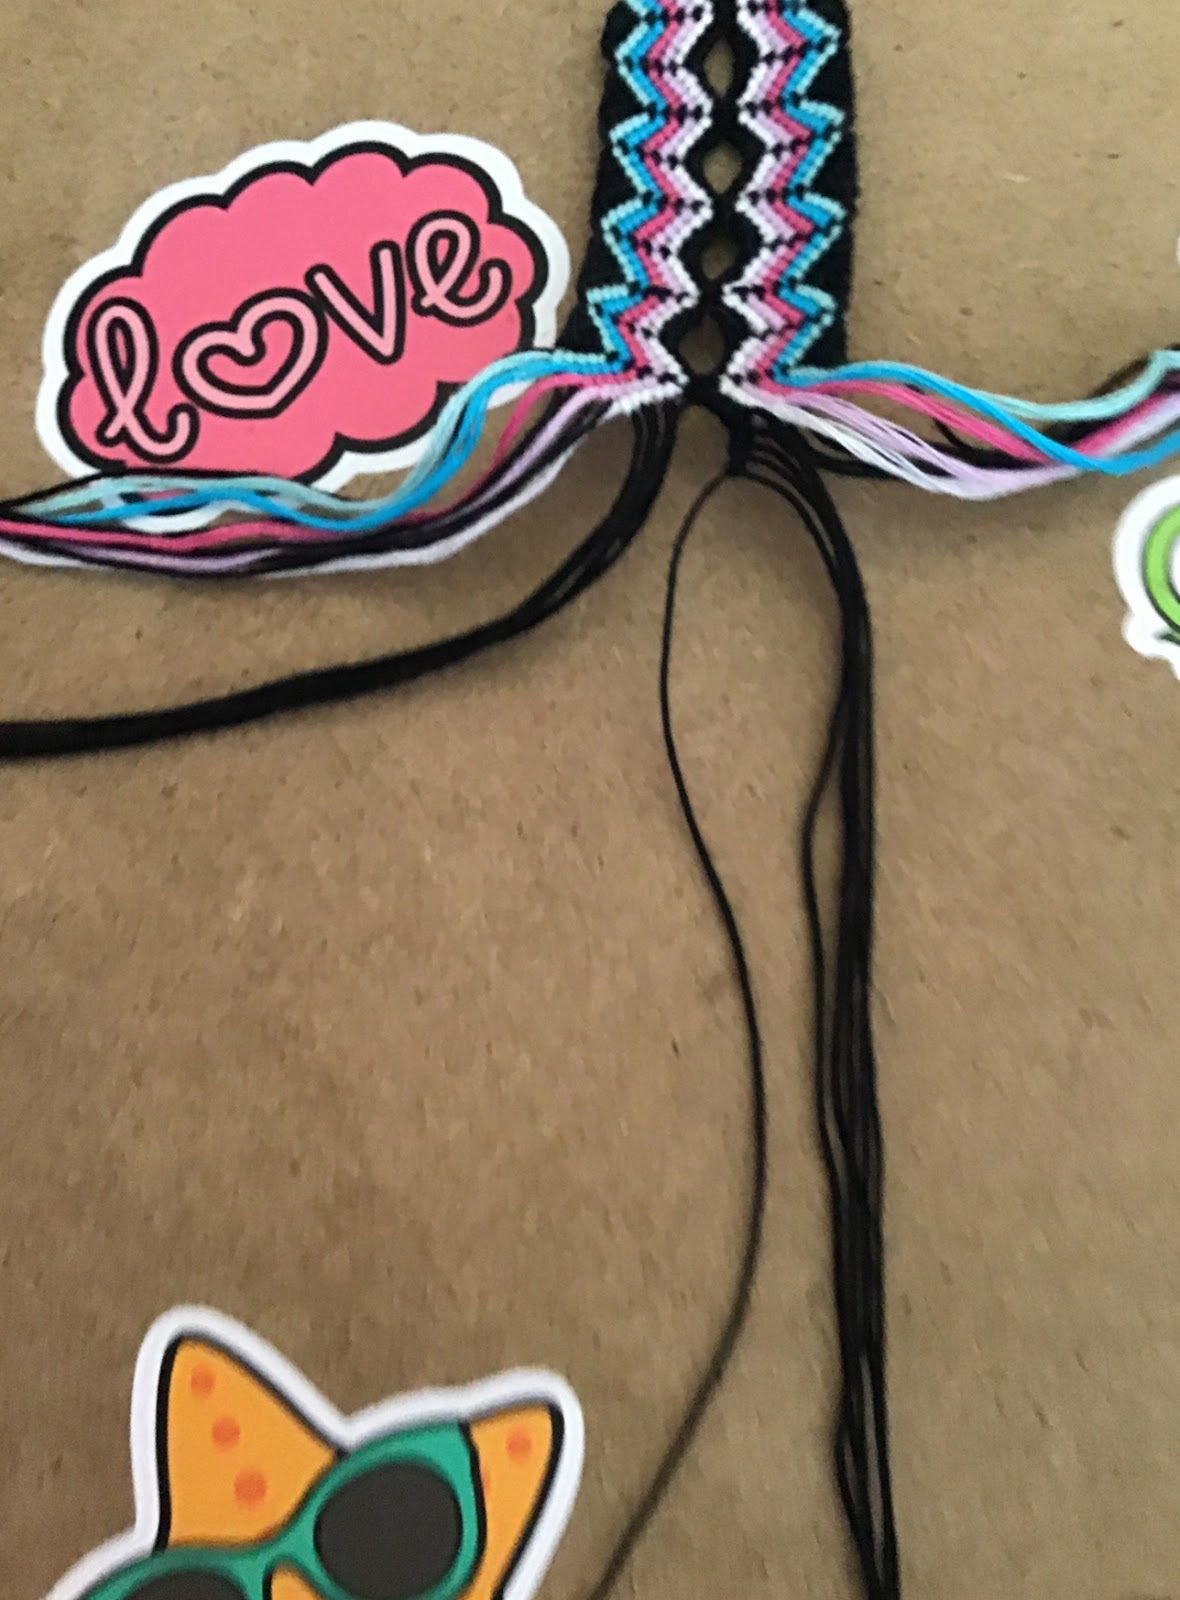
Step 9
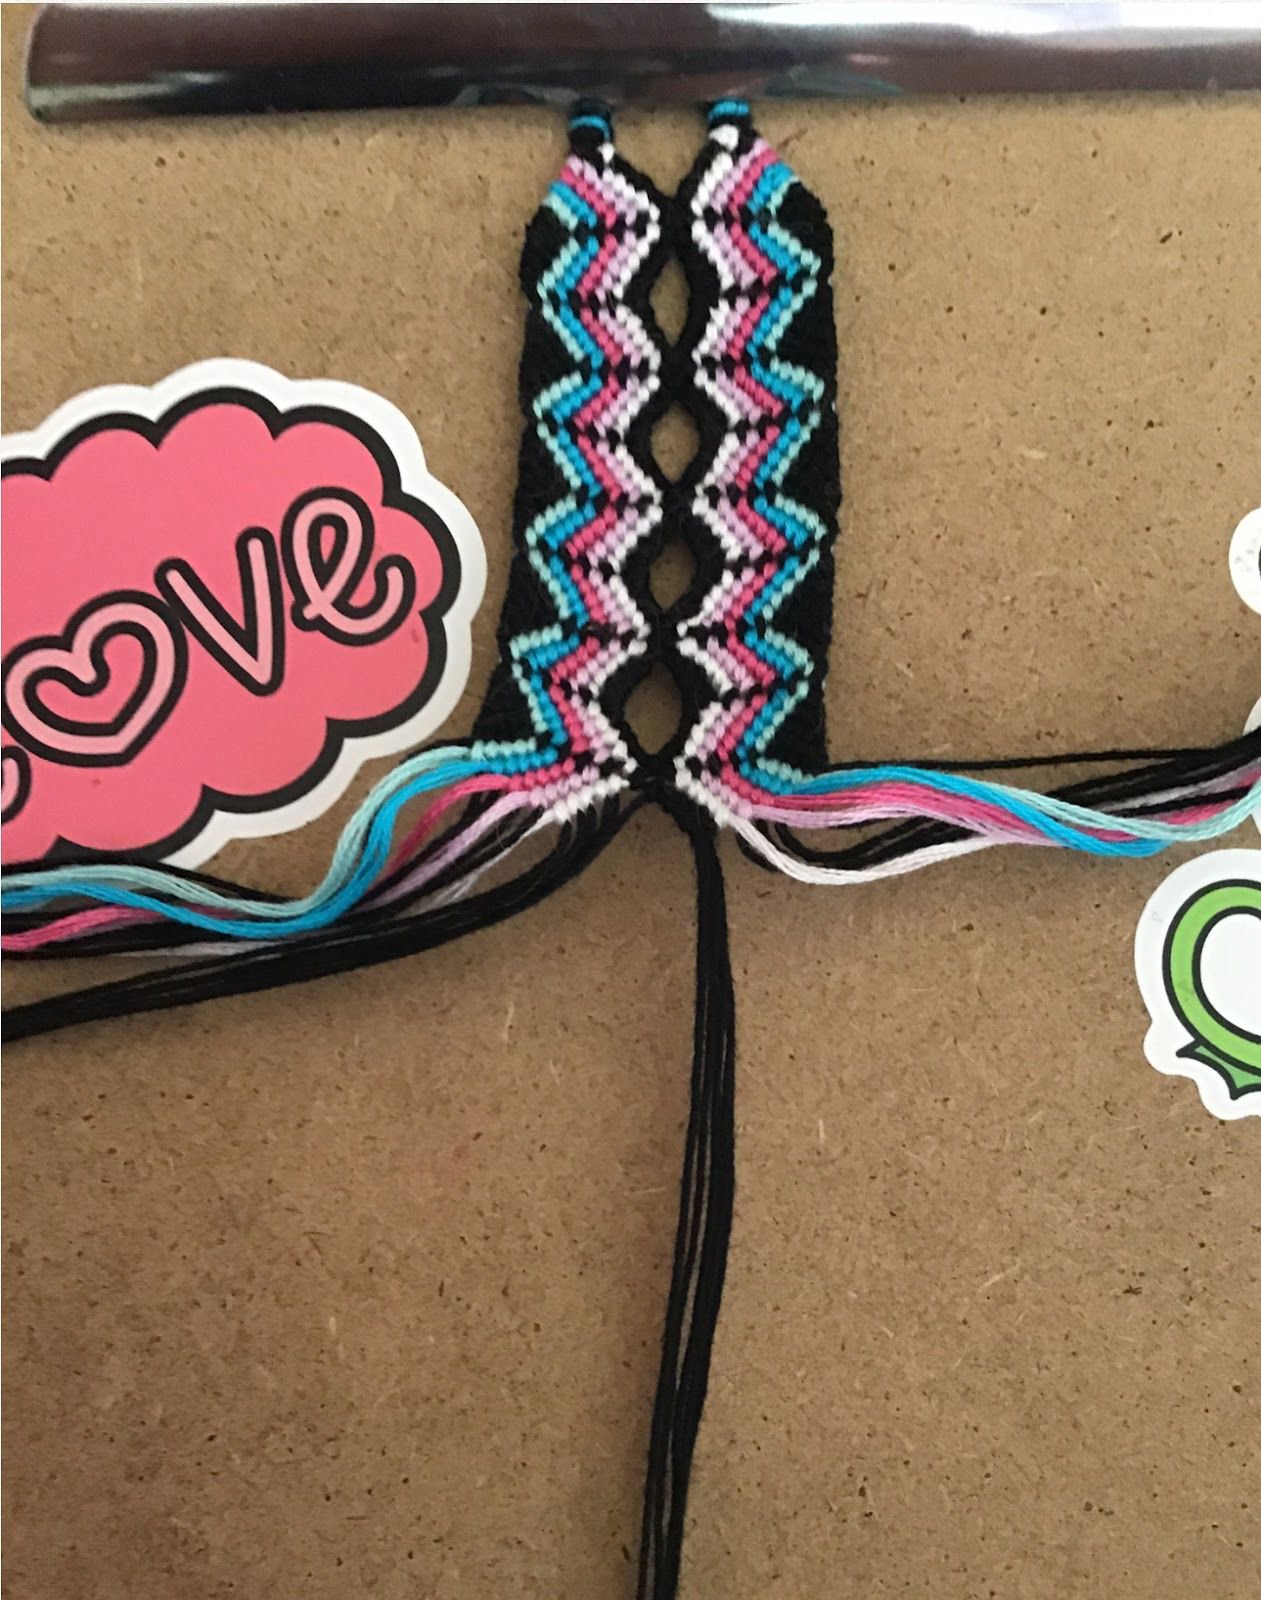
This is what it should look like once its done!!! Knot the two middle strings together to close the circle! Now you are finished with your shaped hole!

Keep repeating this until your bracelet is done!!! This is how my bracelet with this technique turned out!
I hope this tutorial helped! If you have any questions feel free to ask them in the comments and I will try my best to answer all of them!
I hope this tutorial helped! If you have any questions feel free to ask them in the comments and I will try my best to answer all of them!