Rate Tutorial

What you will need
- Scissors
- Something to make a circle with (math compass, circle maker, circular object to trace etc)
- Pencil
- Ruler
- Glue (I’ll be using Mod Podge but any glue will work)
- Cardboard
- Something to make a circle with (math compass, circle maker, circular object to trace etc)
- Pencil
- Ruler
- Glue (I’ll be using Mod Podge but any glue will work)
- Cardboard
Before we start
I will be making a wheel with a diameter of 10cm, and with 32 notches, but you can make it as big or small and with as many notches as you’d like. Diameter is the length of a straight line through the center of a circle. Radius is half the diameter.
Step 1: Make the circles
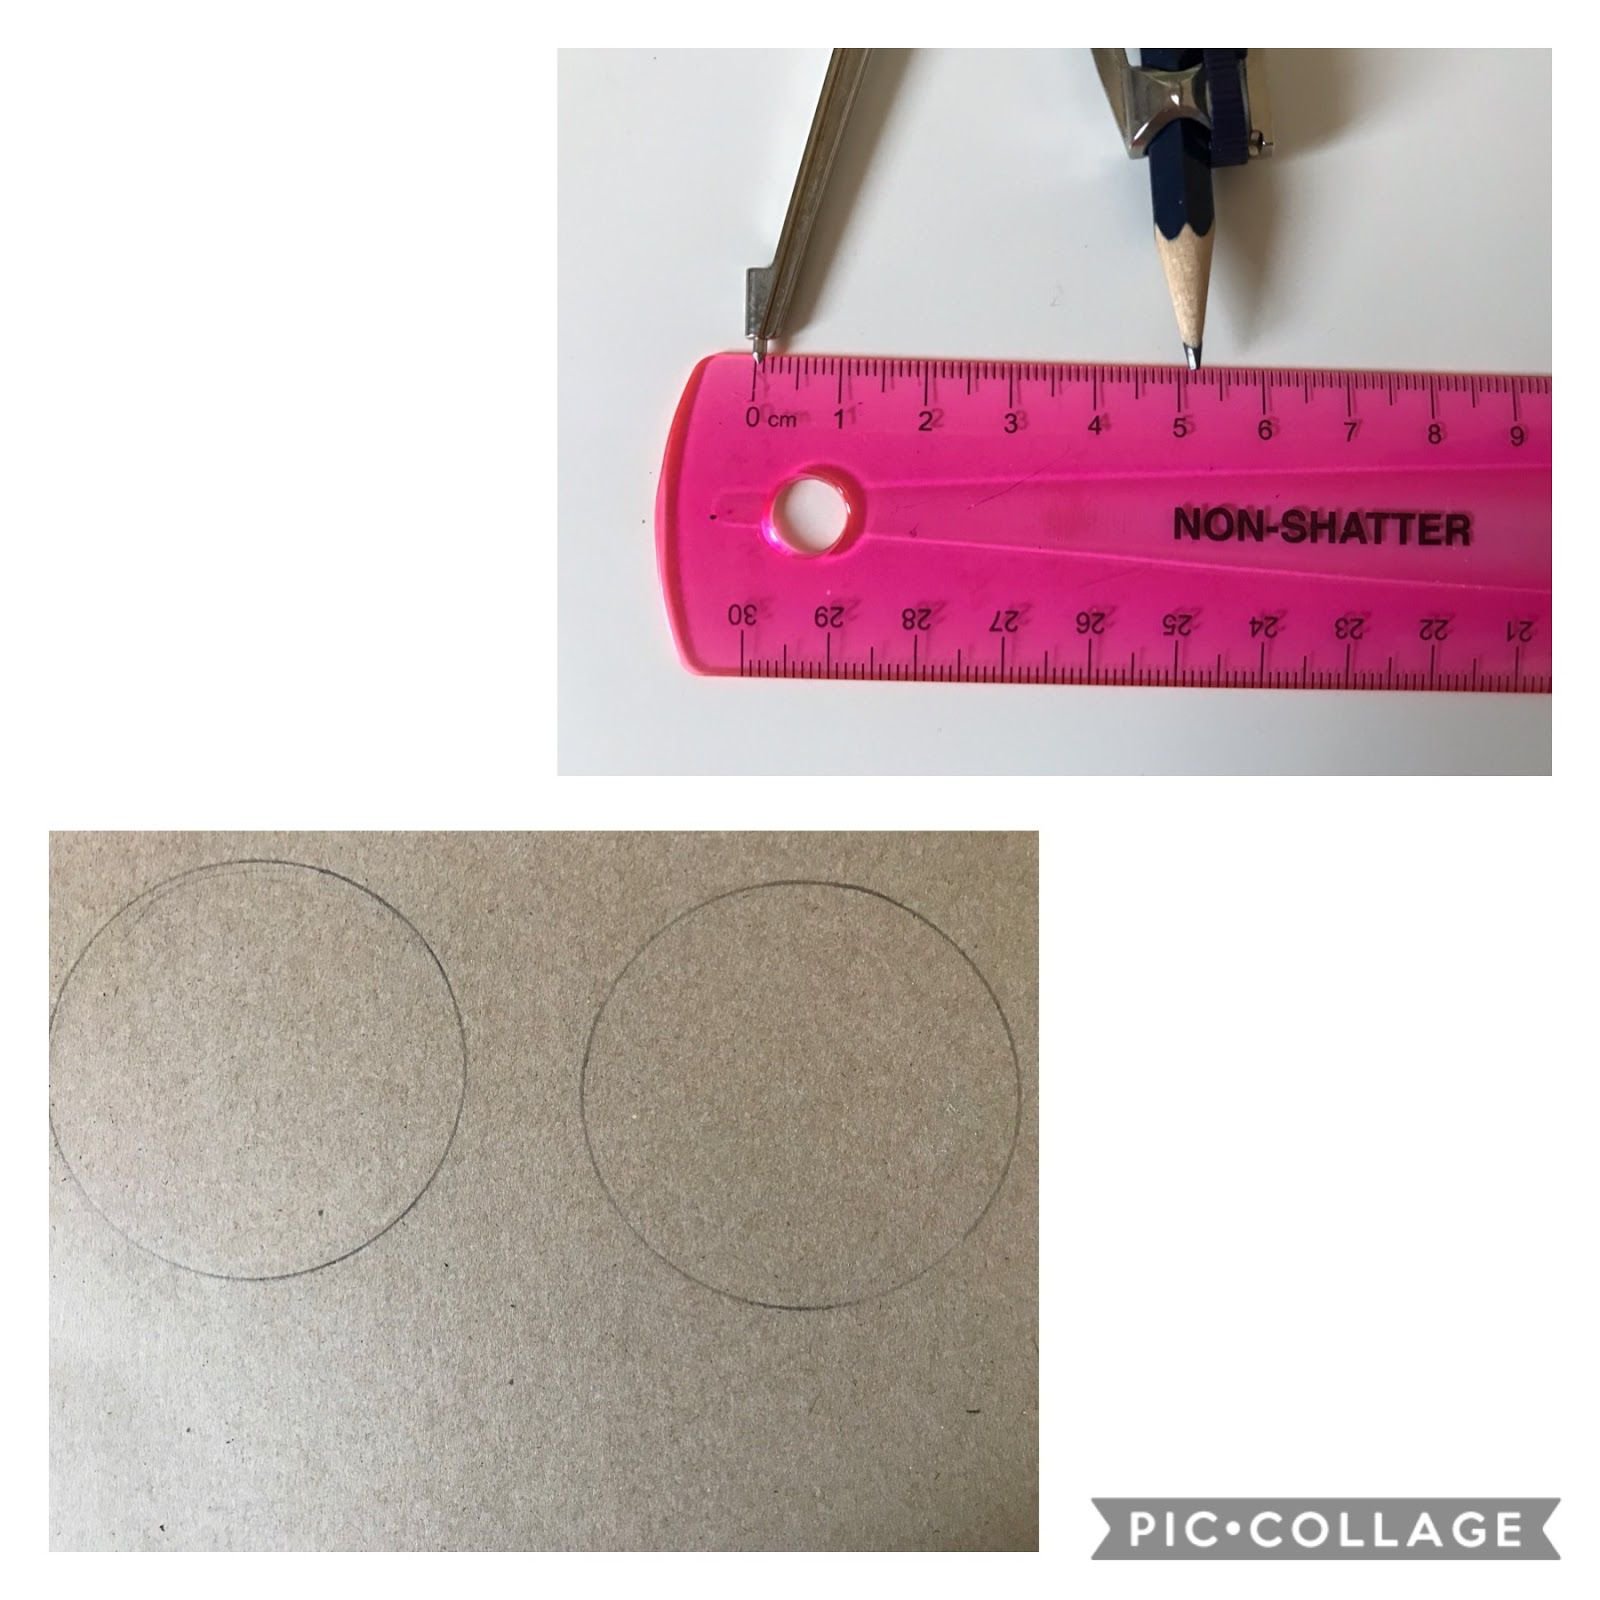
If you are using a math compass to make your circle 10cm you will need to extend your compass so it is 5cm wide. Then draw your circles, if you need more help understanding how to use a compass there is a video below showing you how! If you are using thicker cardboard you will only need to make one circle but I am using thin cereal box cardboard so I drew two circles.
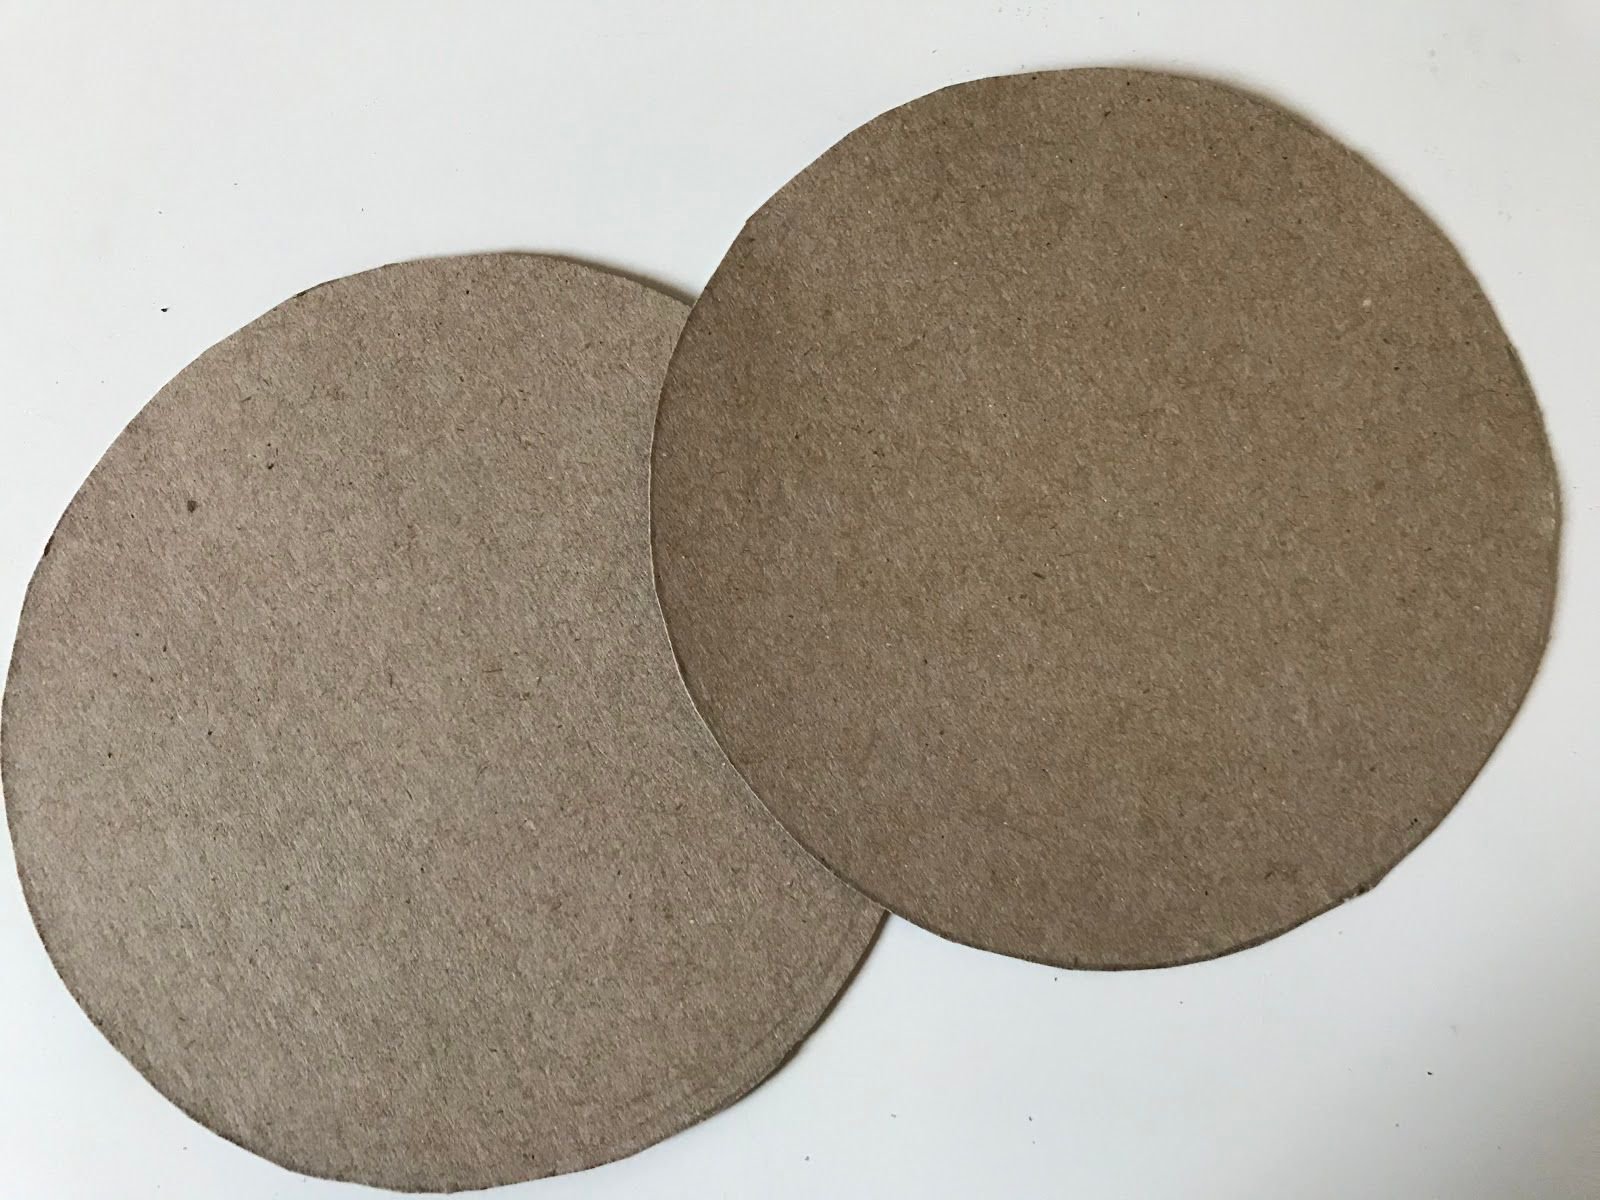
Step 2: Cut your circles and glue them together
If you are using thicker cardboard, you can skip the glueing part of this step! It is quite difficult to cut out the circles so be careful and take your time. To glue the two pieces together you will need lots of glue so they don’t come apart when you are making your bracelets. Then wait about 20 minutes for your wheel to dry.
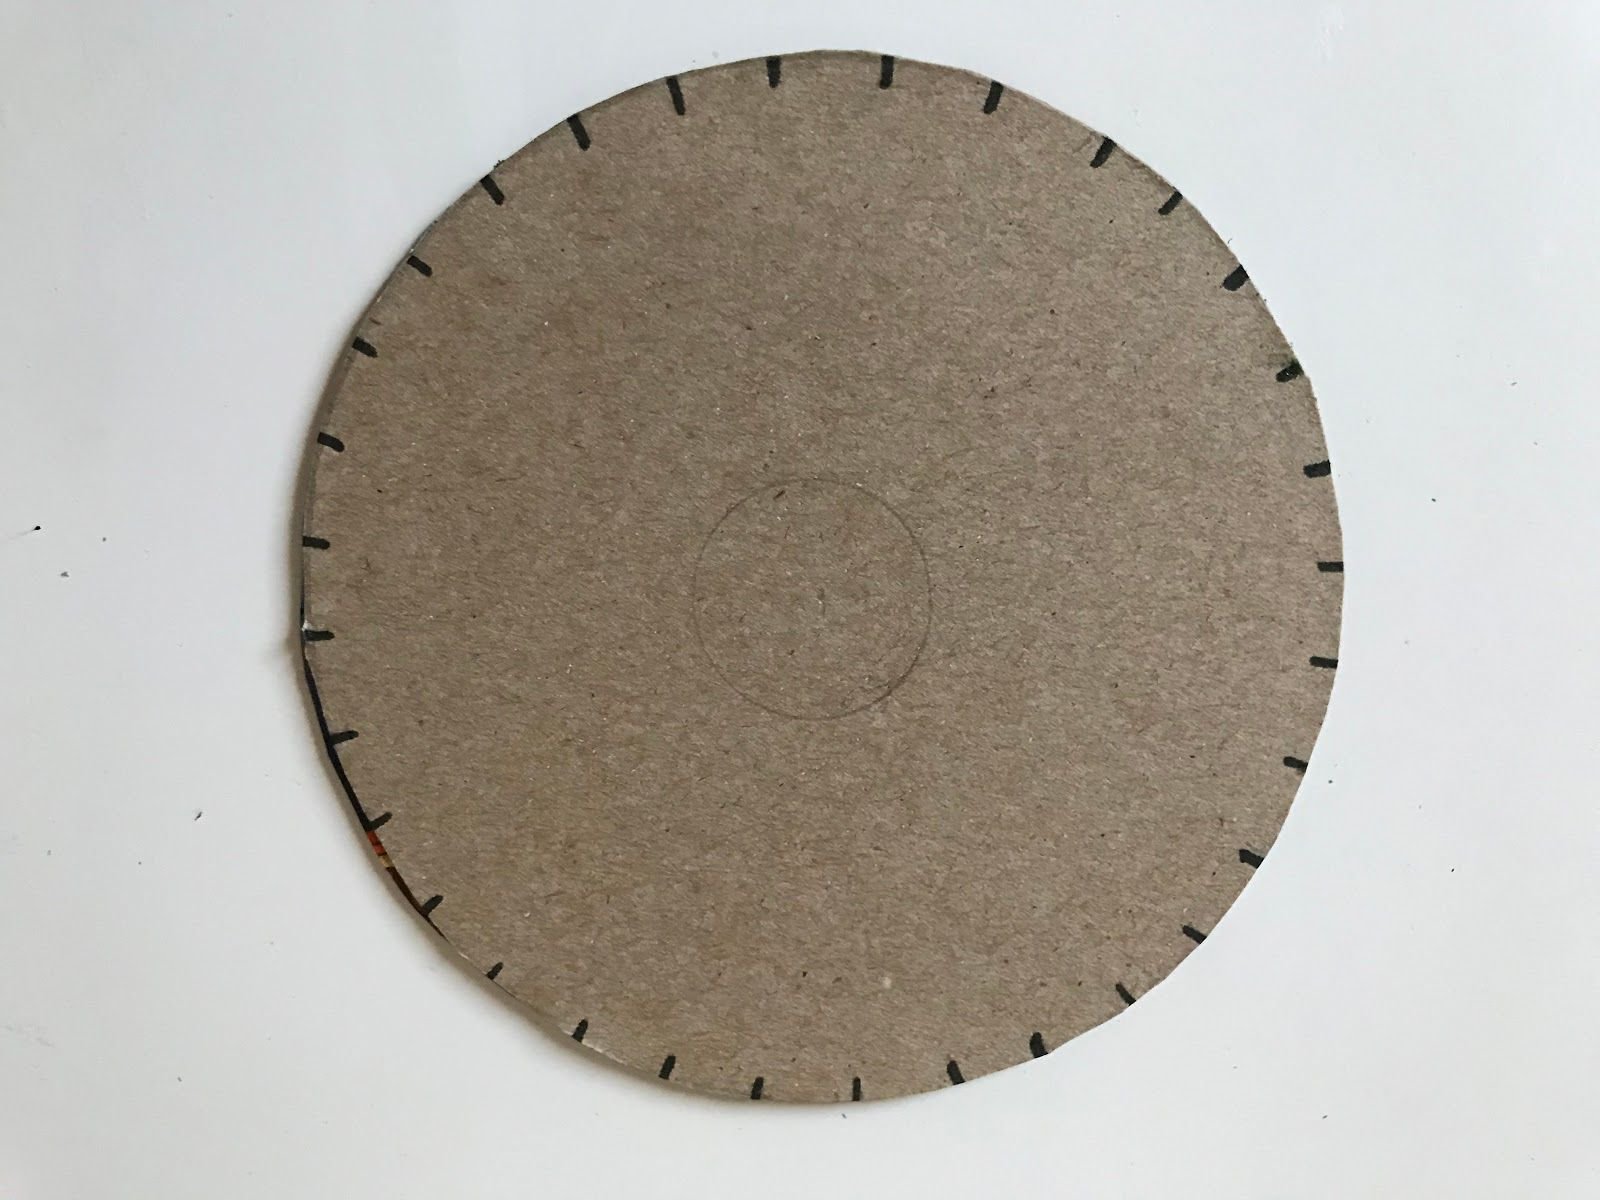
Step 3: Adding notches and the center circle
In the middle of your circle draw a small circle, this is where your bracelet will go through when you are making it. Then draw little lines along the edge of your wheel, use a ruler so they are evenly spaced apart. My lines are 1cm apart. Next, cut out the circle in the middle and make little cuts on the black lines around your wheel, these will be your notches. If you want, you can add numbers under each notch and round the edges of each notch so it is easier to place the string inside them.
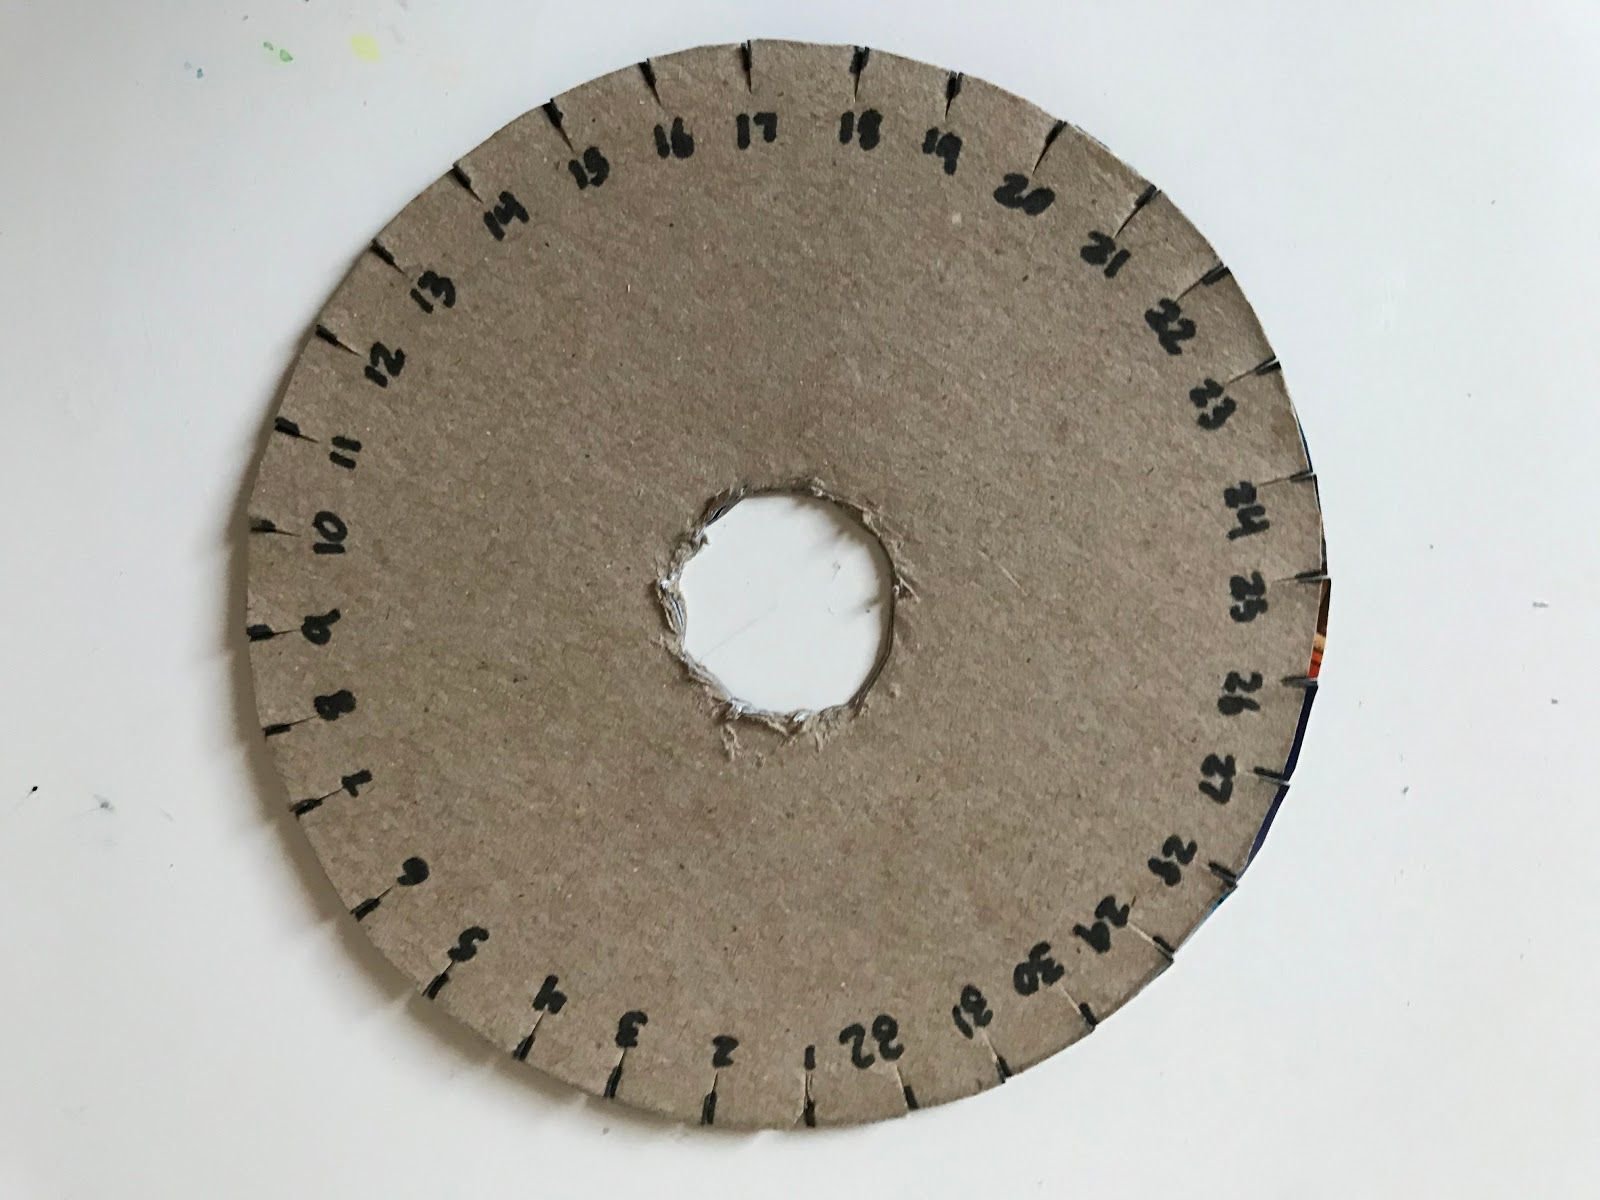
You have finished making your wheel! Feel free to decorate your wheel further if you’d like! I hope you found this tutorial helpful if you have any questions leave a comment or message me and I’d be happy to help!
Some helpful videos
The first half of Curly Made’s video is how to make the wheel.
The second video is a little math lesson on how to use a compass!