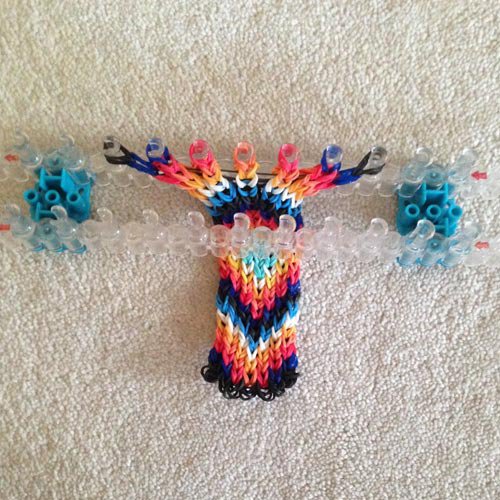
Rate Tutorial
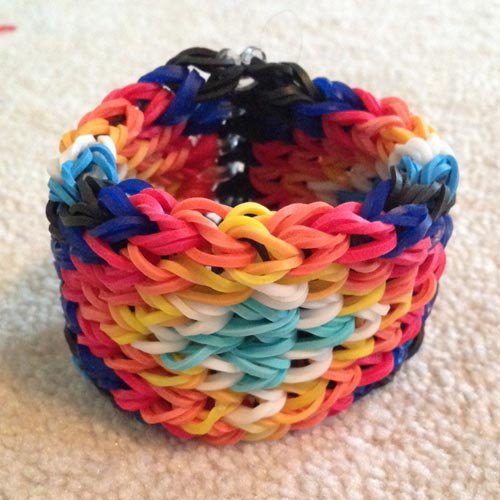
This is how the pattern will look at the end.
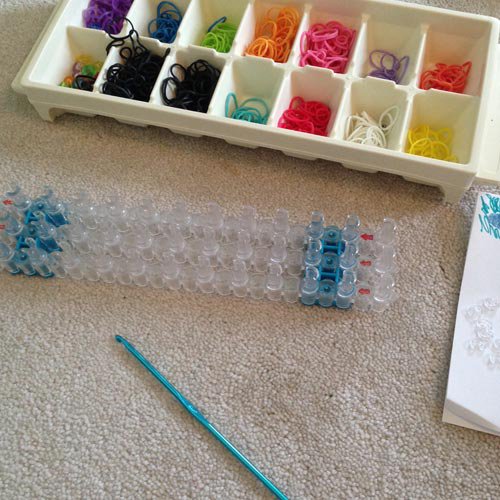
Things you will need
-your band loom
-your hook
-clips (c, s, etc)
-bands
-a pattern to make (in this tutorial I am making caya's pattern #8367)
-your hook
-clips (c, s, etc)
-bands
-a pattern to make (in this tutorial I am making caya's pattern #8367)
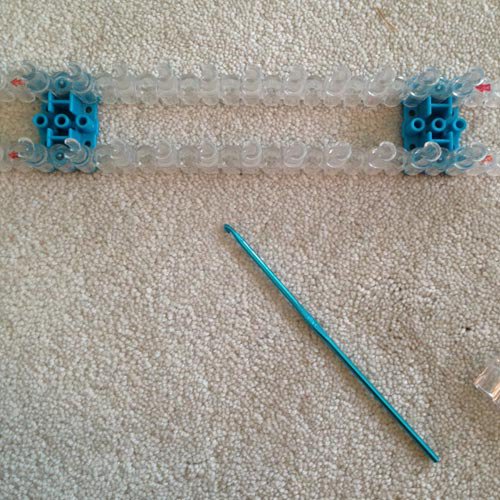
Step 1
Remove the middle row from your rainbow loom or other band loom.
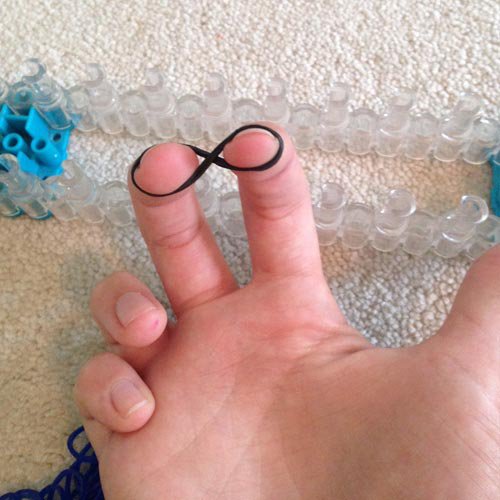
Step 2
Take 1-2 bands on your fingers and twist them, making a figure eight.
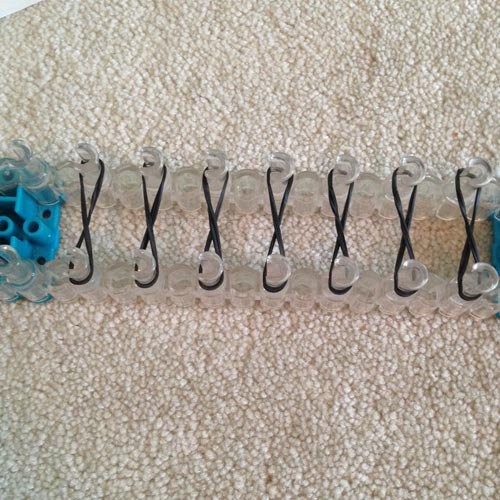
Step 3
Place this band from one peg on one row to the same peg on the row across. Do this for the number of rows there are in your pattern. There are 7 rows in the pattern I am doing in the example.

Step 4
Take a rubber band and put it on one row of the loom, stretching it from the first to the last peg with a rubber band on it. If this is too difficult, you can do one band for every 3 or more rows.
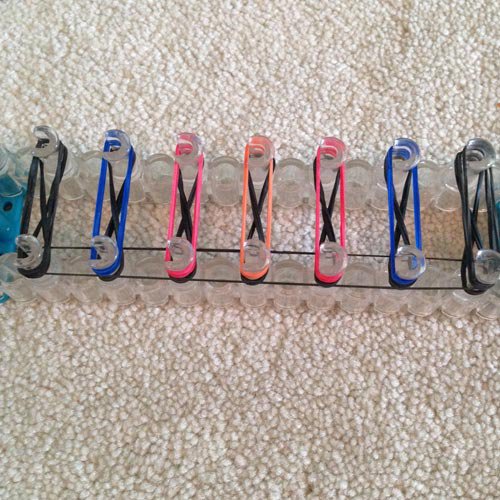
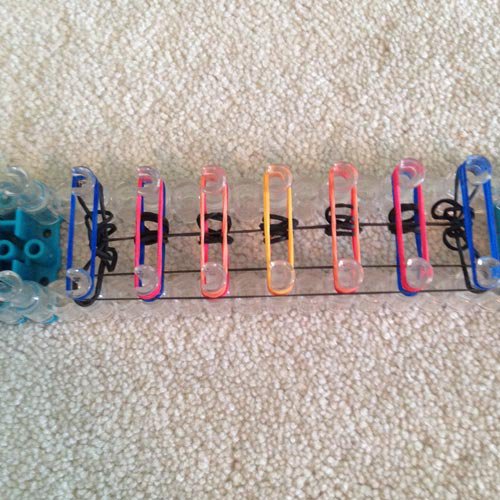
Step 5
Take 1-2 bands of the color of the alpha pattern you've chosen and stretch it over the twisted rubber band already on the loom. Do this for the whole first row. It's your choice as to whether you want to use one band per each "knot" or two. Personally I find that double bands look better, but single band "knots" work as well.
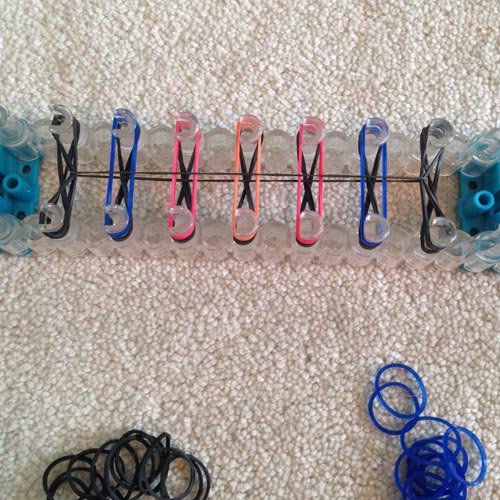
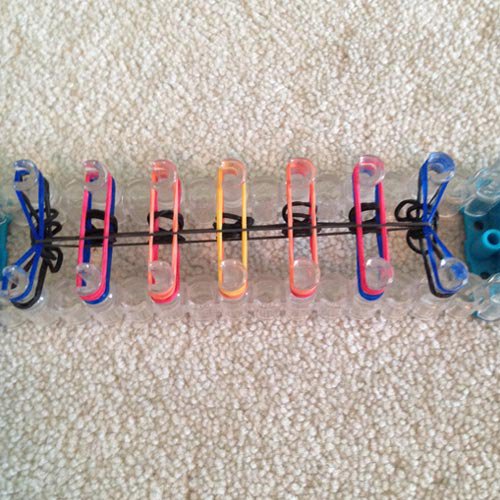
Step 6
Using either your hook or your fingers, take the stretched out band and bring it on top of the top layer of bands. This should now be stretched out all around the top layer of bands, and will help keep them aligned and in place.
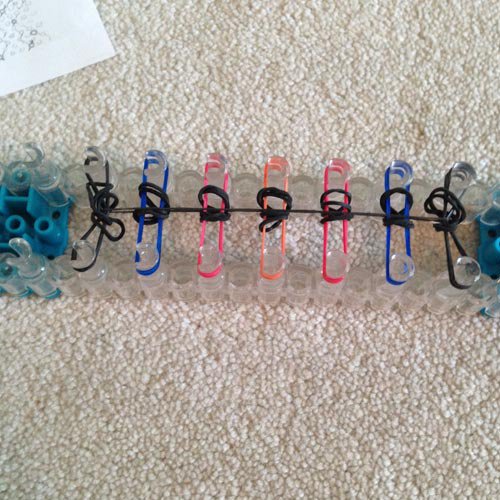
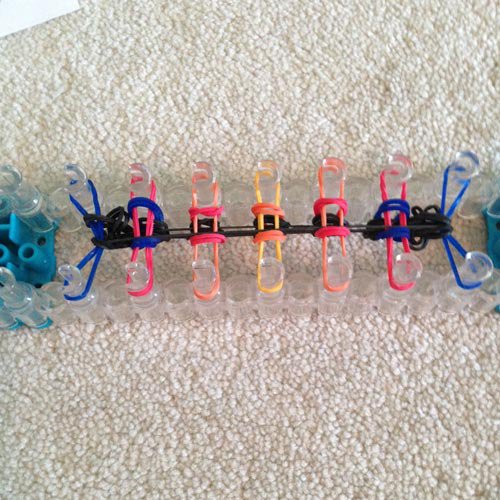
Step 7
Now from the outer edges of the loom, take the bottom layer of bands and pull them onto the band on top of it (just like when doing a fishtail bracelet and similar types). Now push the current bands on the loom downwards to make more room.
Step 8
Take another band or set of bands and stretch it the same way across one of the loom rows (exactly like step 4). Put the next row of bands for your pattern on the loom, like in step 5.
Step 9
Repeat step 6, pulling over the stretched band.
Step 10
Repeat step 7 by looming the bottom row of bands onto the top row.

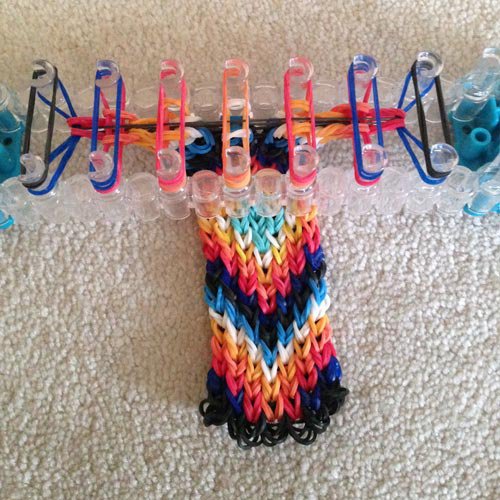
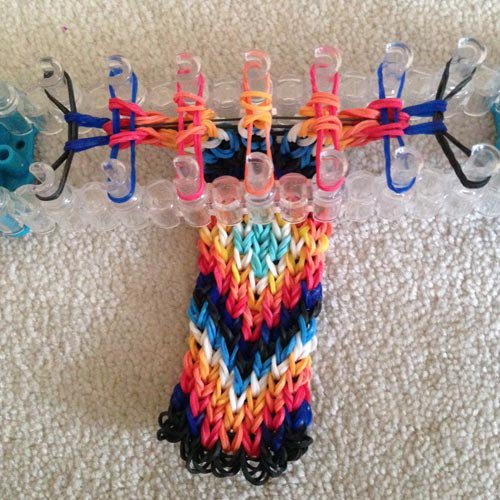
Step 11
Keep repeating steps 4-7 until your last row of the pattern you are doing. The pattern will start working it's way down and through the middle of the loom.

Step 12
Stop when you have finished your second to last row of your pattern.
Step 13
Put the last row of bands in your pattern on the loom.
Step 14
Loop your bottom row of bands onto the top layer of bands.
Step 15
Now take the bands of one of the rows of the rainbow loom and, one peg at a time, bring them across the hole and onto the peg across from it.
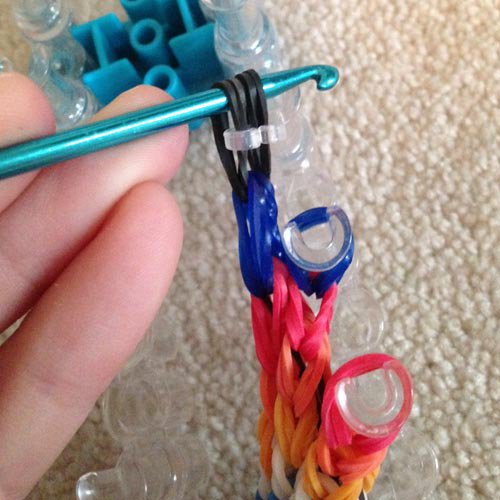
Step 16
Put your hook through all of the loops of the bands on a peg, stretch it out, and put a clip on it. Do this for all of the pegs.

Step 17
Stretch out your design so it looks nice, neat, and even.
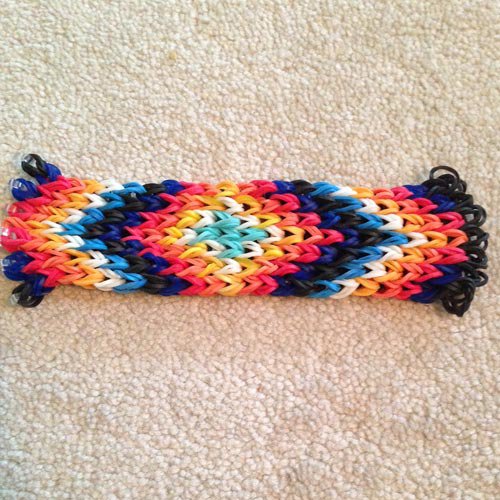
Done
Now you are done with looming the alpha design you picked! I hope you found this tutorial helpful 🙂
Thanks for reading,
CWillard
Thanks for reading,
CWillard