Rate Tutorial
Things you will need (applies to both)
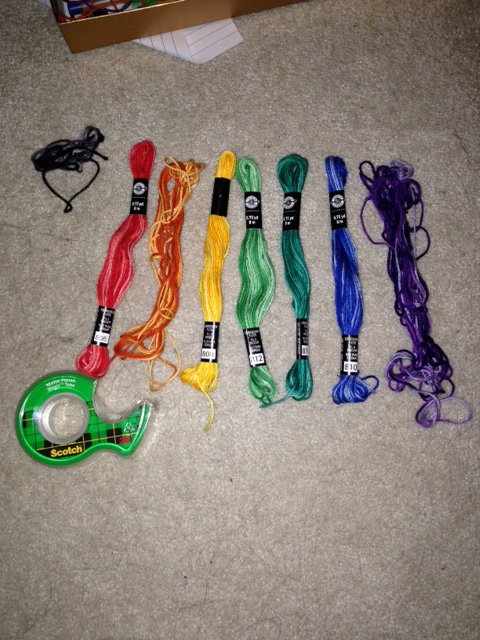
- strings (I am using 8 total strings, but you can use as many as you want or as few as 4)
- a way of holding your bracelet in place while making
- a way of holding your bracelet in place while making
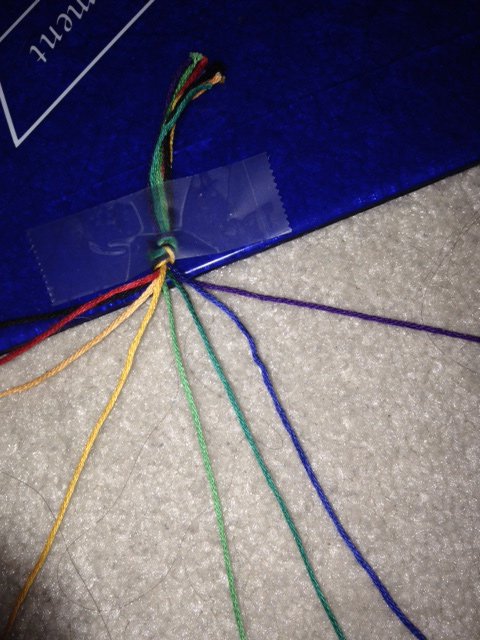
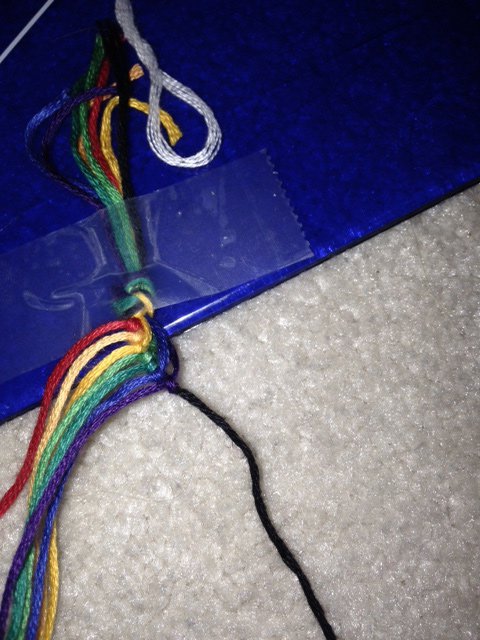
Step 1
Cut your strings, tie them together in a knot, secure them for making the bracelet, and put them in the order you want.
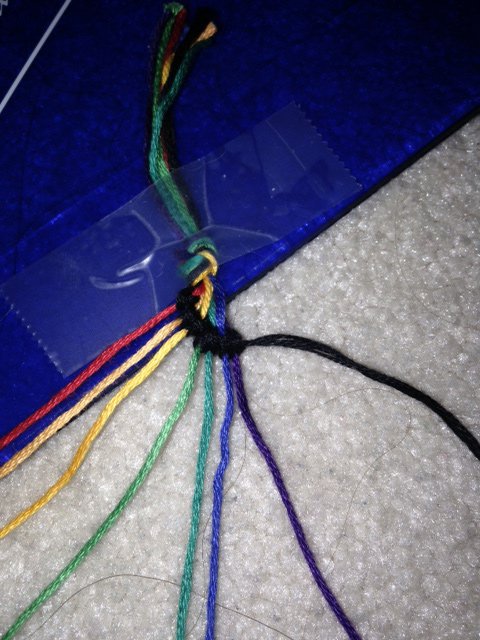
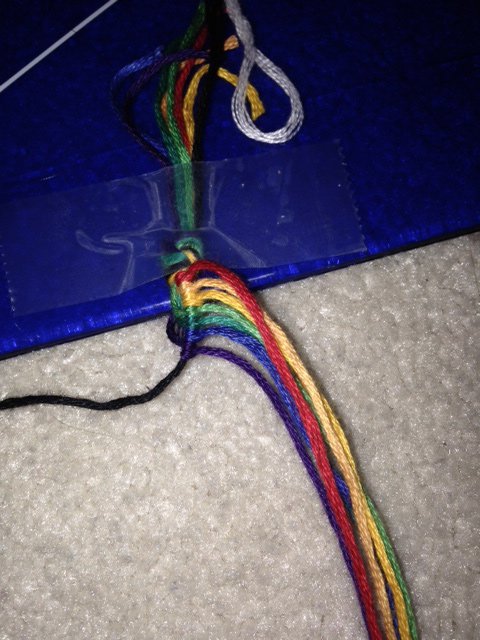
Step 2 (Normal Spiral Bracelet)
With your left-most string, tie forward knots over all of the other strings, like a candy stripe.

Step 3
Flip your bracelet over so now the back is on the top and the knotting string is on the left side again.
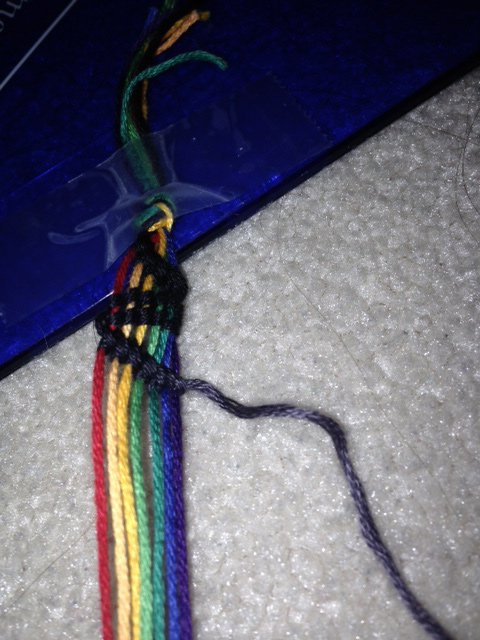
Step 4
Repeat steps 3 and 4 until your bracelet is your desired length. Then tie it off with a knot.
Step 2 (Inverted Spiral Bracelet)
Take your string on the left-most side of the bracelet and, using the other strings, tie backwards knots onto the string to the other side.
Step 3
Flip your bracelet over so now the back is on top and the string being knotted onto is on the left side again.
Step 4
Repeat steps 2 and 3 until your bracelet is the desired length. Then tie it off with a knot.
Hint (for both bracelets)
If you want a more zig-zag effect, tie either a forward-backward knot or a backward-forward knot when it comes to the right-most string.
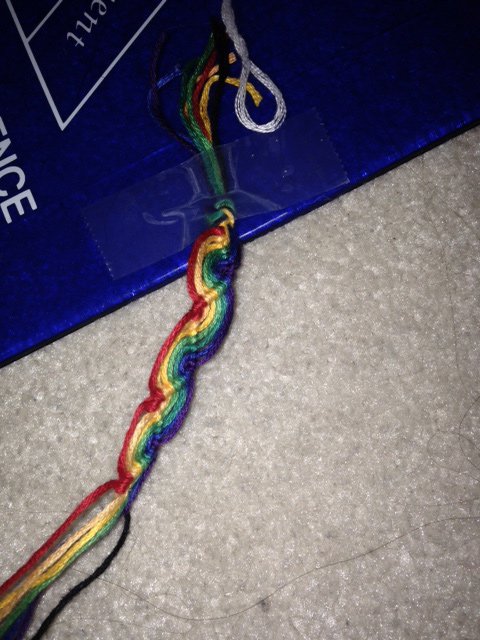
Done
Now you have your finished spiral bracelet! I hope you enjoyed this tutorial and like how your bracelet turned out 🙂
Thanks for reading,
CWillard
Thanks for reading,
CWillard