Rate Tutorial

Things you will need
- 6 different colors of strings
- scissors
- a way of holding your bracelet in place while making
- scissors
- a way of holding your bracelet in place while making

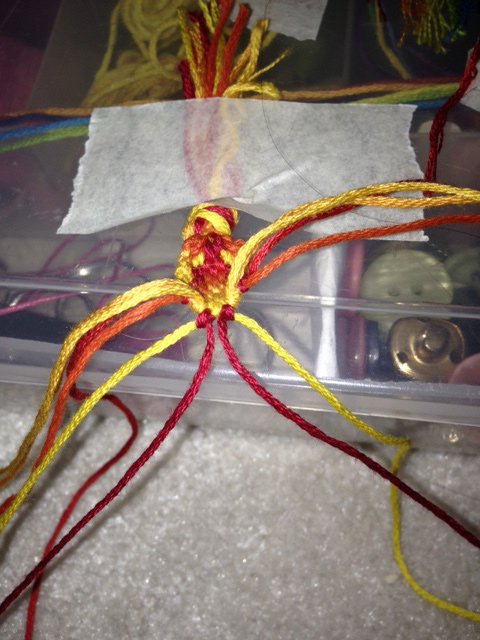
Step 1
Cut either 2 strings of each color or one long string of each color and gold them in half so you have 12 strings. Tie a knot, secure it for making the bracelet, and put your strings in the order ABCDEFFEDCBA.
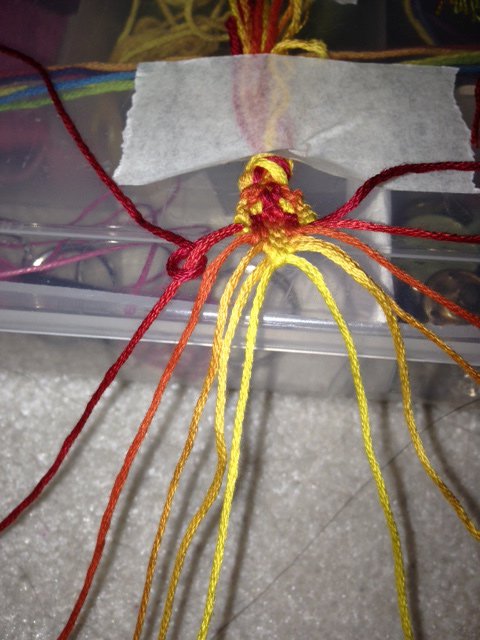
Step 2
On the left hand side, use string A to tie a forward knot onto string B. On the right hand side, use string A to tie a backward knot onto string B.
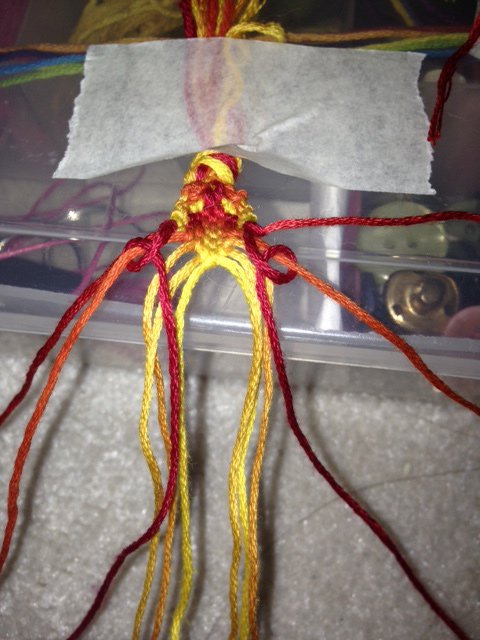
Step 3
On the left side, use string A to tie a forward knot onto string C. On the right side, use string A to tie a backward knot onto string C.
Step 4
On the left side, use string D to tie a backward knot onto string A. On the right side, use string D to tie a forward knot onto string A.
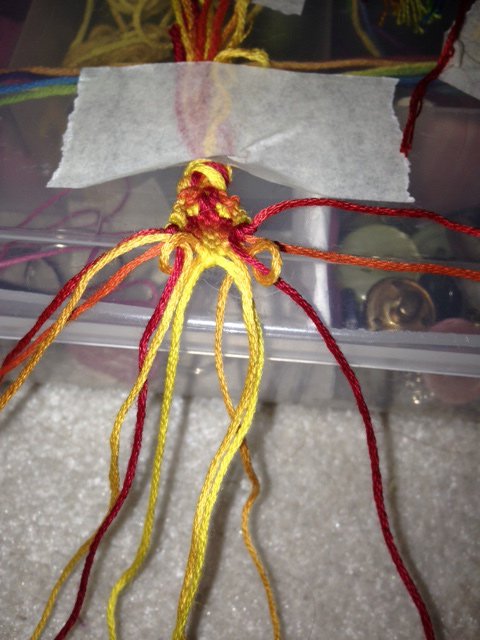
Step 5
On the left side, use string E to tie a backward knot onto string A. On the right side, use string E to tie a forward knot onto string A.
Step 6
On the left side, use string A to tie a forward knot onto string F. On the right side, use string A to tie a backward knot onto string F.

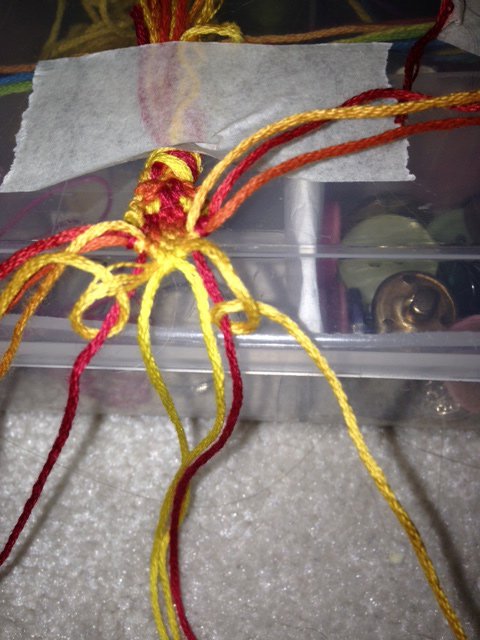
Step 7
Tie the A strings together using a forward knot.
Step 8
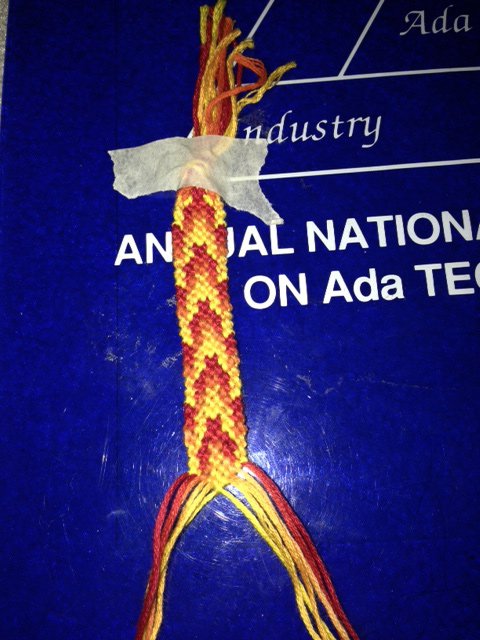
Keep repeating the same knitting pattern until your bracelet is your desired length.

Step 9
When you have reached your desired length, finish off your bracelet with a knot or other method. I used twists into knots.
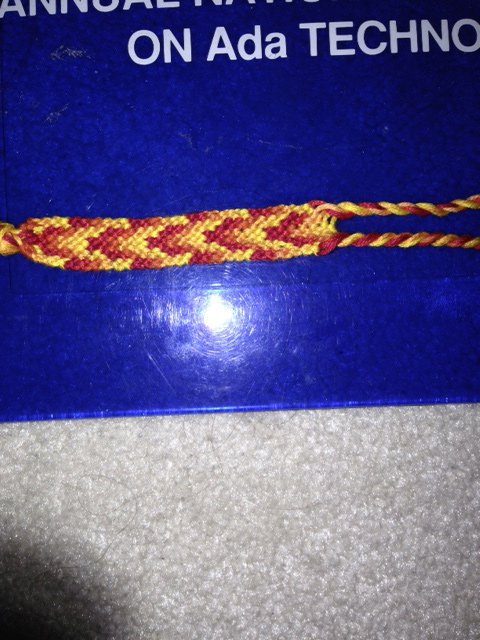
Done
Now you have your finished bracelet! I hope you enjoyed this tutorial and like how your bracelet turned out 🙂
Thanks for reading,
CWillard
Thanks for reading,
CWillard