Rate Tutorial
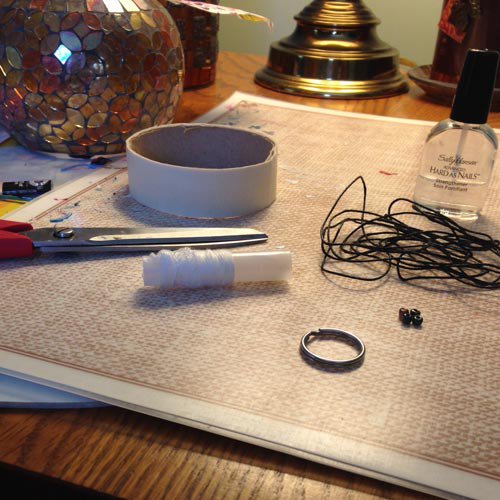
Things you will need
- a ring (you can buy keychain rings at your local craft store)
- string (embroidery floss, hemp, etc. are all fine)
- thread (like thin sewing thread)
- tape
- scissors
- nail polish or glue (optional)
- beads (optional)
- string (embroidery floss, hemp, etc. are all fine)
- thread (like thin sewing thread)
- tape
- scissors
- nail polish or glue (optional)
- beads (optional)
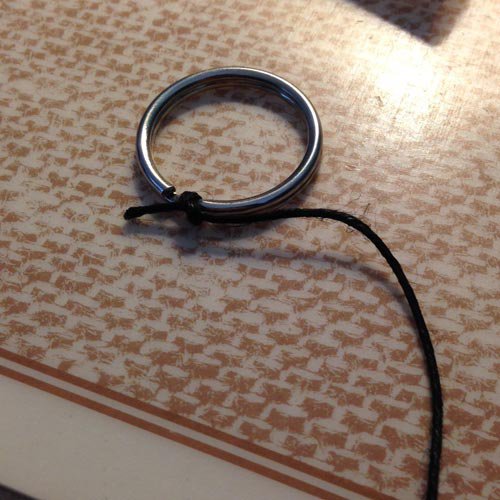
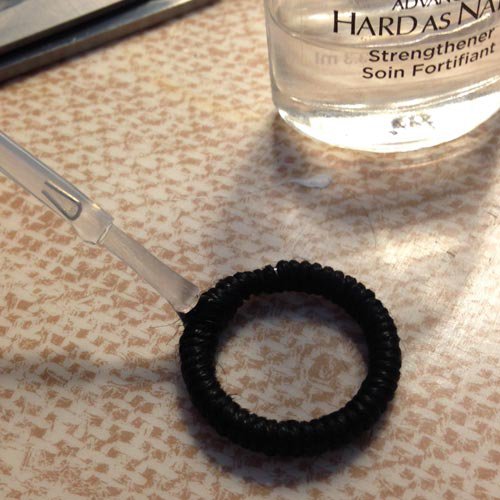
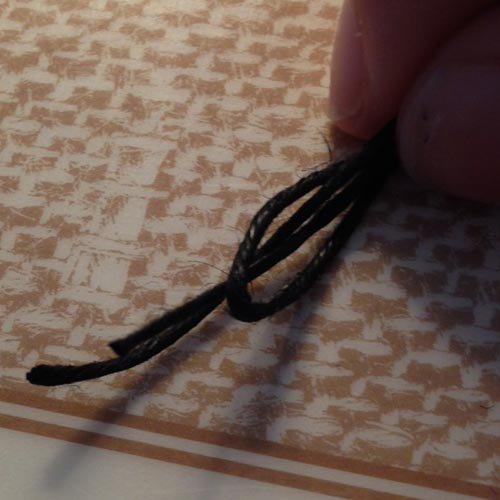
Step 1
With your string, tie a knot around the ring.
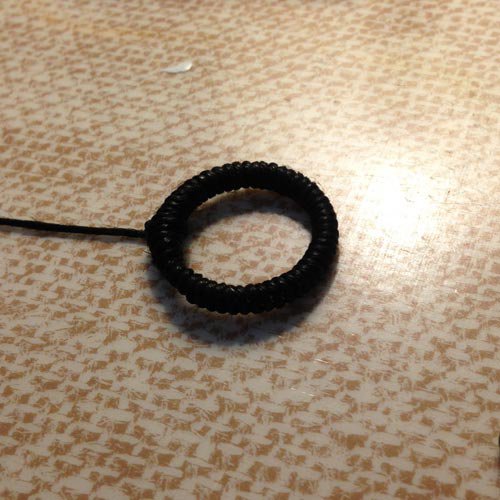
Step 2
Wrap the string all the way around the ring.
Step 3
Make a knot to secure the string on the ring.
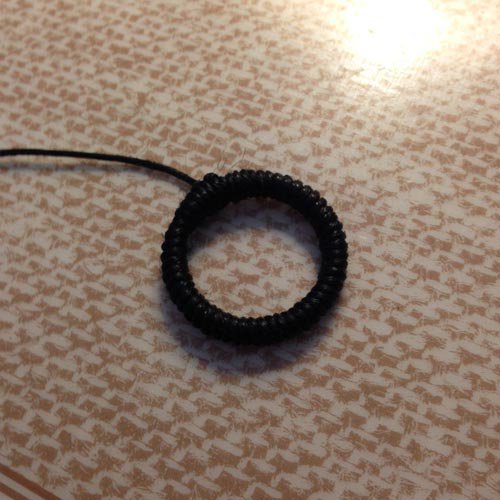
Step 4
Cut the excess string off, and (if you want), put a little bit of glue or polish on the knot to help make sure it stays.
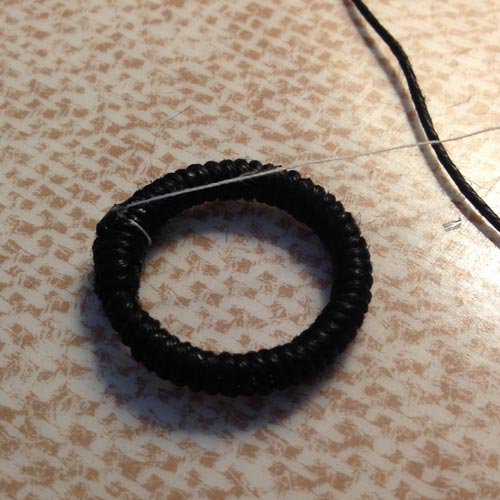
Step 5
When the glue/polish is dry, tie a double knot with the thread onto the ring and put a little bit of glue or polish on the knot to help secure it and keep it from sliding around the ring. Make sure to cut the little bit of excess thread off.
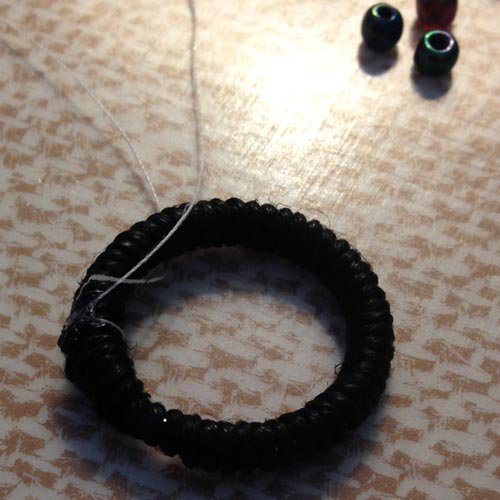
Step 6
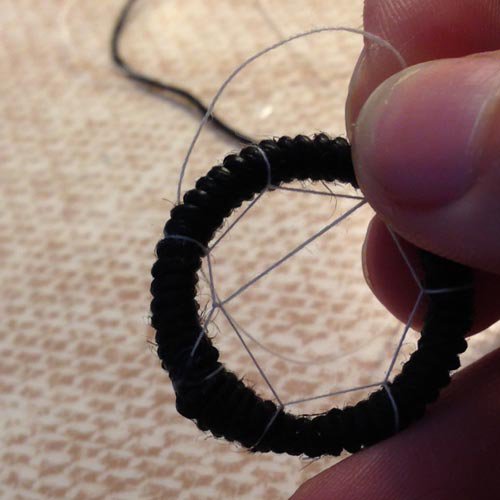
Put the thread over an edge of the ring a little bit away from the starting knot you made. Then, pull the thread around the ring and up through the loop space between the ring and the thread.
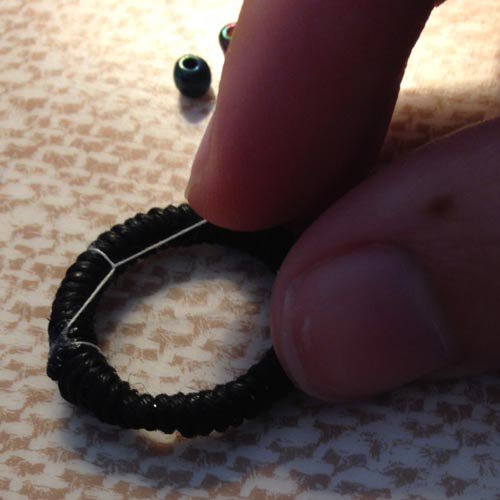
Step 7
Pull the thread through tight so the loop you made stays.
Step 8
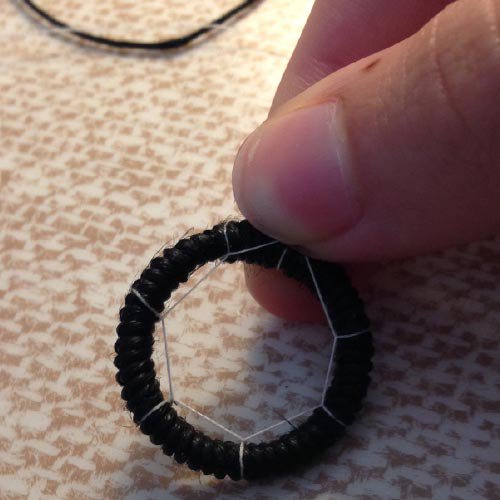
Going around the ring, make 4-6 more of these loops.
Step 9
Put the end of the thread down through the first space between the knot and the loop you made.
Step 10
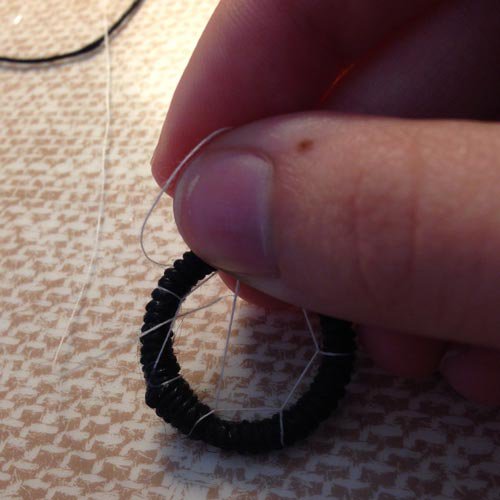
Pull the thread all the way through, nice and tight.
Step 11
Pull the thread up between the ring and the loop you had made (just like when you were making loops around the ring, this one is just on the thread instead).
Step 12
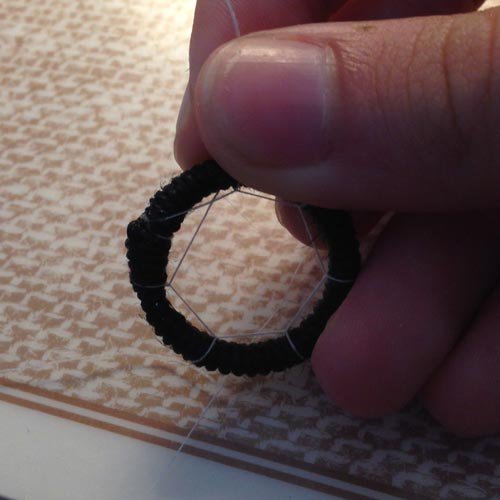
Pull it tight.
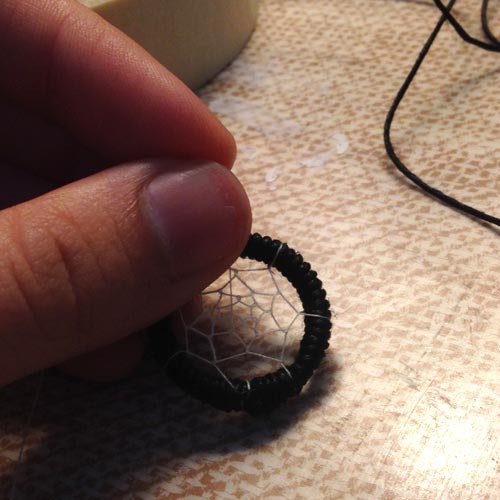
Step 13
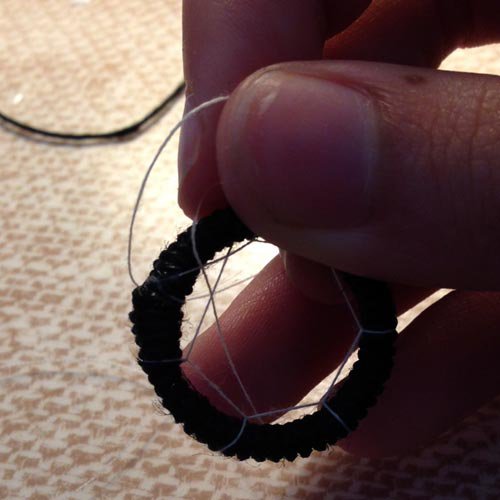
Continue doing this until you've done as many loops around the dream catcher as you'd like.
Step 14
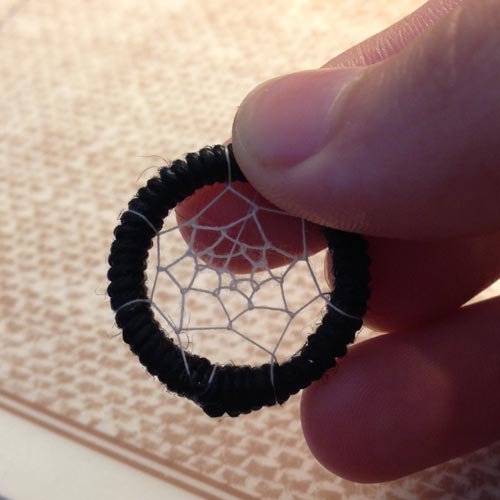
Put the thread down through the hole (where you would be making your next loop).

Step 15
Now make a loose loop and pull the thread through it, making a knot. Pull it nice and tight.
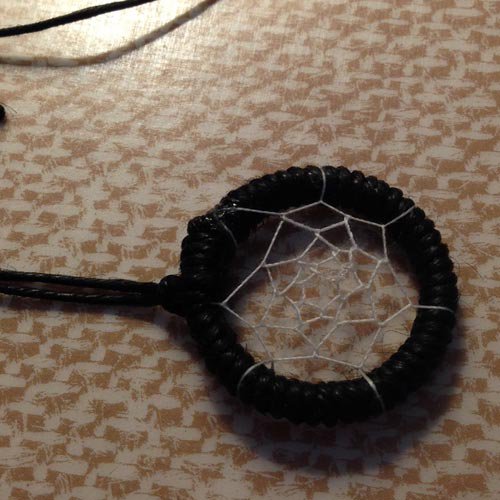
Step 16
Cut off the excess string and put a dot of glue or polish where you put the knot to help keep it secure.
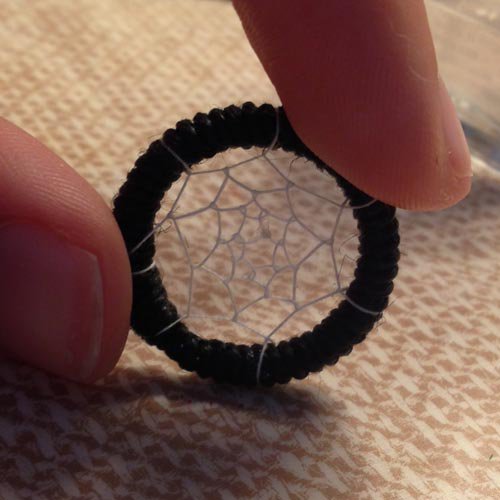
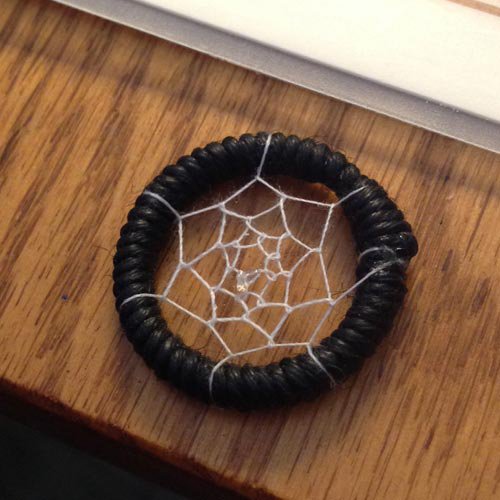
Now you have the dream catcher part of your bracelet. One thing you can do is attach it to another friendship bracelet (pattern). You can also either attach it through your own method, or you can keep reading down below to see how I attach the dream catcher and make it into a bracelet.

Step 1
Now you have to attach the Dream Catcher and Finish Off the Bracelet
Measure your string around your wrist 2 times, then cut it.
Measure your string around your wrist 2 times, then cut it.
Step 2
Measure the same length of string and cut another so that you have two strings.
Step 3
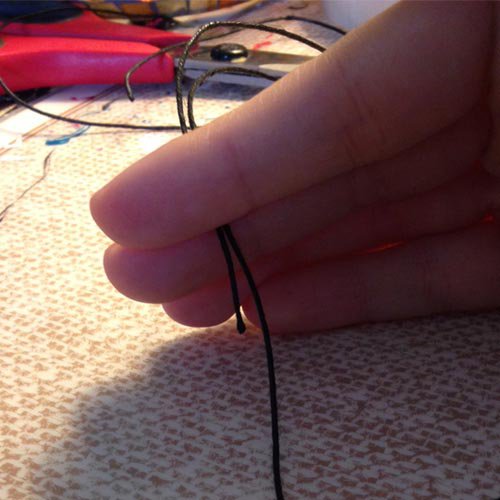
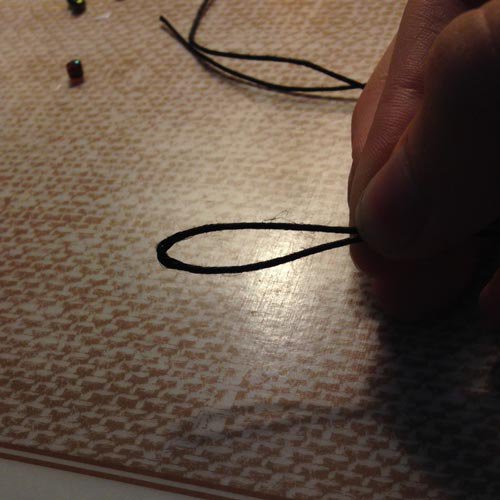
Fold one of the strings in half.
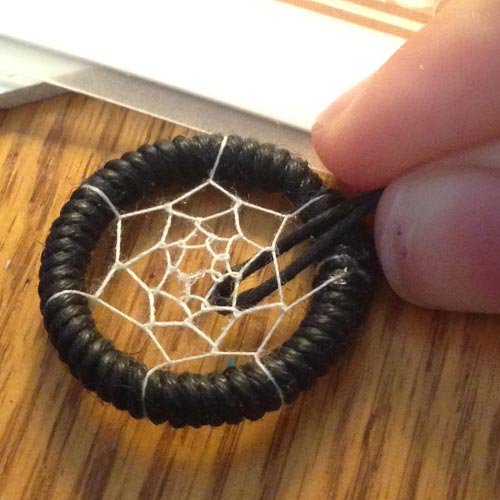
Step 4
Put the folded end through one of the loops around the ring.
Step 5
Pull the folded end through the loop further. Then put the other ends of the string through the loop made by the folded end.
Step 6
Pull the ends of the string all the way through, tightly.
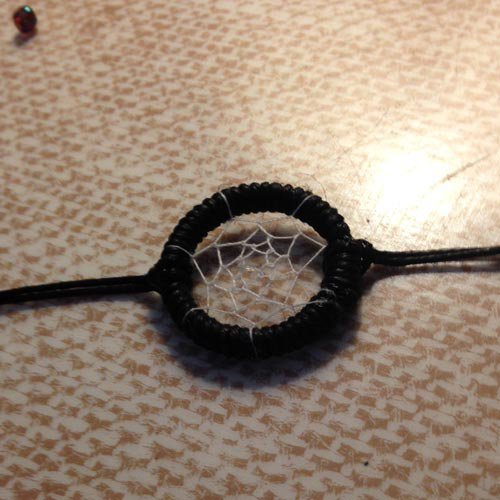
Step 7
Do the same thing on the other side of the ring, then put some glue or polish on them so that they'll stay tighter.
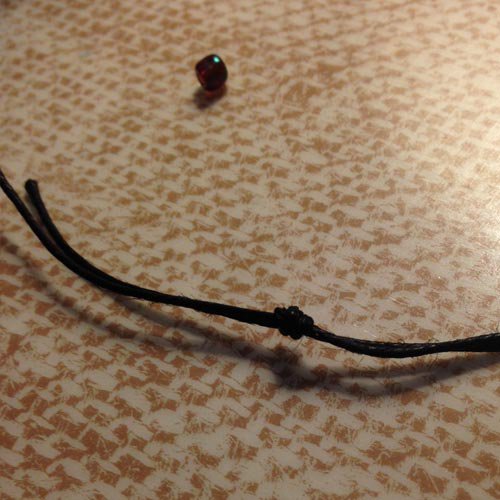
Step 8
About 1-1.5 inches from the end of the strings, make a knot.
Step 9
(Optional) Put beads on one of each of the strings (4).
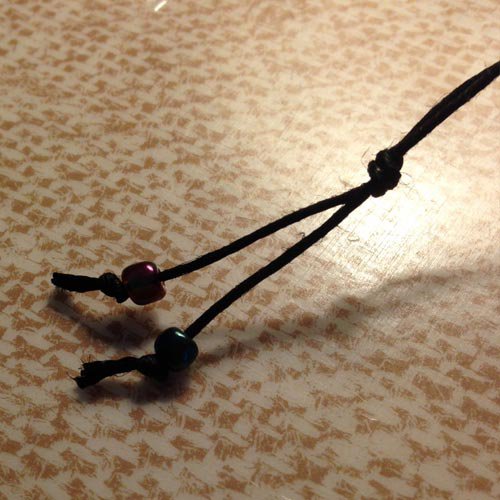
Step 10
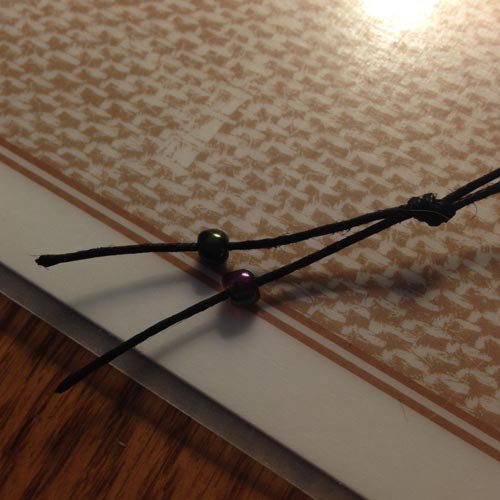
(Optional) Make a knot at the end of each string to keep the bead on.
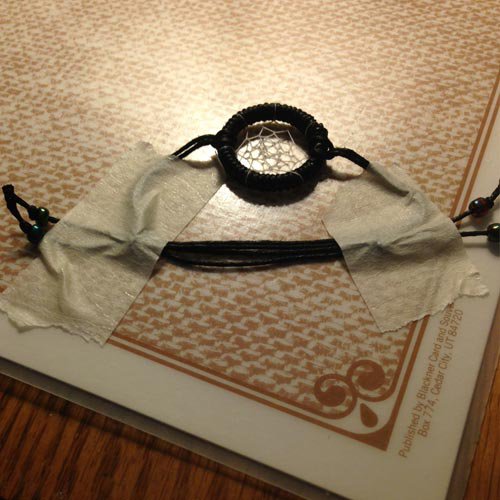
Step 11
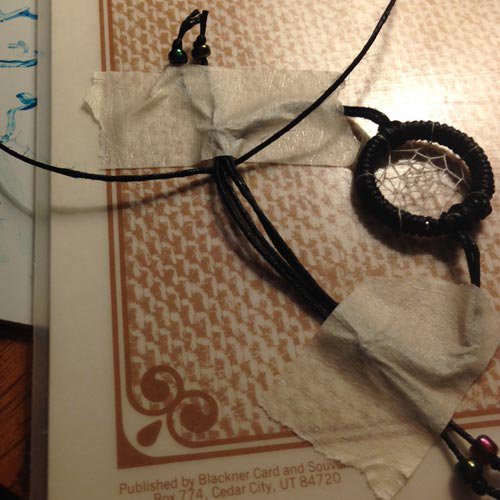
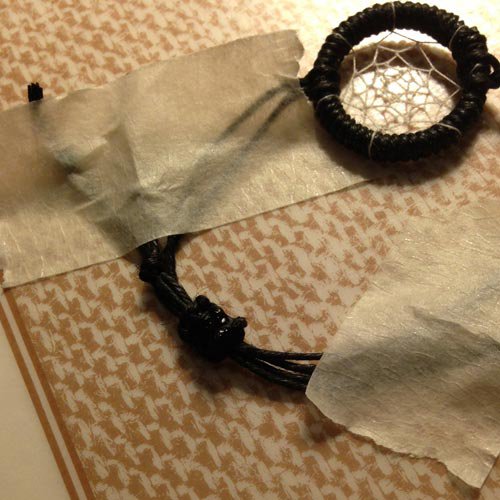
Put the ends of the strings (the straight parts before the knots) next to each other, going the opposite direction, and tape them down.
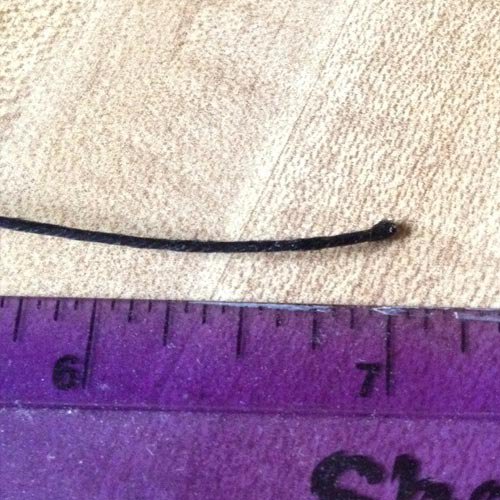
Step 12
Measure about 7 more inches of string.
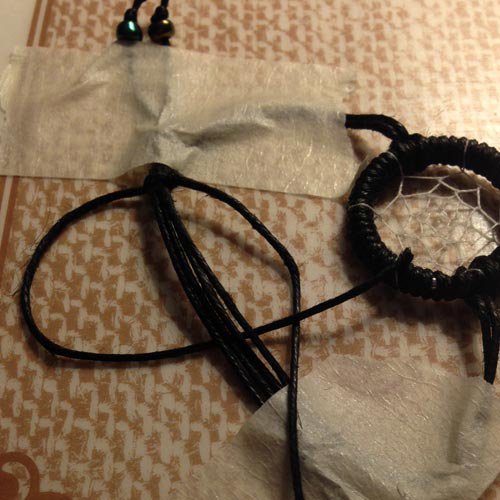
Step 13
Up against one of the pieces of tape, pull the string you just cut halfway through.

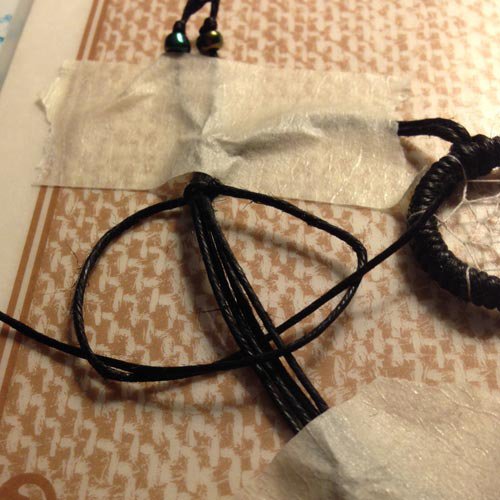
Step 14
Take the left side of the string over the middle set of strings, then under the right side of the string.

Step 15
Put the right side string under the middle set of strings, then over the left side of the string. Pull it up and tight.
Step 16
Take the left side string under the middle set of strings and over the right side string.
Step 17
Take the right side string over the middle set of strings and under the left string. Pull it tight.
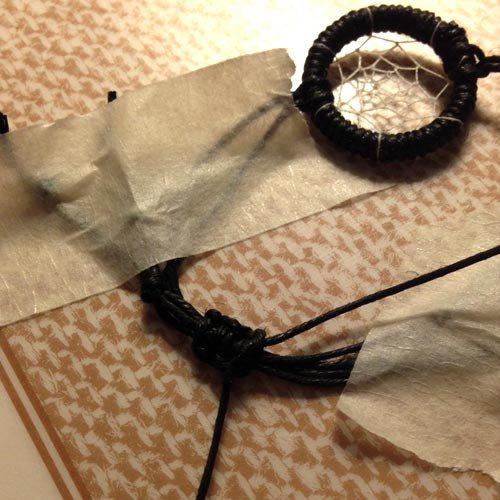
Step 18
Make 3 more of these knots (5 total).
Step 19
Make a knot on the top (a normal knot), then cut off the excess string and put a little bit of polish or glue on the knot to keep it in place.
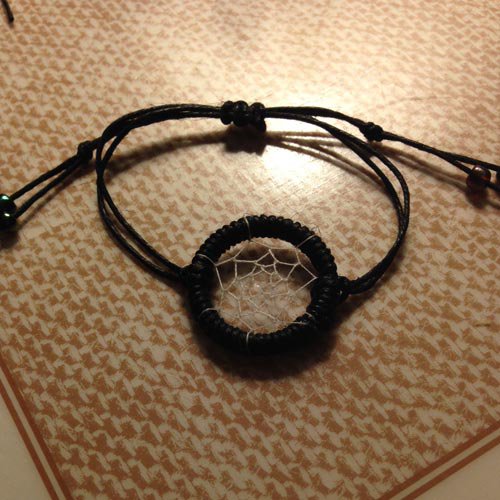
Done
Now you have finished making your dream catcher friendship bracelet! I hope you like how yours turned out 🙂
Thanks for reading,
CWillard
Thanks for reading,
CWillard