Rate Tutorial
What you will need
- 10 strings in 5 different colors or 5 super long strings if you'll be folding them in half
They should definitely be on the longish side. You also need a way to hold the bracelet down. A clipboard works best but if you don't have one you can make your own with a heavy object (just make sure it isn't breakable).
They should definitely be on the longish side. You also need a way to hold the bracelet down. A clipboard works best but if you don't have one you can make your own with a heavy object (just make sure it isn't breakable).
1.
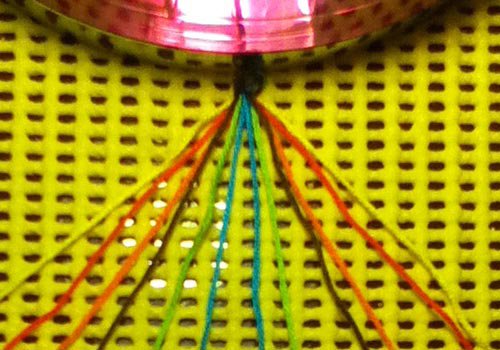
First, choose your colors. You can have as many as you want, but it's best to use at least 10 strings (or 5 folded in half). Start your bracelet however way you'd like, but make sure that the strings are in mirrored string order.
2.
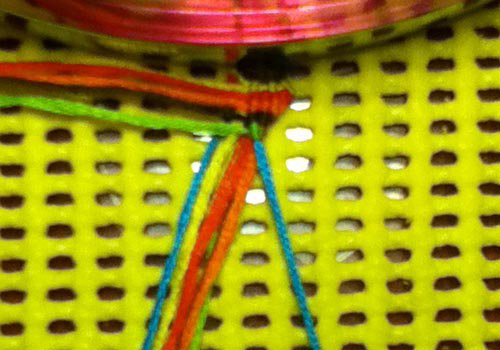
On the left side of your bracelet, take the first string (in my case, it's yellow) and make forward knots over the rest of the left-side strings until you come to the center. Then move this string across all of the right most strings to get it out of the way.
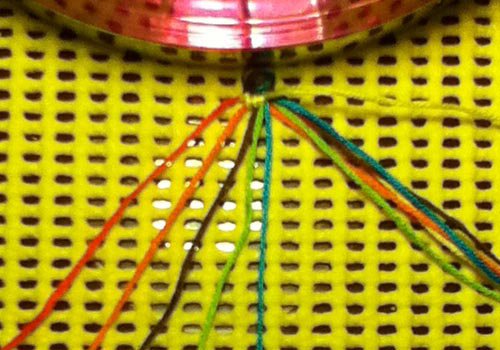
3.
Do this with the rest of the left side strings except for the very last one (in the picture, it's blue).
4.
Now take the string that is the farthest right on the right side (it's yellow in the picture) and make backward knots over the rest of the strings on the right side. Then lay it across the left strings.
5.
Repeat with all of the right side strings except for the very last one (the blue one).
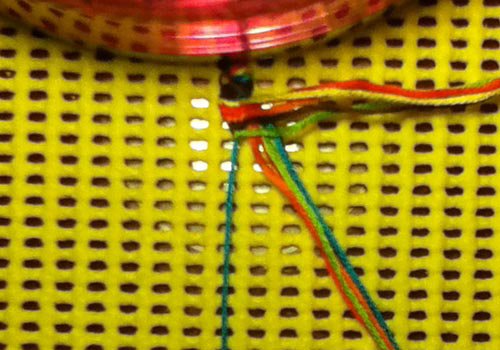
6.
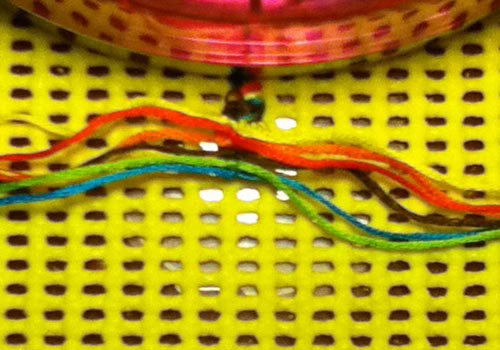
Now you will see that you have two separate triangles. This part of the process joins them together. Take the two strings that you did your first knots with on both sides (remember those yellow ones?) and tie a forward knot in the center of your bracelet. Then lay them back out to the sides. Repeat with the rest of your colors in the order that they were tied except for those last ones that you didn't knot with.
7.
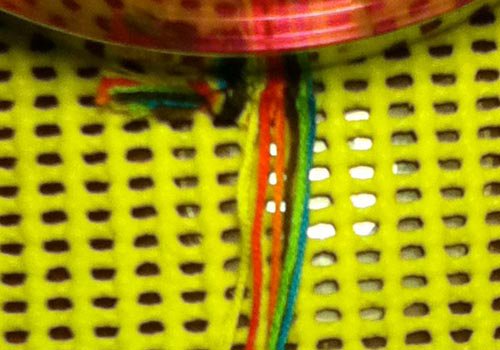
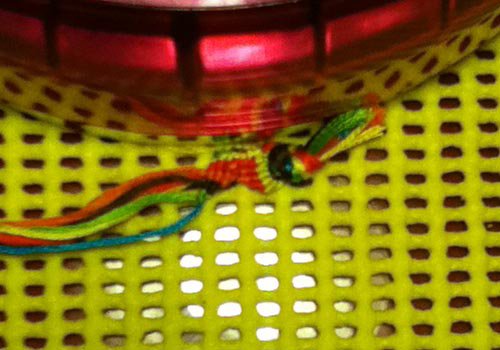
Since your strings are all out to the sides, you have to move your bracelet. Take the bracelet out of the clipboard or unpin it from whatever it was pinned to and turn it on its side. Now re-attach the bracelet sideways as shown in the picture.
8.
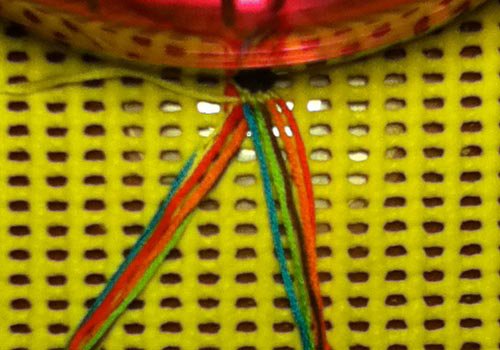
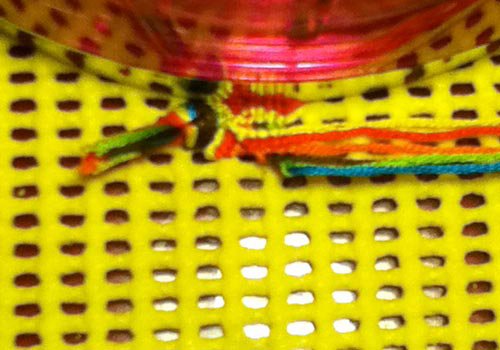
The type of knots you tie depends on the side of the bracelet that you're working on. If you're doing the left side first, do forwards. If you're doing the right, you will do backwards.
9.
Once you've finished both sides, turn the bracelet back around and repeat from step 2 until it's as long as you want it to be.

I've been working on this for a little while.