Rate Tutorial
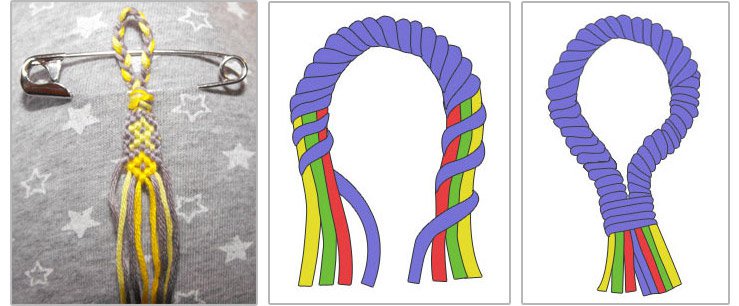
When the bracelet is finished, we need to tie the ends. Firstly, untie the big knot, which was pinned with the safety pin and then make a ponytail from the leftover strings. Make a ponytail on both sides, one or two that will have the same length. You will use these to tie the bracelet on your wrist. If the bracelet is thicker, it's better to use two ponytails on each end. It looks nicer and is practical. Individual ponytails can be tied around your wrist with traditional three knots, or classic cross-node knot.
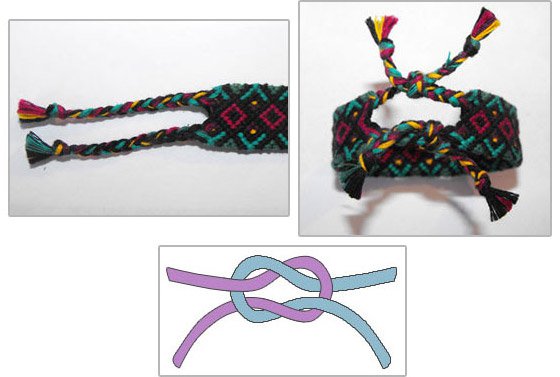
We can also make a loop on one side of the bracelet and make two ponytails on the other end. In this case, we have to count with this option right away when we're starting the bracelet. We only need to cut half of the strings, but they need to be twice long. In the middle of the strings, we need to make a ponytail which will create a loop, or we can wrap one string around the rest of them. to create a wrapped loop. The string that will be used for wrapping around the others, must be long enough to complete knitting the pattern itself. I myself prefer the ponytail endings, they seem more practical, but the loops are nice too.
Another option is to stitch a piece of elastic rubber on the end of the bracelet. This is appropriate for children and so. This is practical when you want to be able to easily remove the bracelet when you want. When the bracelet is warn a long time, the ponytails may brake, but if it is a thicker bracelet, and it took you quite a long time to make, it's a good idea to tie a piece of elastic rubber on the ends so you can carry on with wearing the bracelet. It is quite practical.
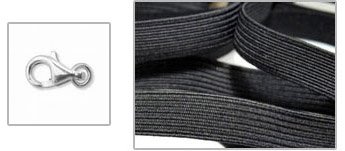
You can also use classic metal closures. Simply fasten it to the ends of the bracelet. Sew it onto a bracelet with sewing thread and glue it with see-through glue afterwards. If you have a bracelet finished like this, you can easily remove it whenever you want.